
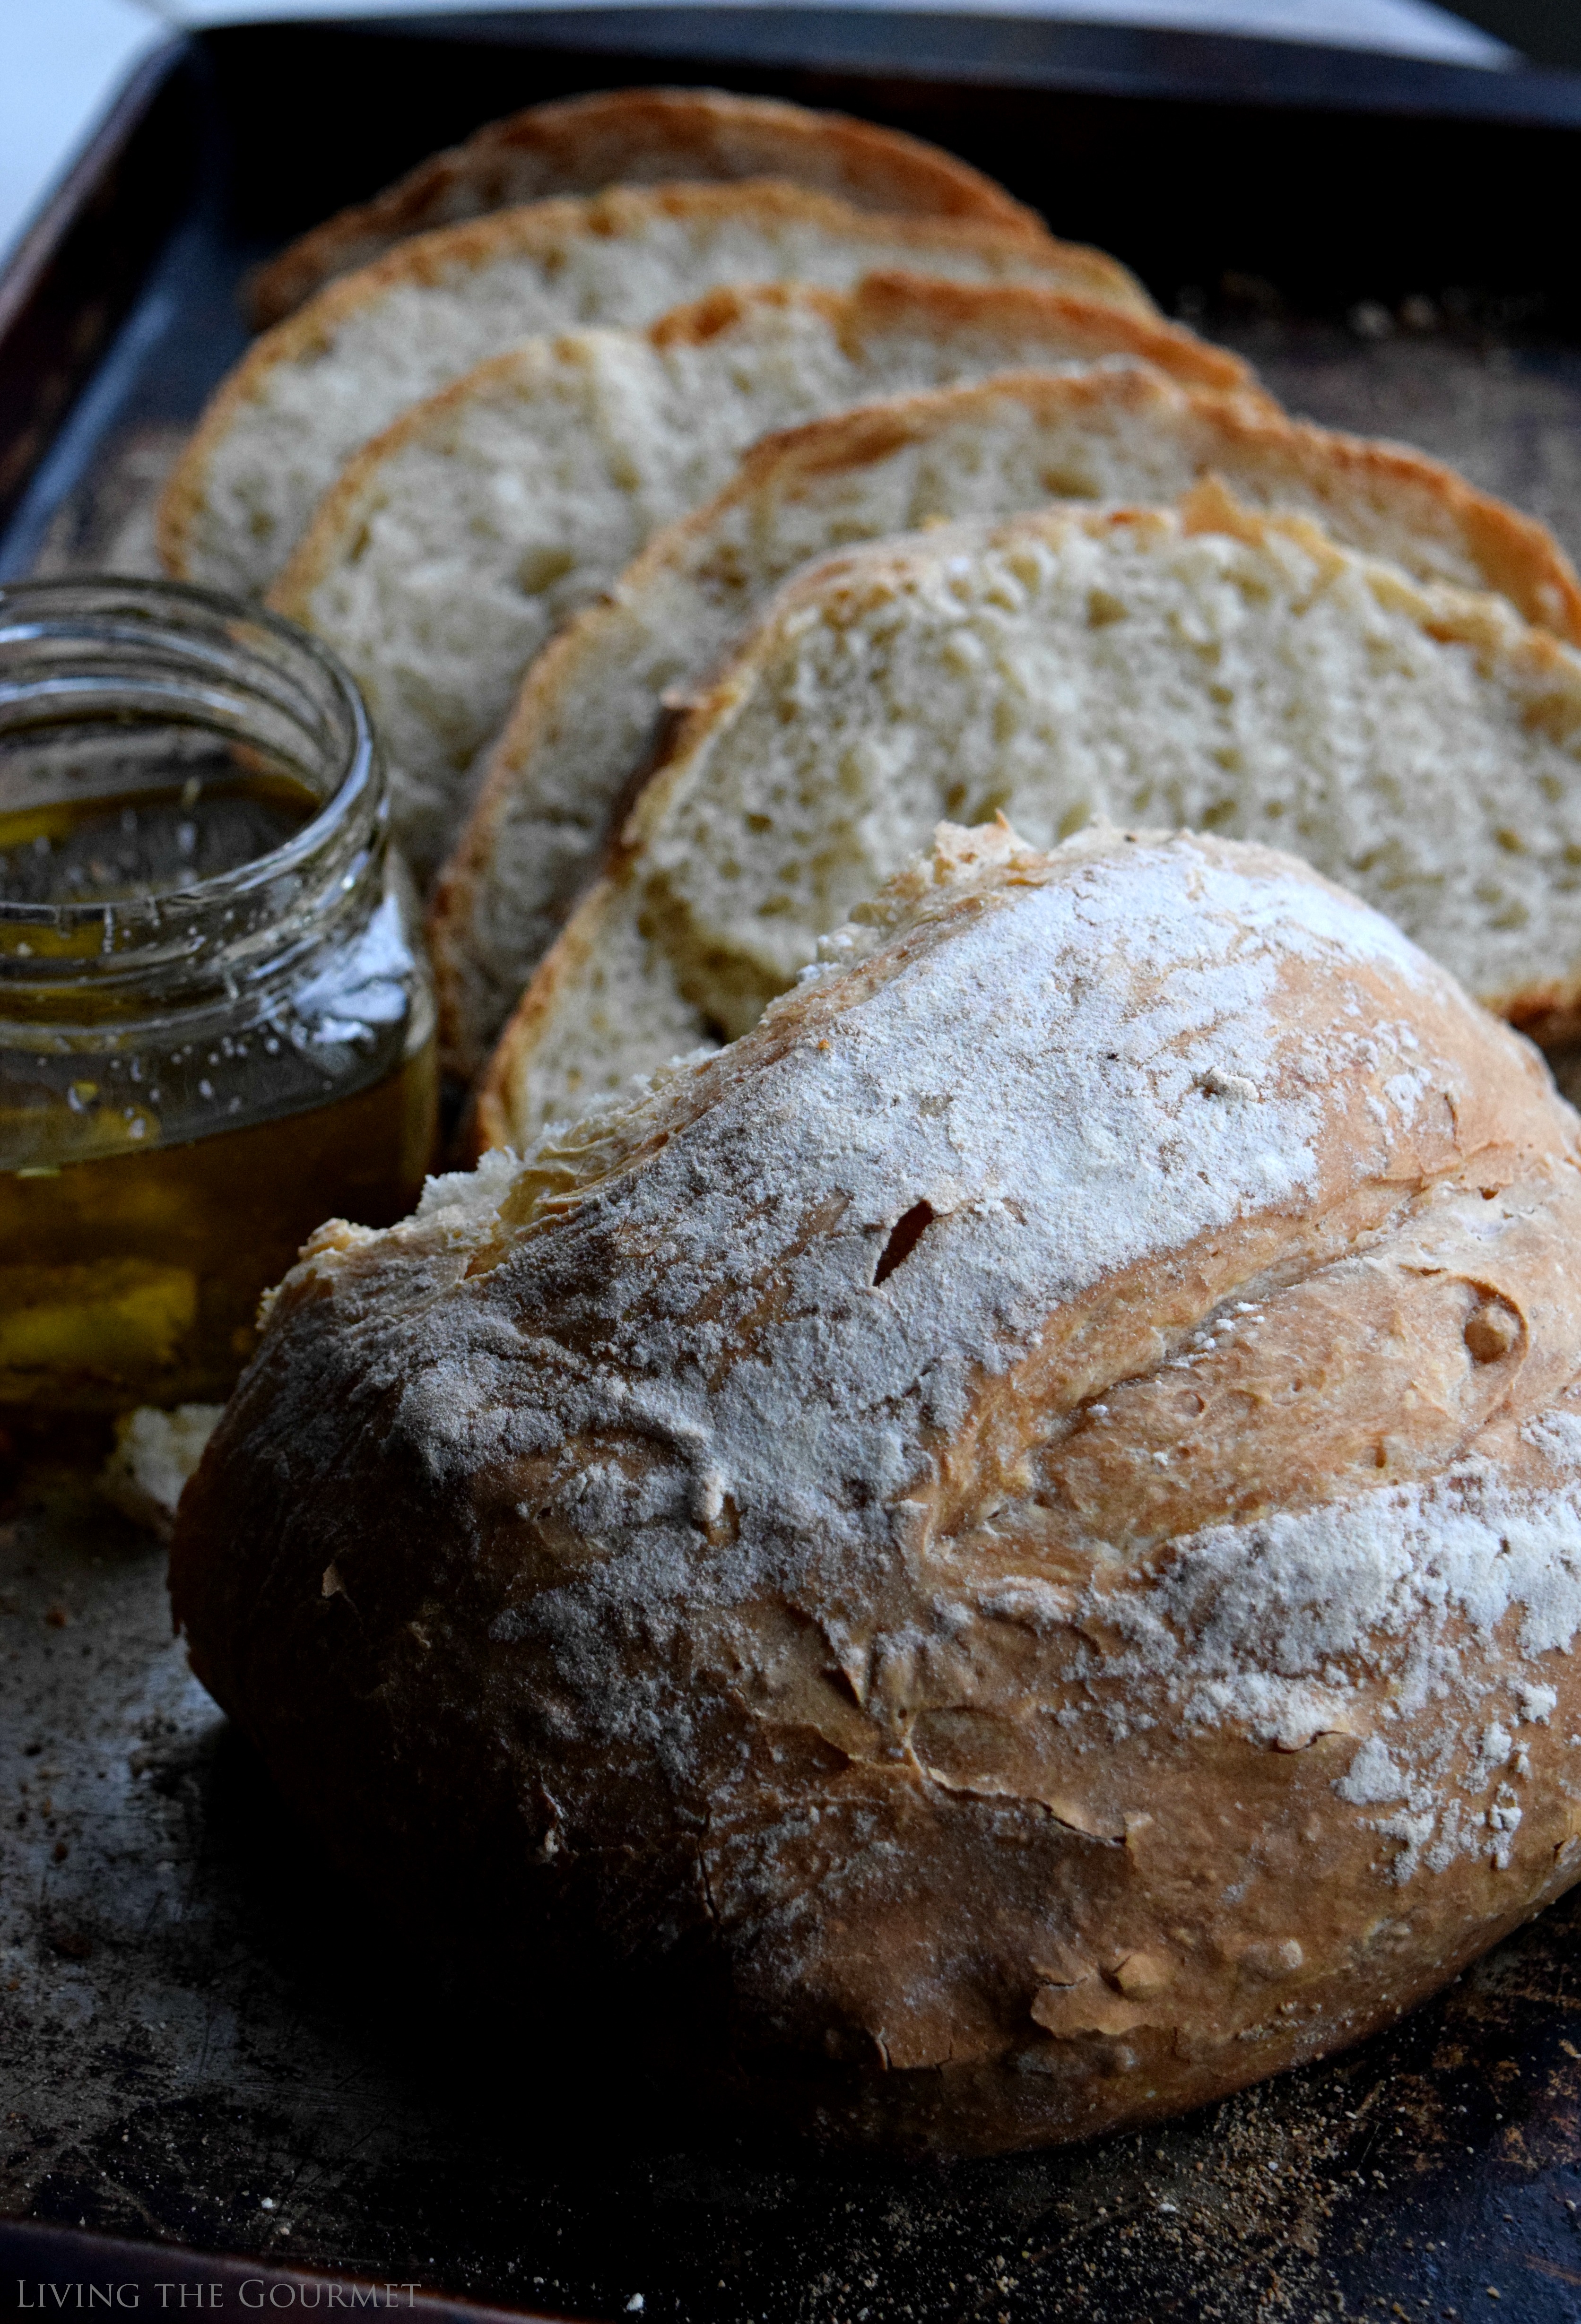
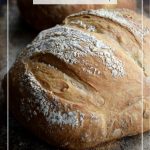
This is by far the easiest bread to make at home - and as a nice bonus, not only is it a simply delicious bread, but it also features a substantial crust. Our Boule Artisan Free-Form Loaf is perfect for hearty sandwiches, as dinner bread, or for dipping in oil or salsa.
Over the years, this type of bread has become a mainstay in my home. Several times a week, this particular recipe, or slight variations of it, is how I start my day. A single loaf keeps well for a couple of days, by which point it's almost always gone anyway.
Belo,w I'll be covering some ideal pairings for this bread, tips for making the perfect dough, and covering precisely what you'll need.
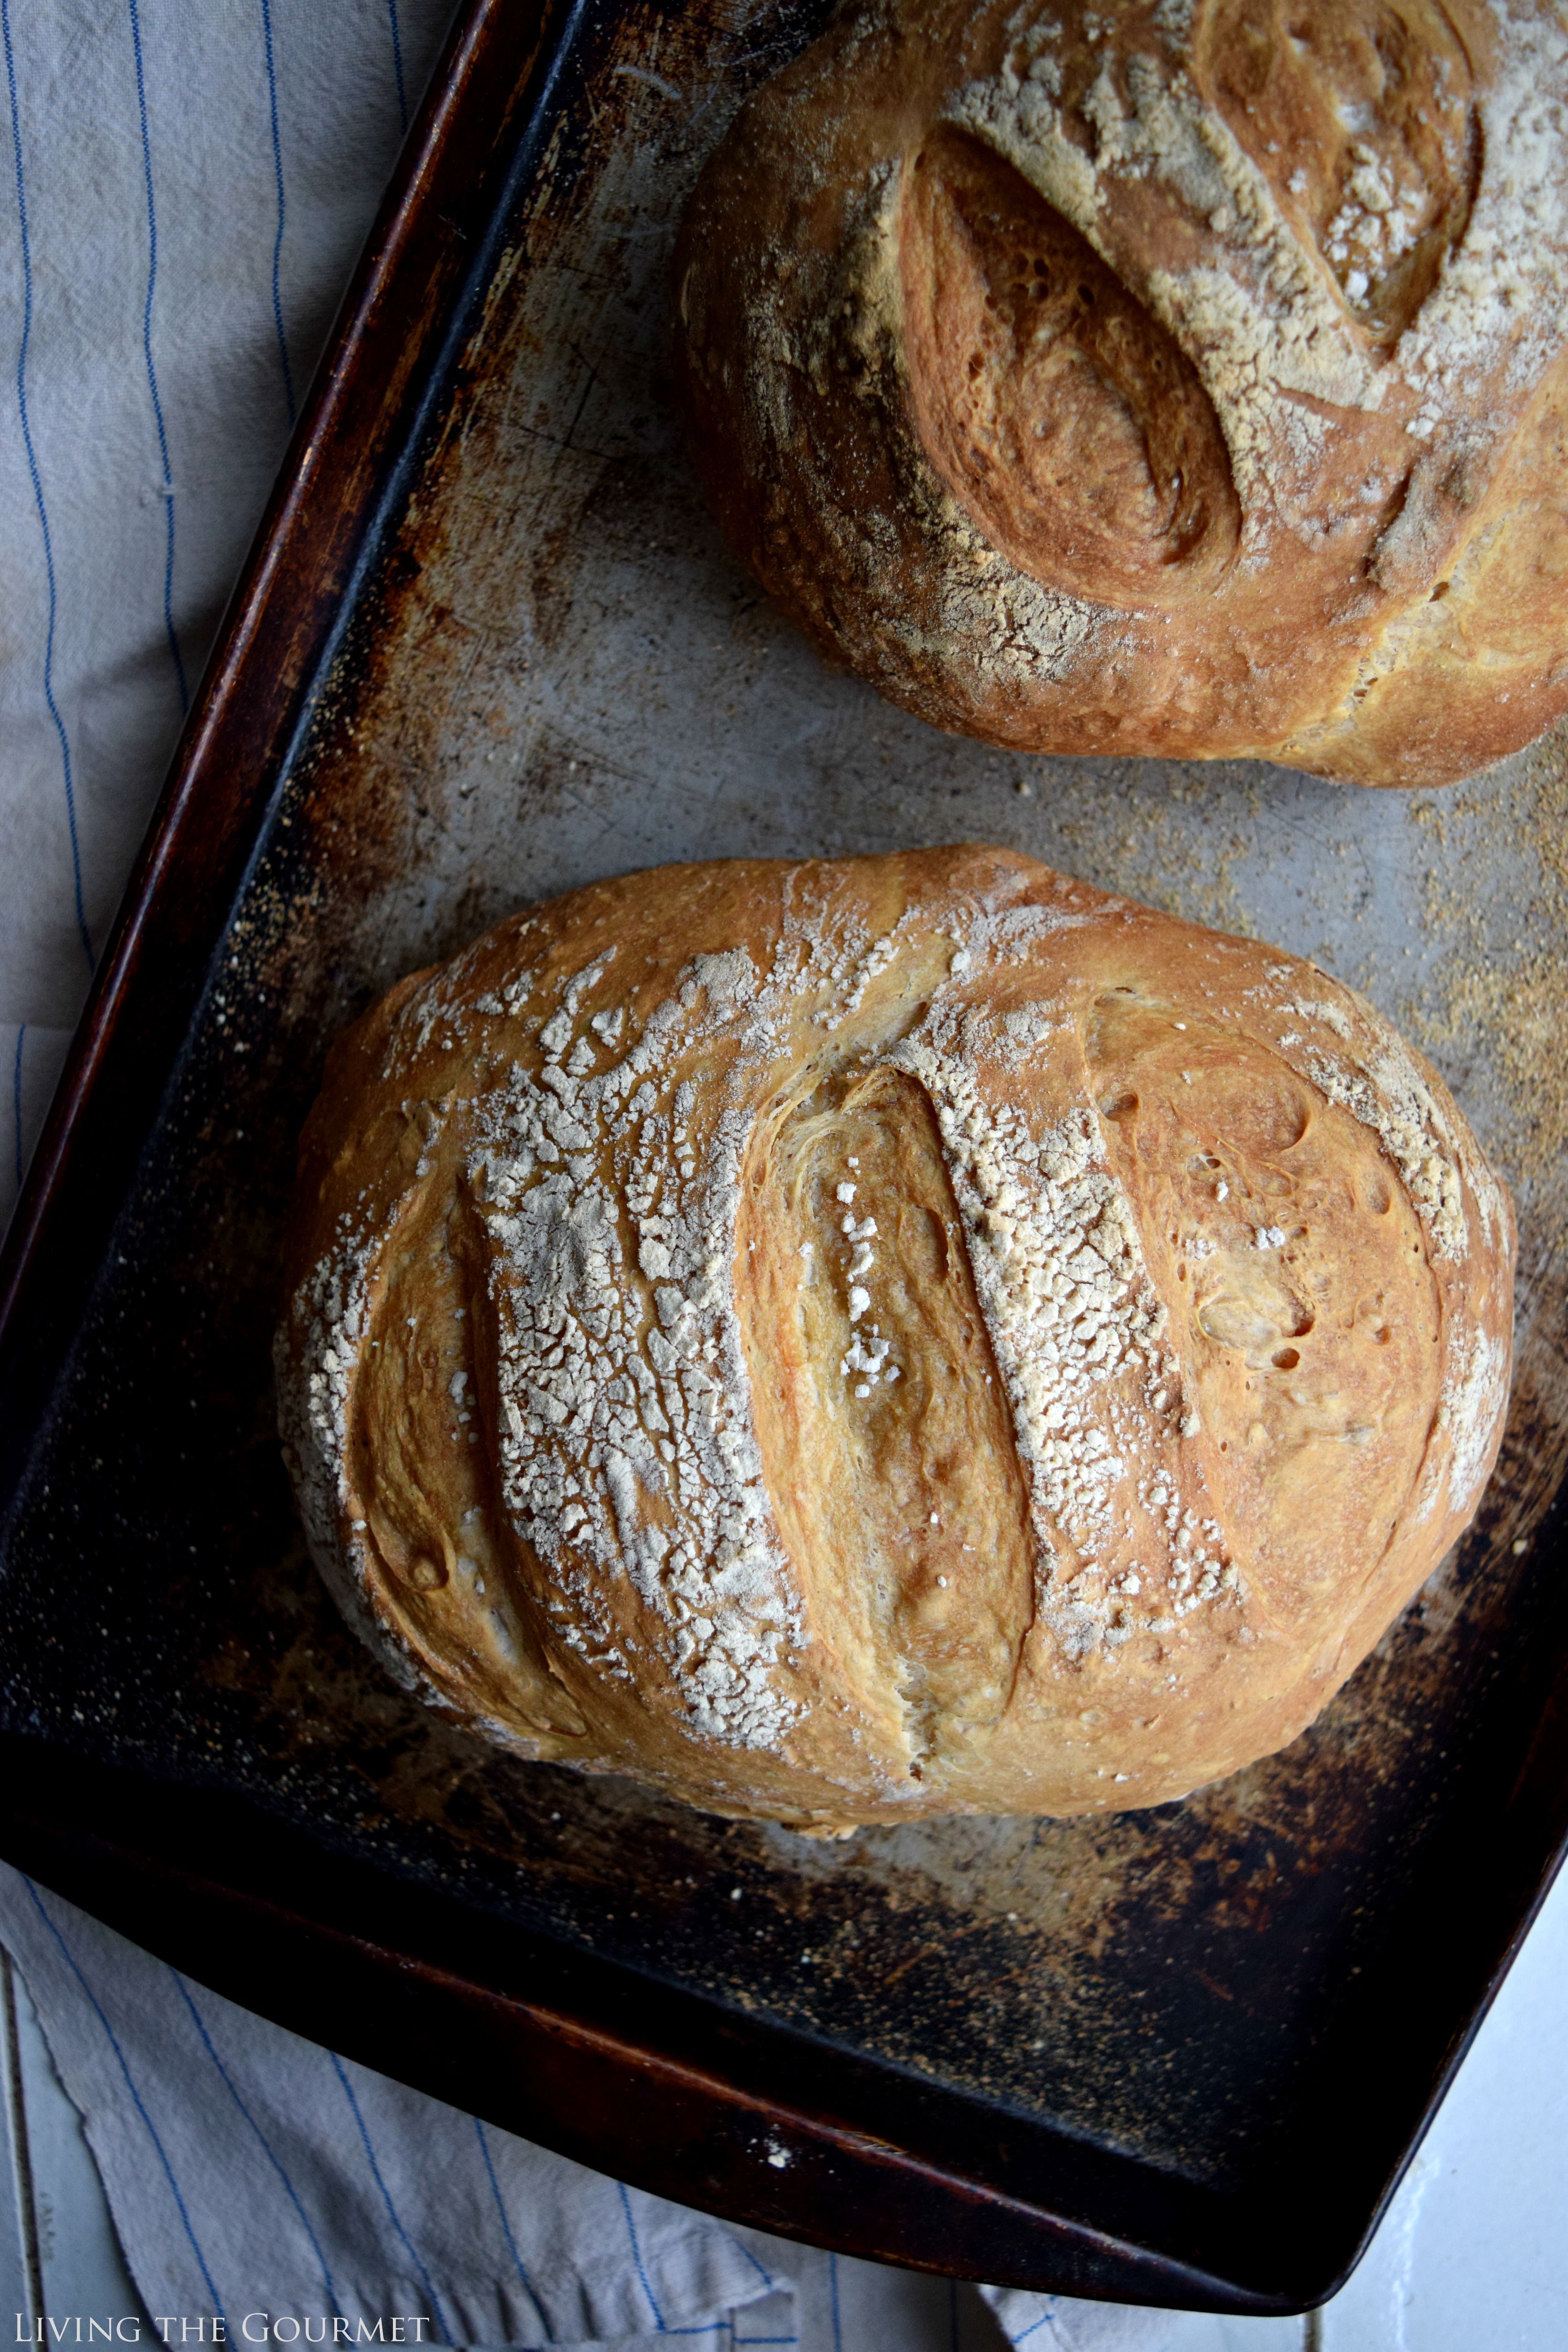
Ingredient Checklist - Boule Artisan Free-Form Loaf
Today's free-form artisan Boule loaf takes just five basic ingredients. Really, making homemade bread couldn't be easier than this.
- Warm Water. This is to proof the yeast. The water needs to be between 105 and 115 degrees Fahrenheit. Any lower, and the yeast won't proof. Any higher, and the yeast starts to die.
- Dry Yeast. I'm using standard dry yeast.
- Flour. I'm using all purpose flour for today's bread recipe. Bread flour is fine, but will result in a slightly denser, heavier loaf. As such, which flour you use is purely a matter of preference.
- Salt. A bit of salt for the dough, otherwise you get a somewhat bland loaf.
- Cornmeal. This is for dusting on the baking pan, to keep the dough from sticking. Conversely, you can use a piece of baking parchment, which is what I've actually started using recently.
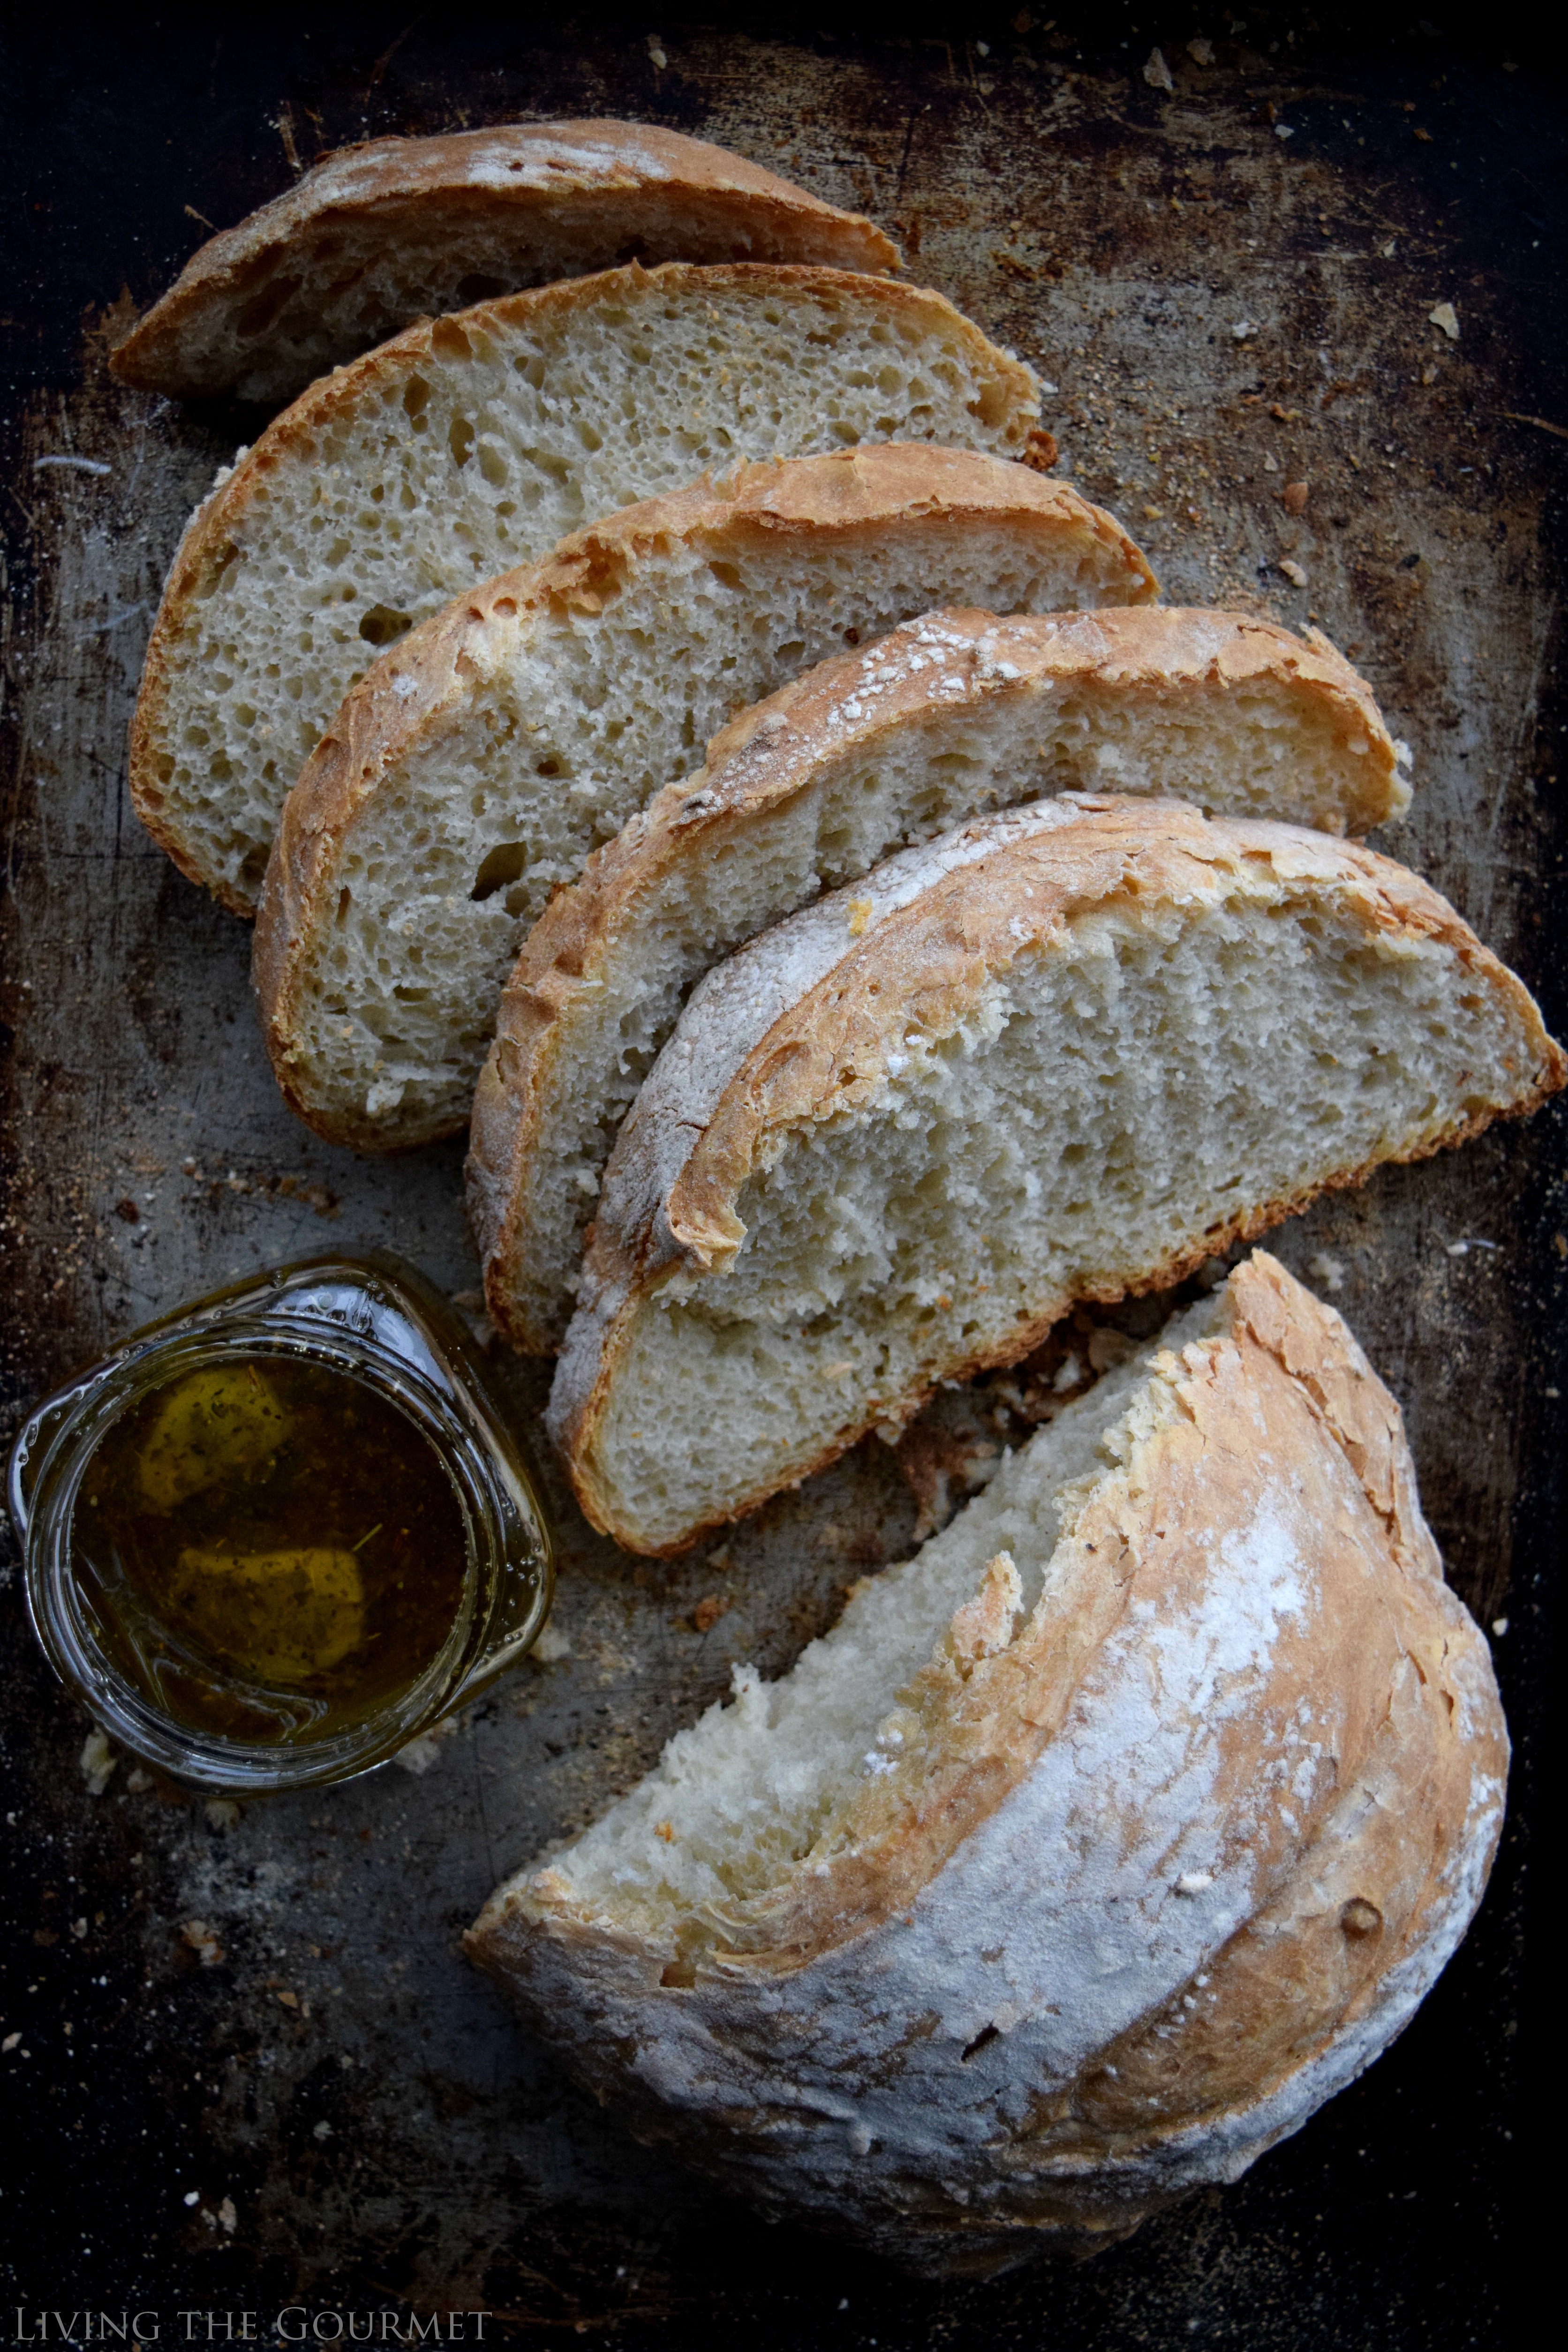
Tips for Handling Dough
- Become Intune with Your Dough. One of the things that's hardest to learn when making homemade dough is telling when it's 'just right.' You want a pliable, plump dough that isn't overly sticky to the touch. It should feel almost 'pleasant' to handle. Getting it 'just right' means knowing when to add more water or flour while working it. Sadly, trial and error is really the only way to truly get this down.
- Don't Overwork It. Handle the dough as little as possible. Excess handling means excess air. Excess air means a firmer, drier bread that fails to rise properly during baking. Do not over-knead 'or' under-knead the dough.
- Ease up on the flour. When rolling out the dough, it can be very tempting to go nuts flouring absolutely everything from the counter to your pin to your hands to the dough itself. Stop this. Yes, flouring the workspace a little helps the dough to keep from sticking and peeling, but use as little as possible to prevent adding excess flour to the dough - which will ultimately result in a drier bread.
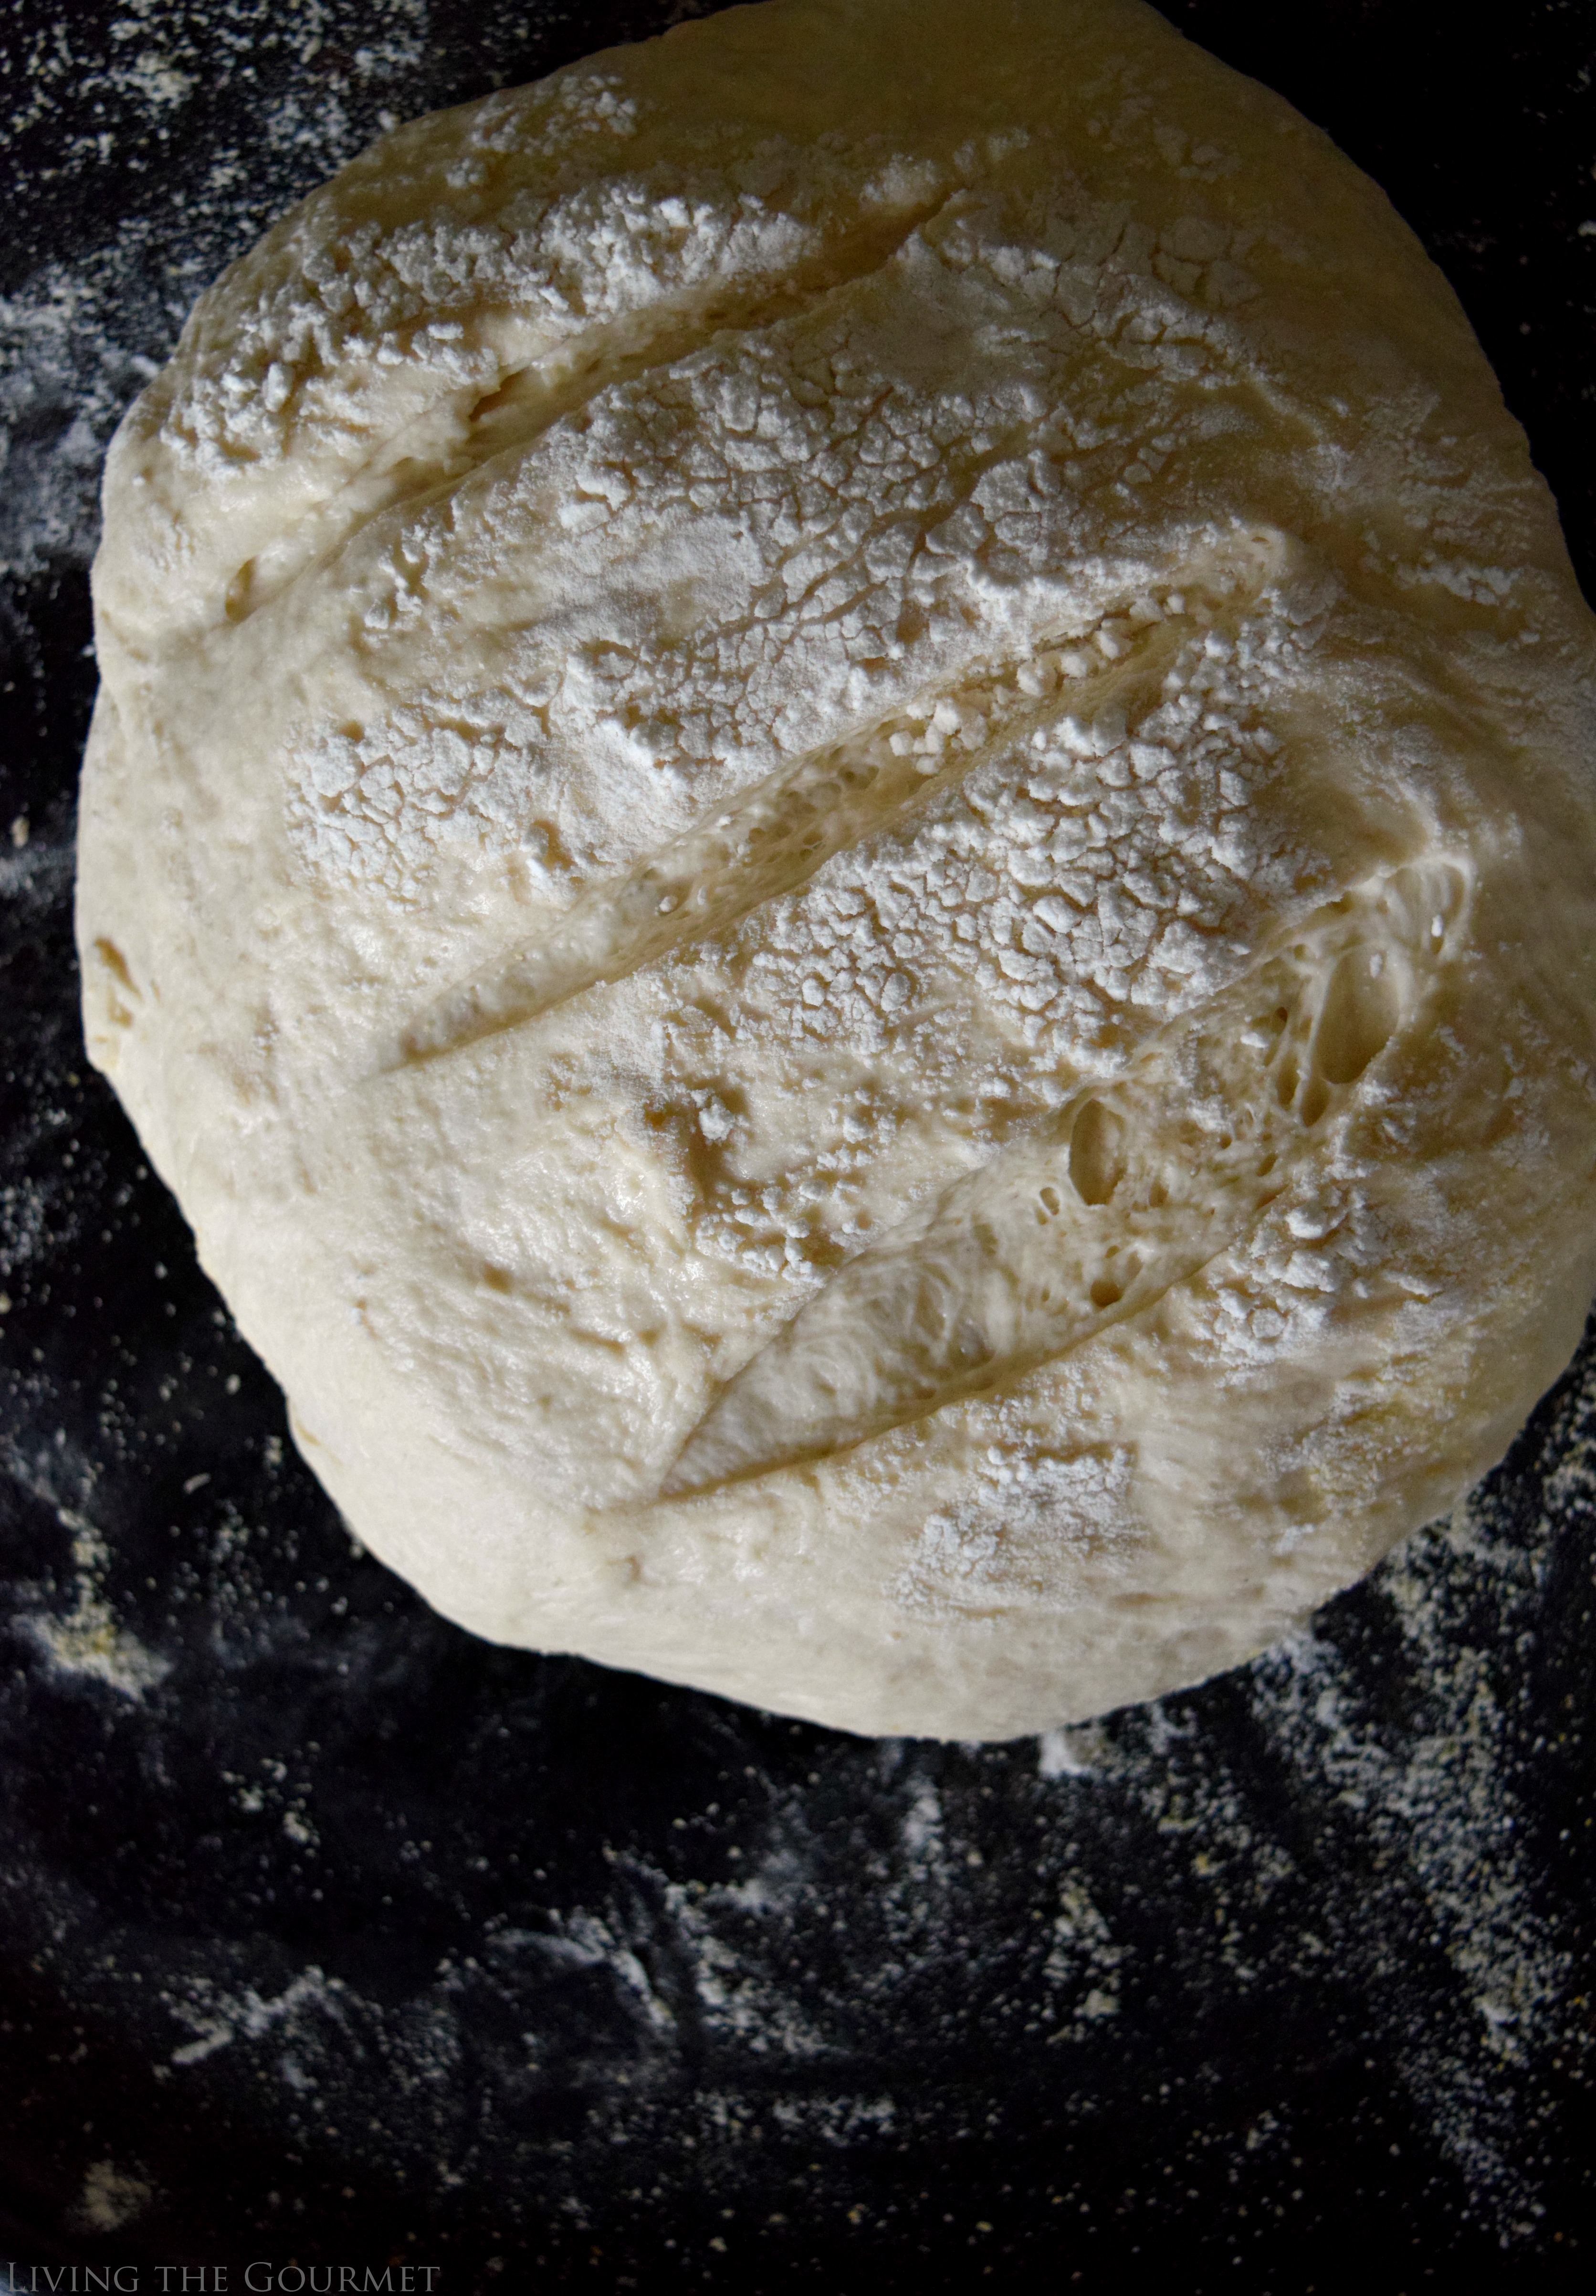
Storing Homemade Boule
I recommend storing your homemade boule loaf in a paper bag on the kitchen counter, away from heat or moisture. Stored like this, your boule loaf will keep for about three days. It can also be reheated. I do not recommend storing your boule bread in the refrigerator, as this deteriorates the starch.
Pairing Today's Boule Artisan Free-Form Loaf
- Gourmet Dipping Oil. My favorite dipping oil recipe ever, and it's actually very simple to put together. This oil is mix of extra virgin olive oil, roasted garlic, red pepper, paprika, and parmesan cheese. The end result is a pleasantly spicy, yet deliciously savory oil, that's simply wonderful on crusty bread like the one we've prepared here today.
- Homemade Salsa. This is a big one for me. Piling on some salsa, maybe with a bit of cheese, is one of my favorite ways to enjoy this bread. Grab my favorite Salsa Fresca, and for those who like it hot, check out my Serrano Salsa.
- Cilantro Chimichurri. Similar to the dipping oil linked above, a cilantro chimichurri would pair deliciously with this bread.
- As Dinner Bread. Paired alongside something like a Brown Sugar and Ginger Spiced Pork Roast, or a stuffed pork loin, today's artisan free-form boule loaf would be simply wonderful.
- Hardy Sandwiches. Something like a Chicken-Fried Pork Rib Sandwich, a Rustic Grilled Pepper Toastie., or a Patty Melt is the ideal way to enjoy today's bread.
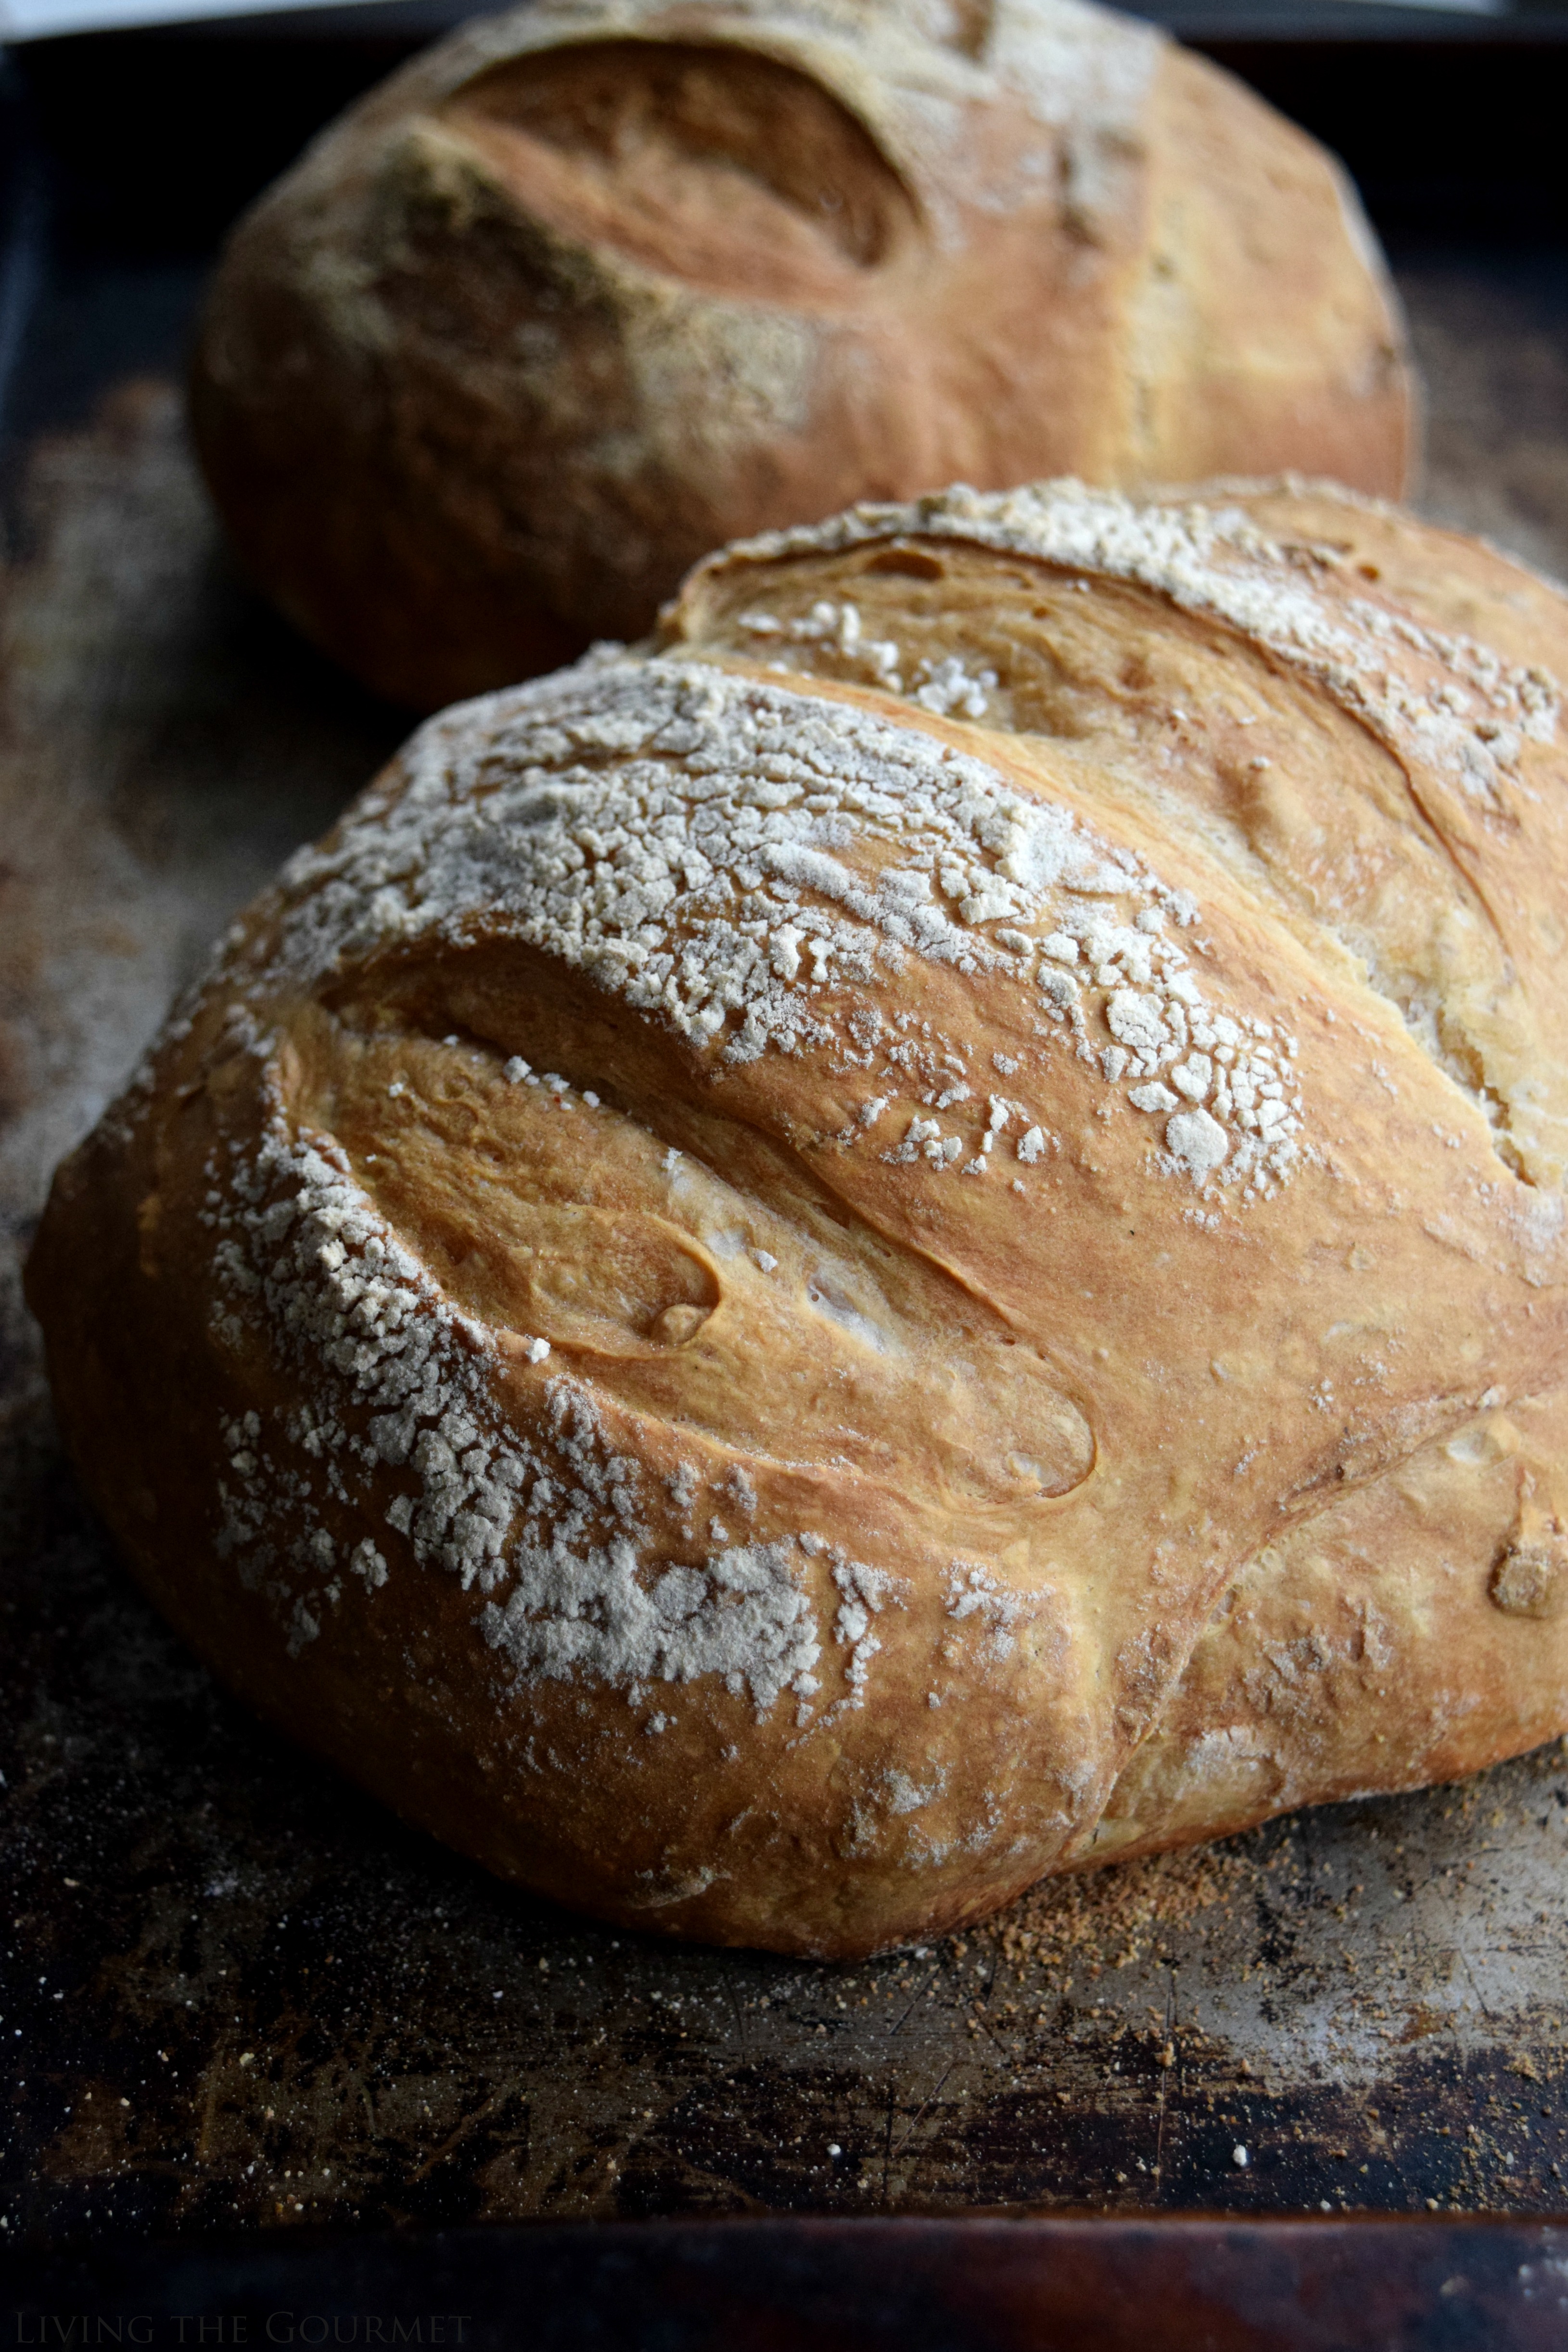
Boule (Artisan Free-Form Loaf)
- Total Time: 50 minutes
- Yield: 2 loaves 1x
Ingredients
For the Boule:
- 1 1/2 cups warm water
- 1 tablespoon active dry yeast
- 1 teaspoon sugar
- 3 cups all purpose flour, plus extra for dusting
- 2 teaspoons Kosher salt
- Cornmeal for dusting
For the Garlic & Herb Infused Dipping Oil
- 1/2 cup good quality olive oil
- 1 large clove of garlic, crushed
- 1/2 teaspoon dried oregano and basil blend
- 1/4 teaspoon red pepper flakes
- 1/4 teaspoon fresh cracked pepper
- 1 teaspoon Kosher salt
Instructions
For the Boule:
- In a tall plastic container fill 1½ cups warm water about 100 degrees F.
- Add yeast and sugar then stir and leave to proof for about 10 minutes.
- In the bowl of your stand mixed, whisk together flour and salt. Make a well in the center of the bowl and add your yeast mixture.
- With the dough hook attachment, blend the flour and yeast together until a soft sticky dough forms.
- Cover and place in a warm dark place. I pre-heated the oven to it's lowest temperature then turned it off. I covered my bowl and place the dough in the warm oven to rise for about 2 hours.
- Once the dough has risen, flour the surface and gently turn the dough over onto a well floured surface. DO NOT punch the dough down.
- Divide the dough with kitchen shears into two loaves.
- Quickly cloak and shape the dough without kneading it. To do so, be sure to sprinkle extra flour on top of your dough.
- Gently stretch the the surface of the dough to the bottom on all four sides. Note that some of the flour will fall off, but that's fine. This flour is to keep the dough from sticking to your hands, not to be incorporated.
- The loaves should be smooth on top but the bottom will be bunched from pull the dough over. This will flatten out during the resting and baking process.
- Lay the prepared loaves on a pizza peel or baking stone dusted with cornmeal.
- Leave the loaves to rest for 10-15 minutes.
- Preheat the oven to 450 degrees F.
- Before baking, gently slice the top of each loaf . Bake for 40 minutes or until golden.
- Remove the bread and let cool on a cooling rack.
For the Garlic & Herb Infused Dipping Oil:
- In small oven proof bowl or ramekin, combine all the ingredients for the dipping oil.
- In the last 5 minutes of the bread baking, place the oil in the oven.
- Once the oil is bubbling, remove and let cool.
- Serve alongside the fresh bread.
Notes
*Prep Time does not include Inactive Prep Time.
*Recipe adapted from The New Artisan Bread in Five Minutes a Day
- Prep Time: 10 minutes
- Cook Time: 40 minutes
Nutrition
- Serving Size: 1

Claire | Sprinkles and Sprouts says
The smell of bread in the oven has to be one of the most comforting smells in the world.
This bread looks beautiful! Such gorgeous photos.
I can't wait to try it!
Dottie Sauchelli-Balin says
Dear Tammy,
Oh I do love warm homemade bread! It is so comforting. This post is fabulous..you really have made the perfect bread and it looks so delicious, my mouth is watering thinking of this one. I love the fact that this artisan free form bread does not take all day to made. This one I printed out. Have to try this for sure. Have made bread before but this one is awesome! Thank you for sharing...have a great rest of the week...
Hugs Dottie 🙂
Trish says
YUM! Still haven't tried making my own bread, but this makes it sound so easy! I bet the smell is wonderful. 🙂
speedy70 says
Complimenti, fantastica questa pagnotta!!!!
Big Daddy Dave says
Tammy, Beautiful Boule! It's just about my favorite all-around loaf of bread... Once in a while, we will buy a loaf from a local bakery...but I like bread too much to keep a loaf around the house. I can fantasize though... Take Care, Big Daddy Dave
Jen | Baked by an Introvert says
Wow, this bread looks amazing! I love a good homemade artisan bread!
Danae @ Recipe Runner says
I've always been intimidated to make artisan bread, but you've made this one look so easy. I'll definitely have to give it a try!
Shashi @ RunninSrilankan says
Dear Catherine, your boule looks simply gorgeous! I am not surprised your guests helped finish the whole loaf! Artisan Bread sounds like such an interesting book - thanks so much for sharing this recipe with us.
Happy Monday!
XO
Liz says
What a perfect loaf! Perfect for my morning carb fix 🙂
Lisa says
Was wondering if you could help...made this recipe many, many times. It's SO delicious! However, I can't get it to look nice. It often bulges out on one side and cracks all along the lower sides. Any advice would be welcomed. Thank you.
Rachel @ Baked by Rachel says
Love homemade bread. Wish I could try some right now!