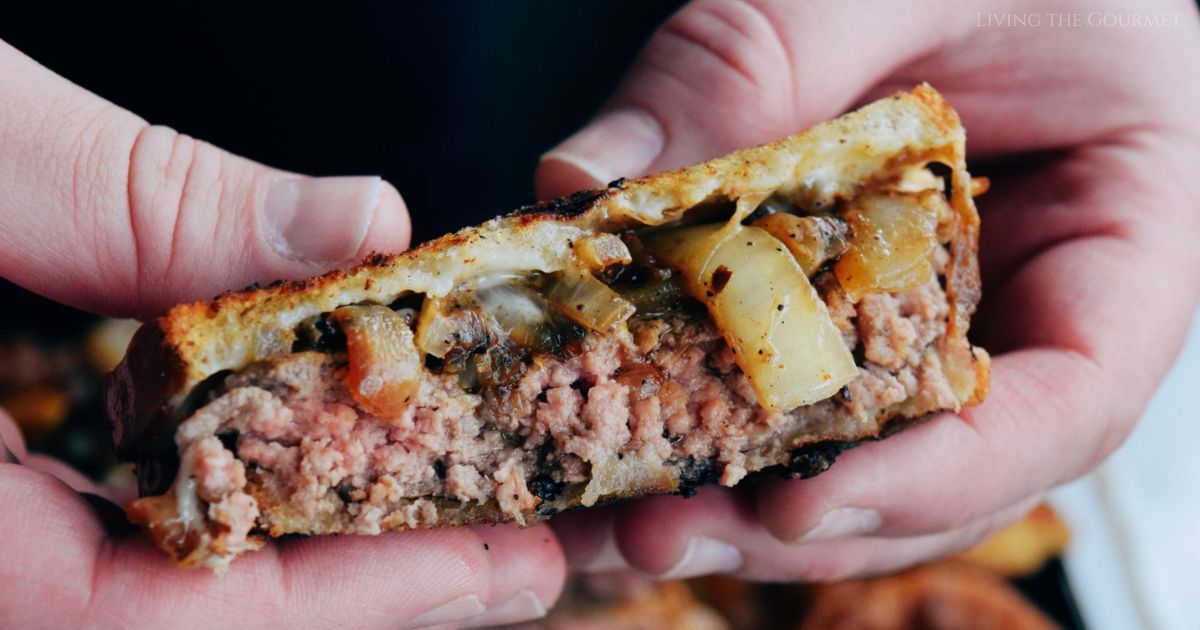
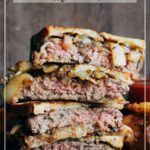
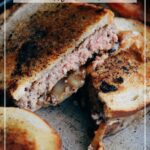
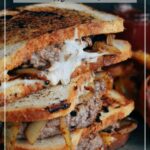
Buttery, crisp, oozing with cheese and lots of flavor, these Patty Melts will soon be your new favorite way to enjoy a burger.
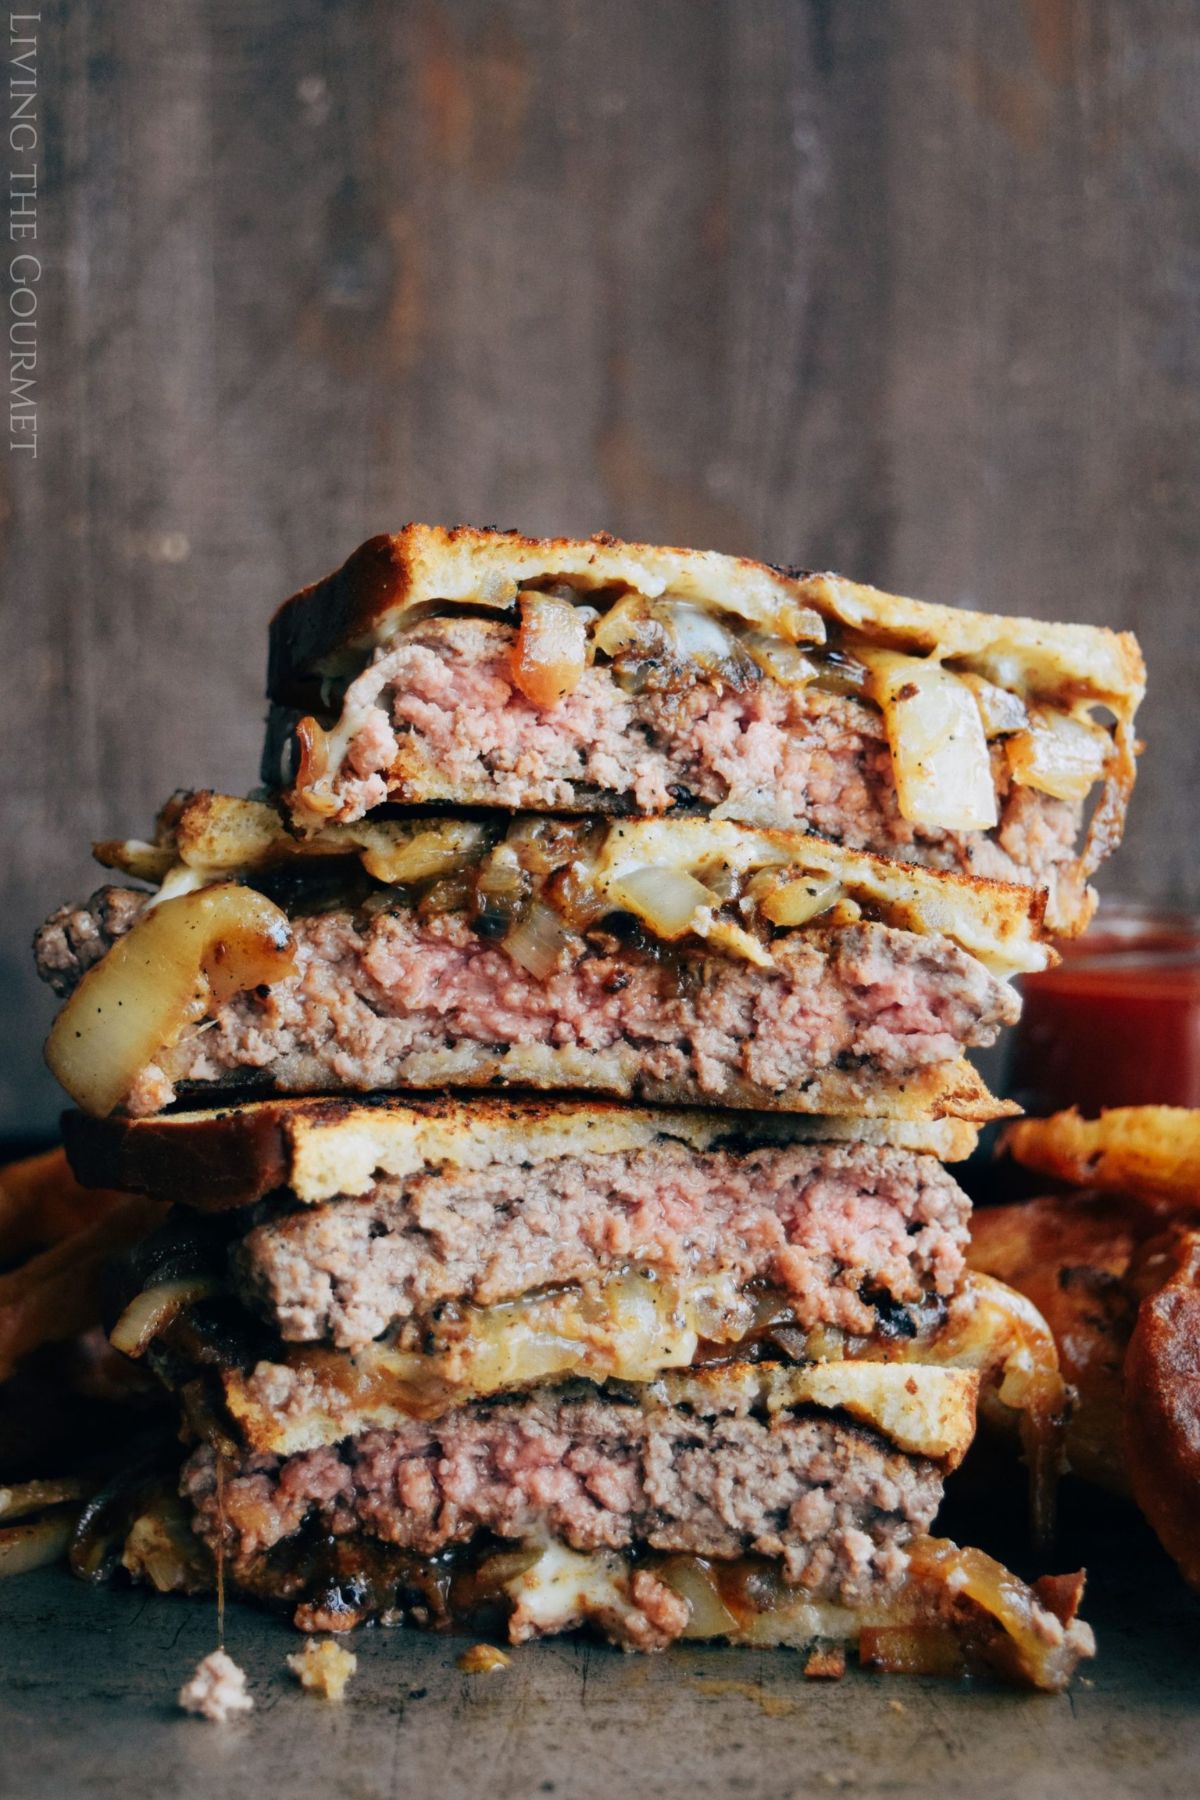
I was introduced to a version of today's recipe many years ago while I was working at a local diner here on Long Island. Dubbed 'Patty Melt,' the place served a 'smashed burger' on rye with a thick slab of cheese and an overly generous pile of grilled onions. Positively dripping with fat and grease, with cheese and onions oozing out the sides, the 'patty melt' was precisely the kind of 'caution to the wind' carnivorous indulgence that you would expect to find in a 'burger-and-beer' joint owned by a guy nicknamed 'Tank.'
I trimmed down the original recipe for current sensibilities, while adding in some much needed 'elegance' to appeal to our modern palates. Super simple to prepare, satisfying, and just a touch decadent, today's recipe is perfect for busy nights and weekend delights alike.
Ingredient Notes and Tips
With today's recipe being blissfully simple, there's not a lot for me to say here, but I would like to point out why I'm using powdered garlic over fresh, as well as give you a few notes on balsamic glazes, and how it fits into today's sandwich.
- Garlic Powder Rather Than Fresh. Powdered and fresh garlic share most of the same desirable attributes, but there are a few key differences that make them shine under different circumstances. First and foremost, powdered garlic tends to milder in terms of acidity, and lacks the 'garlic juice' that gives fresh garlic its signature 'bite.' However, powdered garlic also tends to have an earthiness to it that is simply absent in fresh garlic. Conversely, fresh garlic packs a powerful kick. Fresh garlic also has an 'herbal bitter-sweetness' to it when cooked, which is absent in powdered garlic, in favor of more 'pleasant earthy notes.' Since I don't want to give today's burgers too much of a kick, and since I instead want some 'earthy herbalness' to compliment the meat, we're opting for powdered instead.
- Balsamic Glaze - What is it? Do I need it? Essentially, a balsamic glaze is a syrup-like 'reduction' of Balsamic Vinegar. At its most basic, a balsamic glaze is simply balsamic vinegar that's been reduced to a syrup over heat, which has the effect of not only thickening the balsamic vinegar, but also of cutting down its acidity dramatically, allowing you to add 'balsamic flavor' to your recipes but without having to account for the vinegar's acidity. Sugar is often added to further thicken the reduction, and to cut down the acidity entirely, leaving just the 'balsamic flavor' but with the addition of 'syrupy sweetness.' Various herbs are also sometimes added in, but are typically strained out of the reduction. Personally, I'm using a store-bought glaze, but making your own at home couldn't be easier. For today's recipe, the balsamic glaze brings just a touch of acidic sweetness that melds beautifully with the meaty juiciness of the patty itself.
Selecting Quality Chop Meat - A Primer
Whether you're making burgers or patty melts, meatballs or meatloaf, making sauce or stuffing taco shells, the quality and flavor of the chop meat you're using will have an enormous impact on the final product.
To that point, here are a few tips on selecting the most flavorful chop meat possible, with an eye towards quality.
- Fat Is Flavor. This may come as a shock, but muscle tissue has 'almost zero' in the way of flavor-giving compounds. Instead, virtually everything we humans perceive as 'flavorful' in meat, be it fish, pork, beef, or poultry, comes directly from 'fat.' As a result, the more 'fat' a piece of meat has, the more 'flavor' we perceive. Muscle tissue also cooks up dry, and is naturally tough. By contrast, fat is soft and reduces to a thick 'grease' during cooking, and so the more 'fat' a piece of meat cooks in, or has laced through it as 'marbling,' the more tender and moist that piece of meat will be. Yes, I know I'm offending someone somewhere with this, but I'm just giving you the truth.
- Thus, it should come as no surprise that despite ground sirloin being the most expensive chop meat out there, it is also the leanest, driest, and 'least' flavorful, containing somewhere in the vicinity of 8-14% fat by volume. Ground round is in the same boat, but typically contains somewhere between 10-13% fat. Both of these types of chop-meat are often labeled 'Extra-Lean Ground Beef.' Ground chuck is widely considered the 'best' ground beef for burgers, meatballs, and meat sauces, and contains somewhere in the realm of 20% fat by volume.
- However, so-called 'Regular' ground beef, which can contain in excess of 30% fat is sometimes 'filled' or 'laced' into ground chuck simply to give the chop meat even more flavor. The reason 'Regular' ground beef is rarely used on its own is because so much of it 'melts away' during cooking, that it actually becomes a hassle to use. There's also the matter of 'price bias.' Since 'Regular' ground beef is far and away the cheapest, it's also assumed to be the lowest quality. The opposite is true of ground sirloin.
- Color - Your Only Guiding Light. In truth, the only 'guidance' that can be offered when buying pre-ground beef is to look at the coloring. Grey or brown ground beef has begun decaying. Instead, you want the meat to be a bright pink color, and to be 'moist' looking. Also, take note of the cling wrap, which should appear pristine and free of 'droplets.'
- Never Buy In Bulk. Never, ever buy those massive opaque containers of 'Ground Beef' that have been popping up in the refrigerator aisles of your local grocery-carrying big-box stores. There is a reason those tubs are derided in culinary circles as 'chub rolls.' While I'm all for affordable food, those bulk containers of ground beef should be avoided like the plague.
What to Pair with Today's Melts
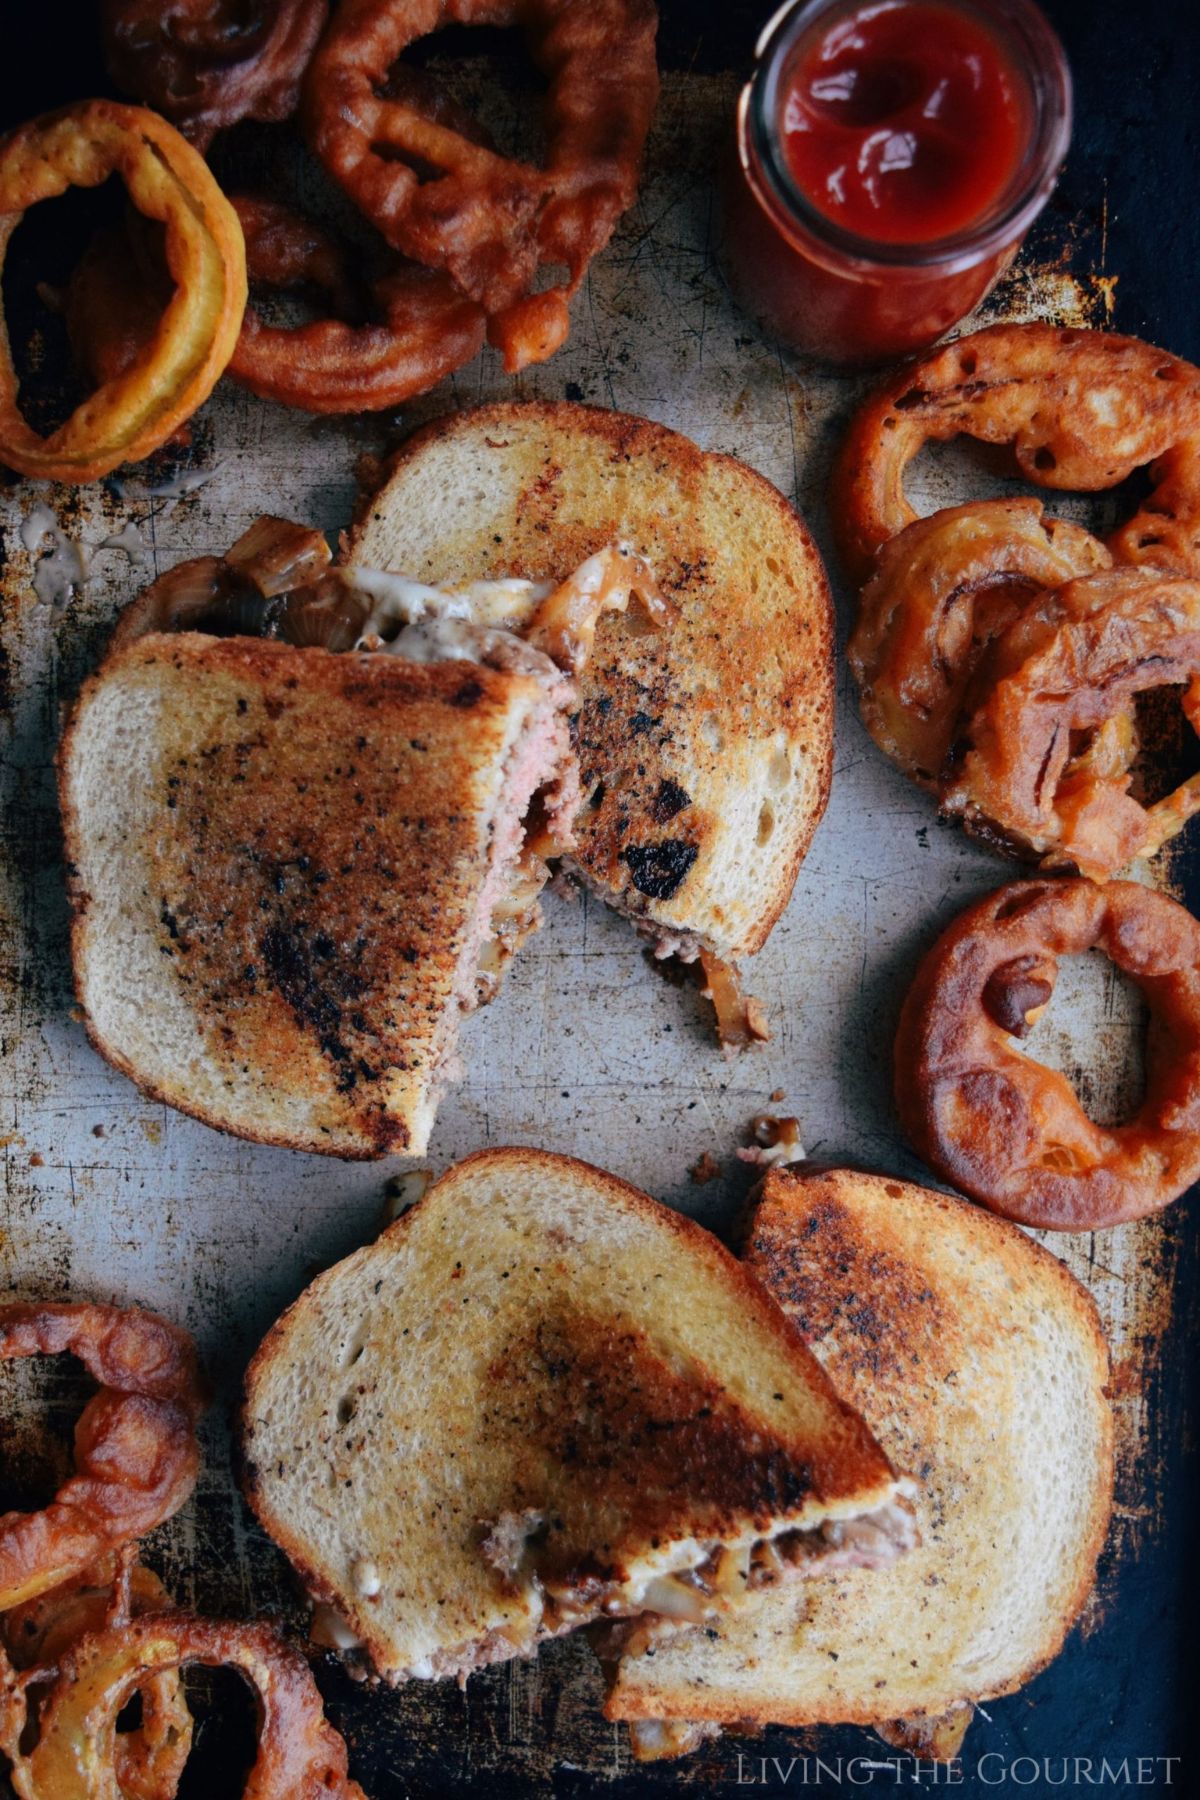
- Onion Rings. Obviously, one of the best sides to today's melts is a batch of crispy, hardy homemade onion rings. I prepare mine with just a hint of spice, and a thick, dense batter that crisps up beautifully during frying. You can grab my recipe here.
- A Cold Drink. The classic combo of burger, onion rings, and a tall beer works just fine here. However, if you want to flavor things up a bit and play 'bartender' to yourself or your guests, our friends over at DrinkWorks have got you covered. Think of it as the "Keurig of Home Bars," simply pop a pod into the machine, and out comes a delicious, chilled 'adult beverage' (no ice required) that tastes like it was mixed by a master mixologist. With dozens upon dozens of drink pod flavors to choose from, including Margarita, Cosmopolitan, Mojito, Moscow Mule, Whiskey Sour, White Russian, and Old Fashioned, among many others, there's something for everyone.
- Coleslaw. A burger (or patty melt), paired with a crisp, flavorful coleslaw is one of my favorite things in the world. My preferred recipe for coleslaw combines the obligatory mayo-coating with a citrusy dressing, and I slice in jalapenos with the cabbage to create a sweet-and-spicy salad, with just a hint of crisp citrus.
Patty Melts
- Total Time: 25 minutes
- Yield: 4 1x
Ingredients
- 1 1/2 lbs. of ground beef
- Slices of rye bread
- Slices of American cheese or Swiss cheese
- Pats of butter
For the Caramelized Onions:
- 2 yellow onions - sliced thin
- 1 tsp. salt
- 1 tsp. paprika
- 1 tsp. ground coriander
- 1/2 tsp. black pepper
- 1 tsp. sugar
- 1/2 tsp. cayenne
- 1 tsp. garlic powder
- Balsamic vinegar glaze - a drizzle
- 2 tbs. olive oil
Instructions
- Heat a large cast iron frying pan.
- Add the sliced onions and all of the seasonings.
- Let the onions become golden then toss.
- Add the olive oil and toss. Allow the onions to soften and become translucent.
- Add a drizzle of the balsamic glaze and toss.
- Remove from the pan and set aside.
- Form the ground beef into ¼ inch thick patties that are approximately the size of your hand.
- Heat a large cast iron frying pan and place the formed patties into the heated pan. Do Not Overcrowd the pan. Approximately 3 patties per cooking.
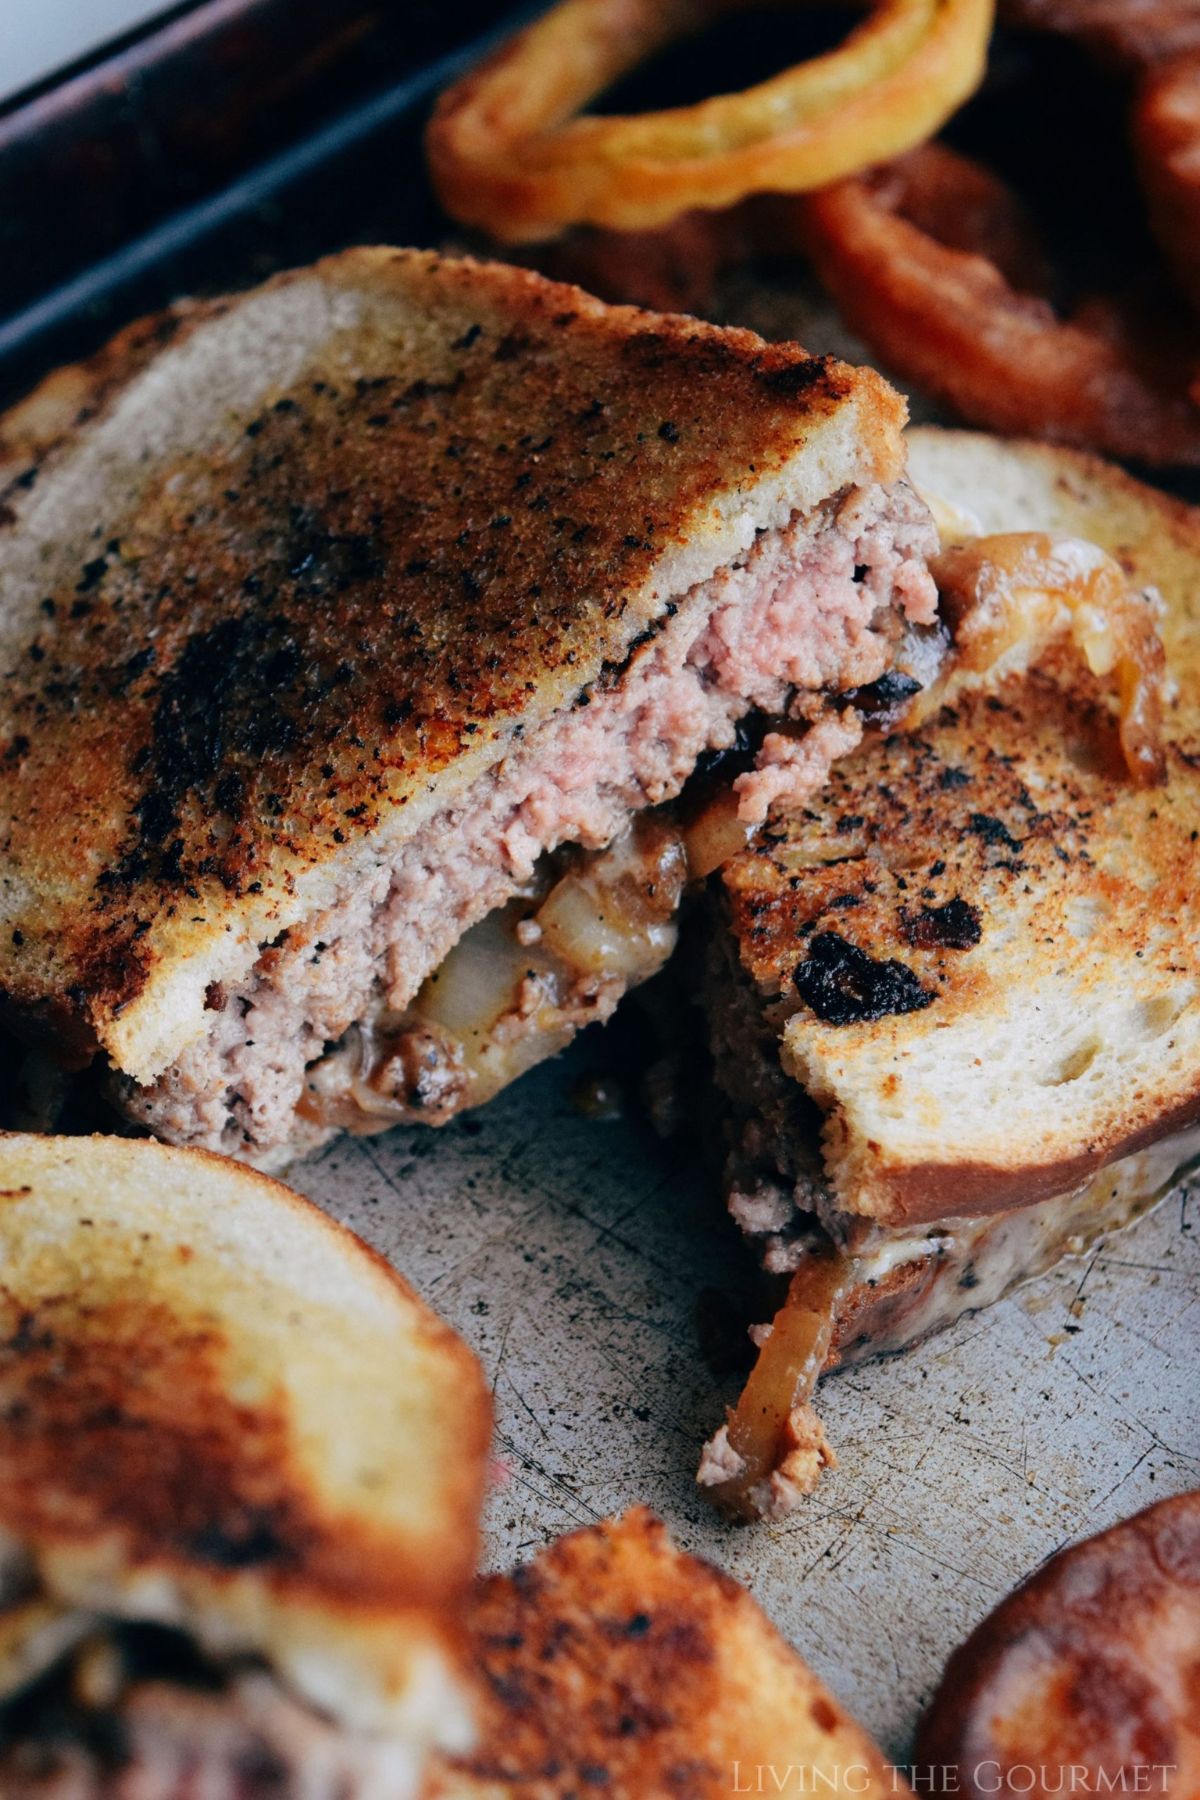
- Allow the patties to get a beautiful char on one side; flip and continue cooking on the other side; about 2 minutes per side to remain pink on the inside, or to your desired doneness.
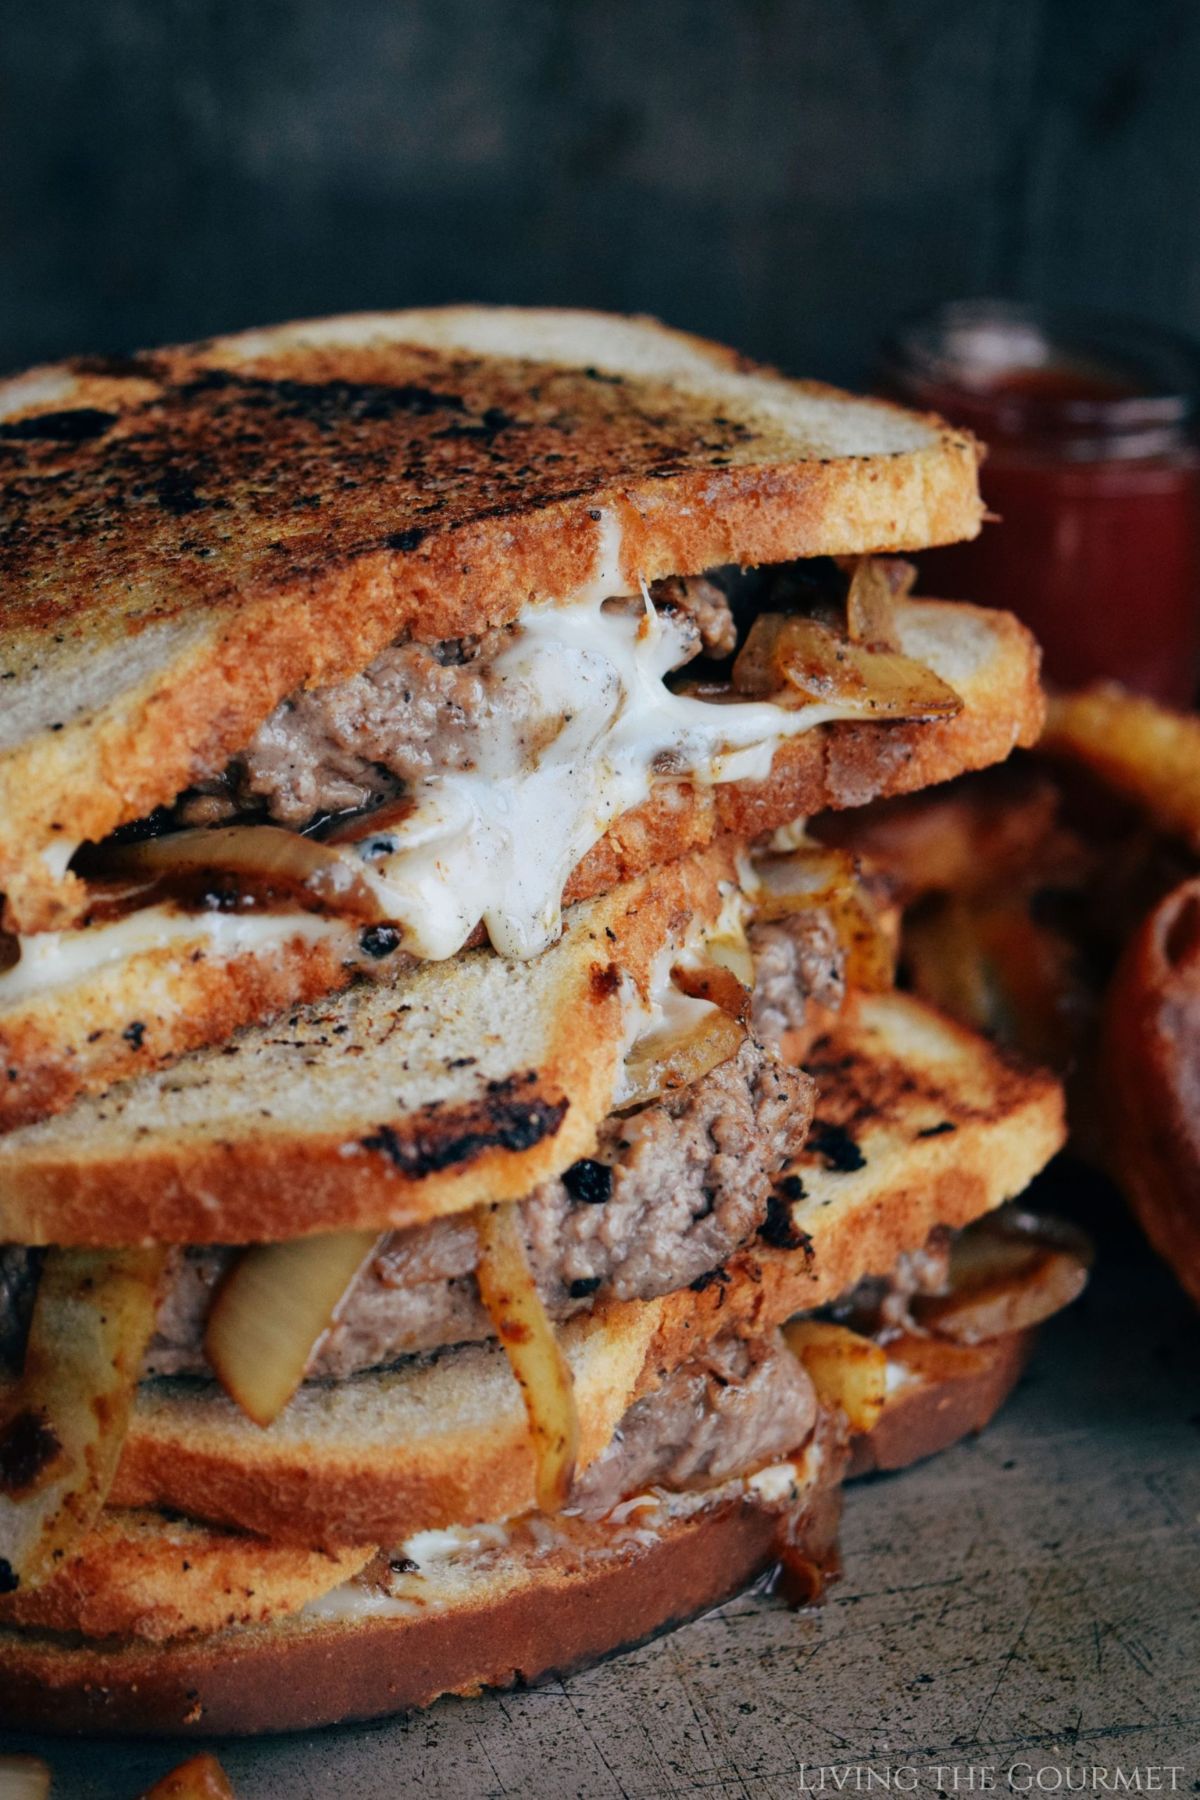
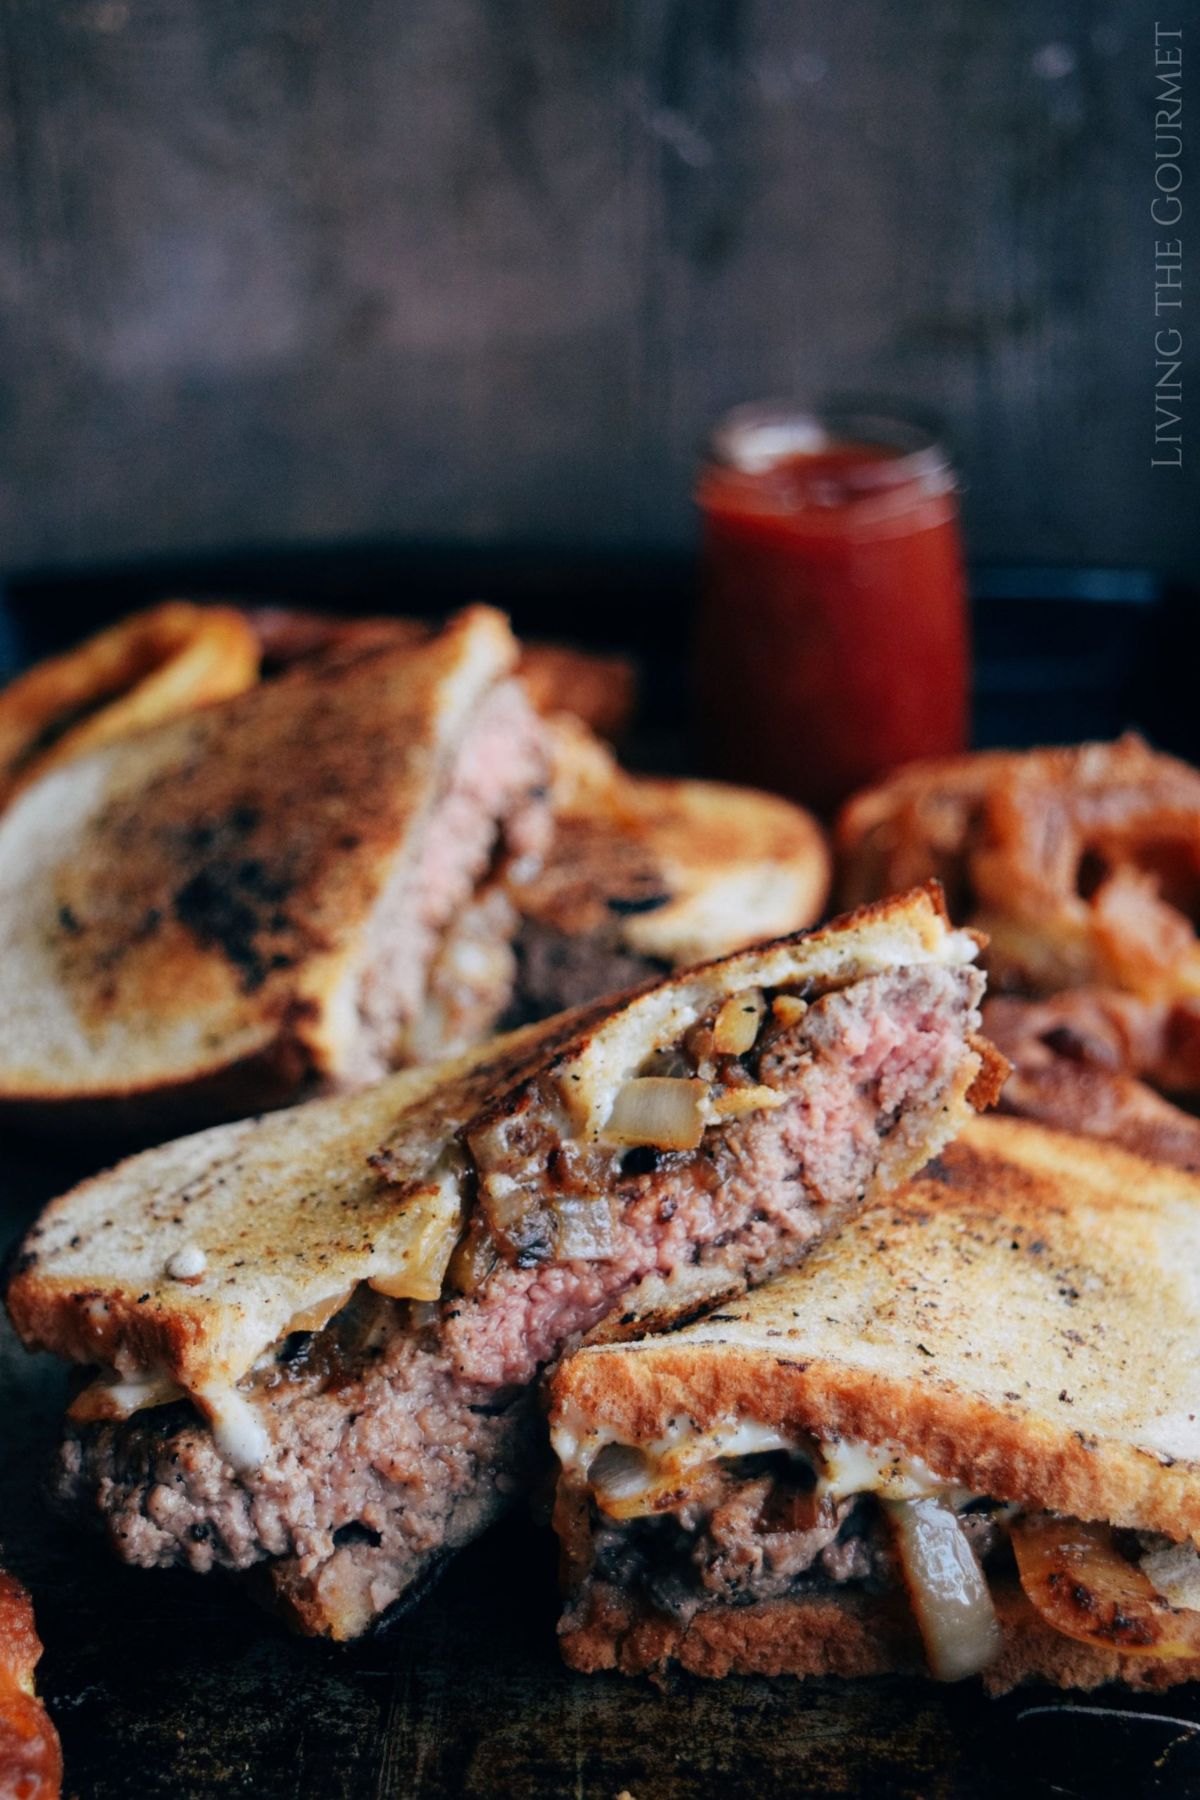
- Prepare the rye bread slices with a piece of cheese on one side of the bread, top with the cooked patty followed by the caramelized onions and top with another slice of rye bread.
- Place two or three pats of butter on one side of the bread and place back in the cast iron pan and let one side of the bread get a nice golden, then place some more pats of butter on the top side of the patty and flip using a spatula and let the other side get golden.
- Remove from the pan and serve with your favorite fun sides.
- Prep Time: 10 minutes
- Cook Time: 15 minutes
Nutrition
- Serving Size: 1
Did you make this recipe?
If you enjoyed today's recipe, or have any questions or suggestions, be sure to let us know in the comments below. We always love hearing from you. Happy Cooking!
Lindsey says
I am definitely a fan of patty melts and those caramelized onions sound to die for!
Jo says
Love hoe delicious those patty melts looks. It's so tempting to look at those photos. I need to definitely try this.
Alena says
This is such a packed patty melt! I LOVE that you added caramelized onions - such a burst of delicious flavor.
Jagruti's Cooking Odyssey says
oh wow! I've never eaten a patty melt before but I am clearly missing out! Loving the crispy onions and cheese - they sound such a delicious addition!
Ramona says
Oh my goodness this sandwich looks so mouthwatering and a real meat feast. I really fancy this now and might not even be able to go to sleep without having this now. I will be dreaming about it for sure and next week will need to make this dream become reality! Oh, so yummy! Lovely pictures too.