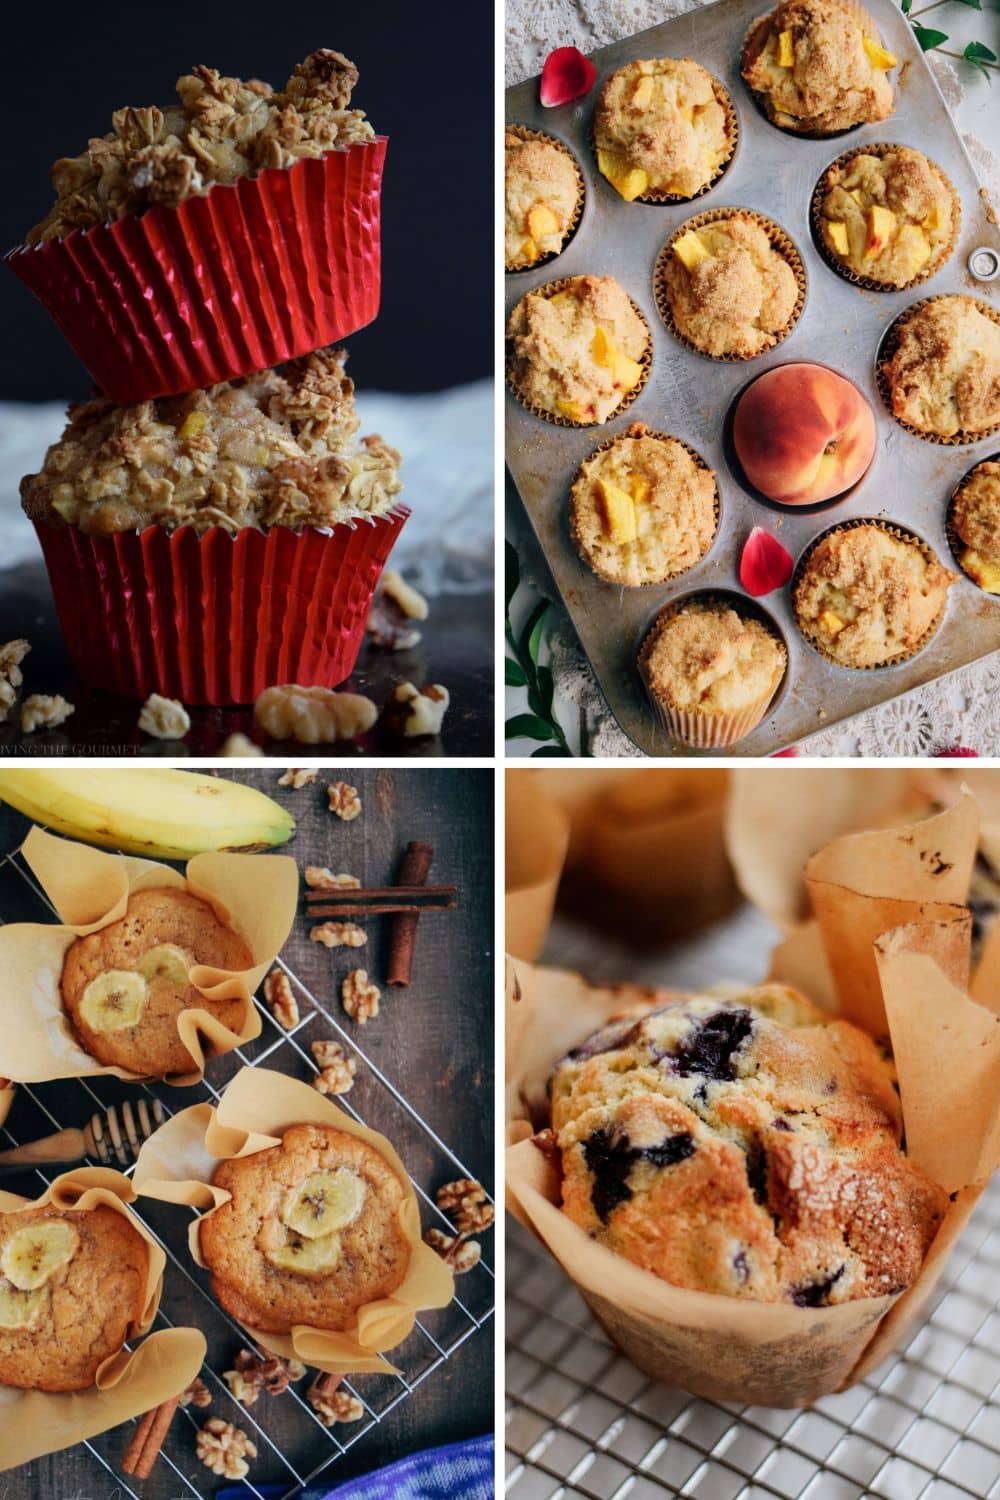
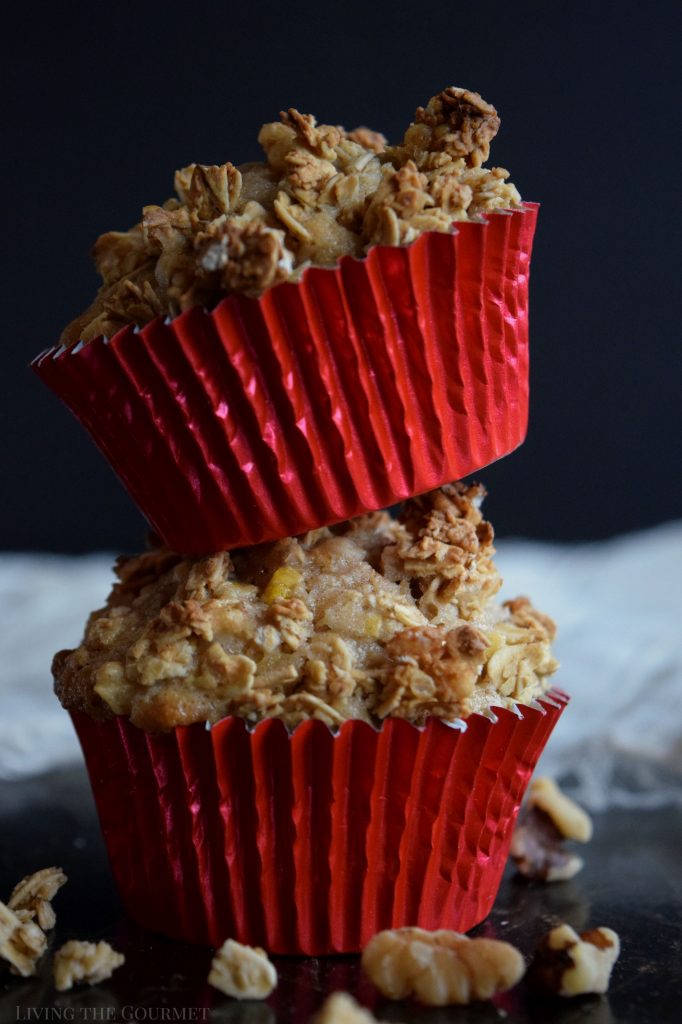
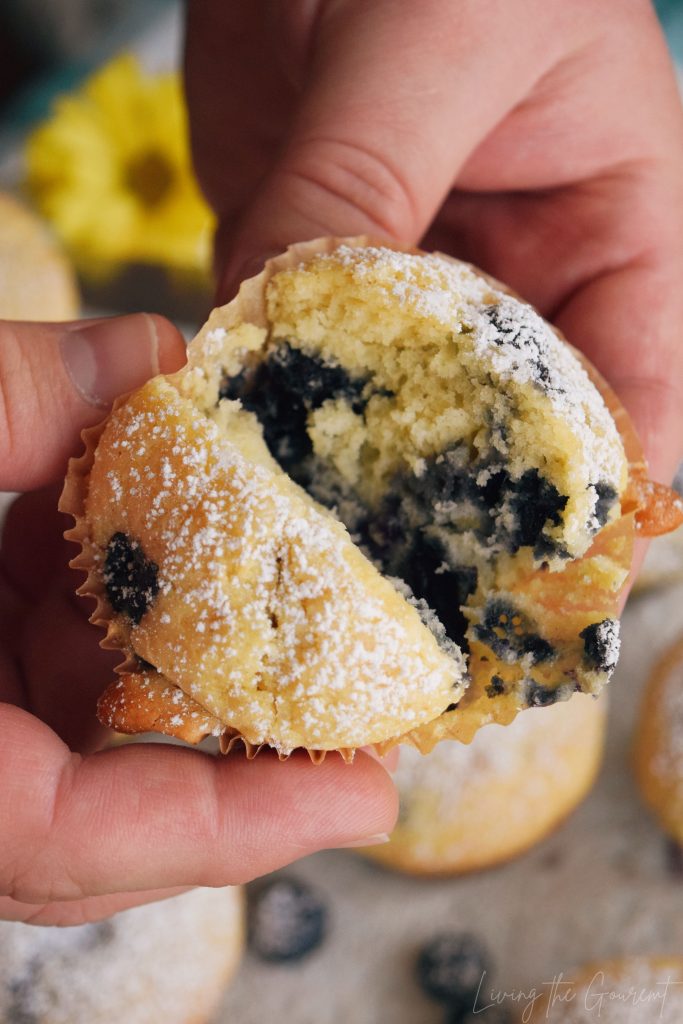
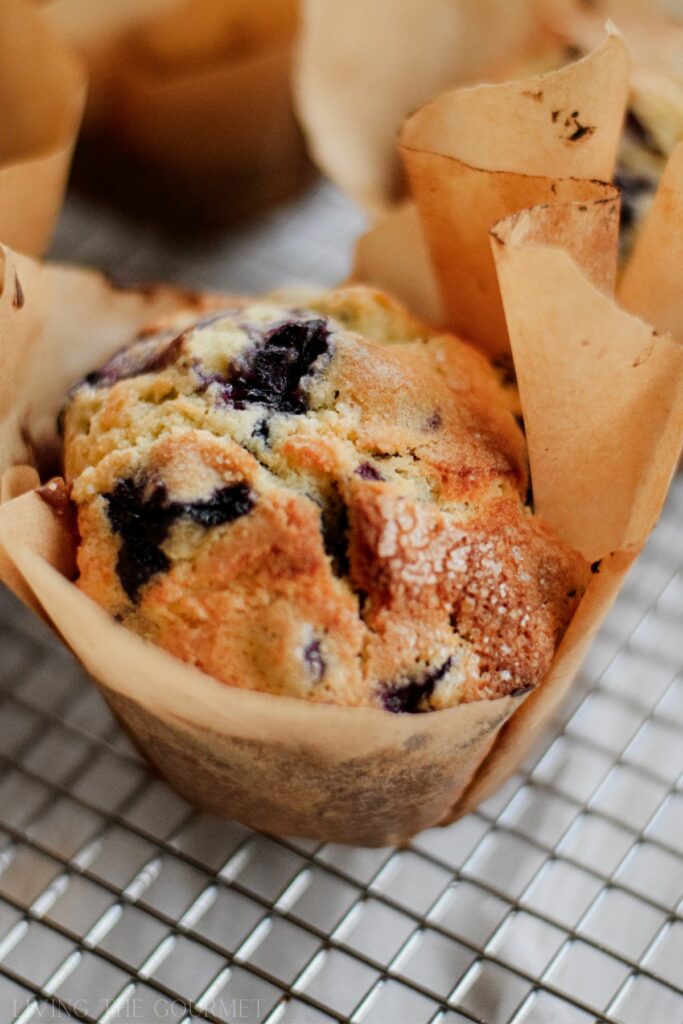
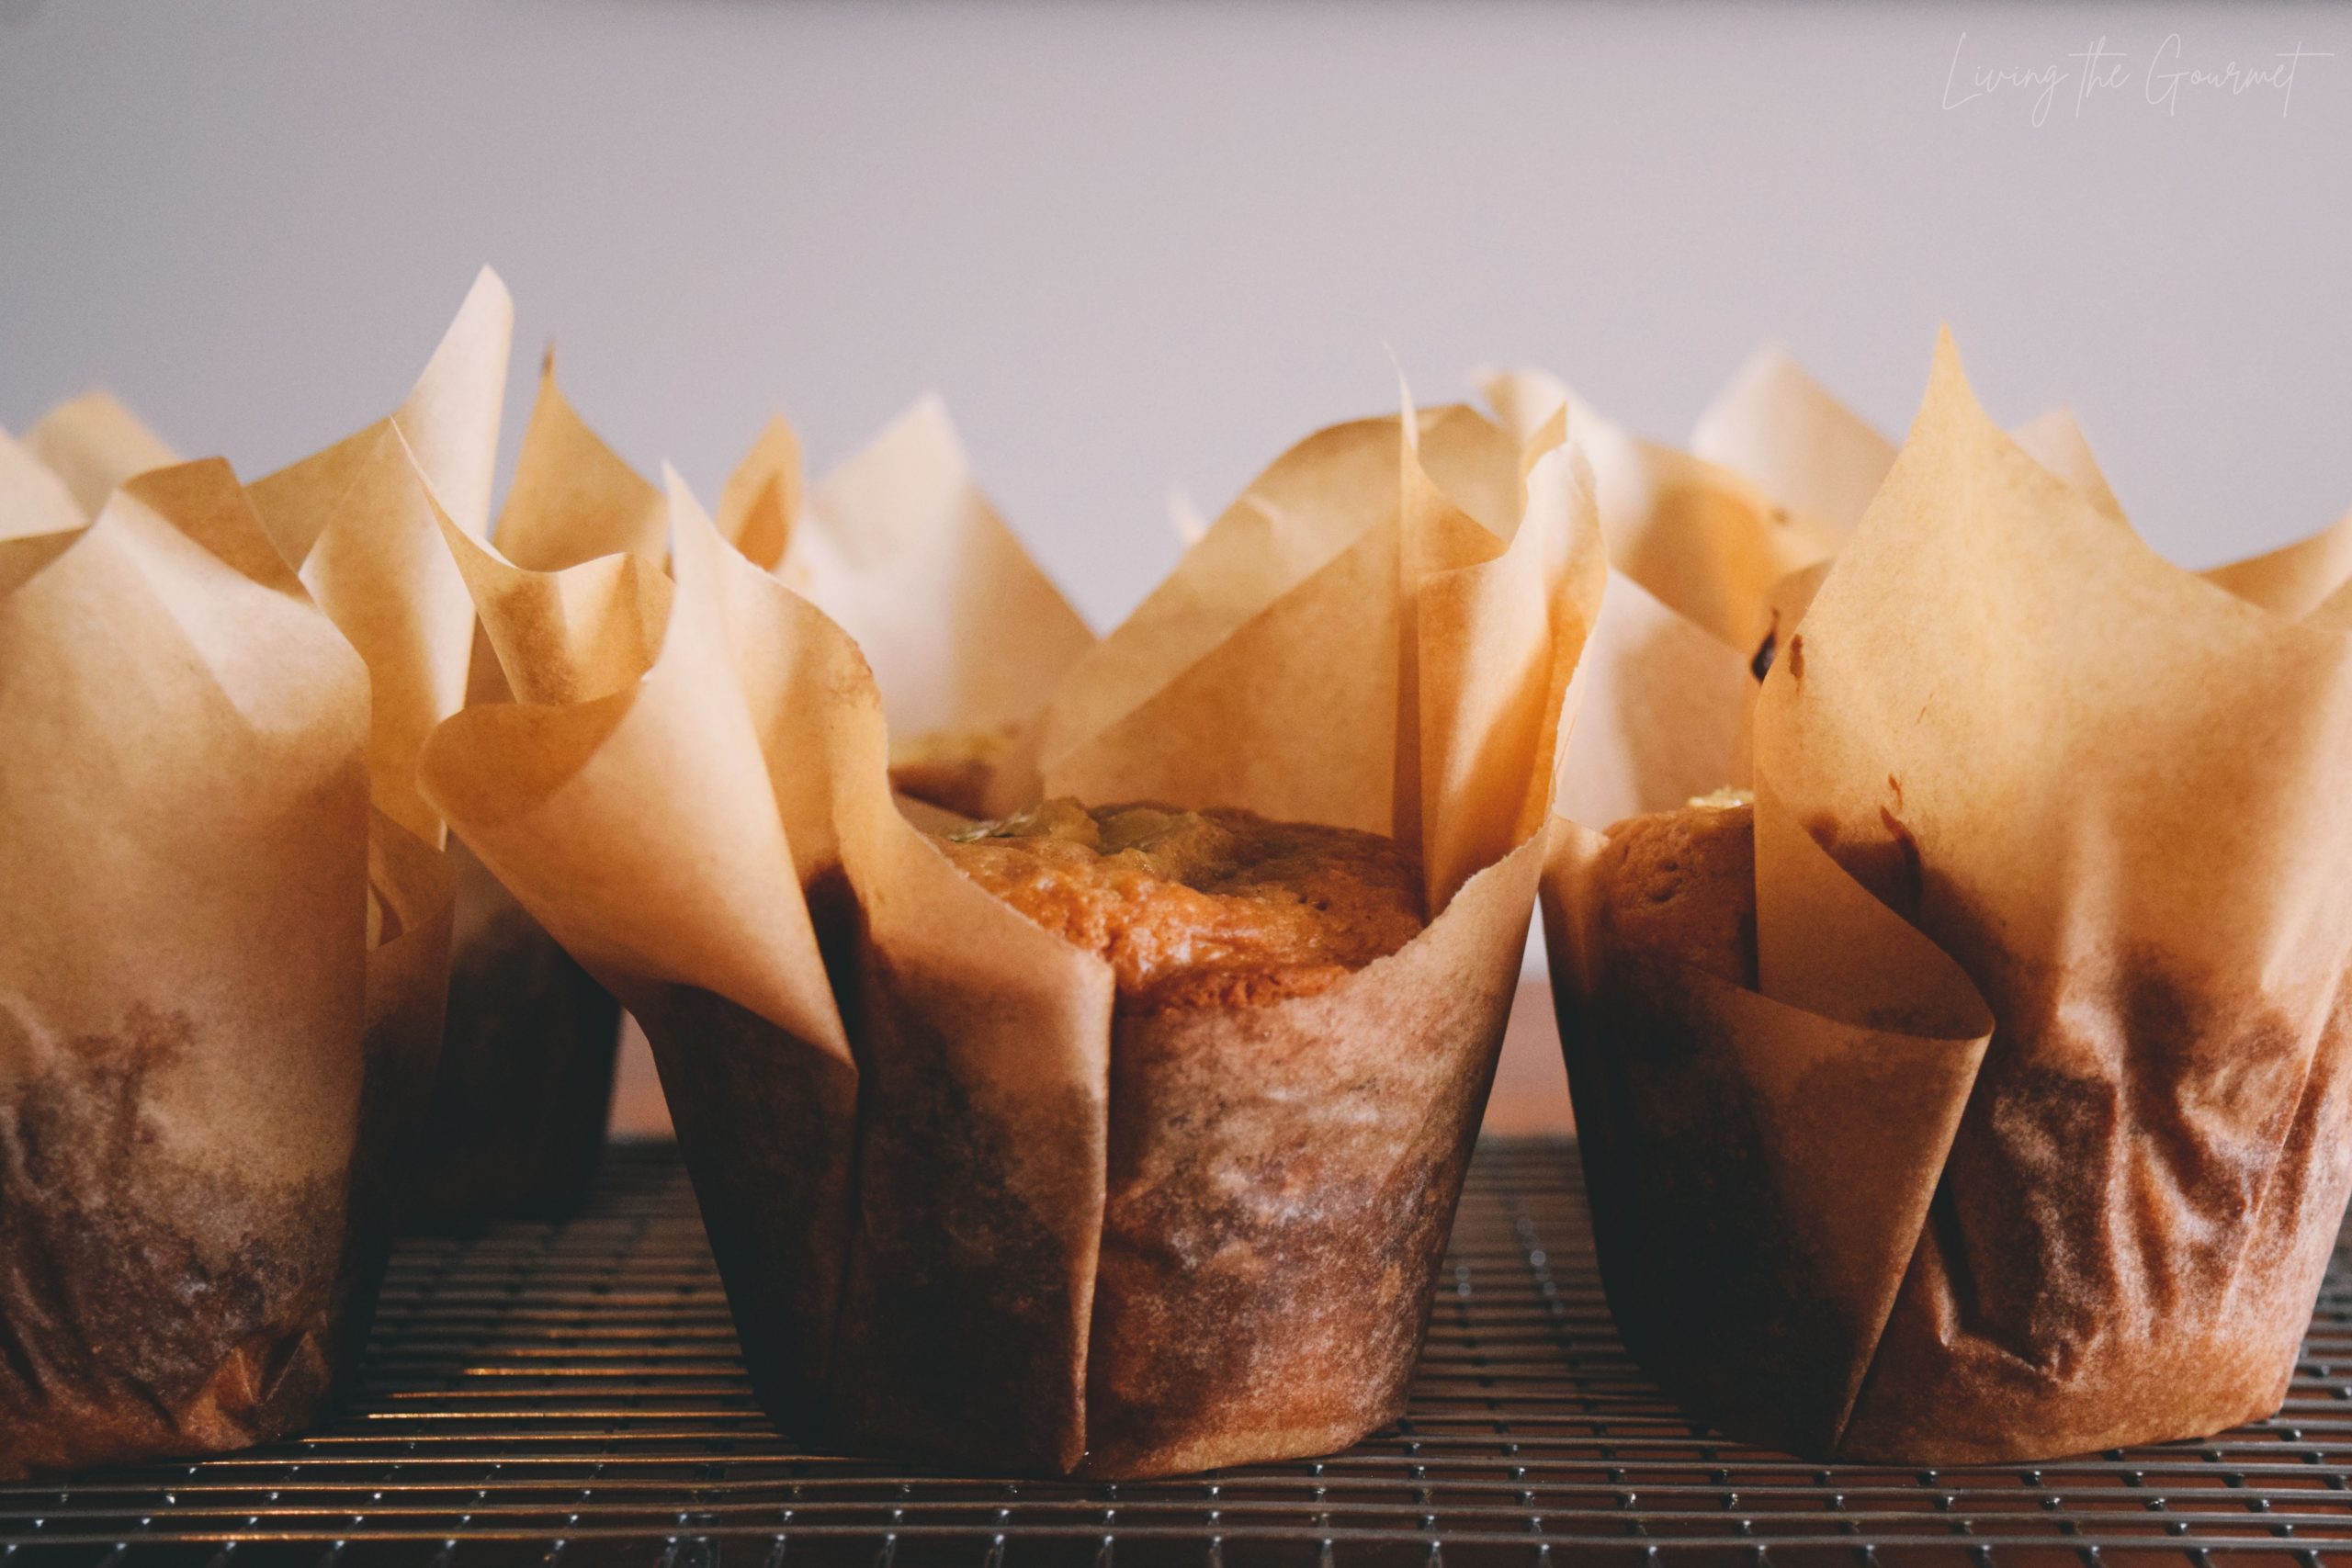
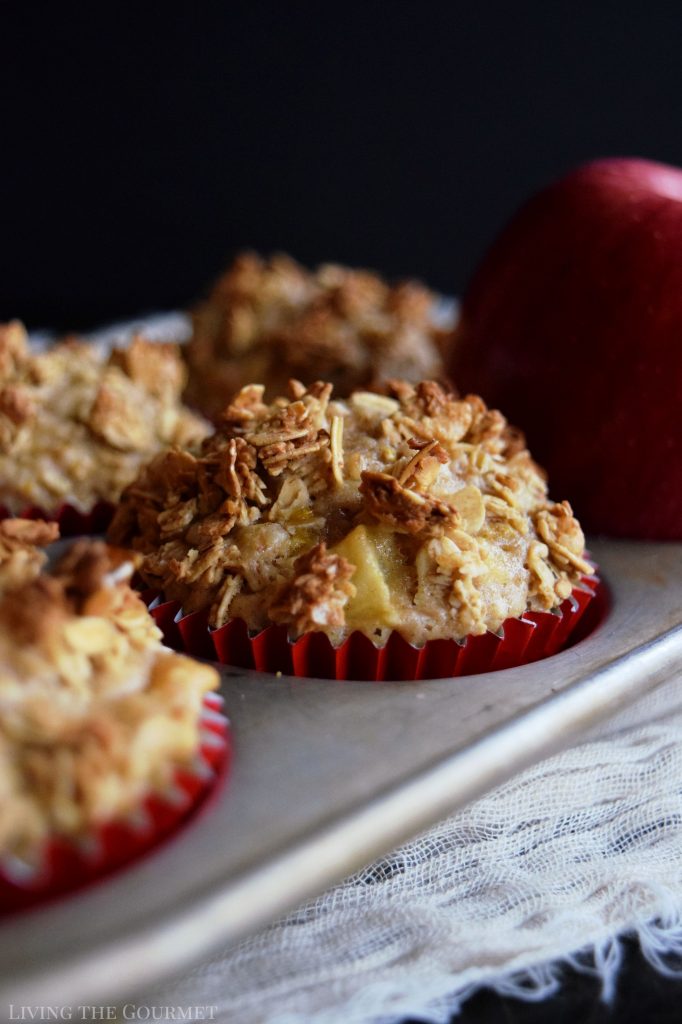
The gloriously domed top of a blueberry muffin - crispy-edged, golden-brown, and rising proudly above the muffin tin - is a sure sign of a quality muffin. It's also - at least to my palate - the most delicious part of a muffin. Yet, it is so easy to get the muffin top wrong, and if the muffin top is wrong, the whole thing is wrong. Far too often, when a home baker attempts to make a tray of muffins, the muffin top ends up flat and sad and barely peeking over the edge of the tin.
What is perhaps most frustrating about sad muffin tops is that you can use all of the right ingredients, in all of the proper ratios, and still get the top of the muffin wrong. The reason for this is that the key to a good muffin top is technique-based. Combining the right ingredients in the right ratios is only one-half of the battle in achieving sky-high muffin-top.
The difference between flat, sad muffin tops that disappoint rather than entice, and bakery-worthy beauties comes down to manipulating temperature, understanding batter chemistry, and avoiding a few all-too-common mistakes that sabotage the rise before your muffins even enter the oven.
So what's the key to domed muffin tops? Read on for the quick answer below, followed by our in-depth guide.
Quick Answer: Bakery-Style Muffin Tops
To achieve tall, domed muffin tops, start your muffins at high heat (425°F) for the first 5-7 minutes to create a rapid rise, then reduce the heat to 375°F to finish baking. Fill the muffin cups completely to the rim, use room temperature ingredients, don't overmix the batter (stir only until the ingredients are combined with lumps remaining), and resist opening the oven door during the critical first 10 minutes of baking when the structure of the muffins is setting.
The Science Behind Tall Muffin Tops
If cooking is an art, then baking is a science. Understanding why muffin tops rise, or don't, requires a little bit of a chemistry lesson, and I promise that viewing your baking through the lens of chemistry will transform your understanding of the process.
When muffin batter hits high heat, three things happen simultaneously. First, chemical leaveners (baking powder and/or baking soda) react and release carbon dioxide gas. Second, the liquid in the batter converts to steam. Finally, the proteins in eggs and flour begin to set and create structure. The key to tall tops is maximizing gas production and trapping those gases in the batter before the structure fully sets. Simple. Right?
All right, let's break this down a little further.
Temperature's Critical Role
High initial heat (of about 425 degrees Fahrenheit) causes an immediate rise and rapid rise (immediate in that it starts from the moment the muffins enter the oven, and rapid in the rate of progress from that starting point). The exterior of the muffin sets quickly from the intense heat, creating a firm 'shell' while the interior remains fluid. This traps the gases inside the muffin. As the gases continue expanding inside, they have nowhere to go but up, pushing the still-liquid center upward, forming that characteristic muffin-top dome. By contrast, Lower temperatures (325-350 degrees F from the start) allow the muffin to set gradually, resulting in even rising but no dramatic dome because there's no differential between the crust formation and the interior formation, thereby allowing the gases to escape.
Steam Power
Any moisture in your batter, such as milk, eggs, or other liquid ingredients, converts to steam at 212°F. This released steam expands rapidly, contributing significantly to the rise of the muffin-tops. This is why professional bakers often utilize a ratio of 55% to 65% liquid as a percentage of the flour's weight to ensure consistent hydration and steam release. This is in addition to hygroscopic ingredients (honey, brown sugar, or invert sugar) and acidic dairy (buttermilk, sour cream, yogurt), which all contribute to overall moisture.
Batter Consistency
Thick but scoopable is the perfect consistency for a muffin batter - similar to a thick cake batter. If the batter is too thin, it can't hold the gas bubbles. If the batter is too thick, then the gases cannot expand properly. The thickness allows the batter to climb up and over the muffin cup rim as the gases push upward. This creates that mushroom-cap overhang rather than just filling the cup.

The High-Heat Technique Step-by-Step
Commercial convection ovens use intense initial heat followed by a gentler finishing. To mimic that process at home, you must start with a high initial heat and then lower the temperature, without opening the oven door, and at precise intervals. Here's what that means in practical terms.
- Preheat your oven to 425°F: I would recommend verifying the temperature with an oven-safe thermometer if possible. Many home ovens run 25 degrees cooler than the dial indicates.
- Prepare Your Batter: Prep your batter while your oven heats, ensuring that you do not overmix.
- Fill the muffin cups completely to the rim: The 2/3rds rule is old baking science; we want new baking science. Fill to the rim.
- Set Your Timer: Set your timer for 5-7 minutes from the instant the muffins enter the oven. The bake time is dependent on the size of the muffins. For standard-sized muffins, 5 minutes is perfect. For jumbo muffins, aim for 7 minutes.
- Center Rack: Set the muffins on the center rack of the oven. This is the area that receives the most circulated hot air, and is away from the heating element.
- After 5-7 minutes, reduce the temperature: Reduce the temperature to 375°F after 5-7 minutes without opening the oven door. Do not at any point open the oven door. Don't do it. It releases heat and steam, which will deflate your muffins.
- Continue Baking for 13-18 minutes: Here again, bake time is dependent on the size of the muffin. 13 minutes for standard muffins, 18 minutes for jumbo muffins.
Why This Works
The initial 425 degrees f blast causes an immediate and rapid rise, and causes the exterior to set faster than the interior, which enables the dome shape of the muffin tops. Reducing the heat to 375°F prevents over-browning or burning while allowing the interior to finish cooking through. If you keep the temperature at 425, the exterior of the muffins will burn before the interior has finished cooking.
Timing the Switch
Set a timer. Do not guess. We need as much precision as we can manage. Missing the temperature reduction window is the difference between perfection and muffins that are either burnt or deflated. You might even consider setting two timers. Pro-bakers sometimes set two timers, one for the temperature switch and another for the total bake time.
Other Key Factors for Maximum Rise
Fill to the Brim
Filling muffin cups completely full (not 2/3rds or 3/4ths) is essential for bakery-style tops. Why? Because volume equals climb and rise, and climb and rise equals a dome-shaped top. Think of the muffin as a tiny volcano: there needs to be enough magma (uncooked batter) to overflow the crater (the muffin cup). However, if you only fill the cups 2/3rds, the batter rises within the confines of the cup, but lacks sufficient volume to mushroom over the top. As a visual cue, you want the batter to reach the very top edge of each cup, creating a level surface with the pan rim.
Room Temperature Ingredients
I say this every chance I get - use room temperature ingredients. Always. Unless a recipe specifically calls for cold ingredients, use room temperature or warm ingredients. Cold eggs and milk straight from the fridge will lower your batter's temperature, making it take longer to heat up in the oven, wasting precious high-heat time, and preventing that explosive initial rise.
Overmixing
This is the most common mistake by a mile. Muffin batter should be mixed just until the dry ingredients disappear, and it should look lumpy, rough, and barely combined. Vigorous mixing, or extended stirring, develops gluten in the flour, creating a dense crumb that cannot properly rise. Gluten gives structure, yes, but too much structure becomes a cage, trapping the gases we talked about earlier, and stops those gases from rising upward, thereby preventing the domed-muffin top. Furthermore, overmixing ruins the texture of the muffins by making them dense and stiff, rather than tender and moist.
Pan Preparation
Grease the muffin pan generously to prevent sticking. Conversely, use parchment paper, since it's the best nonstick solution ever, and to reduce cleanup. Seriously, the use of parchment paper is my number one kitchen hack.
Common Mistakes that Prevent Tall Tops
Opening the Oven Door Too Early
Please resist the temptation to peek or check on the muffins. Opening the oven door during the first 10-12 minutes releases heat and steam, the same elements driving your muffins to rise. Releasing heat creates an instant temperature drop and creates cold pockets within the oven, while also disrupting the flow of hot air. For rising muffins, this is doom. Don't do it.
Oven Temperature Issues
As mentioned earlier, oven temperatures are often inaccurate, but baking is a science that requires precision. If possible, check your oven temperature with an oven-safe thermometer and adjust accordingly.
Overmixing (Yes, I'm repeating this because it's that important)
I cannot stress enough how important it is to resist overmixing. A smooth, well-beaten, silky batter is a ruined batter that cannot be salvaged and will produce dense, flat muffins. You want a lumpy, barely-mixed batter. This will create tall, tender muffins. Stop mixing the moment you can no longer see dry flour. That's it.
Expired Leavening Agents
Check the dates of your baking powder and baking soda, as these lose potency over time. Most leavening agents last just 6-12 months once opened.
Tips for Specific Muffin Types
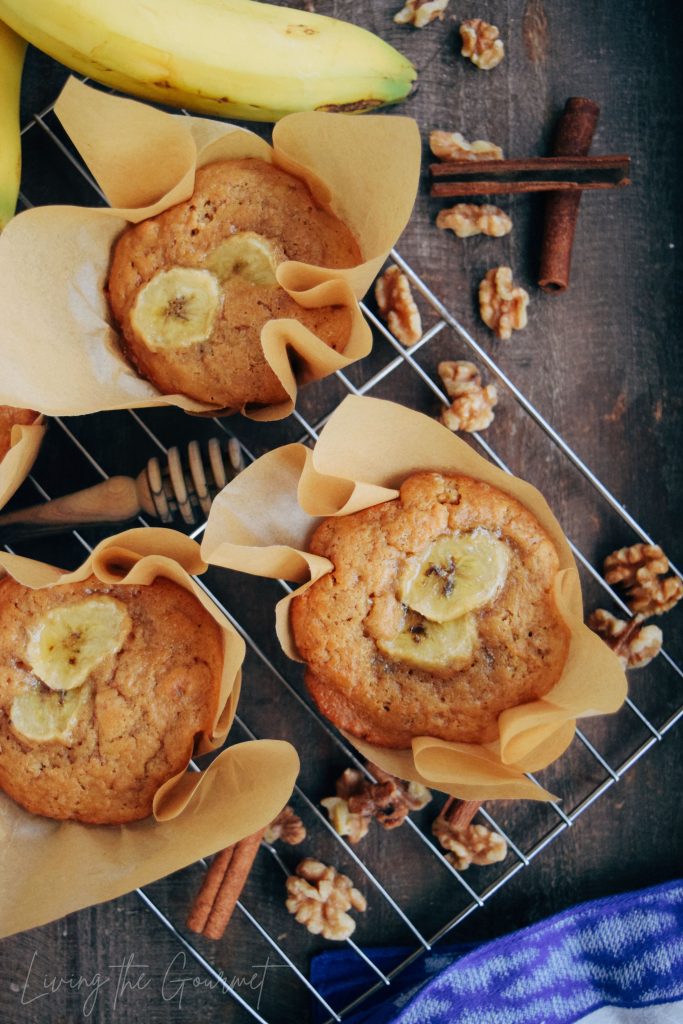
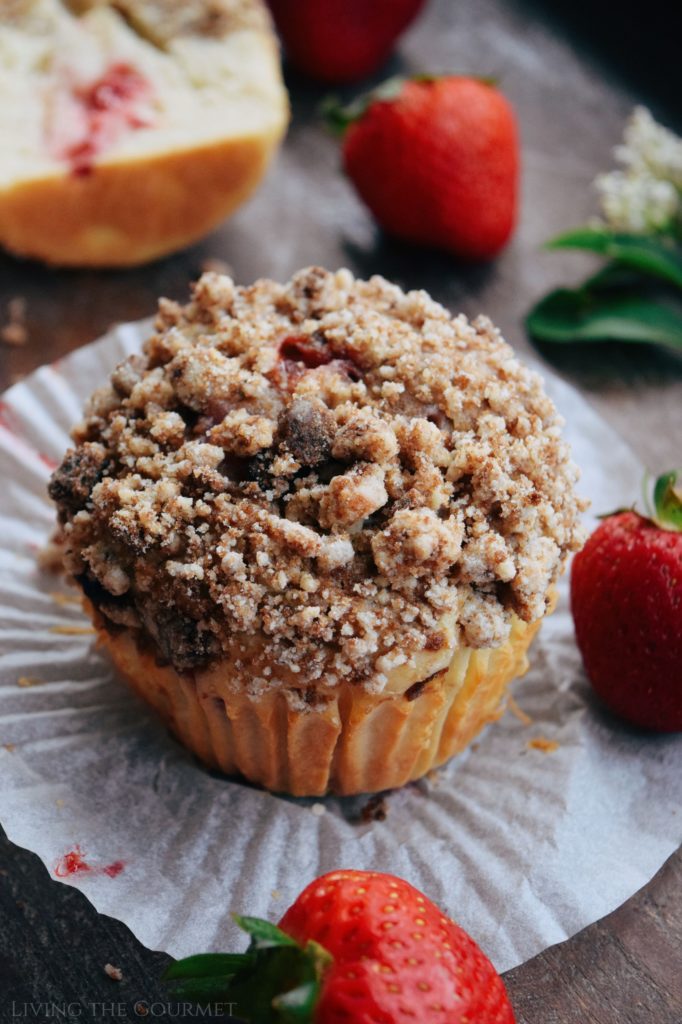
Fruit Muffins
Fresh berries, strawberries, or apple chunks add moisture to the batter, which can make muffins too wet and prevent a proper rise. For best results, toss berries in 1-2 tablespoons of flour before folding them into the batter. This extra flour absorbs excess moisture.
Heavy Add-Ins (Nuts, Chocolate Chips)
Mix-ins like nuts, chocolate, granola, or dried fruit can weigh down the batter, which in turn can prevent a proper rise. To prevent this, use no more than 3/4ths of a cup per standard muffin recipe (12 muffins). Fold these types of mix-ins gently into the batter.
Dense vs Light Batters
Very dense batters (such as bran muffins or whole wheat flour) benefit even more from the high-heat technique but may need an extra minute at 425 degrees F. Lighter, more delicate batters (like basic vanilla, blueberry, or lemon muffins) can handle the standard 5-minutes of high heat. Adjust based on your recipe's density.
And that's our guide to making bakery-worthy muffin tops! If you enjoyed this article, or have any questions or suggestions, please let us know in the comments below. We always love hearing from you!
Happy Baking!


Angela Campos says
I had always wanted to give these to try, so glad I came across this! They turned out perfect, can't wait to make them again, Yum!
Mimi says
This is it. This is exactly how I like my muffins. The best muffins tops ever!!
Vidhya says
Thank you for these tips. I've always focused on getting those tops perfect. So many things to try!
Catalina says
Light, fluffy, and really easy to make. I’ll make another batch soon!
Amy says
The edges crisped up well on the baking sheet, and the centers stayed as soft as a full muffin.
Ben says
Awesome! I love this thorough breakdown. I've never quite been able to get those big, towering tops.
Terri says
I'm so glad I found this! Now my muffins will be super pretty.
Living the Gourmet says
Dear Terri, So glad you enjoyed the article and found these tips helpful! Happy Baking!
Beth says
I'm so glad I found this! Everyone always loves my muffins, but they never have that pretty top. THANK YOU!
Living the Gourmet says
Dear Beth, you're so welcome! I completely agree! The tops are the best part after all! ;D