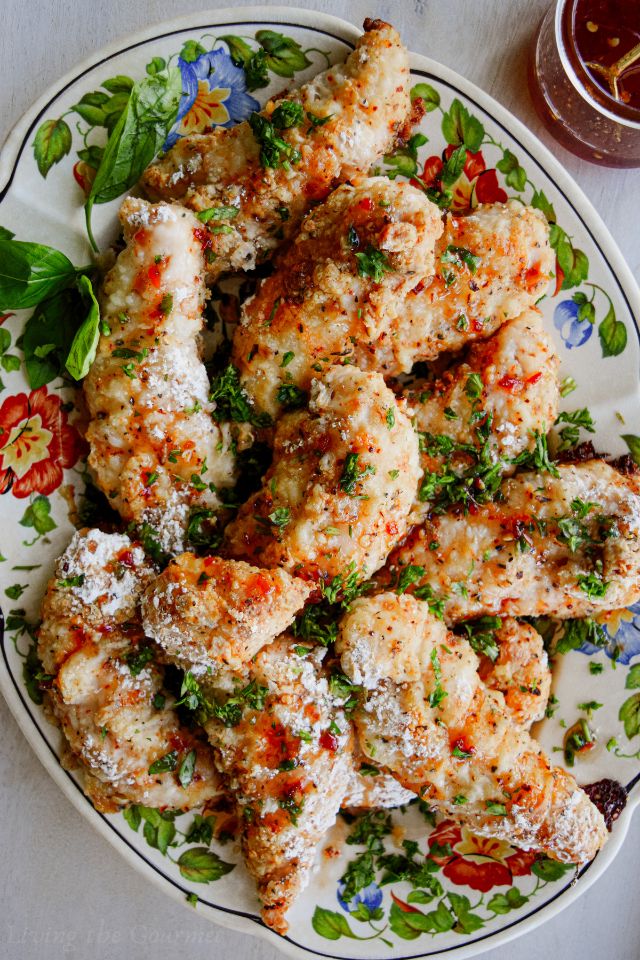
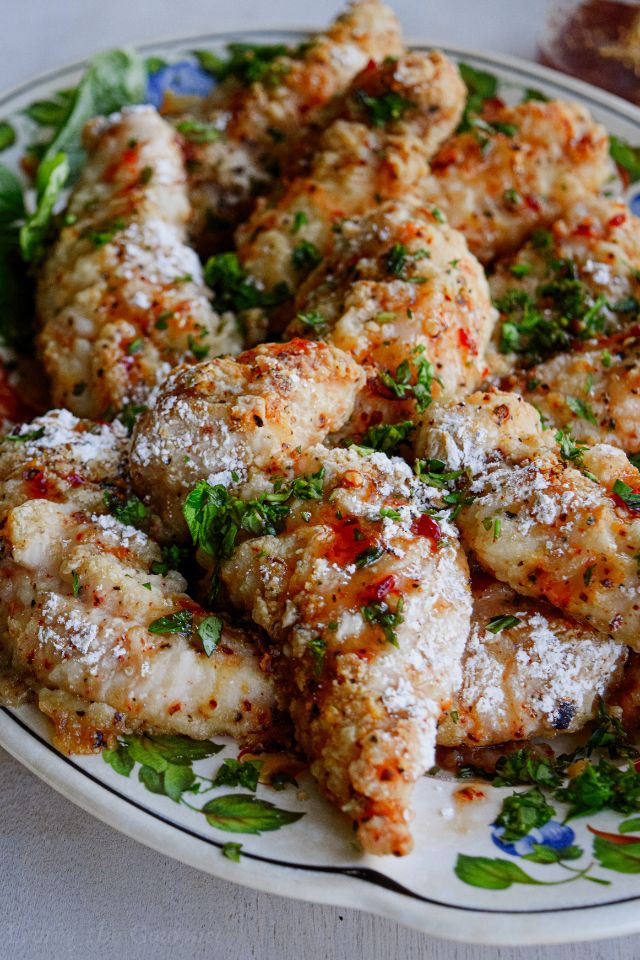
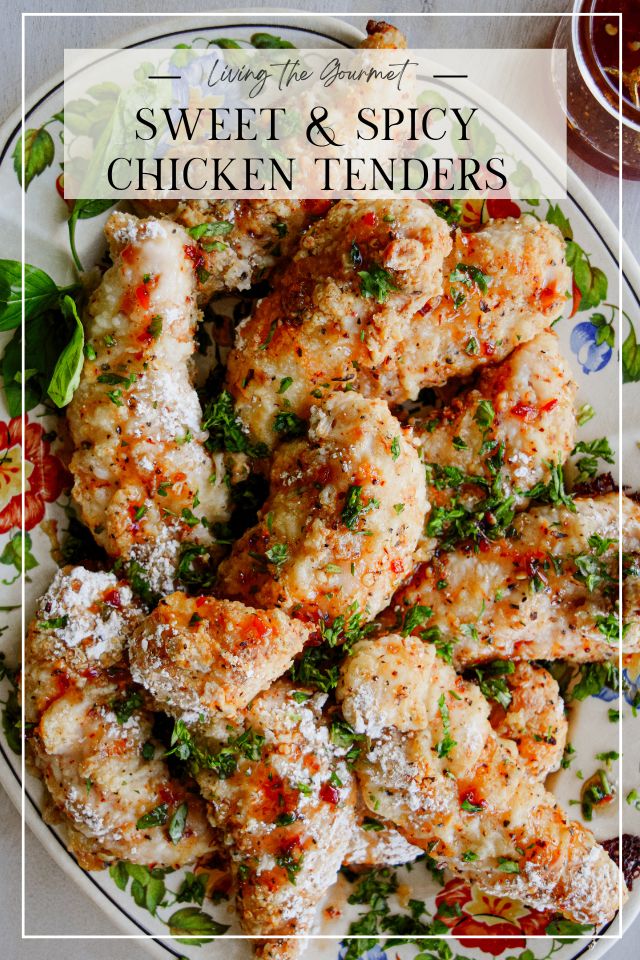
Today we're preparing a batch of Sweet and Spicy Chicken Tenders, which we'll be oven-baking to crisp perfection. A honey-chili dipping sauce combines with the chicken's seasoned crust to create the perfect balance of sweet and spicy flavors. Simple to make and easy to love, this recipe is quick enough to prepare for busy weeknight dinners, but indulgent enough to serve as a weekend treat.
Best of all, this recipe uses no hard-to-find ingredients, and no complicated cooking methods, meaning this recipe is simple enough for home cooks of all skill levels. In addition, the chicken pairs nicely with all your favorite sides such as stir-fried veggies, simple green salads, mashed potatoes, or even spring rolls and noodles.
Below, I'll provide you with a brief recipe overview to answer all of your questions, I'll also be providing you with a complete ingredient checklist to ensure you have everything you'll need, before ending off with my nine keys to ensuring your oven-baked chicken comes out moist and tender every time.
Now, let's get to it.
Recipe Overview - What to Expect
If you've read this far, you're likely interested in today's recipe but also probably still have a few questions, such as what to expect in terms of taste and texture, how hard the recipe is to make, or what it pairs well with.
For the answer to those questions and more, read on.
Taste and Texture:
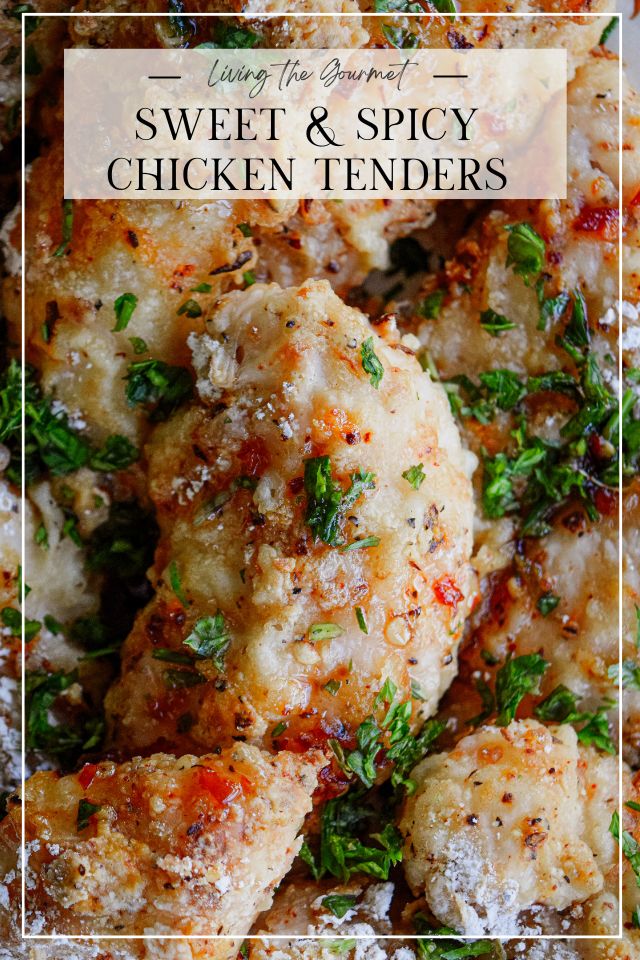
The chicken itself cooks up crisp and moist. The coating is meant to be dense and substantial, with a nice crisp to it, and I love how it clings to the chicken without flaking or falling off. In terms of flavor, the recipe is a pleasant mix of sweet and spicy, while the coating itself in a flour mixture seasoned with garlic, two types of red pepper, and brown sugar. After baking, we finish the chicken with a drizzle of our super-simple honey-chili sauce, which is just raw honey and garlic chili paste. Yes, we're layering a sweet and spicy sauce onto sweet and spicy chicken. Delicious.
Difficulty Level:
Beginner-friendly. Yes, this recipe involves several steps, but none of those steps are particularly time-consuming or complicated, which I believe allows this recipe to be rated as beginner-friendly. Slicing the chicken is simple enough for beginner chefs, and while the dredging process may be tedious and possibly a bit messy, it is by no means complicated or difficult. The dipping sauce is simply a matter of mixing honey with chili garlic sauce - couldn't be easier. The most challenging part might be ensuring the chicken is cooked through without drying it out, but that's a matter of ensuring proper cooking time rather than difficulty.
Preparation Process:
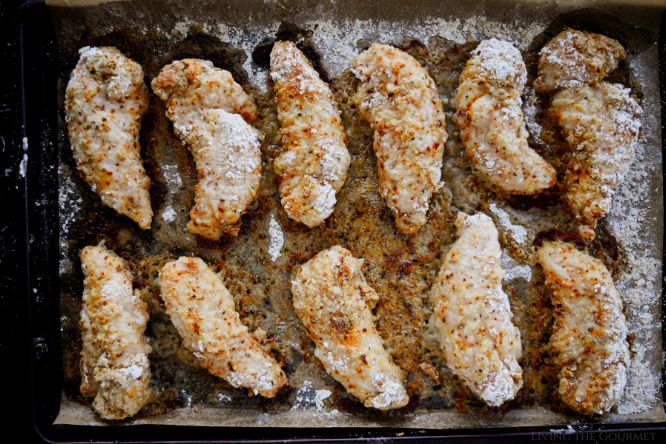
As mentioned above, the process starts with slicing the chicken into strips or 'tenders.' Try to keep the slices roughly even in size to ensure even cooking. From there, we prep the flour mixture, after which we dredge the tenders. We then bake the chicken until golden. Finally, we mix the honey-chili sauce, drizzle the baked chicken, and serve. Simple.
Storage:
Leftovers are easy enough to store, just be sure to allow the chicken to cool fully beforehand. Stored in an airtight container, the chicken will keep for about 3-4 days. I wouldn't suggest freezing this chicken, but if you must I would suggest layering the chicken with parchment paper in a freezer-safe container or freeze bag. Frozen, the chicken should be kept for about two months.
Pairings:
A fresh garden salad, stir-fried veggies, rice, or garlic mashed potatoes are all good pairings. Consider a decent chardonnay or a pinot grigio as possible wine pairings.
Ingredient Checklist - Everything You'll Need
- 2¼ lb. chicken breast tenders
- Tip: As mentioned above, if slicing your own tenders, try to ensure that they are all roughly the same size.
- 1 cup milk
- Substitution: Buttermilk or heavy cream are my go-to substitutions. Skim milk, in my opinion, is simply too watery. You want the added fat to help the coating cling to the chicken, and to help it crisp during baking.
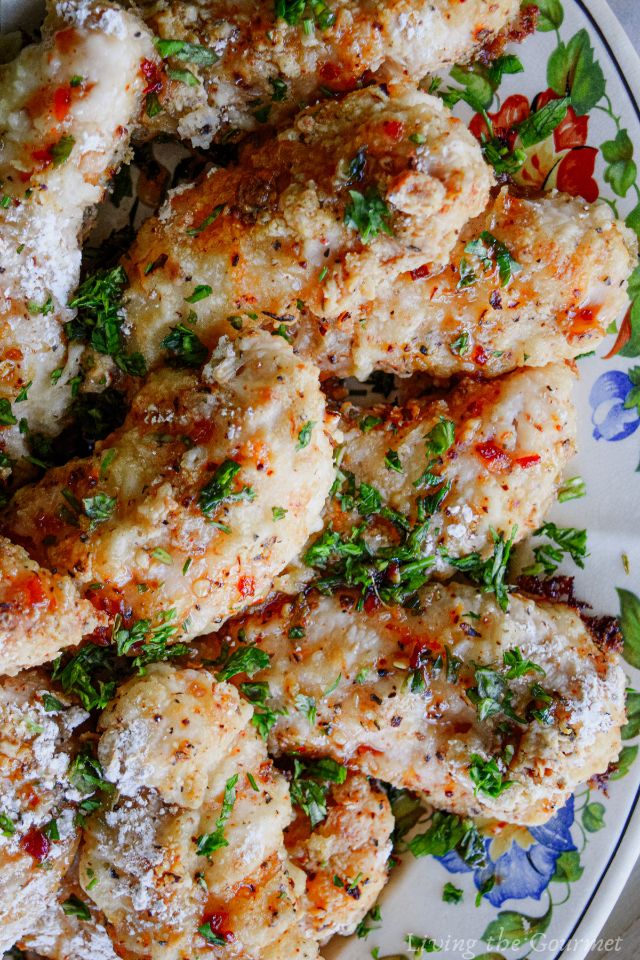
- Fresh basil leaves (for garnish)
- Note: For a pop of color. Basil also gives a nice 'finishing taste,' which I find works nicely with the honey-chili sauce. Shallots would be my go-to substitution here.
- Tip: Mix the garnish. Use a combination of shallots, basil, and cilantro, together with the recommended basil and parsley, if you're feeling fancy.
- Fresh Italian parsley (for garnish)
- Tip: As with the basil, the parsley brings some herbal freshness and a pop of color.
- Vegetable oil (for drizzling)
- Tip: Drizzle the oil lightly to help the chicken tenders get a crispy crust.
- Substitution: Olive oil would be my go-to substitution, though avocado or corn oil can also be used if preferred.
- 1½ cups flour
- Substitution: Yes, your preferred gluten-free flour will most likely work for this recipe.
- 2 tbs. cornstarch
- Tip: I never fry (or oven bake or oven fry), without using cornstarch, and you shouldn't either. Cornstarch works to crisp and puff the coating.
- 1 tsp. salt
- Note: As always, feel free to adjust the amount of salt up or down according to your preference. I will note that a little salt 'is' necessary to help bind the flavors.
- 1 tsp. coarse ground black pepper
- Tip: I know I say this a lot, but freshly ground black pepper makes all the difference in terms of aromatics.
- 1 tsp. Korean red pepper flakes
- Substitution: Your preferred style of chili flakes will get the job done, though I do find that the smokiness, and subtle sweetness, of Korean red pepper really brings a lot to the table in this recipe.
- 1 tsp. red pepper flakes
- Tip: Feel free to adjust the amount based on your heat preference.
- Substitution: A pinch of cayenne would work well, but will be noticeably spicier.
- 2 tbs. brown sugar
- Note: For added sweetness and some molasses undertones.
- 2 tsp. garlic powder
- Note: We're using powdered garlic purely because even distribution is very important in this particular recipe, and that is much easier to achieve with powdered rather than fresh.
- Substitution: If you prefer to use fresh, use about 4 cloves. I do suggest crushing and then finely mincing the garlic to ensure maximal release of the garlic's juices and for even distribution.
- 4 tbs. honey
- Note: Bring the sweetness to the sweet and spicy dipping sauce.
- 1 tbs. Chili Garlic Sauce
- Tip: The spice in today's sweet and spicy dipping sauce.
- Substitution: Any chili sauce or chili paste will do, such as a basic sambal.
Nine Keys for Moist Chicken
- Preheating is Key:
- Precise temperatures are far and away the most important key to achieving moist, tender chicken. To that point, I recommend using an oven thermometer. Also - and this is just as important - only put the chicken in once the oven is fully preheated, never before.
- Double Check with a Meat Thermometer:
- Once again, it's all about temperature. To be on the safe side, I recommend checking the chicken for its internal temperature. Once the chicken has reached approximately 165°F (75°C) as an internal temperature, it is done.
- Foiling and Tenting:
- I only recommend doing this if the chicken has begun to brown too quickly, otherwise, this is not a recipe where you need to tent the chicken. However, tenting is one way to help the chicken retain moisture.
- Rest on a Baking Rack:
- After the chicken has finished baking, I recommend letting it rest on a wire rack to ensure proper air circulation. This helps prevent the bottom from becoming soggy.
- Brining:
- While this is not something I would recommend for this particular recipe, in recipes with a milder flavor profile, or if baking a whole chicken, brining in saltwater (or a marinade) for about thirty minutes to an hour is one way to help ensure the chicken remains moist.
- Use Parchment Paper:
- My favorite kitchen tip is the use of parchment paper wherever possible - and this recipe is no exception. Line those baking sheets with parchment paper to prevent sticking, and for an easier cleanup.
- Rest Before Serving:
- Always, always, always rest any meat before serving, and that applies to chicken. I suggest letting the tenders rest for about ten minutes (on a wire rack) before serving.
- Extra Fat:
- A few tabs of butter or a drizzle of olive oil is all we're looking for in terms of added fat, and yes, this really does make a difference. Drizzling with oil is not something we do just to look fancy. That little bit of extra fat helps create a crispy exterior, which in turn seals in moisture.
- Above all, don't Overcook:
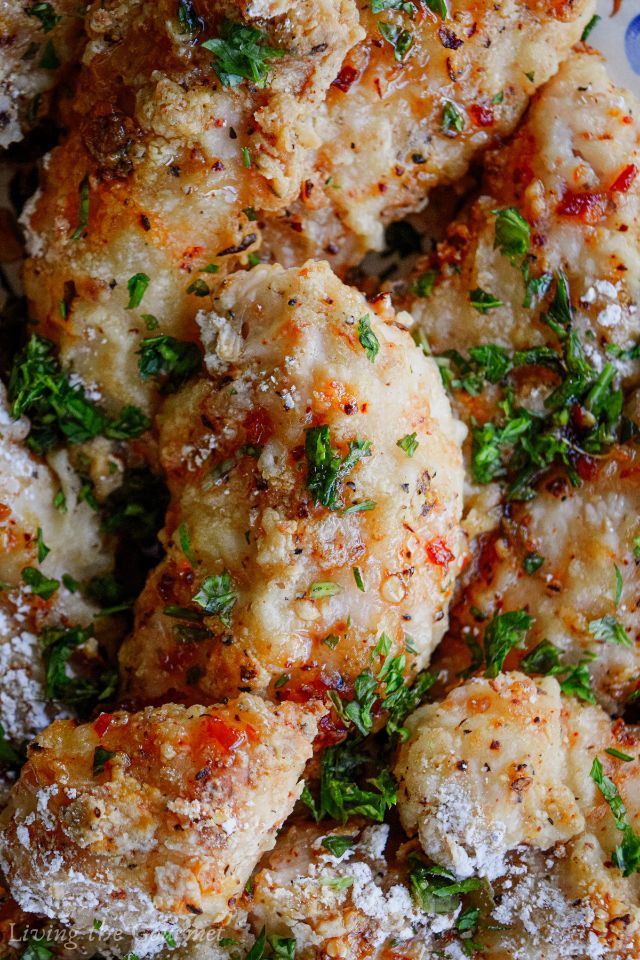
- Far and away the biggest culprit behind dry, tough chicken is overcooking. You can do everything else absolutely perfect, but that can all be ruined by even just a little bit of overcooking. That means keep your temperatures precise and your cook times on point, and you'll have moist, tender chicken.
Sweet and Spicy Chicken Tenders
- Prep Time: 15 minutes
- Cook Time: 45 minutes
- Total Time: 1 hour
- Yield: 4 1x
- Category: Main Dish
- Method: Bake
Ingredients
- 2 1/4 lb. chicken breast tenders
- 1 cup milk
- Fresh basil leaves for garnish
- Fresh Italian parsley, for garnish
- Large sheet pan
- Parchment paper
- Vegetable oil for drizzling
For the Flour Mixture:
- 1 1/2 cups flour
- 2 tbs. cornstarch
- 1 tsp. salt
- 1 tsp. coarse ground black pepper
- 1 tsp. Korean red pepper flakes
- 1 tsp. red pepper flakes
- 2 tbs. brown sugar
- 2 tsp. garlic powder
Chili Pepper Honey Sauce:
- 4 tbs. honey
- 1 tbs. Chili Garlic Sauce
Instructions
For the hot honey sauce:
- Combine the honey and chili garlic sauce and stir.
For the chicken:
- Preheat oven 350 degrees F. and line a baking sheet with parchment paper.
- Set up your dredging station: Mix the flour, cornstarch, and seasonings in a shallow bowl. In another shallow bowl place the milk.
- Dredge the chicken first in the flour mixture then in the milk and back into the flour mixture.
- Place on the prepared baking sheet and drizzle with oil.
- Bake for 45-50 minutes or until the chicken is slightly golden and the internal temperature is 165 F. and the juices run clear.
- The cooking time will depend on the size of the chicken tenders. Larger chicken tenders may take longer as smaller tenders may cook faster.
- Let the chicken rest for a few minutes and garnish with the chopped Italian parsley and basil.
- Serve with the honey-chili dipping sauce.
And that's our Sweet and Spicy Chicken. If you enjoyed today's recipe, or have any questions or suggestions, be sure to let us know in the comments below. We always love hearing from you.
Happy Cooking!
1

Leave a Comment