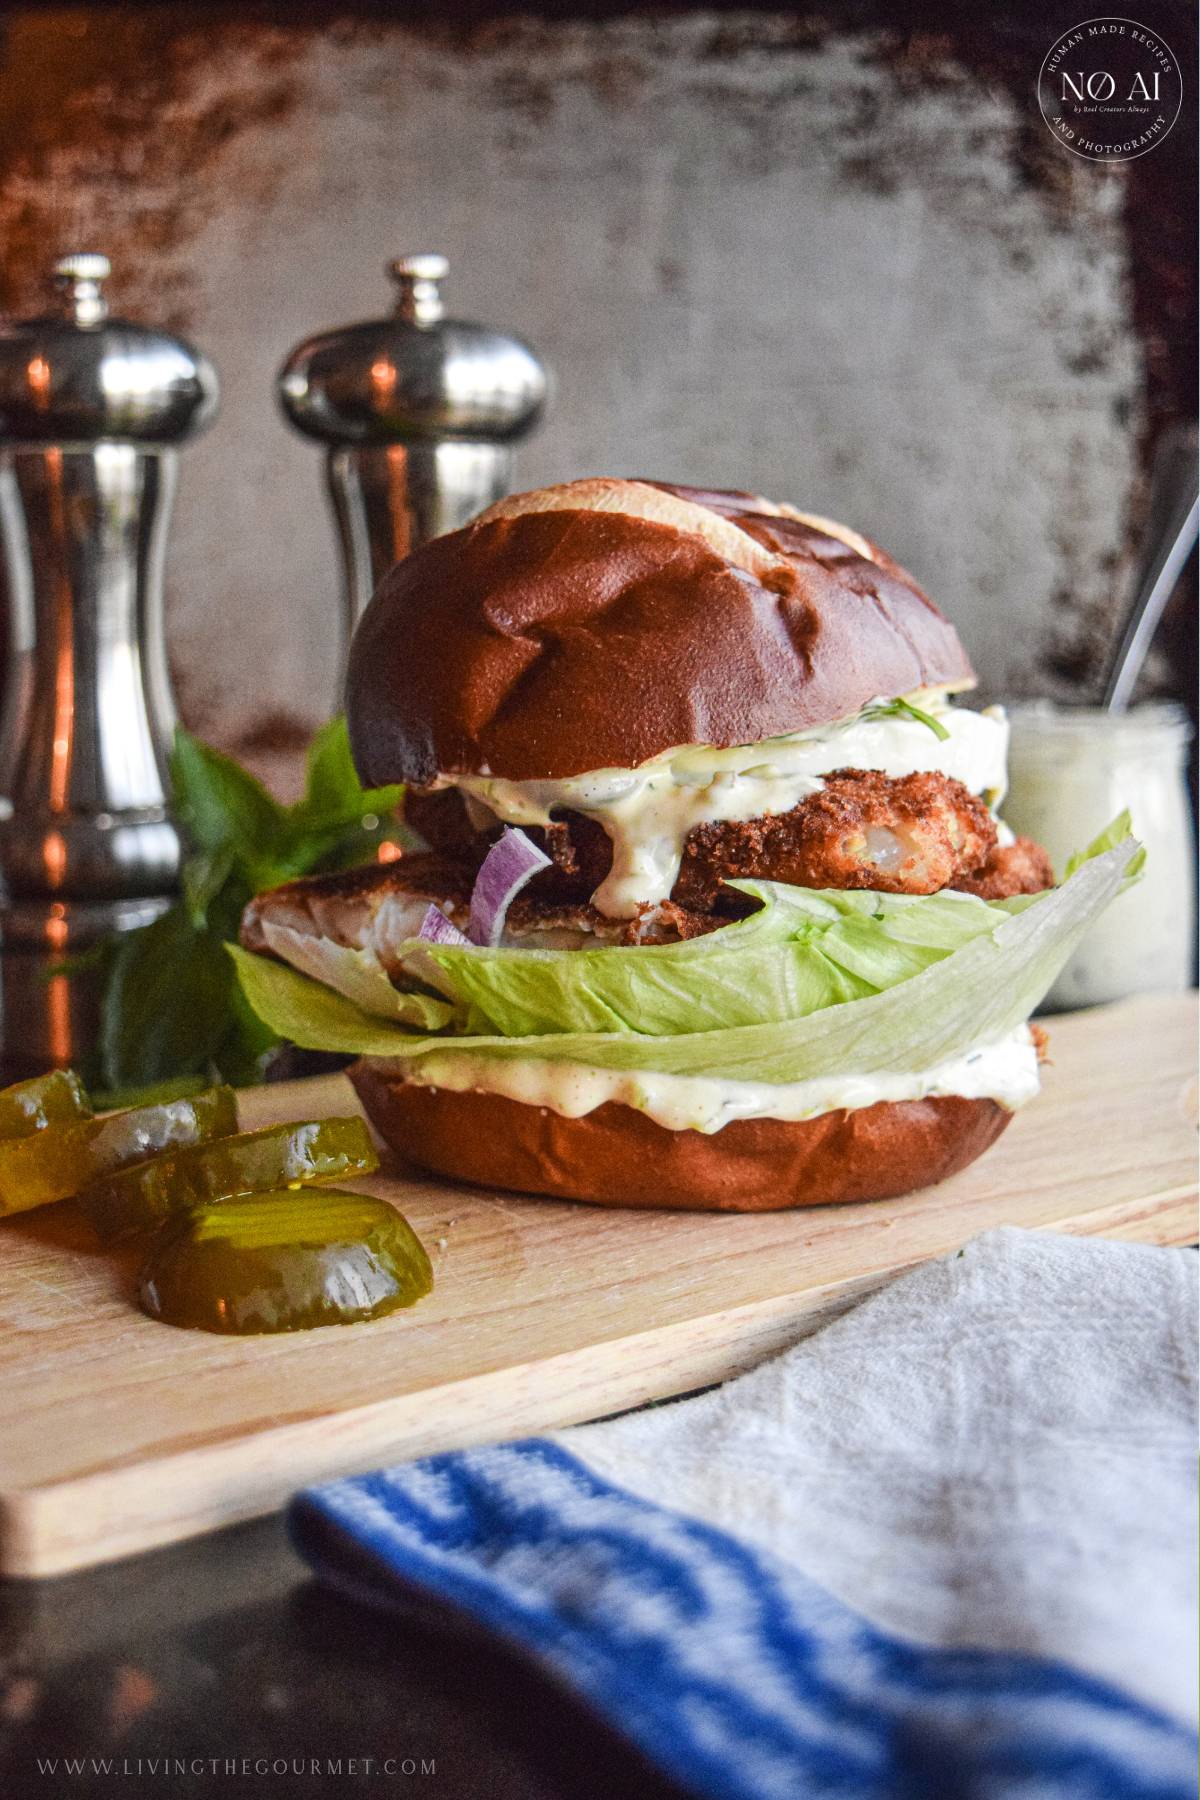
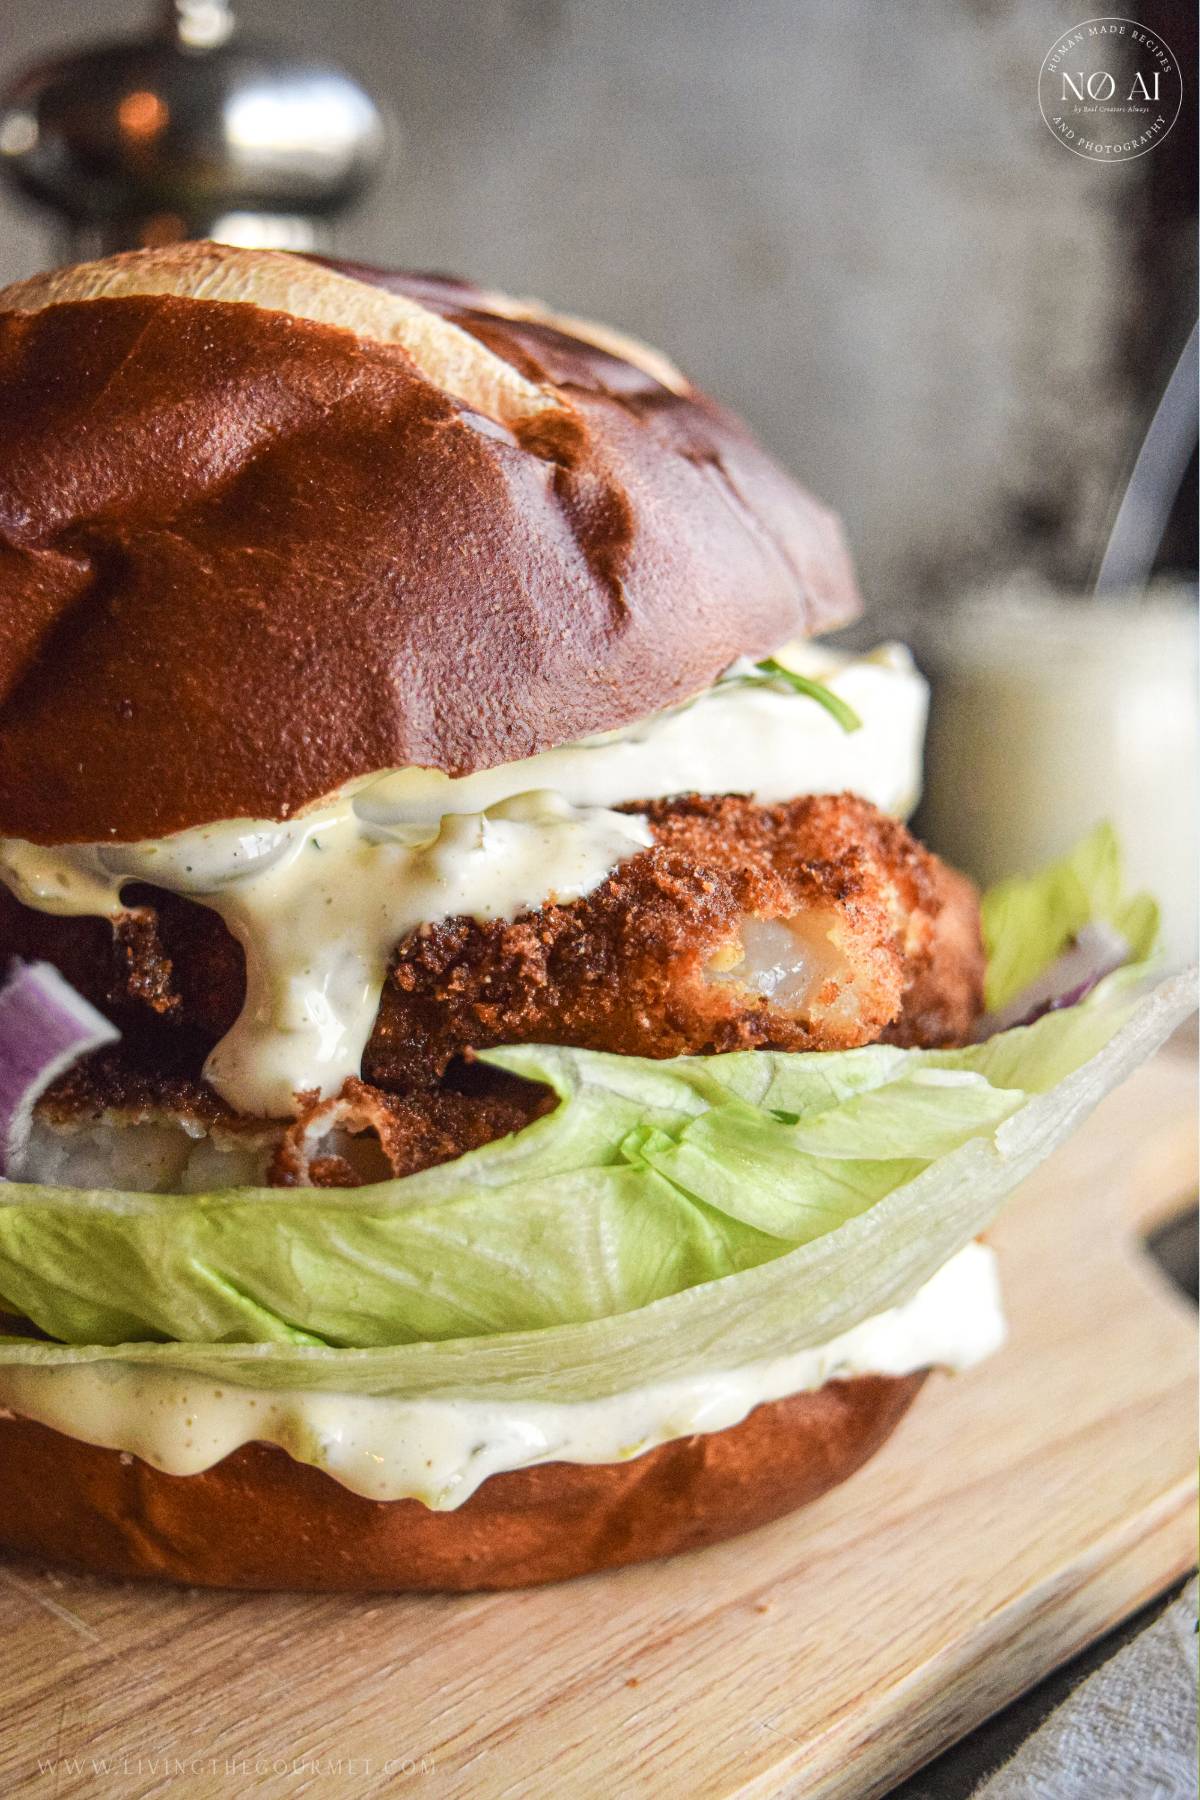
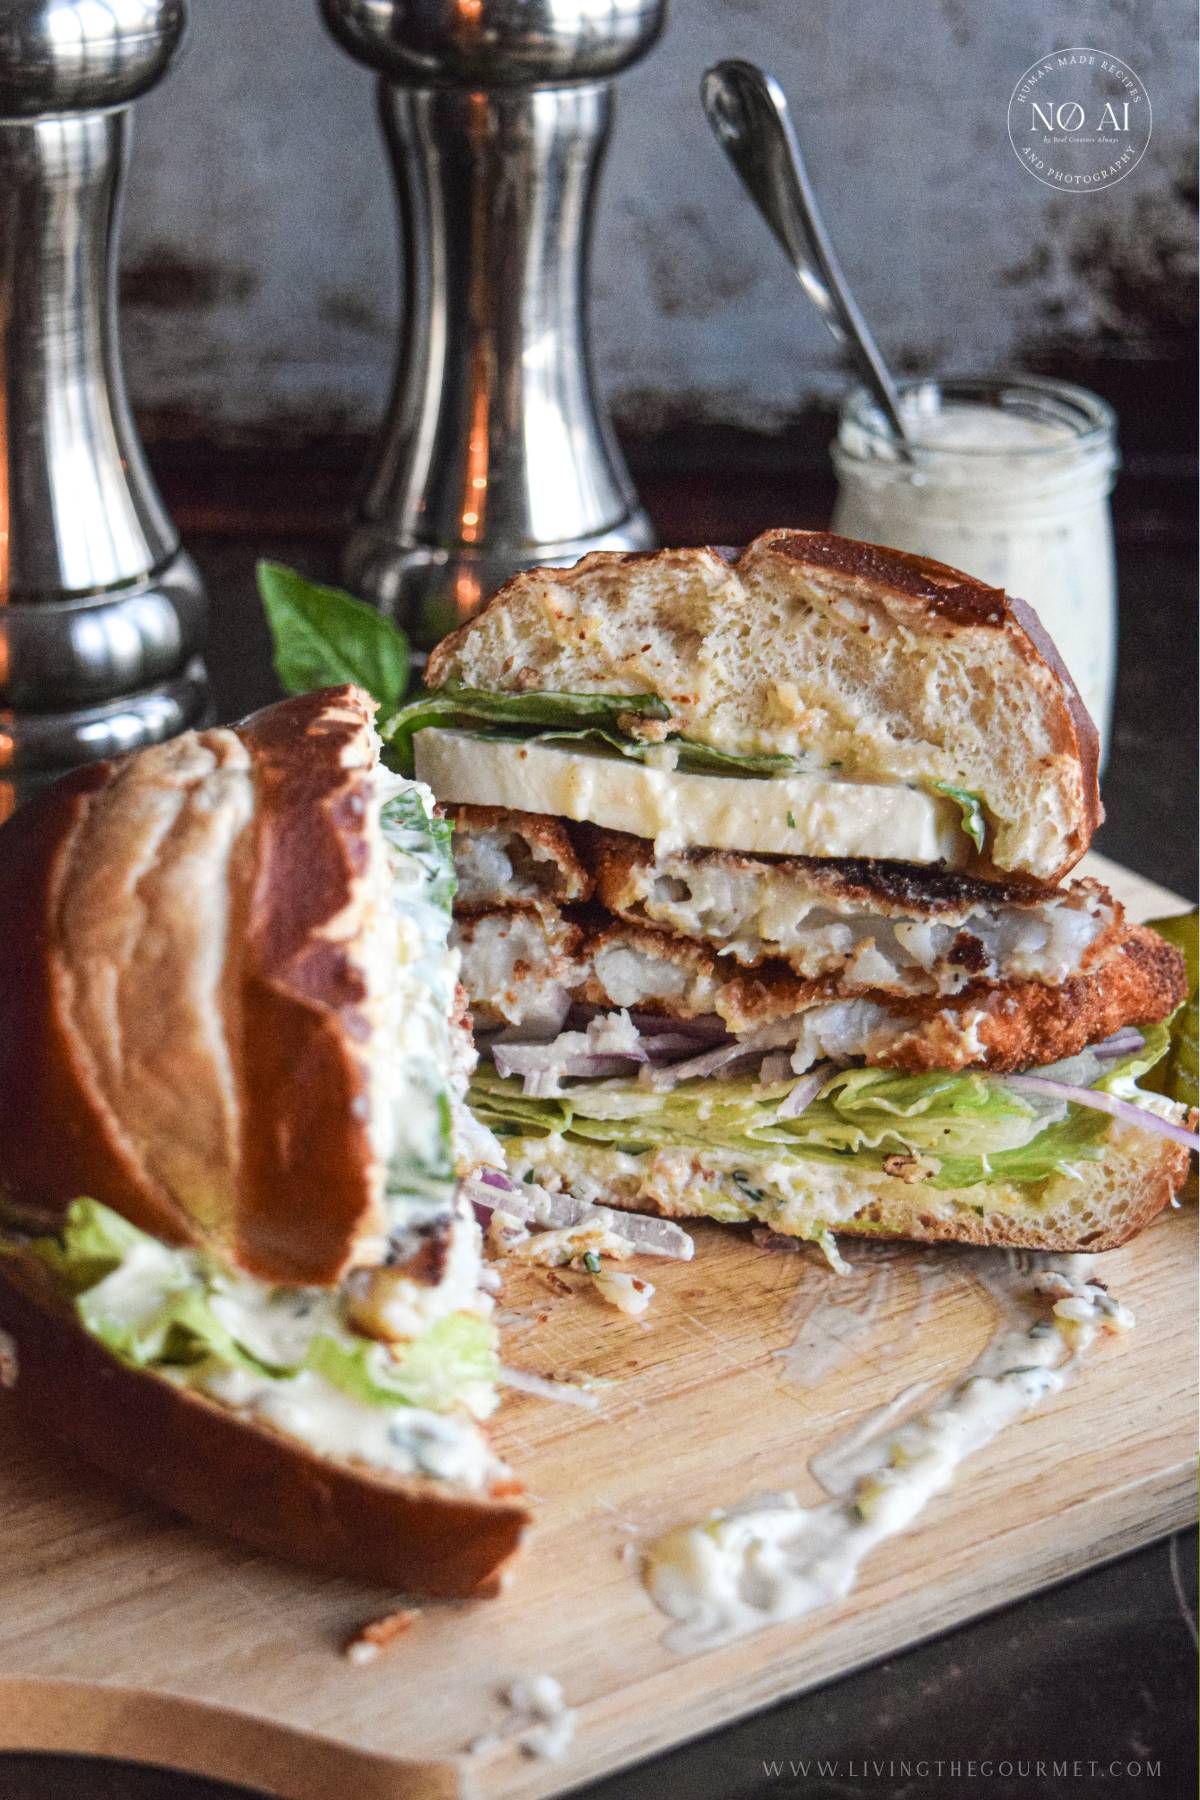
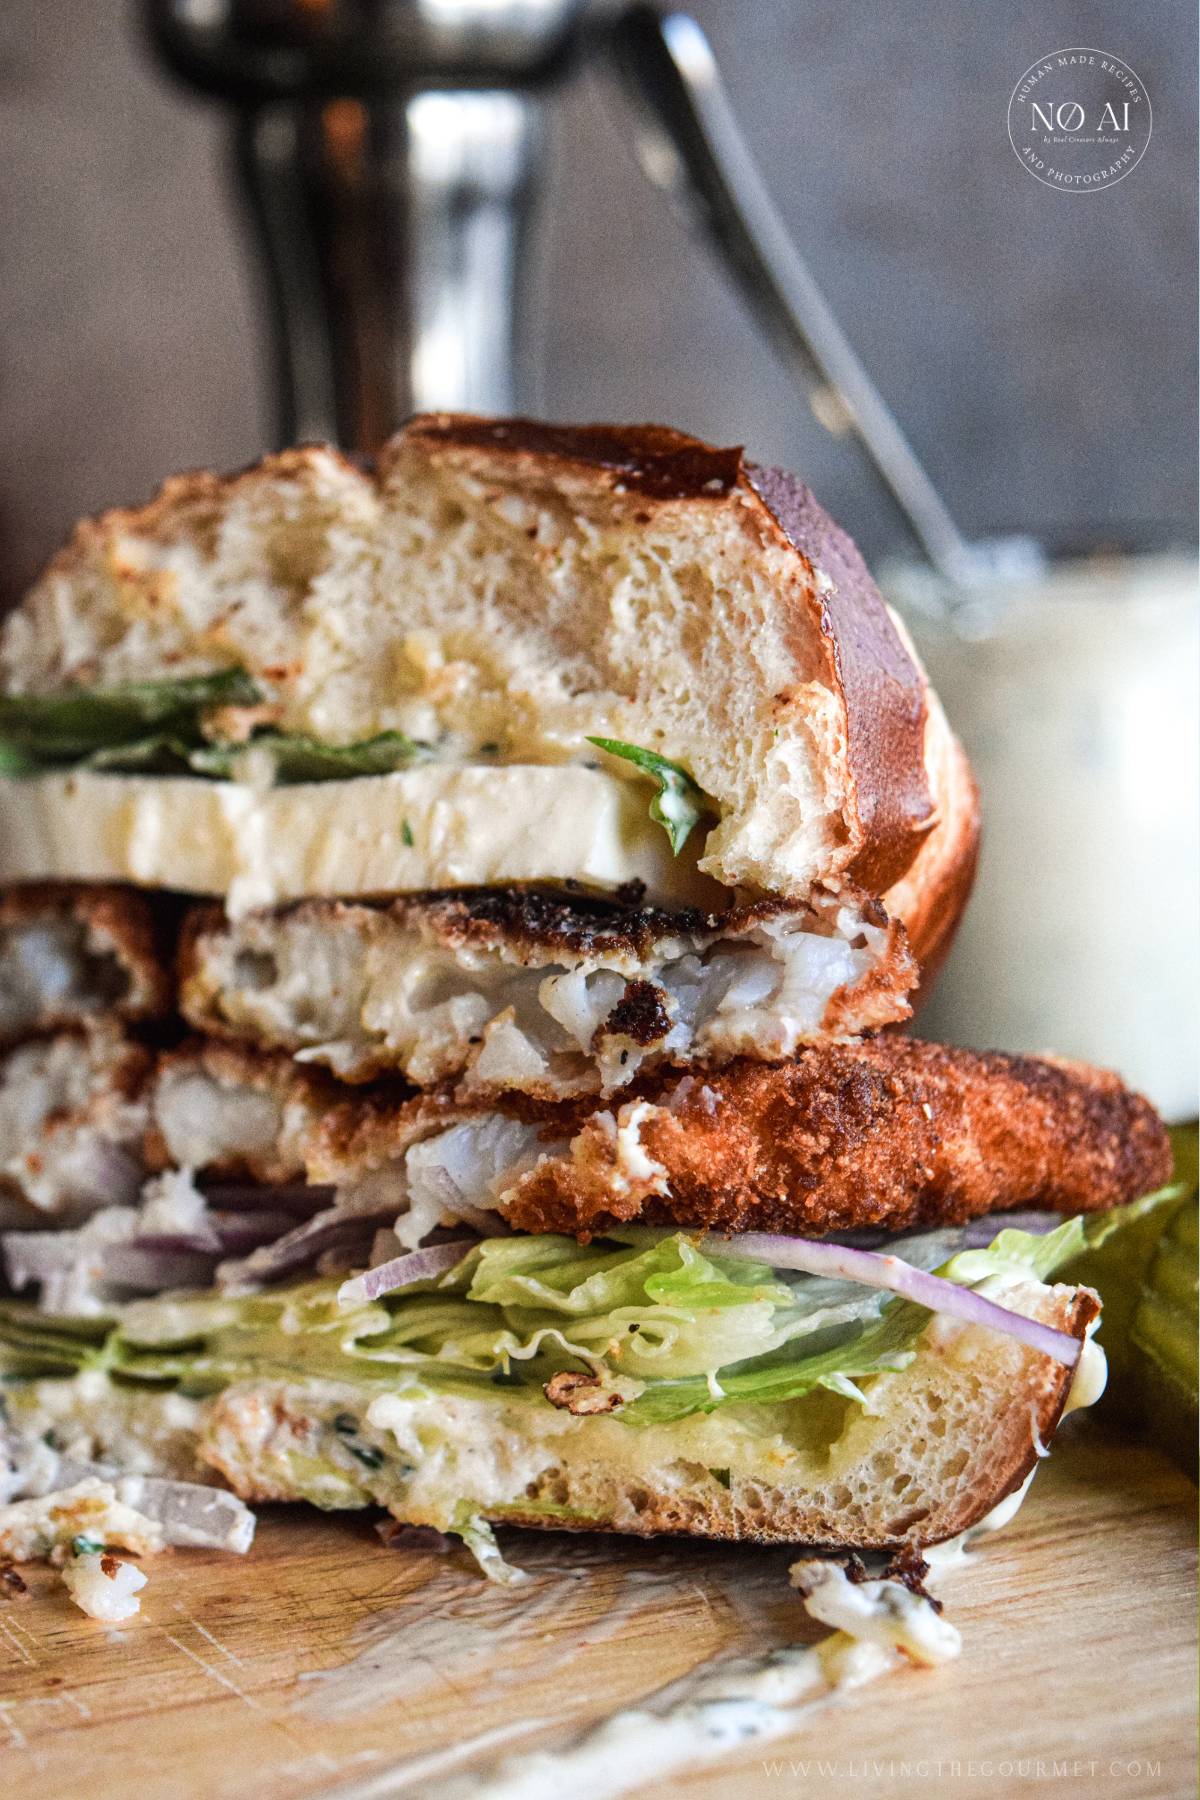
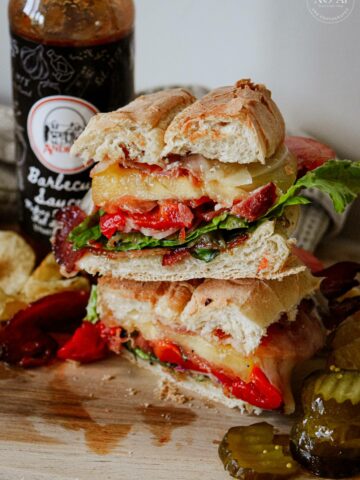
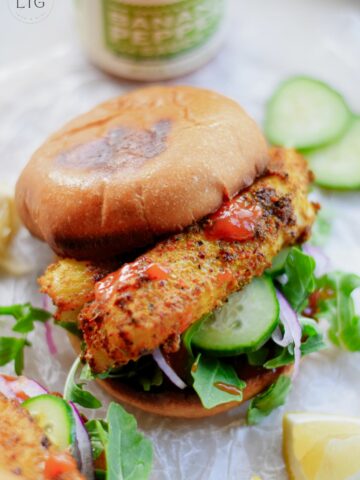
There is something timeless about a good fish sandwich. Not the hurried sort wrapped in paper at a roadside stand, but the kind brought to the table fresh from the pan, still crackling at the edges, tucked into a warm pretzel bun with crisp lettuce, sharp onion, cool tartar sauce, and creamy mozzarella melting gently beneath the heat of the fillet.
These Crispy Flounder Fillet Sandwiches are simple in the best possible way- golden fillets with a light, crunchy coating, layered with bright, fresh toppings, and served on hearty pretzel buns that hold everything together beautifully. It is comfort food with a touch of coastal charm, perfect for easy summer dinners, casual entertaining, or a Friday night meal that feels just a little special.
Keep reading for the printable recipe card, cooking tips, and reader FAQs!
Jump to:
Why You'll Love Today's Recipe
Taste & Texture
The flounder is coated with breadcrumbs and then lightly fried for a crispy exterior, yet light, flaky center. We've evoked those classic summer flavors with a few fresh ingredients that really elevate the dish, such as a homemade tartar sauce, garden basil, and crisp summer lettuce. It's satisfying without feeling heavy and will instantly teleport you to the coast.
Difficulty Level
This recipe comes together in under 30 minutes with pantry staples and seasonal ingredients, making it wonderfully approachable for busy weeknights. You can make this your own with your favorite desired toppings, various salad varieties, and sauces, too. Get creative and make these restaurant-style fish sandwiches right at home!
What to Serve with Flounder Sandwiches
These sandwiches pair beautifully with:
- Crispy fries
- Coleslaw
- Pasta salad
- Pickled vegetables
- Potato wedges
- Fresh lemonade or iced tea
Pro Tip ➡️ For a more elevated coastal dinner, serve alongside a crisp garden salad and chilled white wine.
Ingredient Checklist
For the fish
- 1 lb. flounder fillets - Flounder is delicate, mild, and wonderfully flaky, making it ideal for sandwiches. Thin fillets cook quickly and develop a crisp exterior without becoming heavy.
- 2 cups flour - Flour is important for dredging since it acts as a binder, moisture barrier, and browning agent for the crispiest result. Oftentimes, people think you can skip this step, but to ensure your breadcrumb coating adheres and crisps during the frying process, this ingredient is essential.
- 4 eggs, beaten - This is what makes the coating stick. I like to do a double dip when dredging: flour → eggs → breadcrumbs → eggs → breadcrumbs.
- 2 cups breadcrumbs (plain or Italian-style) - You can also use panko here. Italian-style breadcrumbs add extra seasoning, while plain breadcrumbs or panko allow you to customize the flavor yourself.
- Canola oil, for frying - I always advise a neutral, flavorless cooking oil with a high smoke point. Vegetable oil or canola oil are my two preferences, but peanut oil may also be used.
For the sandwiches
- Pretzel buns or bread of choice - Pretzel buns bring a rich, buttery chewiness that pairs perfectly with crispy fried fish. Brioche buns, Kaiser rolls, or toasted sourdough are also excellent choices. You want a hearty bread for these sandwiches.
- Tartar sauce - In my humble opinion, tartar sauce with fried fish is just a must. Its cool, creamy tanginess ties everything together.
- Fresh basil leaves - Fresh basil gives the sandwich a fragrant finish that feels unexpectedly elegant.
- Thinly sliced red onion - If you want a less pungent option, I recommend sweet Vidalia onions. You can also use pickled red onions!
- Fresh mozzarella slices - I love a melty cheese here with the hot fried fish. Any mild, soft cheese works; I just had mozzarella on hand. Muenster, Havarti, mild Cheddars, or Fontina are other delicious options.
- Lettuce leaves - Refreshing, crisp leaves add crunch and keep the sandwich from feeling 'heavy'.
- Pickles - Is a sandwich really complete without pickles? It adds that 'picnic relish' note to the flavor profile.
Tips for the Best Fried Flounder Sandwiches
- Pat the fish dry before breading to help the coating adhere properly.
- Do not overcrowd the pan, or the oil temperature will drop, resulting in soggy fish.
- Maintain medium heat so the breading crisps without burning.
- Toasting the buns helps prevent the sandwich from becoming soggy.
- Serve immediately for the crispiest texture.
Substitutions and Variations
- Fish Substitutes: If you don't have flounder on hand or prefer something else, try cod, haddock, tilapia, or catfish.
- Make it Spicy: Add a bit of heat to your sandwiches by adding cayenne pepper to the breadcrumb mixture, hot sauce to the egg wash, spicy aioli in place of tartar sauce, or even different spiced cheeses such as Jalapeño or Habanero Jack.
- Swap the Cheese: While fresh mozzarella is lovely here, provolone, Swiss, or sharp cheddar also work beautifully.
- Bake or Air Fry for a lighter option: If you want to keep this dish calorie-friendly, bake at 425°F for about 15-18 minutes or air fry at 400°F for 10-12 minutes, flipping halfway through.
Frequently Asked Questions
Absolutely! Simply thaw them completely and pat them dry before breading.
It's essential when frying to keep the oil at around 350°F. A cooking thermometer is one tool I highly recommend having in the kitchen. The internal temperature of the fish should reach 145°F (63° C), and a deep golden color. This will take about 3-5 minutes of frying.
Fried fish is best served immediately, though you may prep the breading station and toppings in advance for easier assembly.
Neutral oils with high smoke points, such as canola, vegetable, or peanut oil, work best.
Of course! Simply reheat in the oven, toaster oven, or air fryer at 375°F until crisp. Avoid microwaving, as it softens the coating.
Flounder Fillet Sandwiches
- Total Time: 25 minutes
- Yield: 4 1x
Description
These crispy flounder sandwiches feature flaky fried fish, fresh toppings, and a creamy tartar sauce set on warm pretzel buns for an easy coastal-inspired meal.
Ingredients
- 1 lb. of flounder fillets
- 2 cups of flour
- 4 eggs, beaten
- 2 cups of bread crumbs (plain or Italian-style)
- Canola oil, for frying
For the Sandwich:
- Pretzel Buns or bread of your choice
- Tartar Sauce
- Fresh basil leaves
- Thin-sliced red onion
- Slice of fresh Mozzarella
- Lettuce leaves
- Pickles
Instructions
- Dredge the flounder first in the flour, then in the egg wash, and finally in the bread crumbs.
- For a thicker coating, you can dip the flounder again in the egg and then again in the bread crumbs.
- Heat a large cast-iron frying pan with about ½ inch of canola oil. Carefully place the flounder in the heated oil (about 2 pieces at a time). Be sure not to overcrowd the pan!
- When one side becomes a beautiful golden color, carefully turn the slice over, and finish cooking on the other side. The fish takes about 2 - 3 minutes per side, depending on the thickness of the fish. The internal temperature should read 145F°.
- Prepare a plate with paper towels to place the cooked fish on when it is done.
To Build the Sandwich:
- Slice the roll and place the tartar sauce on each side of the bread, followed by the slice of fresh mozzarella, sliced red onion, lettuce leaves, fresh basil leaves, and pickles if you like.
- Prep Time: 10 minutes
- Cook Time: 15 minutes
- Category: Main Dish
- Cuisine: American
And that's our easy recipe for Flounder Fillet Sandwiches. If you enjoyed today's recipe or have any questions or suggestions, be sure to let us know in the comments below. We always love hearing from you!
Happy Cooking!


Vidhya says
Flounder is my favorite because it's so light and flaky. This looks perfectly seasoned - simple, fresh, and delicious!
Catalina says
I made these sandwiches for dinner and they tasted incredible. The crispy fish with the soft pretzel bun was such a good combination!
Jules says
This fish sandwich was so good, especially with the crispy edges and warm pretzel bun. I loved the mix of cool tartar sauce, crisp lettuce, sharp onion, and melty mozzarella.
Liz says
I absolutely loved this fish sandwich. The crispy fillet with the warm pretzel bun, cool tartar sauce, crisp lettuce, sharp onion, and melty mozzarella was so good.
Janie says
Lovin' these fillets sandwiches. Made these for my mother cause she loves fish sandwiches and she wants the recipe. So I passed it along to her.
Ben says
Wow. You just raised the bar WAY up for fish sandwiches. These are epic.