
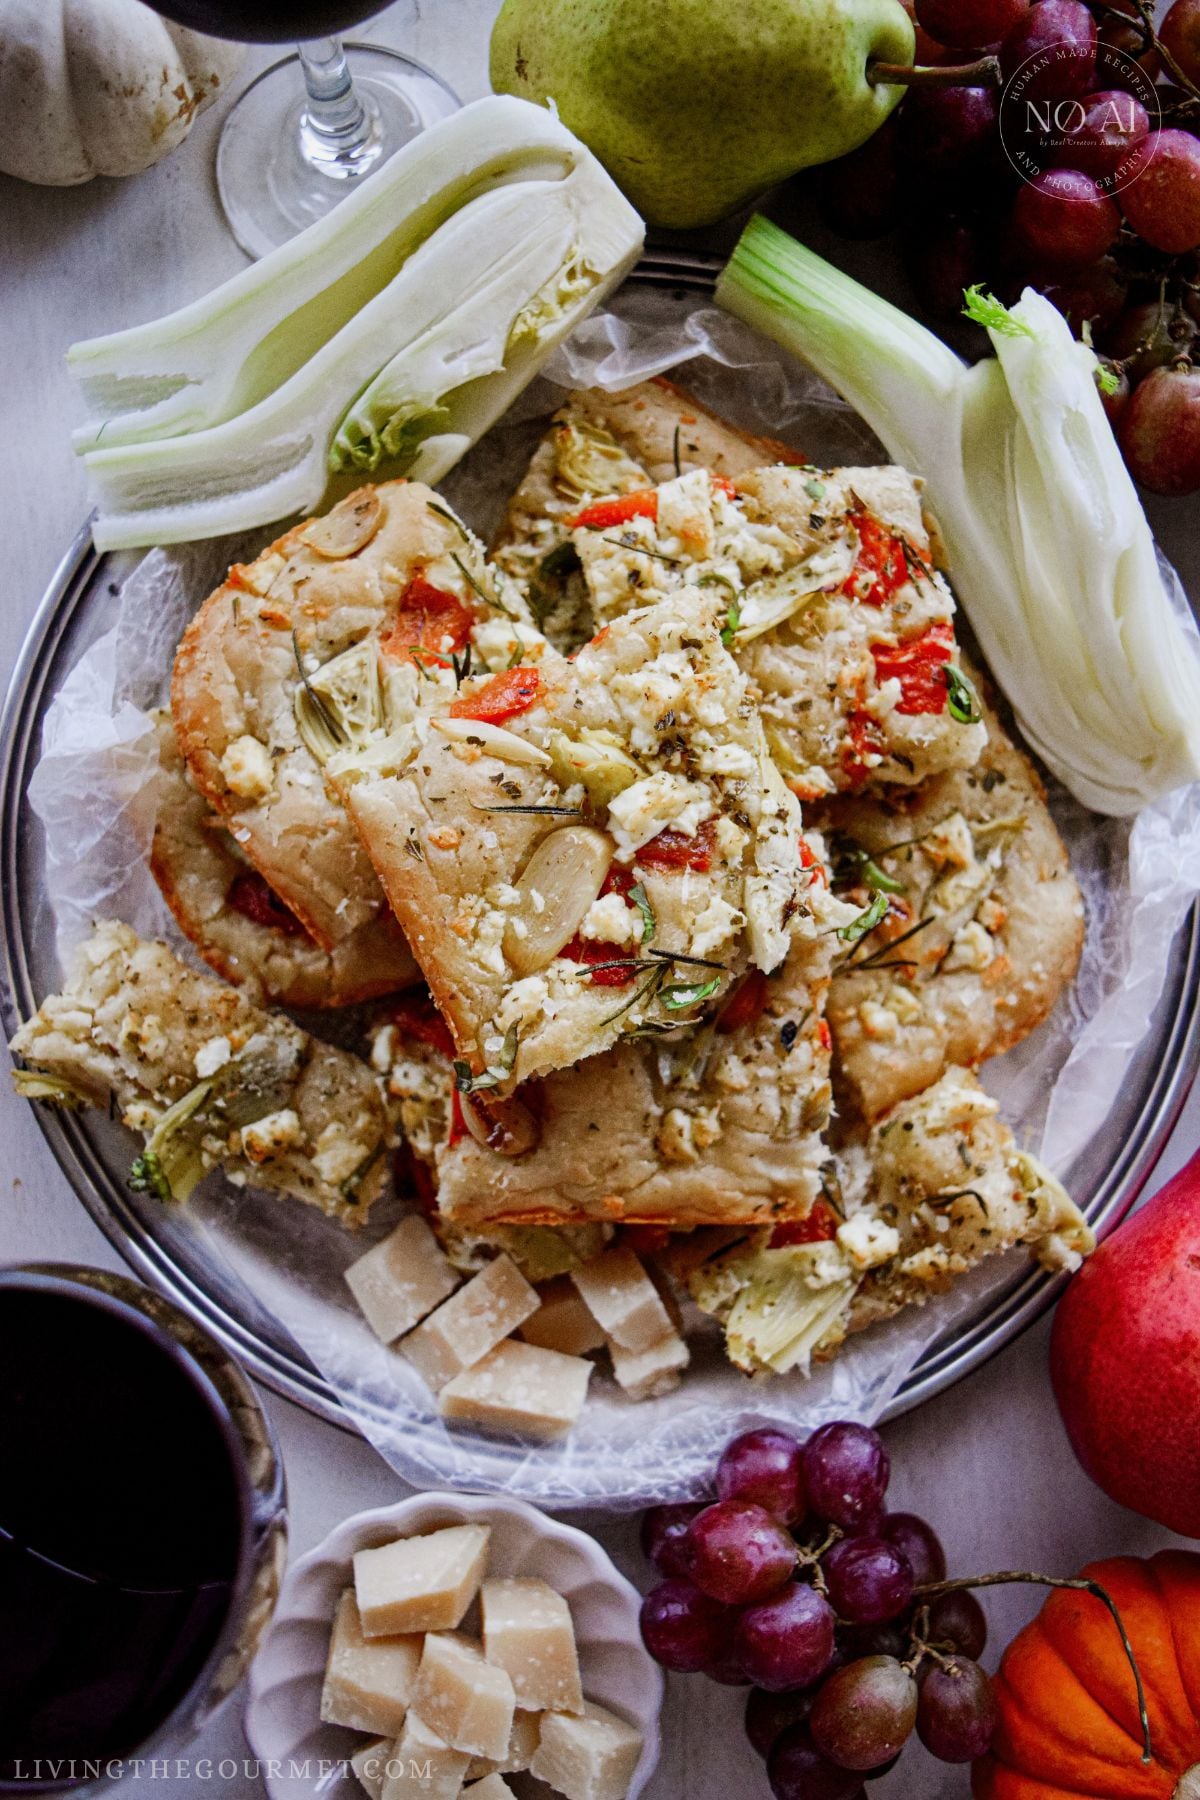
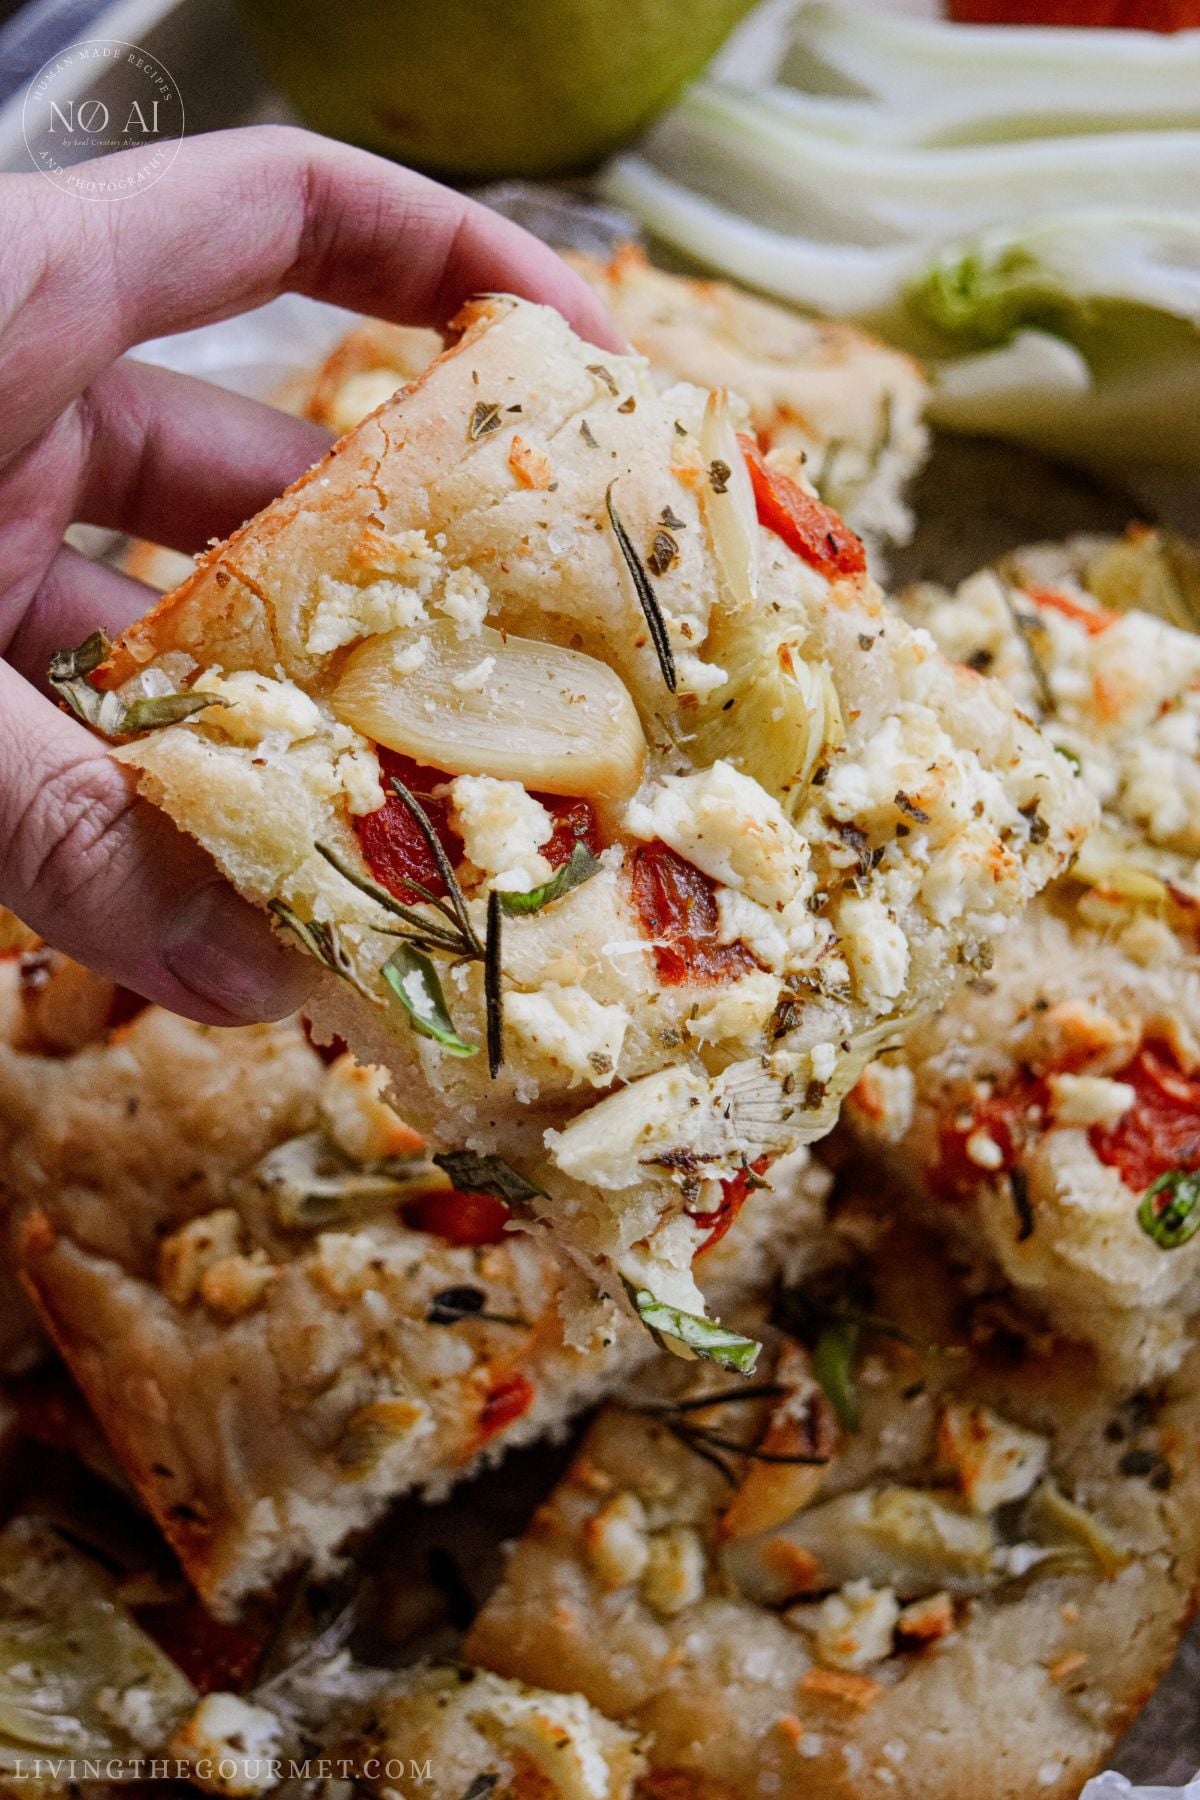
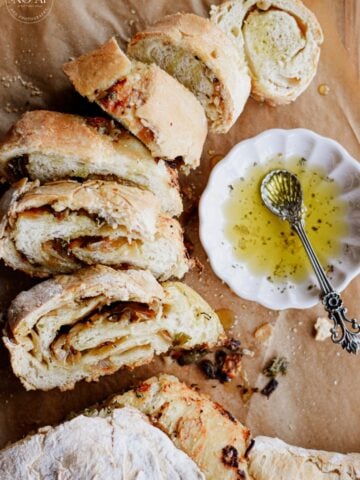
If you're like me, you absolutely adore that warm, yeasty aroma of an Italian bakery at the break of dawn, even better if that aroma is veiled in roasted garlic and herbs, with a background whiff of warmed olive oil. If that sounds delicious to you, then our Homemade Roasted Garlic and Artichoke Focaccia brings the experience of an Italian bakery right to your kitchen. Picture a crisp, golden olive oil crust with a soft, pillowy inside, topped with roasted garlic, artichoke hearts, roasted red pepper, and pockets of crumbled feta, all tied together with fresh rosemary and fresh basil.
Now, I know what you're probably thinking - that process of making a focaccia sounds intimidating or must somehow be complex and require a lot of technical kitchen skills. Not at all. If yeast breads have ever seemed hard to make, or if you've never tried making one at all, then focaccia is the perfect place to start precisely because it's so simple. Unlike a boule loaf or sandwich bread, focaccia requires no shaping techniques and no intensive kneading. Instead, the dough is stirred together in a single bowl, and then left to rise before being stretched into a pan and baked. Here at Living the Gourmet, we have long believed that homemade bread is far easier than most home cooks tend to believe, and this recipe is proof positive that we're right (because of course we're right).
Even so, the best part of this easy Mediterranean flatbread is its versatility. It's as at home on a rustic appetizer board as it is next to a bowl of soup or a plate of pasta. Read on for everything you'll need to prep this recipe, including a complete ingredient checklist, including how to keep wet toppings from making the dough soggy, how to stop the garlic from burning, and which wines it pairs best with.
Jump to:
- Why You'll Love This Mediterranean Focaccia
- Ingredients You'll need
- Why Roast the Garlic and Red Pepper First?
- How to Roast the Garlic
- How to Roast a Bell Pepper
- Pro Tips for Perfect Focaccia
- Step-By-Step Instructions
- Serving Suggestions and Wine Pairings
- Frequently Asked Questions
- Homemade Roasted Garlic and Artichoke Focaccia (Easy Mediterranean Flatbread)
Why You'll Love This Mediterranean Focaccia
- Bakery-Quality Results at Home: This focaccia features a deep golden, olive oil-infused crust over a light and pillowy center that's positively airy in its texture, just like the focaccia you might see in a gourmet Italian bakery.
- Delicious Flavor Profile: The roasted garlic is balanced by the brined artichoke hearts, feta, and a bit of nutty essence from the Parmesan, framed by the fresh herbs.
- Simple Yeast Dough: This recipe does not require a stand mixer, nor any kneading. Instead, we stir the dough together and then let it rise. Simple.
- Pantry-Friendly Ingredients: We're using the simplest ingredients possible. Jarred artichoke hearts, roasted red peppers, and then basic staples like garlic and herbs.
- Versatile: Serve as an appetizer, a side for soup or pasta, or even slice it horizontally for gourmet sandwiches.
- Make-Ahead Friendly: The dough can rest in the refrigerator overnight, which also works to deepen its flavor.
Ingredients You'll need
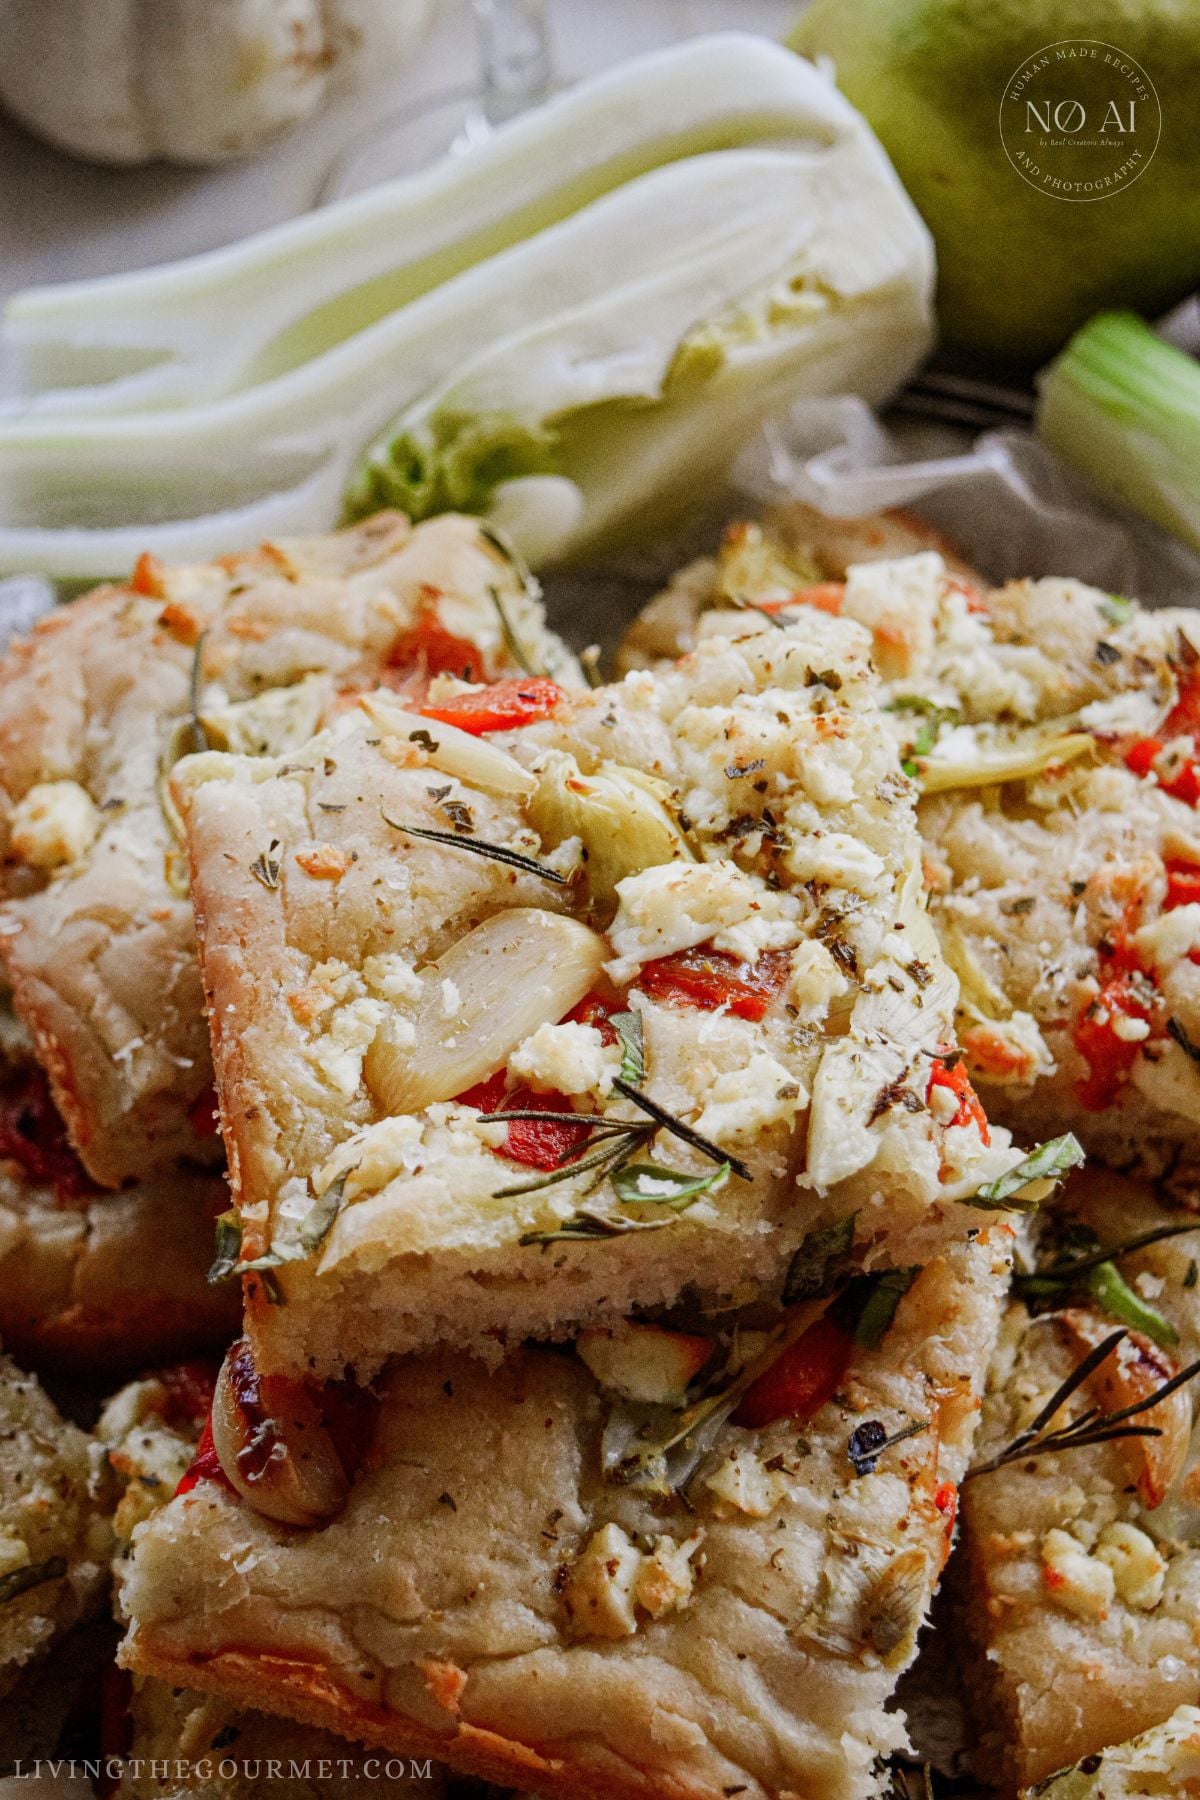
Despite its beautiful appearance and delicious flavor profile, this focaccia's ingredient list couldn't be simpler. Exact measurements are in the recipe card below. Here's everything you'll need:
For the Focaccia Dough
- Active Dry Yeast: The yeast is what gives the dough its rise.
- Sugar: The sugar gives the yeast a quick source of food to help the yeast give the dough its rise.
- Warm Water (105°F to 110°F): The water temperature matters. If the water is too cold, it will make the yeast sluggish. If the water is above around 120 degrees f, it will kill the yeast. If you do not have a thermometer, aim for water that feels comfortably warm on your wrist.
- Olive Oil: The olive oil enriches the dough and gives the focaccia its signature tender crumb. It also works to give the dough a nice golden color and a bit of fruity olive oil flavor.
- Salt: Do not skimp on the salt, as it works to both season and strengthen the dough.
- Bread Flour: The body of the focaccia. When it comes to homemade bread, I always opt for bread flour. Its higher gluten content than that of all-purpose ensures a chewier texture with an open, airy crumb.
For the Savory Toppings
- Roasted red bell peppers: Feel free to use any color bell pepper you prefer, or even mix and match peppers. As a shortcut, feel free to use jarred roasted peppers, but doing so will sacrifice some of the smokiness inherent to freshly roasted peppers.
- Roasted Garlic: Roasting the garlic helps mellow its bite and bring out its natural sweetness. I do not recommend putting the garlic on raw, as it can risk burning and becoming bitter; more on that below.
- Dried Oregano: Be sure to crumble the oregano between your palms, or grind it down in a mortar and pestle if one is available.
- Sea Salt: Any coarse salt will do.
- Grated Parmesan: I recommend grating it freshly yourself, as pre-grated cheese leaks moisture and flavor, and features anti-caking agents to keep it from clumping.
- Fresh Basil: Add it after baking so it retains its bright green color. The fresh flavor and green color are a real gem for this recipe.
Why Roast the Garlic and Red Pepper First?
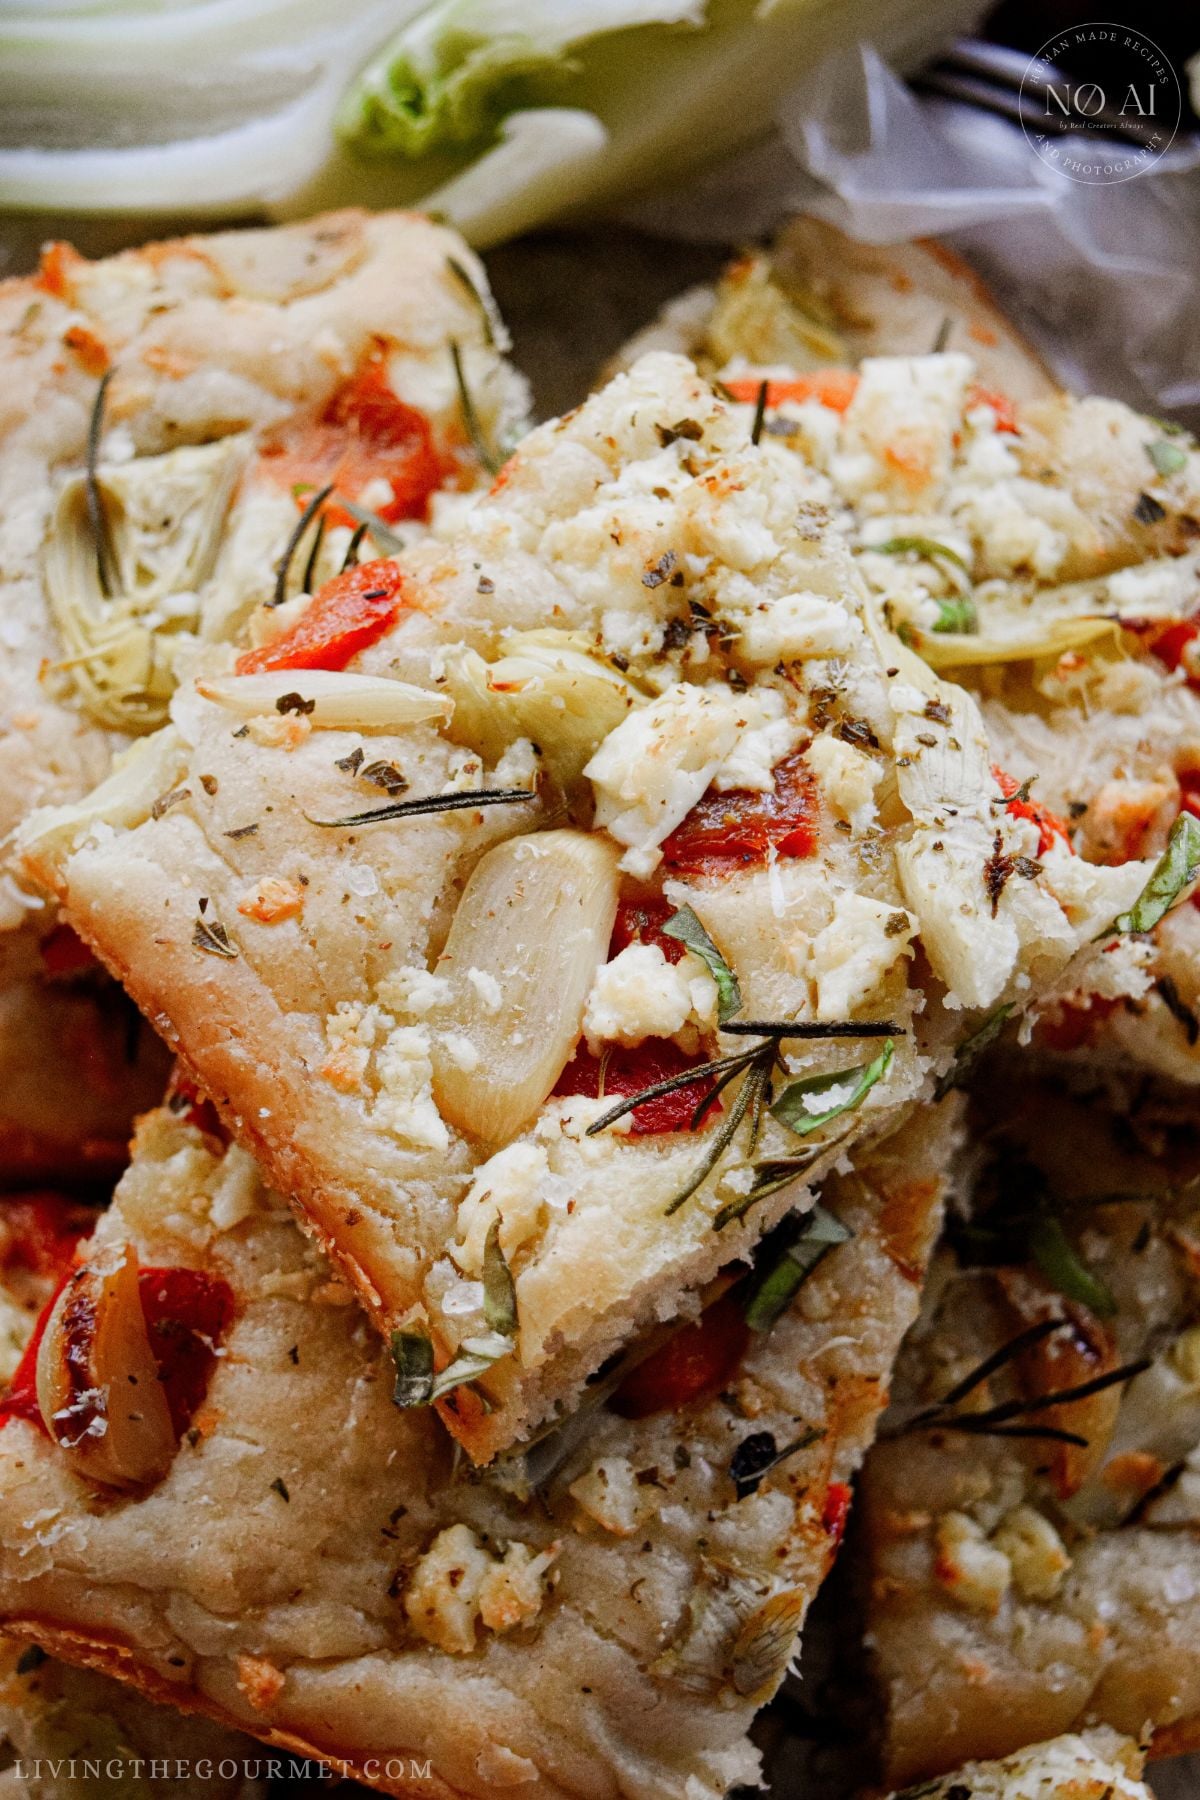
Pre-roasting is a key step in this recipe. Roasting brings out the natural sweetness in the raw garlic, making it almost caramel-like. Roasting also works to mellow the garlic's otherwise sharp bite and pungent aroma, which would risk being overpowering in this recipe. This also means that the garlic is already cooked through before being put in the oven, which actually helps it to avoid burning on the focaccia while in the oven. Meanwhile, roasting the bell pepper concentrates its sweetness and brings out its smoky essences, while also helping to drain away some of its excess moisture, which would risk sogging into the focaccia.
How to Roast the Garlic
We start by peeling the garlic cloves on a small square of aluminum foil, drizzle with a bit of olive oil, and then wrap them in the foil, forming a loose but sealed packet. Then roast in the oven at 400 degrees F for about 20 to 30 minutes, or until the cloves are soft and golden and thoroughly fragrant.
You can also roast an entire head of garlic at once by slicing off the top to expose the cloves, then drizzle with oil, wrap in foil, and roast for about 40 to 45 minutes, or until the cloves are completely soft.
How to Roast a Bell Pepper
Roast the pepper whole either under the broiler or directly over a gas flame. Turn the pepper until the skin is charred and blistered on all sides. Then transfer the bell peppers to a bowl, cover tightly, and let them steam for about 10 minutes; this loosens the skin. Afterwards, peel the charred skin off, remove the stem and seeds, and then chop. As a shortcut, jarred roasted peppers will work just fine, as mentioned above, but be sure to drain them and pat them dry.
Pro Tips for Perfect Focaccia
Prevent Soggy Dough (Prepping Wet Toppings)
Both the artichoke hearts and roasted peppers are high in moisture. This is especially true if you are using jarred peppers. If either the peppers or artichokes go onto the dough wet, that liquid will seep into the dough as the focaccia bakes, resulting in gummy or potentially underbaked patches of dough beneath the toppings.
The fix for this is very simple:
- Drain Thoroughly: Drain the artichokes and peppers into a fine-mesh strainer and then let them sit for a few minutes. Easy.
- Pat Dry: Spread the artichokes on a double layer of paper towels, and then press gently on the artichokes with more paper towels. The key is that you want them as dry as you can get them.
- Squeeze the Artichoke Hearts: These little delicious gems hold a shocking amount of water (or brine or marinade) for their size. Give each one a gentle squeeze before chopping. We're not looking to crush them, just a gentle squeeze to get any hidden liquid from between their leaves.
- Chop Into Small Pieces: Chopping the peppers and artichoke hearts small ensures that they release the maximal amount of liquid. I'm not suggesting a fine dicing, but aim for small pieces.
- Don't Overload the Dough: Try to scatter the toppings evenly, rather than lumping them together. This ensures the surface can remain crisp, without overloading any one section of the dough with moisture from the toppings. This also helps to ensure even cooking and even distribution of flavor.
→ Pro-Tip: If you are using marinated artichoke hearts, the drained marinade is too flavorful to waste. Save a spoonful or two to brush over the warm focaccia, or whisk it into a vinaigrette.
How to Protect Garlic from Burning
Raw garlic has a tendency to burn in the oven, unless it is being roasted as explained above. Thin slices of garlic, or diced chunks, sitting atop the dough at 400 degrees f will almost certainly go from golden to dark brown to bitter and acrid within minutes, and that harsh flavor will spread across the entire focaccia, spoiling the entire thing. That is very much not what we want.
Roasting the garlic, however, solves this issue in two ways. First and foremost, the garlic has already been cooked such that its natural sugars have mellowed and it does not need intense heat to become tender. Second, it removes much of the garlic's moisture and sharpness so that it simply warms through and turns a deeper gold rather than scorching.
You can also press the garlic slices gently into the dough rather than leaving them perched on top of the uncooked focaccia. To do this, simply make shallow dimples across the surface of the dough with your fingers and then tuck the roasted garlic into them. Nestled like this into the dough and surrounded by the olive oil, the garlic is shielded from the direct heat of the oven, and thus it stays soft and sweet while the exposed crust browns around it.
→ Pro-Tip: If you notice the garlic darkening too quickly near the end of the bake time, lay a loose sheet of foil over the pan for the last few minutes of baking.
Don't Skip the Double Rise
Our focaccia requires two rises, and both of the rises do a slightly different job. The first rise, the one in the bowl, is where the yeast produces the gas that provides the dough its structure and much of its flavor - the 'bread flavor' that we all love from freshly baked goods. The second rise, after the dough has been stretched into the pan, works to rebuild the air that was knocked out of the dough during the stretching. That second rise is what gives our focaccia its pillowy, open interior and its large, irregular bubbles - basically, it is what 'makes' the focaccia.
With all of that said, yeast is happiest when it is in a warm, dry, draft-free area. In this case, warm means roughly 75°F to 85°F. This means that letting the dough rise in a dark, warm place - that's free of circulating air and moisture - keeps the yeast's temperature steady and prevents the surface of the dough from drying out.
A few reliable options for letting the dough rise include:
- Inside your oven, provided the oven is off.
- On top of the refrigerator, where it is often a few degrees warmer.
- Inside a microwave alongside a mug of freshly boiled water.
→ Pro-Tip: Gauge the dough by the dough itself rather than by the clock. In a warm kitchen, the first rise often takes about an hour, and in a cooler kitchen it may take closer to two hours or possibly even longer. Basically, the dough takes about an hour to rise under ideal conditions. That said, the dough is ready when it has roughly doubled in size and looks puffy. The second rise is somewhat quicker, taking about thirty to forty minutes.
Test: If you believe the dough is ready, but want to make sure, roll it out onto a floured surface, then press down about half an inch into the dough. If the dough springs back slowly, leaving only a small dent, it is ready.
Don't Overmix the Dough
After you add the flour, stir only until no dry streaks remain and then stop. Yes, the dough will look shaggy and will be quite sticky, and that is exactly what you want. No joke, that's how the dough should look and feel. Focaccia is a soft, high-moisture dough, and the gluten develops on its own as it rises with very minimal mixing required. Overmixing will make the dough tough and harder to stretch, while adding additional flour (to make it less sticky) will result in a denser bread, and dense is not what you want from a focaccia.
Use Oiled Hands to Stretch the Dough
After the dough rises, coat your hands with a little olive oil before turning it in the pan and stretching it out. Oiled hands will keep the sticky dough from clinging to your fingers - and this, in turn, helps to prevent the dough from tearing. If the dough insists on springing back and won't reach the corners of the pan, stop and let it rest for ten minutes or so. The gluten will relax, and the dough should stretch out more easily.
Know When It Is Done
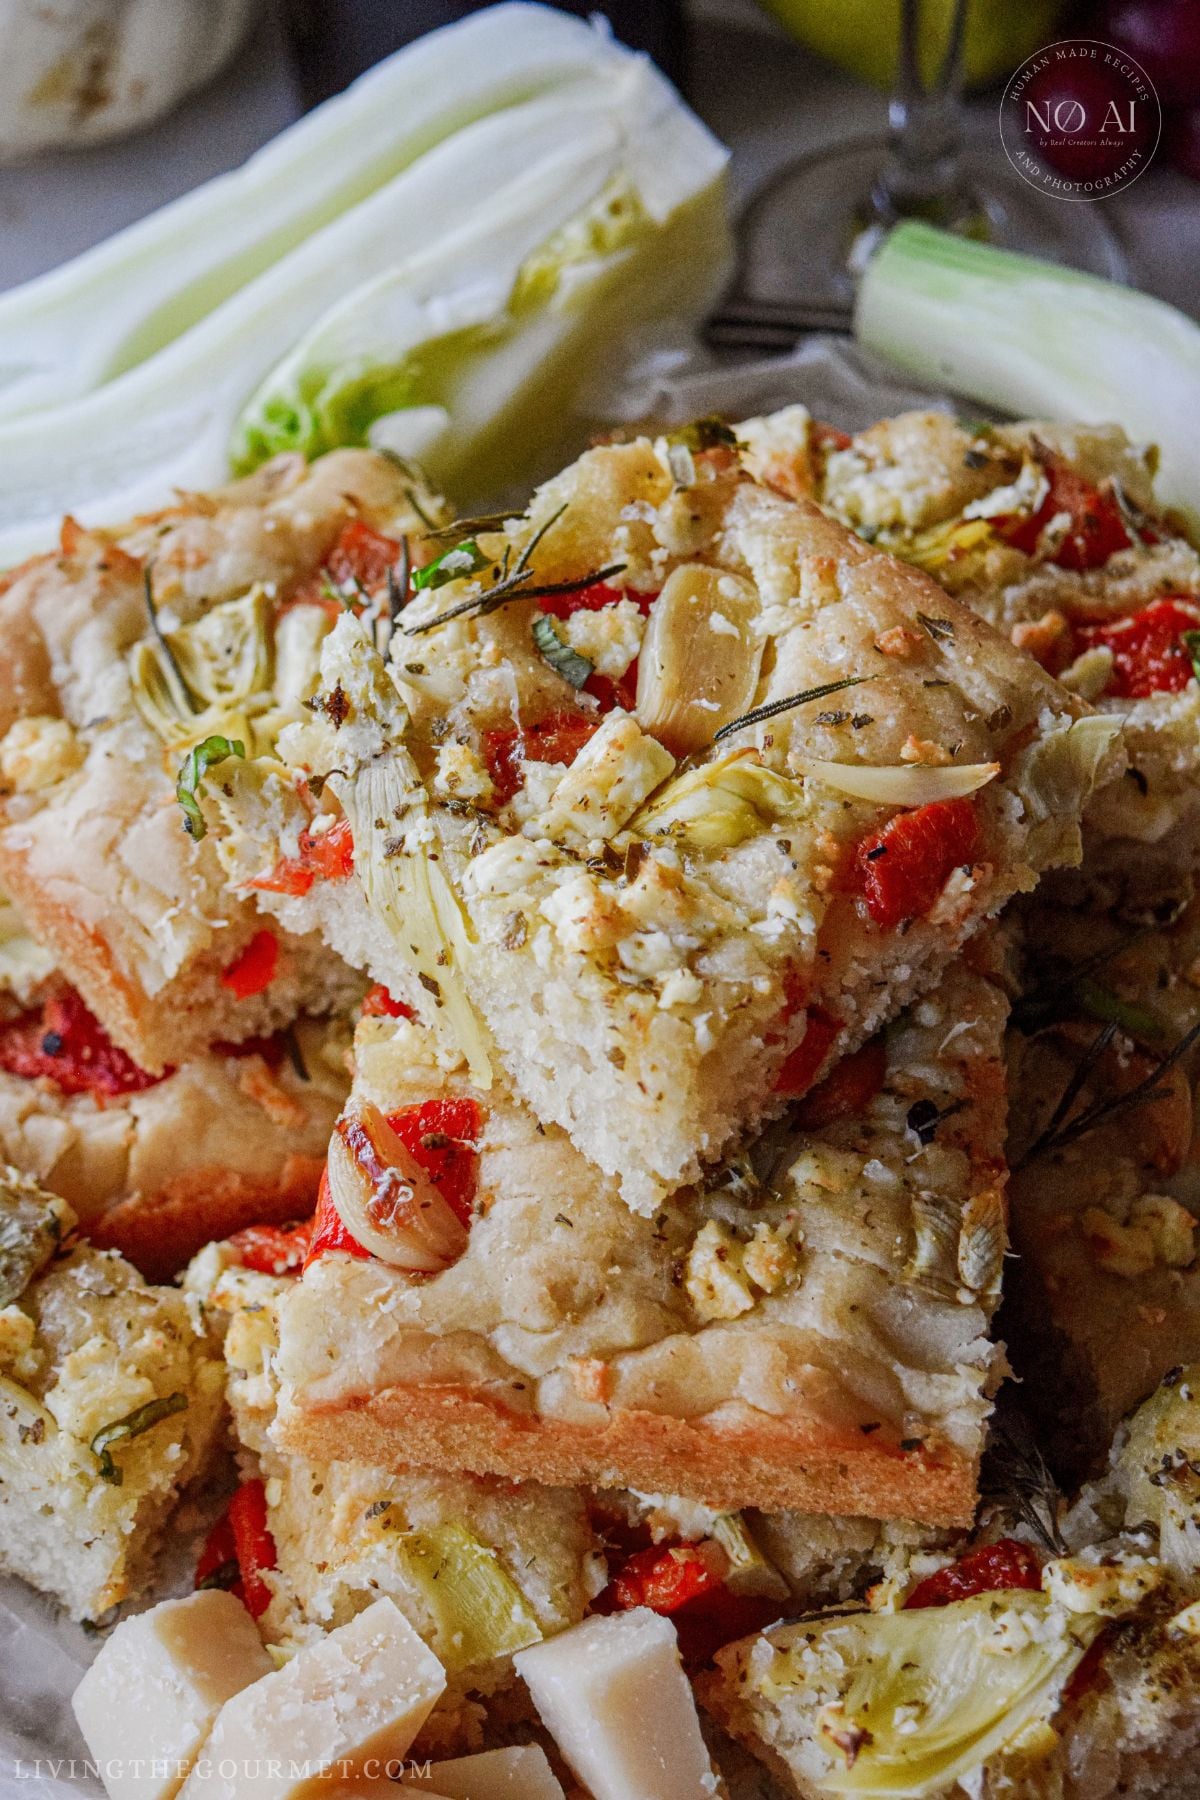
Look for a deep golden-brown color and edges that have begun to pull away slightly from the sides of the pan. The bottom of the focaccia should be crisp and golden, but slightly soft to the touch, almost like crusty bread. You can check by lifting a corner with a spatula to check. Conversely, if you have an instant-read thermometer, the center should register about 200 degrees F. That said, every oven runs a little hotter or colder, so start checking at the 20-minute mark.
Step-By-Step Instructions
Here's how we bring this focaccia together:
- Proof the Yeast and Mix the Dough: In a large bowl, whisk the yeast with sugar, salt, warm water, and a quarter of a cup of olive oil. Stir to combine. Add the flour and gently stir until just combined. The dough will be soft, shaggy in appearance, and sticky.
- First Rise: Cover the bowl with plastic wrap or a kitchen towel, and set it in a warm, dark place until the dough has roughly doubled in size.
- In the Pan and Second Rise: Drizzle two tablespoons of olive oil into an 8x10-inch pan. With oiled hands, turn the dough out into the pan and gently stretch it out to fill the pan. You want the dough to reach all the way to the corners. Cover and let the dough rise again in the pan until it is puffy. While it rises, preheat your oven to 400 degrees F.
- Top the Focaccia: Scatter the roasted bell pepper, garlic, artichoke hearts, and crumbled feta evenly over the dough, pressing the garlic down gently into the surface. Then sprinkle with oregano, sea salt, and parmesan. Pull the leaves from the rosemary sprigs and scatter them evenly across the top of the dough. Finish with a drizzle of olive oil.
- Bake until Golden: Bake at 400 degrees F for about 20 to 25 minutes, or until the focaccia is golden.
- Finish and Serve: As soon as the focaccia comes out of the oven, sprinkle it with the finely chopped fresh basil, and then let it cool. Cut into squares and serve warm.
→ Pro-Tip: Allowing the focaccia five minutes to cool in the pan makes it easier to lift out cleanly without it tearing. That said, transfer it to a wire rack if you are not serving it right away; otherwise, steam will risk softening the bottom crust.
Serving Suggestions and Wine Pairings
How to Serve
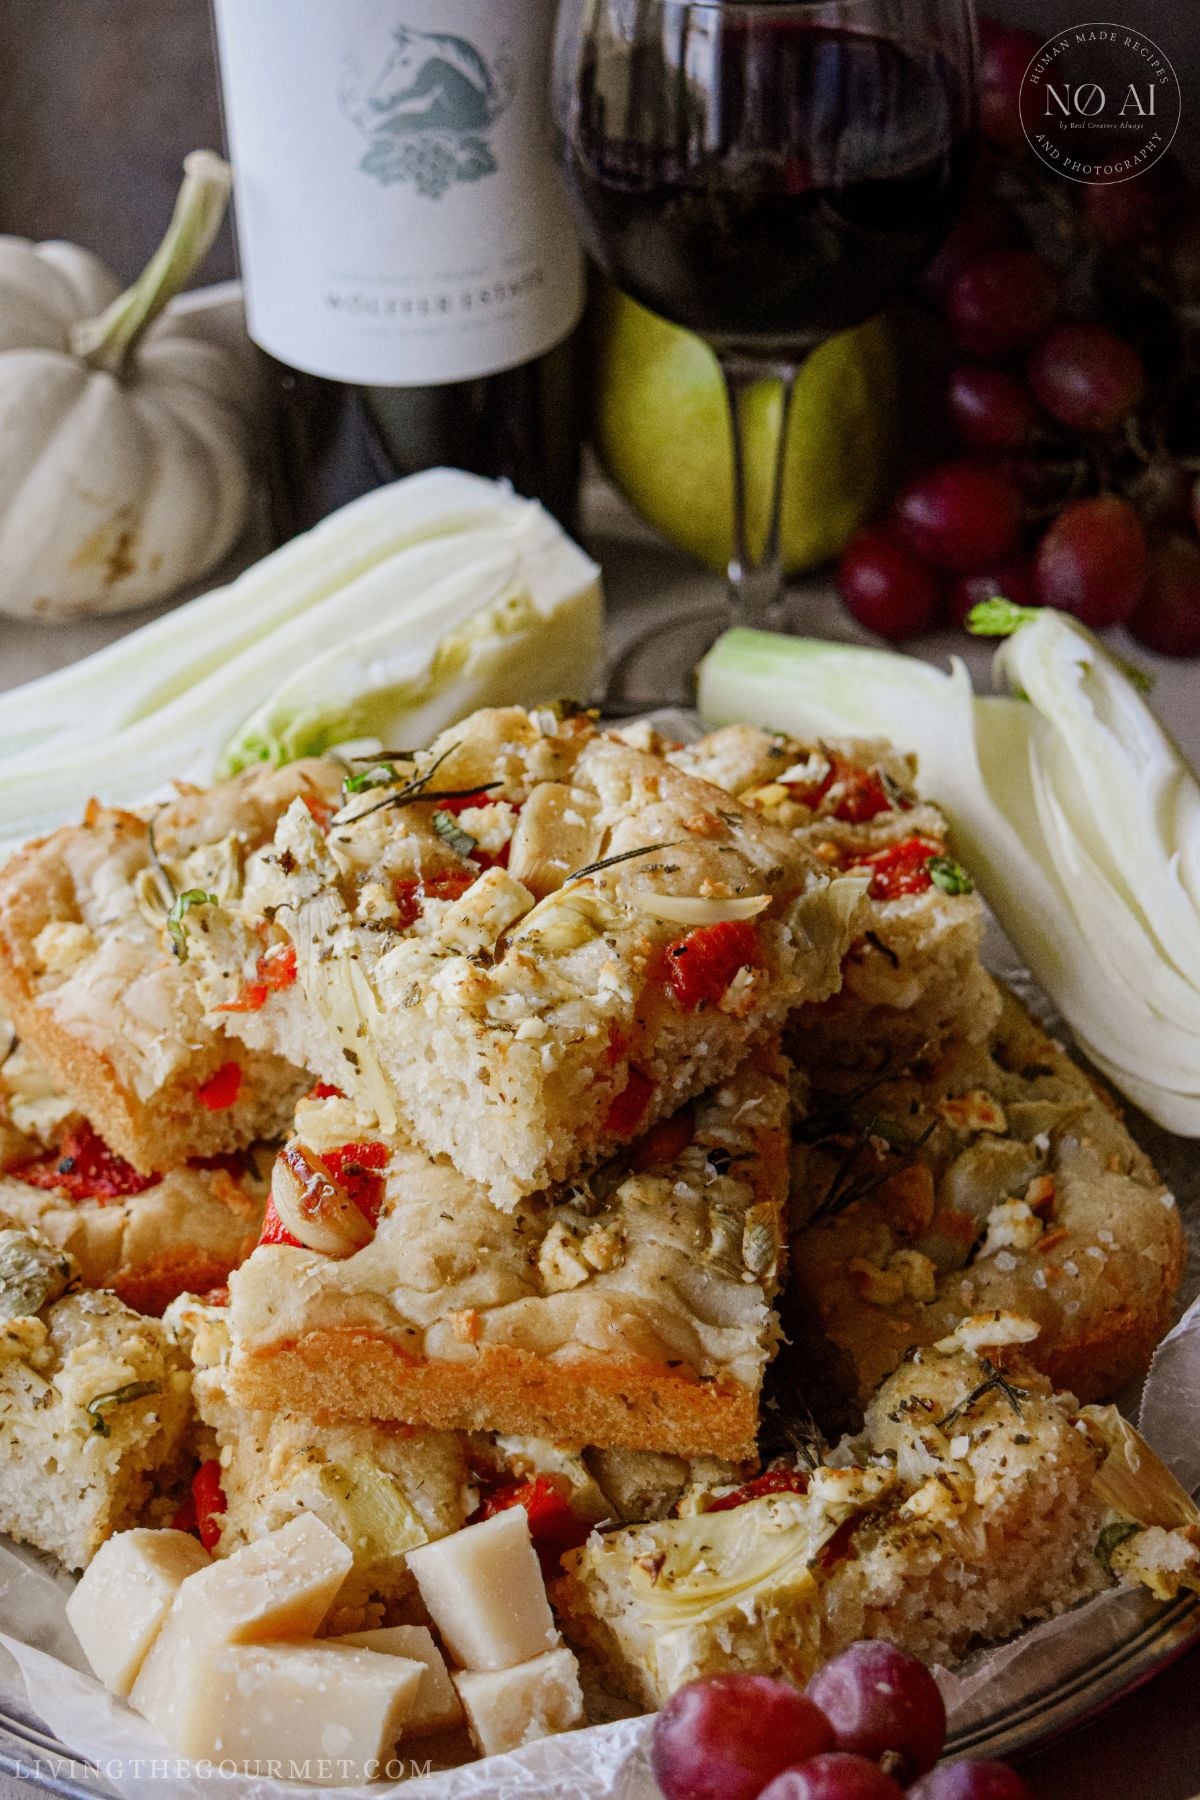
- As an Appetizer: Cut into small squares and serve warm. I recommend serving the focaccia alongside a little extra olive oil, or perhaps some balsamic vinegar, for dipping. Naturally, focaccia is a lovely addition to an antipasto board with olives, charcuterie, and cheese.
- As Gourmet Panini: Let this be your ultimate gourmet flex. Slice squares of the focaccia in half horizontally, and then fill with fresh mozzarella, tomato, and prosciutto, or grilled vegetables. Press it in a panini maker or a hot skillet until the cheese melts. Delicious, and one of the easiest ways to impress guests.
- With Pasta and Salads: This focaccia pairs particularly well with light pasta dishes and makes for a perfect accompaniment alongside a Mediterranean-style chopped salad or a Greek salad, especially if you're serving those salads as a light meal.
Wine Pairing Notes
When pairing this focaccia, I would recommend keeping in mind that it is rich with olive oil and features feta quite prominently. The focaccia also has briny notes from the artichokes as well as sweet-and-smoky essences from the roasted peppers and roasted garlic. With that said, there are several delicious pairings that I personally recommend:
- Pinot Grigio: Light, crisp, and clean, with citrus and green apple notes, Pinot Grigio is a natural pairing for most focaccia preparations, and this recipe is no exception.
- Vermentino: An Italian white wine with bright acidity, a touch of salinity, and herbal notes that deliciously echo the focaccia's oregano and rosemary.
- Cabernet Franc: Light to medium-bodied, with delicious red fruit essences, this would pair beautifully alongside a lush charcuterie board with the focaccia serving as the bread.
Frequently Asked Questions
Yes, you absolutely can, and it is a great way to build even more flavor. To make it ahead, once you have mixed the dough, cover the bowl tightly and refrigerate it for up to a maximum of 48 hours. This slow, cold fermentation works to develop a deeper, slightly more complex flavor and a more open crumb. Once you are ready to bake the focaccia, let the dough sit at room temperature for about an hour so that it can warm up and finish rising. Afterward, transfer it to the oiled pan, stretch it, and let it rise again and bake as directed in the recipe card below.
Let the focaccia cool completely. Afterward, wrap it tightly in foil or store it in an airtight container. Because the focaccia is topped with cheese, herbs, and veggies, it will keep in the refrigerator for about 3 days. If you want to keep it any longer than that, slice the focaccia into individual squares, wrap them tightly, store them in freezer-safe bags, and they will keep in the freezer for about 2 months. That said, focaccia really is best consumed fresh.
Yes. Generally, you can substitute instant yeast at a 1-to-1 ratio for active dry yeast. Instant yeast does not need to dissolve in water before being used, so you can mix it straight into the flour if you prefer. After that, add the water, oil, sugar, and salt. Instant yeast, however, tends to work a little faster, so start checking on the dough earlier during both rises.
If your yeast has been in the cupboard for a while, it is probably best to test it before using. To do so, stir the yeast and sugar into the water and let it sit for 5 to 10 minutes. If the mixture turns foamy and smells of yeast, then it is alive and ready to go. Add the salt and olive oil and continue with the recipe as directed below. However, if nothing happens, then the yeast has expired, or the water was too hot, and you will want to start over with fresh yeast. Of course, you can always simply check the expiration date on the package.
By far the most common cause is expired yeast. Other causes include the water being too hot, which kills the yeast, or too cold, which slows the yeast down. Additionally, the rising spot for the dough may have been too cold. Always remember to check the date on the yeast, use a thermometer to test the water, and give the dough more time in a warmer spot to rise. A slow rise is not a failed rise.
You can. Both are interchangeable here. All-purpose flour will produce a soft texture, while bread flour promotes a higher rise and chewier texture.
Of course. An 8x8 or 9x9 will give a similar thickness. A 9x13 pan will produce a thinner, crispier focaccia that may bake a few minutes faster, so I recommend checking early.
I don't recommend it. Raw garlic, sliced on top of the dough, will almost certainly burn at 400°F, and burnt garlic is bitter garlic. Roasting the garlic first is what gives this focaccia its sweet, mellow garlicy flavor, and using fresh will sacrifice that almost entirely, even if it does not burn.
Homemade Roasted Garlic and Artichoke Focaccia (Easy Mediterranean Flatbread)
- Total Time: 2 hours 35 minutes
Description
A golden, olive oil-rich focaccia topped with roasted garlic, artichokes, roasted red pepper, and feta cheese.
Ingredients
For the dough:
- 3 teaspoons active dry yeast
- 2 teaspoons sugar
- 2 teaspoons salt
- 1/4 cup olive oil, plus 2 tablespoons
- 1 1/2 cups warm water (105°F to 110°F)
- 3 1/2 cups bread flour
For the toppings:
- 1 roasted bell pepper, peeled with seeds removed, and chopped
- 4 large cloves garlic, roasted and sliced
- 1/3 cup artichoke hearts, chopped
- 1/2 cup crumbled feta cheese
- 1 1/2 teaspoons dried oregano
- 1 teaspoon flaky coarse sea salt
- 3 tablespoons grated Parmesan cheese
- 1 sprig fresh rosemary
- Olive oil
- 4 fresh basil leaves, finely chopped
Instructions
- In a large bowl, whisk together yeast, sugar, salt, water, and ¼ cup olive oil. Stir to combine. Add flour and gently combine, but do not overmix.
- Cover and place in a warm, dark place until it has doubled in size.
- In an 8x10 inch pan, drizzle 2 tablespoons olive oil.
- Turn the dough out into the pan and stretch it out to fit the pan. Cover and let rise again.
- Preheat oven to 400 degrees F.
- Sprinkle the dough with the chopped pepper, garlic, artichoke hearts, and crumbled feta.
- Sprinkle the oregano, salt, and Parmesan on top.
- Pull the rosemary leaves off the sprig and sprinkle all around the dough.
- Drizzle with a little more olive oil and bake for about 20-25 minutes, depending on the range of your oven, or until the focaccia is golden.
- Once out of the oven, sprinkle with the fresh basil.
- Serve and enjoy!
- Prep Time: 5 minutes
- Inactive Prep Time: 2 hours
- Cook Time: 30 minutes
- Category: Side Dish
- Method: Baking
- Cuisine: Italian
And that's our Homemade Roasted Garlic and Artichoke Focaccia. If you enjoyed this recipe or have any questions or suggestions, be sure to let us know in the comments below. We always love hearing from you!
Happy Cooking!
This post contains affiliate links, and I may earn a commission if you purchase through these links with no additional cost to you.



Leave a Comment