The following article contains sponsored links. All opinions expressed are my own however.
Starting a blog sounds fun and exciting, and it is. It can also be fairly intimidating, but don’t let those big beautiful shots and fancy letterheads discourage you.
It’s definitely a learning process no matter how technically advanced you may be because the digital world is constantly changing, expanding and developing.
From personal experience however, starting Living the Gourmet is probably one of the most exciting journeys I have embarked on.
Today we’re excited to be sharing Part 1 of a mini-series we will be running here on Living the Gourmet this season focused on starting a website, particularly a food business. Today’s post will focus on the very bare basics of starting a site and everything you need to know before jumping into the blogosphere. These are things I wish I had known about during the early stages of transitioning from a blog to a website, and I’ll explain the difference between the two in this post.
Before we delve deeper, you need to ask yourself why are you blogging? In other words, is it a hobby or a business you’re looking to start? I’m going to assume it’s more than just a hobby, and explain the important step you will need to take to run a serious website with engaging content to bring people together, to teach and to inspire.
1. CREATING YOUR SITE
When we first began blogging we started on Blogger. At the time it was free (still is), easy to use, and quite frankly more well-known than WP. Little did we know back in 2008 that blogging would become the new wave of media and marketing that it is now. So, to my 2008-self, I would advise beginning on WordPress. More often than not, bloggers eventually take the plunge and migrate over to WordPress, so you might as well just skip this step altogether and begin on WordPress. It’s free and just as easy as Blogger. Furthermore, one of the big difference is the variety and quality of plugins offered by WordPress verse the limited widgets offered by Blogger, which we will cover later on. The other plus side is that you won’t have to re-learn a whole new platform. While both WP and Blogger are fairly simple to navigate, they are completely different from each other.
Once you have a blog title in mind, go ahead and buy out a domain name too. The domain name is basically the web address (i.e. LivingtheGourmet.com is our domain). We suggest buying out your domain name from the company you plan on having host your site.
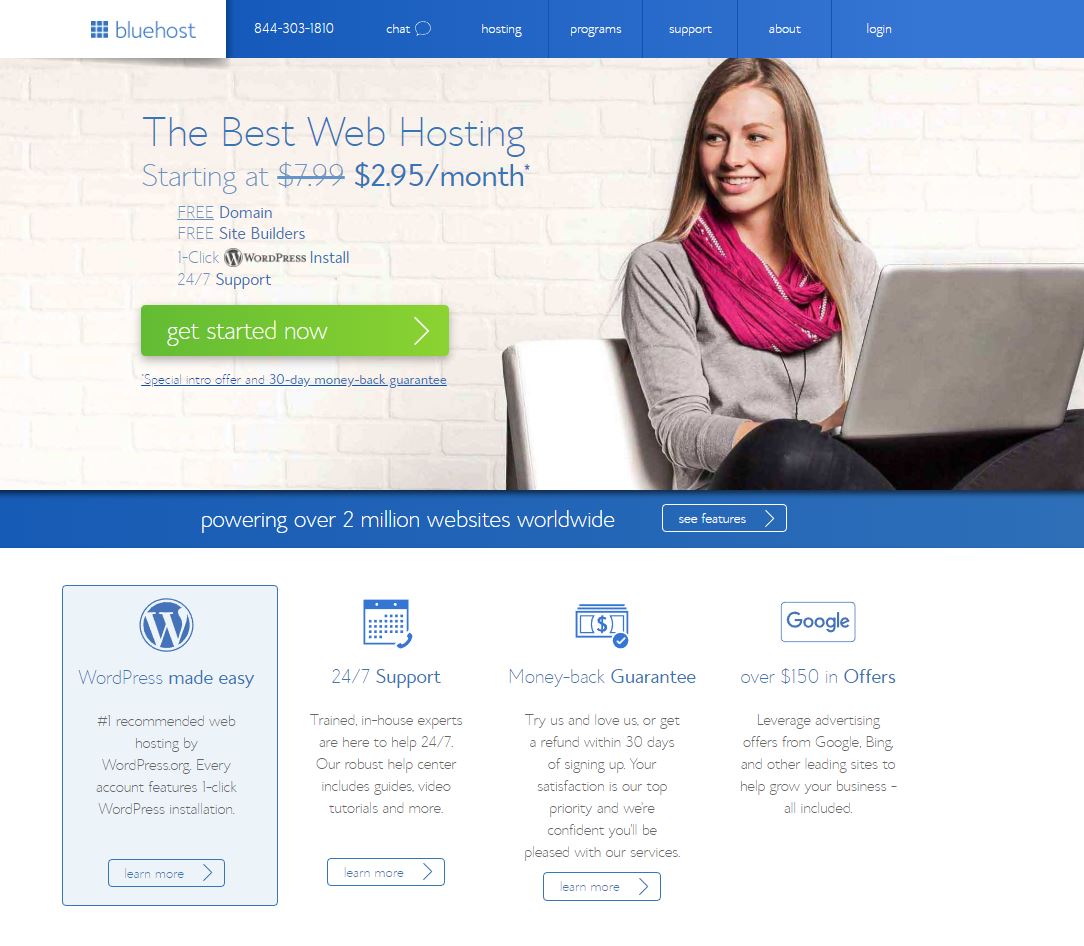
For those just starting out who are also on a tight budget we suggest BlueHost.com where you can get a FREE domain name. They are a highly reputable and reliable service, plus they have a fantastic support team that will help you start your site if you run into any issues along way. With 24/7 support and a free site builder, creating the blog of your dreams is not as hard as you think.
Hosting packages start at $2.95/month and if for whatever reason you are not completely satisfied with BlueHost.com you can cancel within 30 days of signing up and get a full refund. It really doesn’t get much easier than that.
So now that you have your domain name and hosting account set up, it’s time to turn your dream site into a reality.
2. TEMPLATES & DESIGN
You don’t have to spend a whole lot on a web-designer and new look for your site. When we made the move from a blog to website, we shopped around for a designer and were getting prices from $600 to $1500+. Finally, we found a designer who offered to transfer all our site content AND design for $150. Sounds too good to be true, right? It was.
When migrating from one blogging platform to another, you need to make sure you find someone who can seamlessly transfer all your content AND links. This is key, and one of the issues we ran into during our transfer. Our old links weren’t properly redirecting the readers to the new link meaning when people went to visit a particular post, they were getting an error message.
Secondly, you want someone who can transfer all the content within a reasonable amount of time, because no matter what, you’re site will be ‘down for maintenance’ during this period. To give you an idea, anywhere from a few hours to a day is reasonable.
So, speaking from personal experience, if you’re on a budget but still want a clean, personalized look, we highly recommend going to Studiopress. Granted, WordPress offers an array of free but basic templates to help you get started but when you’re ready for something fresh and a bit more personalized, Studiopress is a great site that offers easy-to-install templates that are customizable and beautifully designed for a fraction of the price of a web designer.
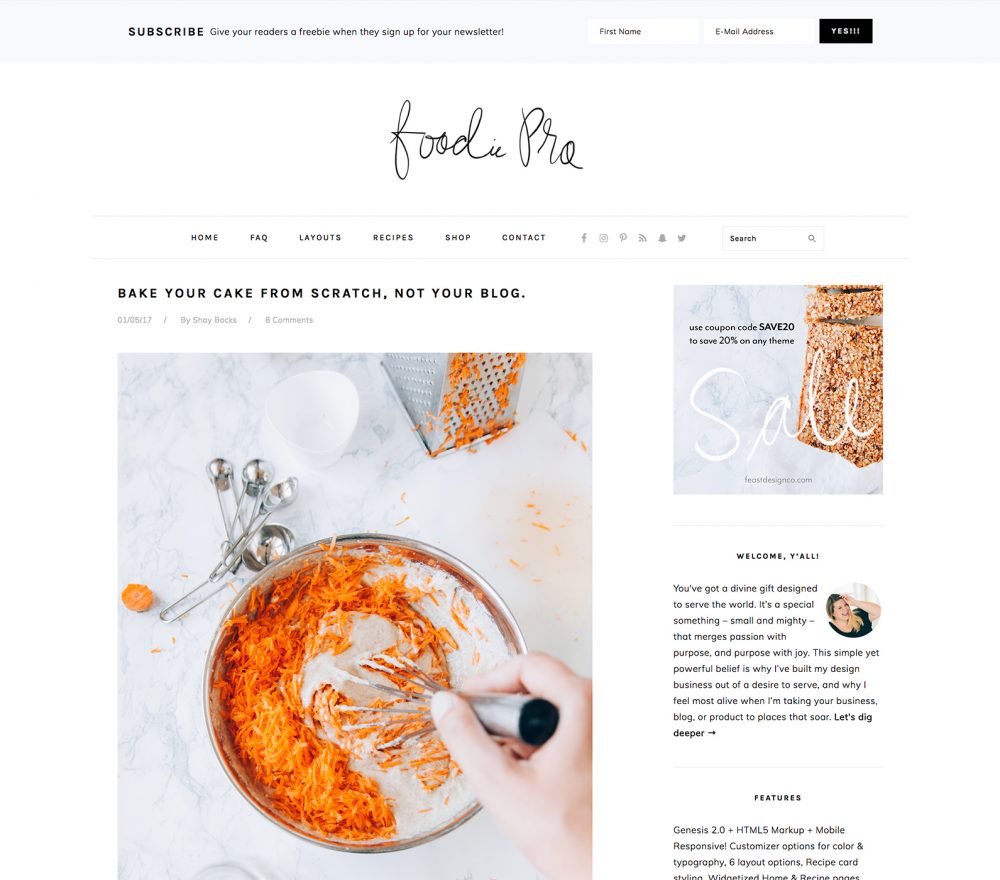
Over the years, we’ve been big fans of Shay Bocks who creates blog templates specifically designed for food bloggers. When we first started we used the Foodie Pro theme and later moved over to their Brunch Pro theme. The transitions were easy and seamless. We installed the templates ourselves since each design came with step-by-step directions for installation, but if you do have any issues, Shay Bocks also offers a fabulous team of experts who are there to help you with whatever questions or concerns you may have. Another big plus is that their templates are so much more affordable as opposed to having a web designer create a look for you. They offer a variety of different features so that you can personalize each look to feel more like your own.
3. THE BASICS
When we first began we didn’t understand a whole lot about turning a blog into a website. Technically speaking we are still a blog, but when I say we’ve become a website, I’m referring to the web address and the fact that our blog is now a brand. However, as I mentioned earlier, you still have a blog based on layout and composition. You may be wondering, ‘what is a brand?’ Well, only you can really answer that. What do you want your site to be about? What is your goal and target demographic? For instance, if you are a food blogger targeting allergy-friendly recipes and your site is called ‘Allergy Friendly Foods for All’ then you can say your brand is a site focused only on nut-free, grain-free and dairy-free foods. In our case, our brand is Mediterranean Cuisine which encompasses recipes, wine pairings, etc.
When you first create your blog, set up an email account for your brand - speaking from personal experience here. Usually, you can get a free email from your web hosts ([email protected]). If however, you choose not to do this, then create a new email elsewhere, as long as it has the title of your blog. This just keeps your emails neatly sorted and categorized so you don’t get work-related emails mixed in with your personal emails and advertisements. Furthermore, down the road, if you’re looking to monetize your blog, this keeps things more business orientated. You don’t want to have to do this later, because updating sites and business acquaintances with your new email will complicate things and who needs more work and stress?
From the get-go, you want to create a mailing list for your readers so they can subscribe to your blog for updates. We use MailChimp which is by far one of the easiest tools to use when it comes to creating a newsletter for your blog. You can easily design your emails, create mailing lists, etc. MailChimp also allows you to add a sidebar widget to your blog so people can easily subscribe with the push of button from the homepage.
Speaking of widgets, that brings us to our next topic. Here’s a quick rundown of widgets you want to keep on the sidebar of your blog, preferably above the fold. (Above the fold refers to what is visible on the page without having to scroll down).
Social Media Buttons
Search Bar
About Widget
Subscribe Widget
It’s so important to keep social media buttons visible on your site, especially at the top, so people can follow along on Facebook, Twitter, Instagram, etc…
A search bar is essential and its best kept at the top of the site as well.
It’s a good idea to keep a profile image at the top to personalize the user’s experience with the author behind the site.
4. PLUGINS
One of the biggest differences between Blogger and WordPress is that WP has plugins which help the site run smoothly but also allows you to do things you can’t do on Blogger. In that respect, Blogger is very limited. So for instance, rooting out spam comments without driving your audience nuts with CAPTCHAs and other response tests. No one enjoys having to prove to a robot they are not a robot.
We suggest Akismet Anti Spam for this. Both work reliably well with WP and most themes.
As a food blogger is it essential to have a good recipe widget. One that allows you to customize the recipe box in your posts, formats your recipes for SEO, allows users to follow along easily and print to save for later. We are big fans of the MealPlannerPro Recipe plugin for this. If you are already using another recipe widget but want to switch over, you can easily convert all existing recipes over with the click of one button.
Social Share Buttons- as we mentioned earlier, social media buttons should always be visible but so should the social share buttons. Shareaholic is a great service to use and one we’ve recently switched over to as well.
Engagement is key to grow your readership base. That being said, it’s wise to install a plugin that alerts readers when you’ve replied to a comment they have left on your blog post. Especially, if they have a question about a particular recipe or post. We use Comment Reply Email Notification and so far have not had any issues with this plugin.
One of the most important plugins you’ll install on your site is probably Yoast SEO. If you’re anything like me, SEO lingo can easily confuse you and at times discourage you. Yoast is a fantastic service that helps to make sure your posts are SEO friendly before you hit the publish button. The set-up may seem a bit intricate but this plugin is a must.
There are so many different plugins, far too many for me to touch on in this post, but we will cover more later on in this series. Today, however, I simply wanted to tackle the core plugins that you will need once you’ve set up your blog.
5. CREATING YOUR FIRST BLOG POST
At long last, you are finally ready to show the world what you’ve got!
Creating your first blog post will probably be one of the most difficult blog posts you’ll ever write. You have a million thoughts and doubts running through your head, and after all this time of planning and hours of daydreaming about this internet café you’ve been wanting to create, suddenly you’re hit with a complete mental block. But now is the time to introduce yourself to the world, however small it may be at first.
In Part II we’ll discuss what goes into creating a blog post, with a focus on photography, formatting, and other tips on how to create an engaging post if this feels like a struggle for you.
In Part III, we will discuss the cosmetics – the additional plugins, widgets, features, and the little details you can add to your site to really make it stand out and feel like something special to you.
We’re excited to be sharing all this with you and if you have any questions at all about today’s post or if you have questions for our upcoming posts, drop a comment below. We look forward to hearing from you!
1


gourmettraveller says
Amazing blog with informative content. I love your writing style.