
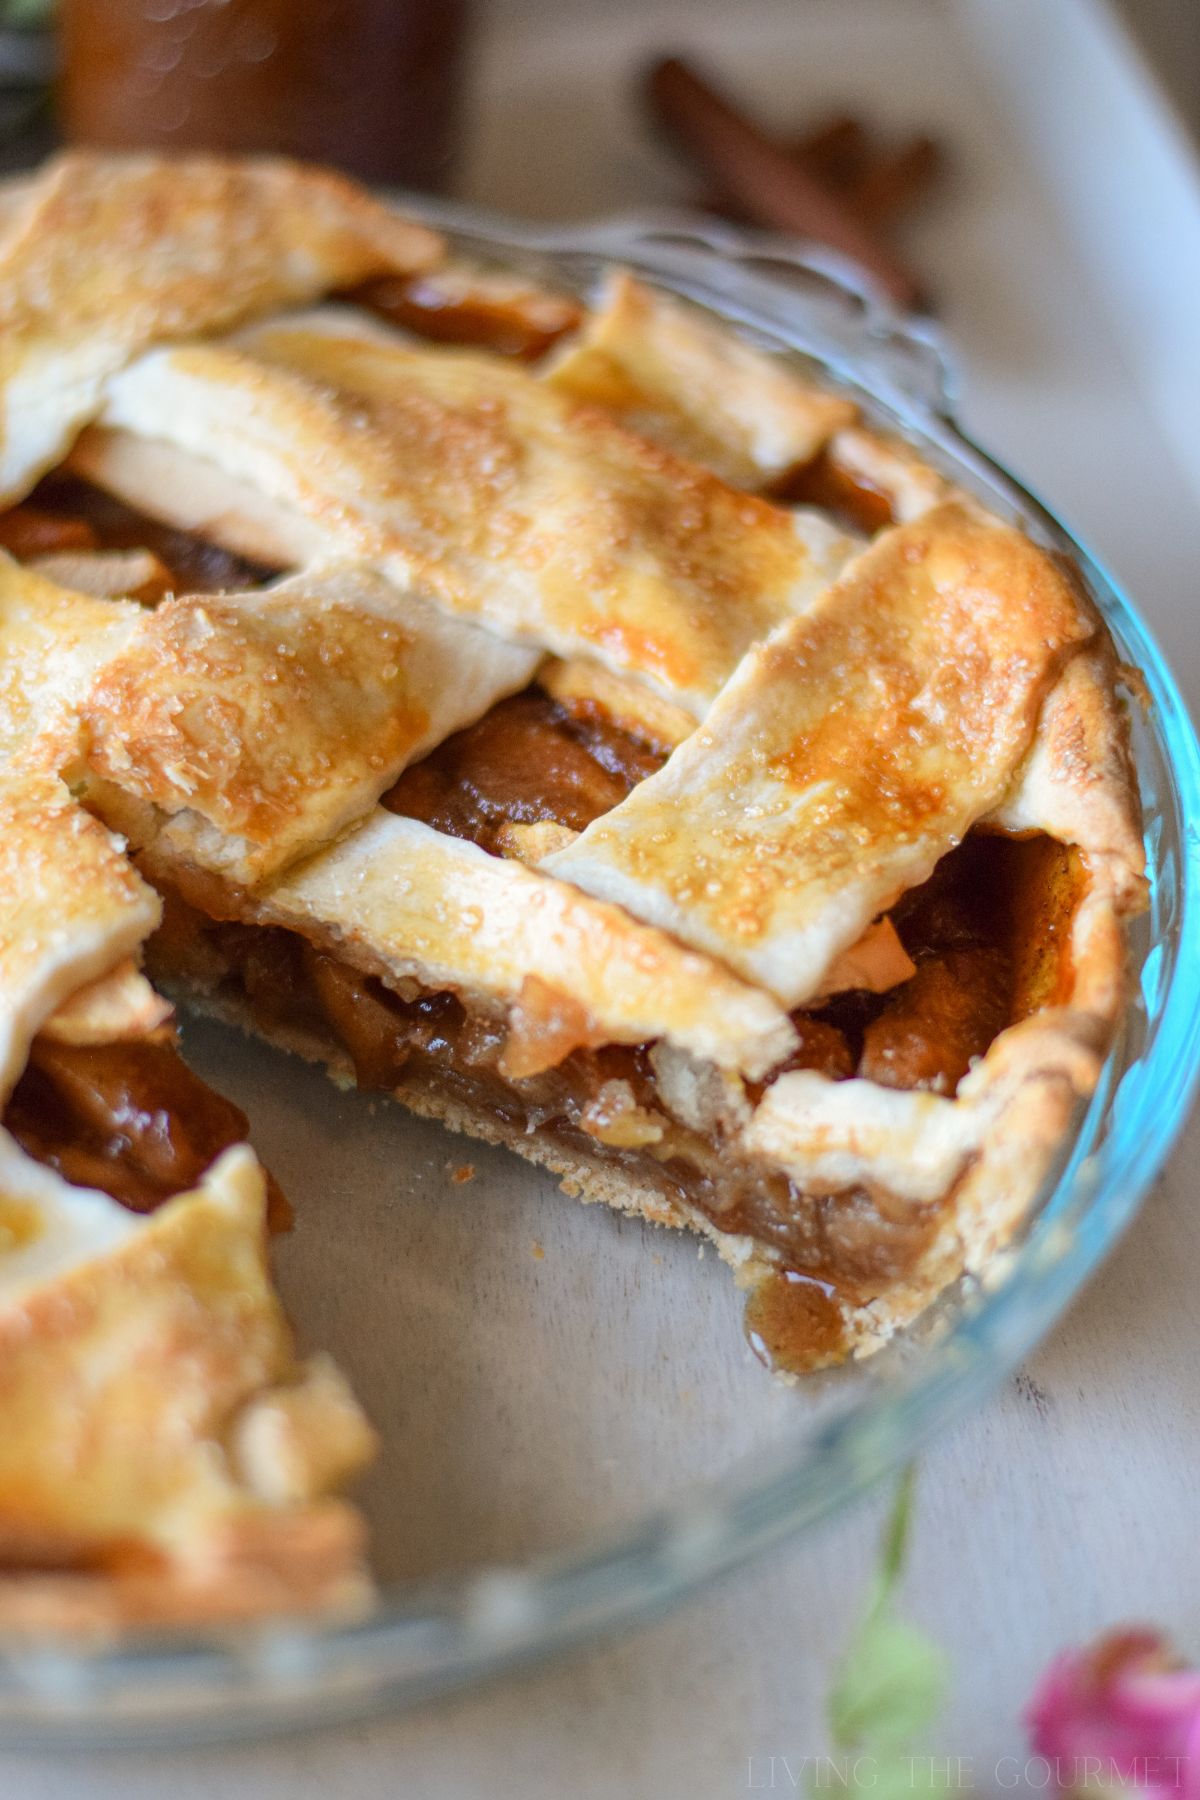
When it comes to baking, I struggle to think of a more disappointing outcome than a soggy pie bottom. You slice into a beautiful pie, one with a nice golden top crust and gooey interior, only to lift out the slice to find the bottom is wet, pale, or gummy. Soggy pie bottoms are among the most common baking failures, but also one of the most preventable once you know why they happen and what techniques actually work to fix them.
Jump to:
Quick Answer
Soggy pie bottoms occur when the crust has absorbed too much liquid from the filling before it has had a chance to set and crisp. The most effective prevention techniques are blind-baking the crust before adding any moisture-heavy fillings, brushing the bottom of the crust with egg whites (or an egg wash) to create a moisture barrier, baking on a preheated pizza stone or baking steel, positioning the pie in the lower third of the oven, and using a metal or glass pie plate rather than a ceramic one. Combining any or all of these techniques more or less guarantees a crisp pie bottom.
Why Pie Bottoms Become Soggy
If you understand why pie bottoms become soggy, the fixes become pretty obvious. First off, pie crust is essentially flour, fat, and water. As such, when it comes into contact with a wet filling before the fat has had a chance to cook and set the structure, the crust readily absorbs moisture (as it's basically a sponge made of flour until the fat has had a chance to cook and set). The bottom of the crust is especially vulnerable to this as gravity is working to pull moisture downward into the pie bottom, which sits directly against the pie plate, which conducts heat differently than the air circulating in the oven.
As such, the goal of every technique we'll be listing below has the same goal: get the bottom of the crust hot and set before the filling has a chance to saturate it.
The Most Effective Techniques
Blind-Bake the Bottom Crust
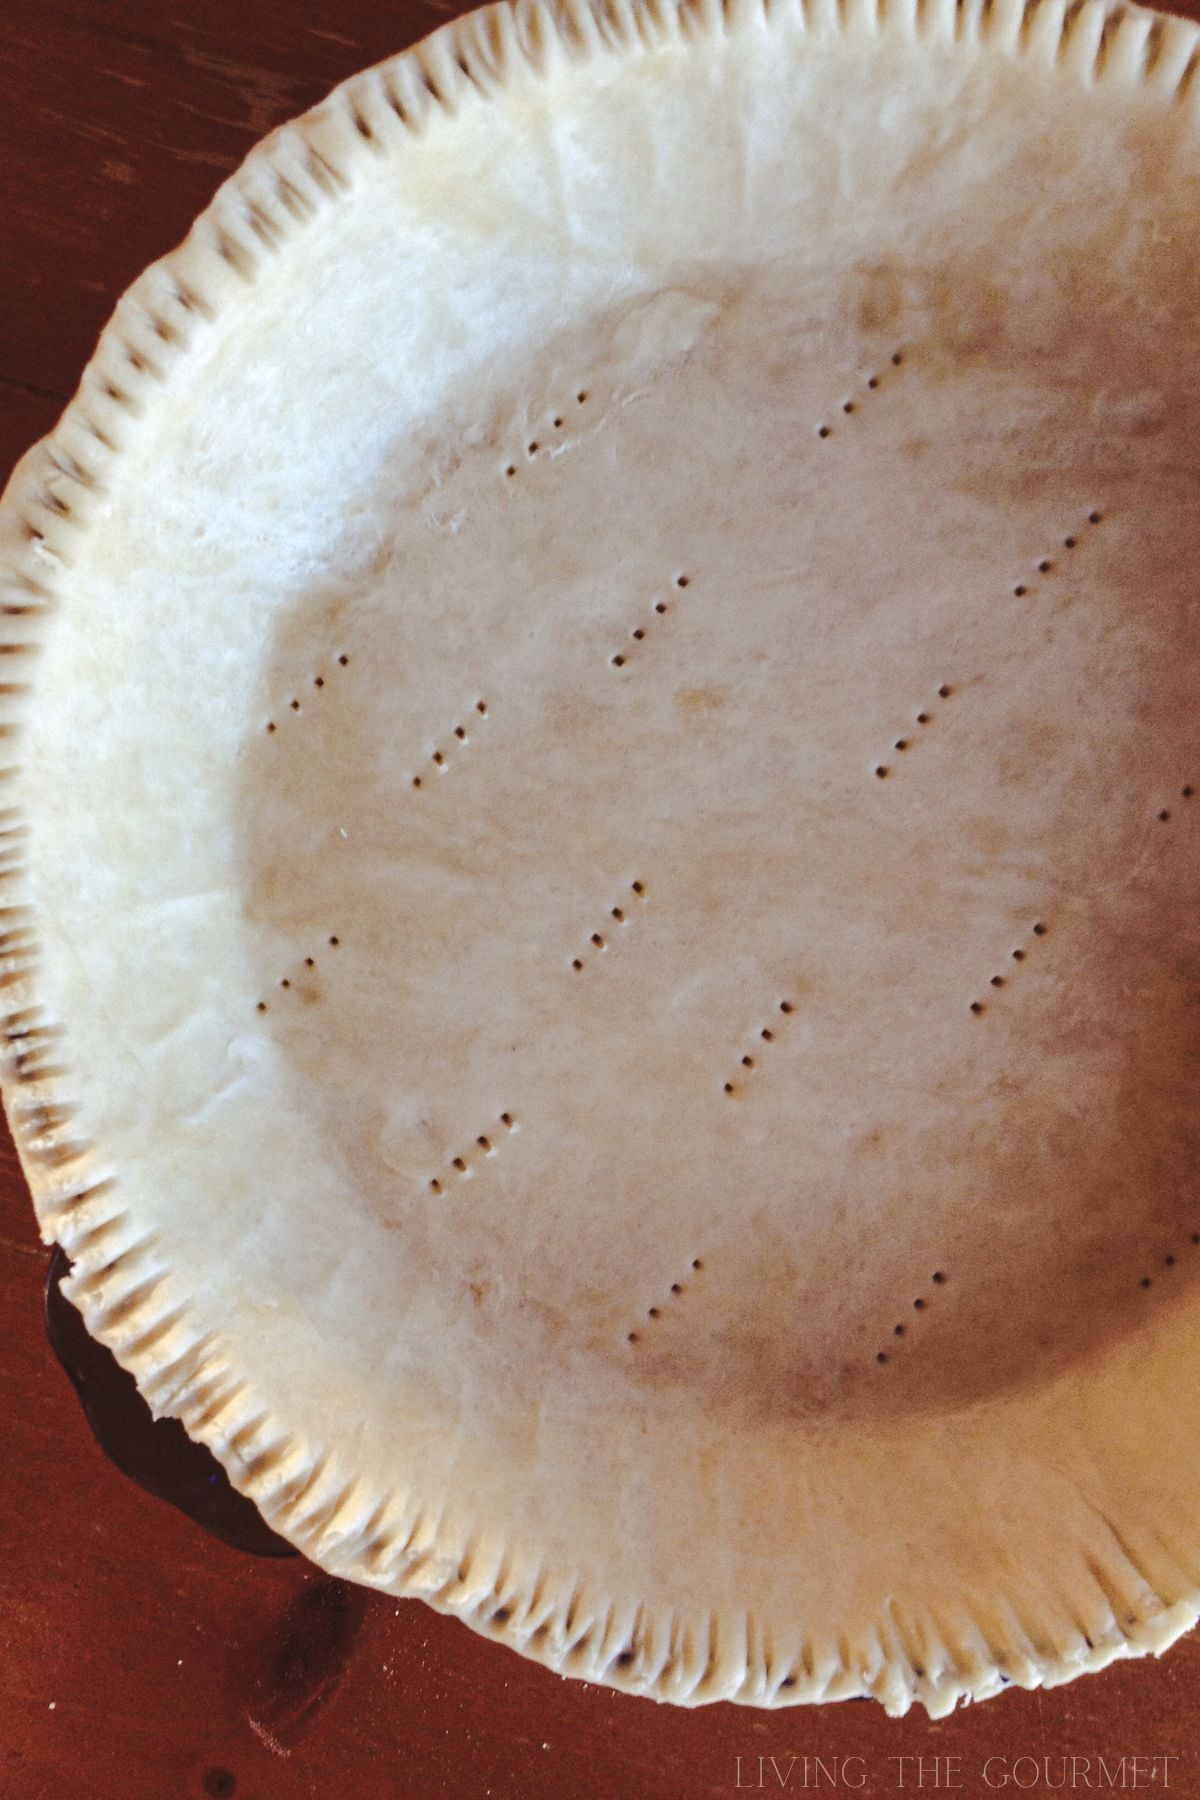
By far, this is the most foolproof technique for preventing a soggy pie bottom. In fact, if you only take one tip from this entire article, let it be this one. Line the crust with parchment paper, fill with pie weights (or dried beans, or rice), and bake the bottom crust at 375 degrees F for 15-20 minutes before adding the filling. By doing this, the crust will get a head start on cooking (allowing the structure to set), and by doing so it forms a moisture barrier.
For fully liquid fillings such as pumpkin pies, quiches, or custard pies, blind-bake the crust completely until it has turned golden. For pies with a top crust, a partial blind-bake of 10-12 minutes is usually enough.
Brush the Bottom Crust with Egg Whites
After the crust has been rolled out and pressed into the pie plate, brush with a lightly beaten egg white. The egg white cooks quickly and works to create a thin moisture barrier that locks out moisture. This is probably the easiest trick here and works remarkably well. And yes, you can combine this with blind baking - I actually recommend you do.
Bake on a preheated pizza stone or baking steel
Set a pizza stone or baking steel on the lower rack of the oven and preheat it for no less than 30 minutes at 400 degrees F. Set the pie on the stone, and this allows the heat from the pizza stone (or baking steel) to cook the bottom of the crust rapidly, setting it before the filling has a chance to saturate the crust. This is a professional bakery technique, and as such, it is highly, highly effective.
Preheat a Metal Baking Sheet
If you don't have a pizza stone or a baking steel, then preheat a heavy metal baking sheet for 15-20 minutes at 400 degrees F for similar (though less dramatic) benefits. Place the pie directly on the hot baking sheet, and bake that way.
Position the Pie in the Lower Third of the Oven
The bottom crust needs direct heat to reach it from underneath. Baking the pie in the middle of the oven means that the top will become golden brown before the bottom has had a chance to cook - meaning the bottom will saturate before it has had a chance to set. Not good. By baking the pie within the bottom third of the oven, the bottom crust is placed closer to the heat source, meaning more heat, quicker, over a short period of time, allowing the bottom crust to cook and set before it has had a chance to saturate.
Use a Metal or Glass Pie Plate, not Ceramic
Ceramic pie plates are classic and gorgeous, but they do not conduct heat well. In fact, ceramic resists conducting heat. Now, imagine the problem this creates for the pie bottom, which is resting directly against that ceramic pie plate. Naturally, it will heat slowly, allowing the filling to saturate it, turning it soggy. Metal pie plates conduct heat quickly and efficiently, allowing the bottom crust to brown and set rapidly. Glass pie plates also work well and allow you to see the bottom crust's color as it cooks. Ceramic pie plates might look nice, but they actually work to insulate the crust, which in turn creates a soggy pit bottom.
Additional Techniques that Help
Coat the Crust with a Moisture Barrier
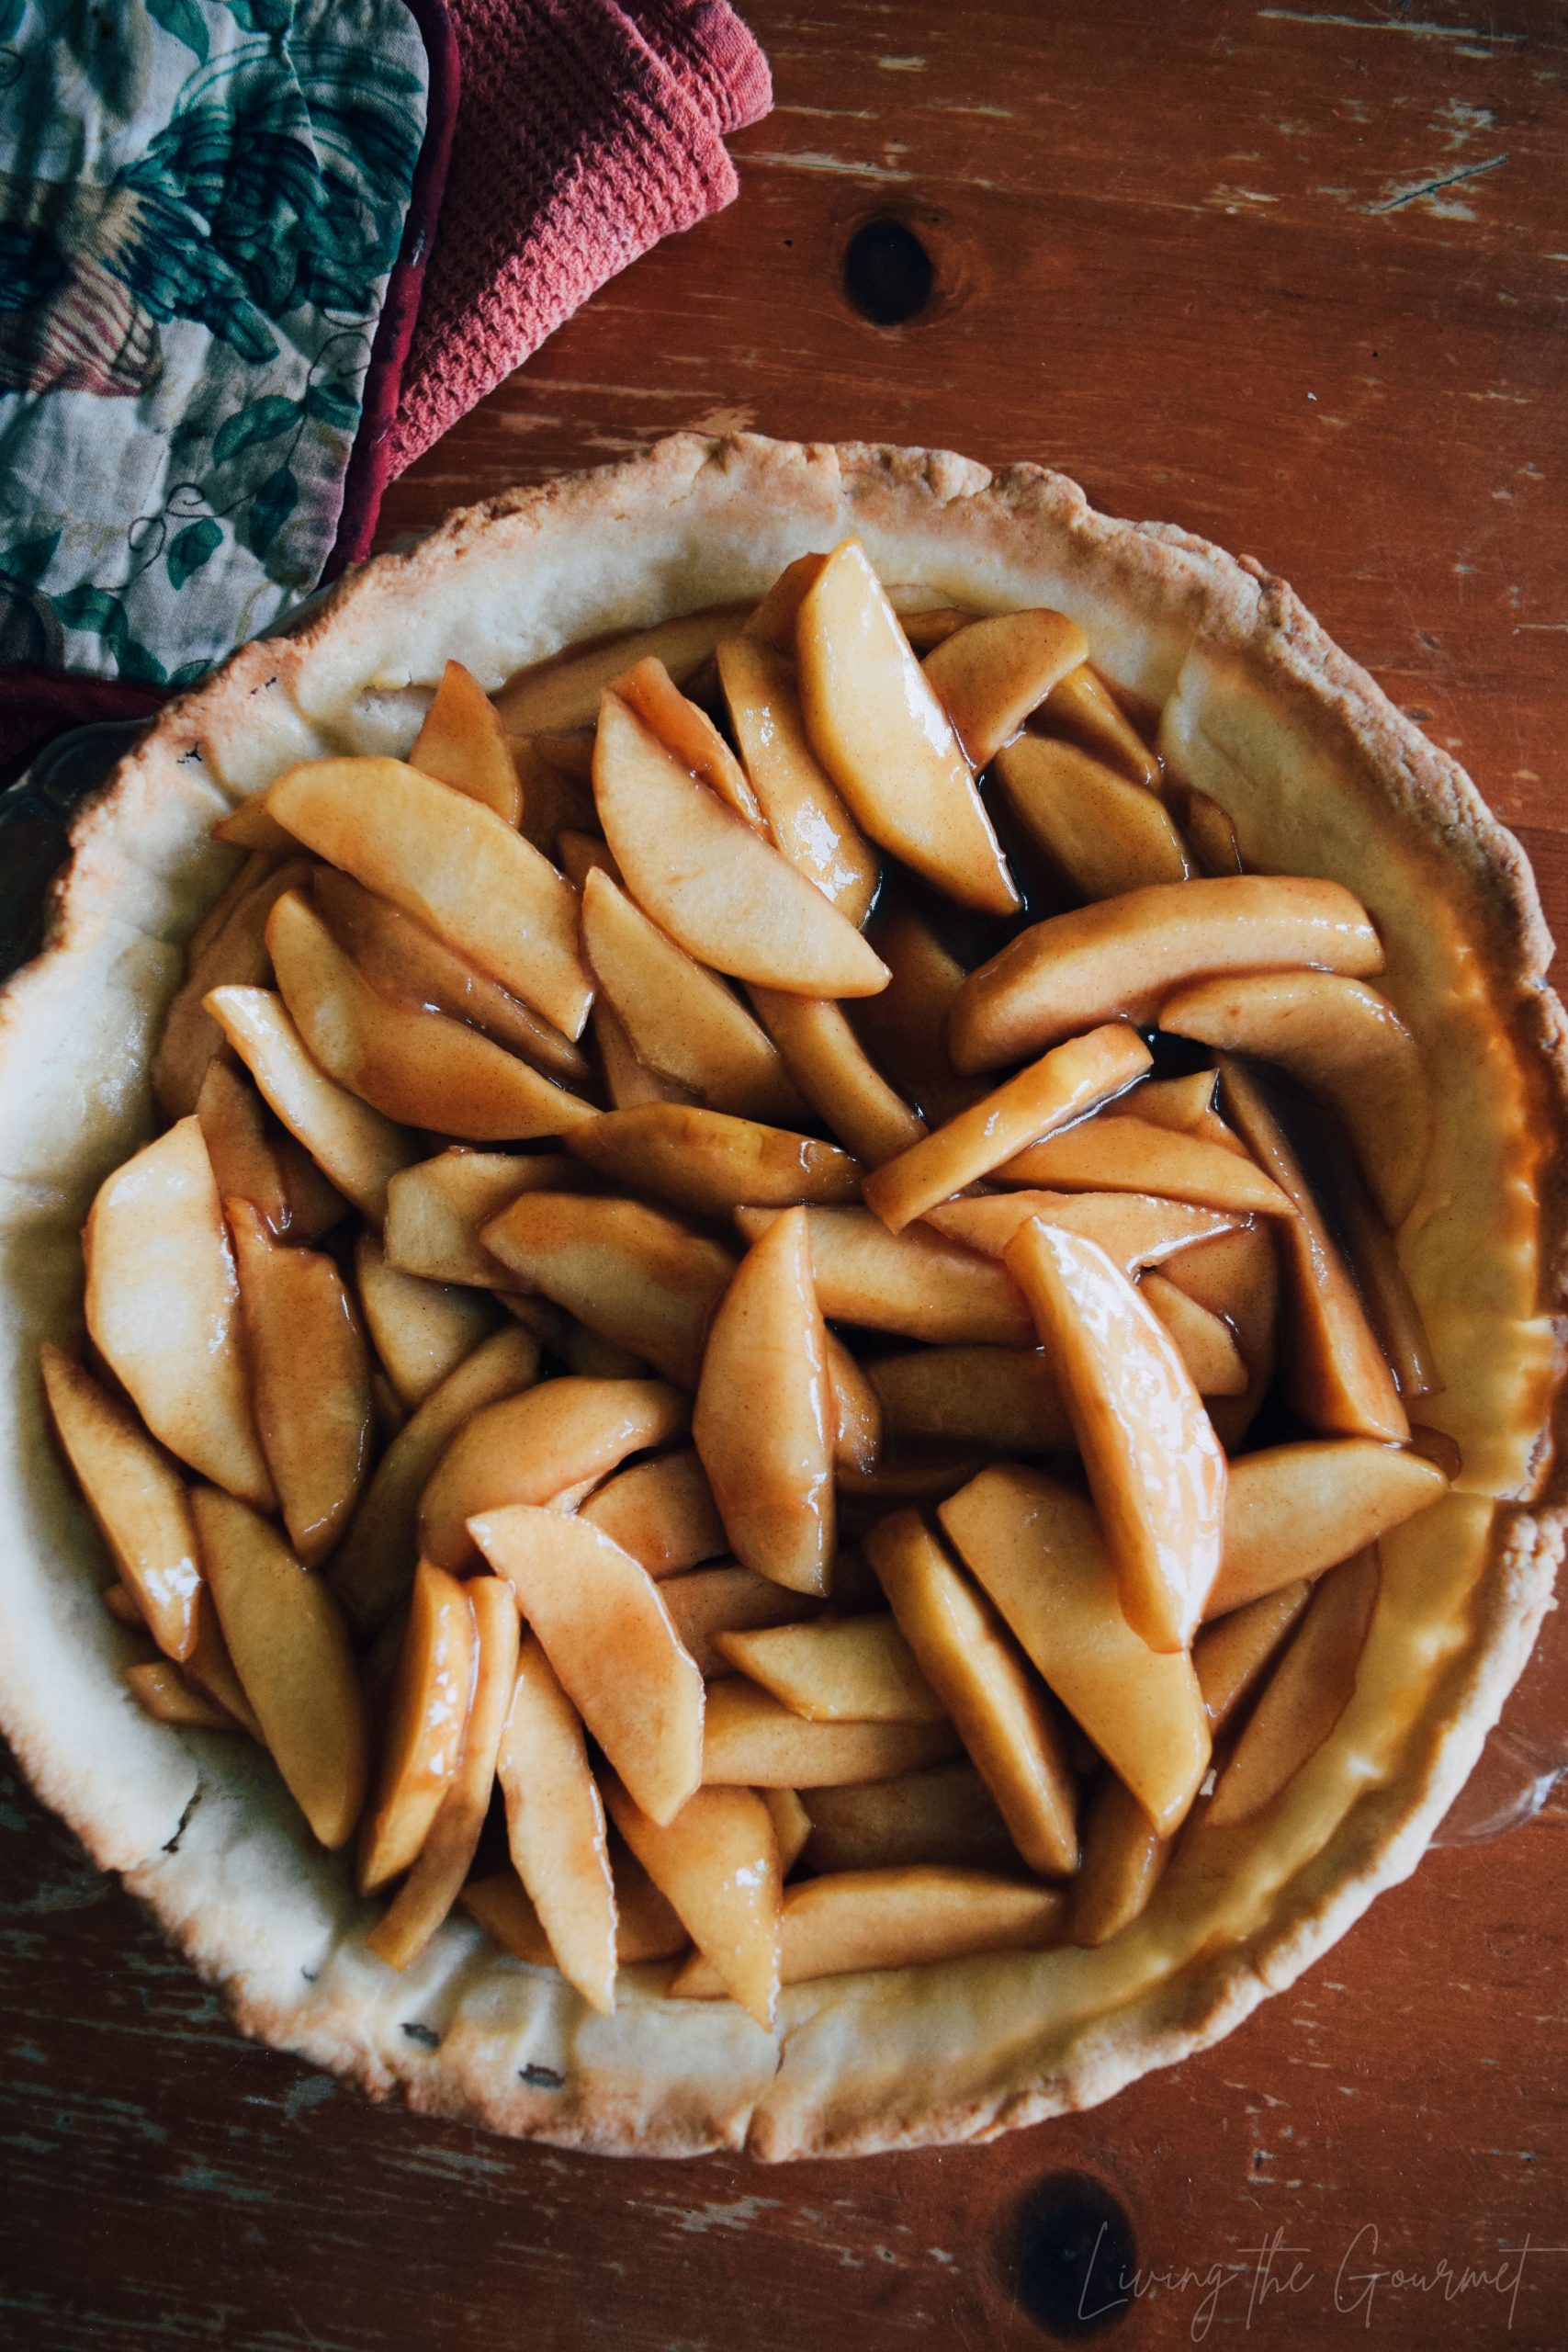
Apart from egg whites, there are a few other ingredients that can act as moisture barriers between the crust and the filling. These include melted chocolate (for chocolate cream pies), a thin layer of jam (for fruit pies), a dusting of cornstarch or ground almonds (for any fruit pie), or a light brush of melted butter.
Thicken the Filling Adequately
A runny filling soaks the crust much more rapidly than does a well-thickened filling. Full stop. These include cornstarch, tapioca, or flour. The key is using enough. For a standard 9-inch apple pie, use 3-4 tablespoons of cornstarch or about 5-6 tablespoons of flour. For pies made from fruit that release a lot of moisture (such as peaches, most berry pies, or rhubarb), you need more thickener than for firmer fruit such as apples.
Drain Excess Liquid from the Filling
If you happen to be using very juicy fruit, toss the fruit with sugar and let it sit for 20-30 minutes in a colander over a bowl before assembling the pie. Then reduce the drained juice on the stovetop until syrupy, and add it back into the filling. This concentrates the flavor while removing excess liquid.
Don't Overfill the Pie
Probably one of the more common pitfalls, but also the easiest to avoid. Fill your pies to just below the rim, not until they are heaped with filling. Remember that an overfilled pie means more liquid pressing against the bottom crust.
Bake at a Higher Initial Temperature
Start a fruit pie at 425°F for the first 15 to 20 minutes. Afterward, reduce the heat to 375°F. This sets the bottom crust faster than baking at an even 375°F from start to finish.
The Combination Approach
I need to stress that no single technique will prevent a soggy pie bottom by itself. For example, even if you blind bake the crust, but still overfill it with a very liquid filling and then proceed to bake it in a ceramic pie plate - you will almost certainly get a very soggy pie bottom.
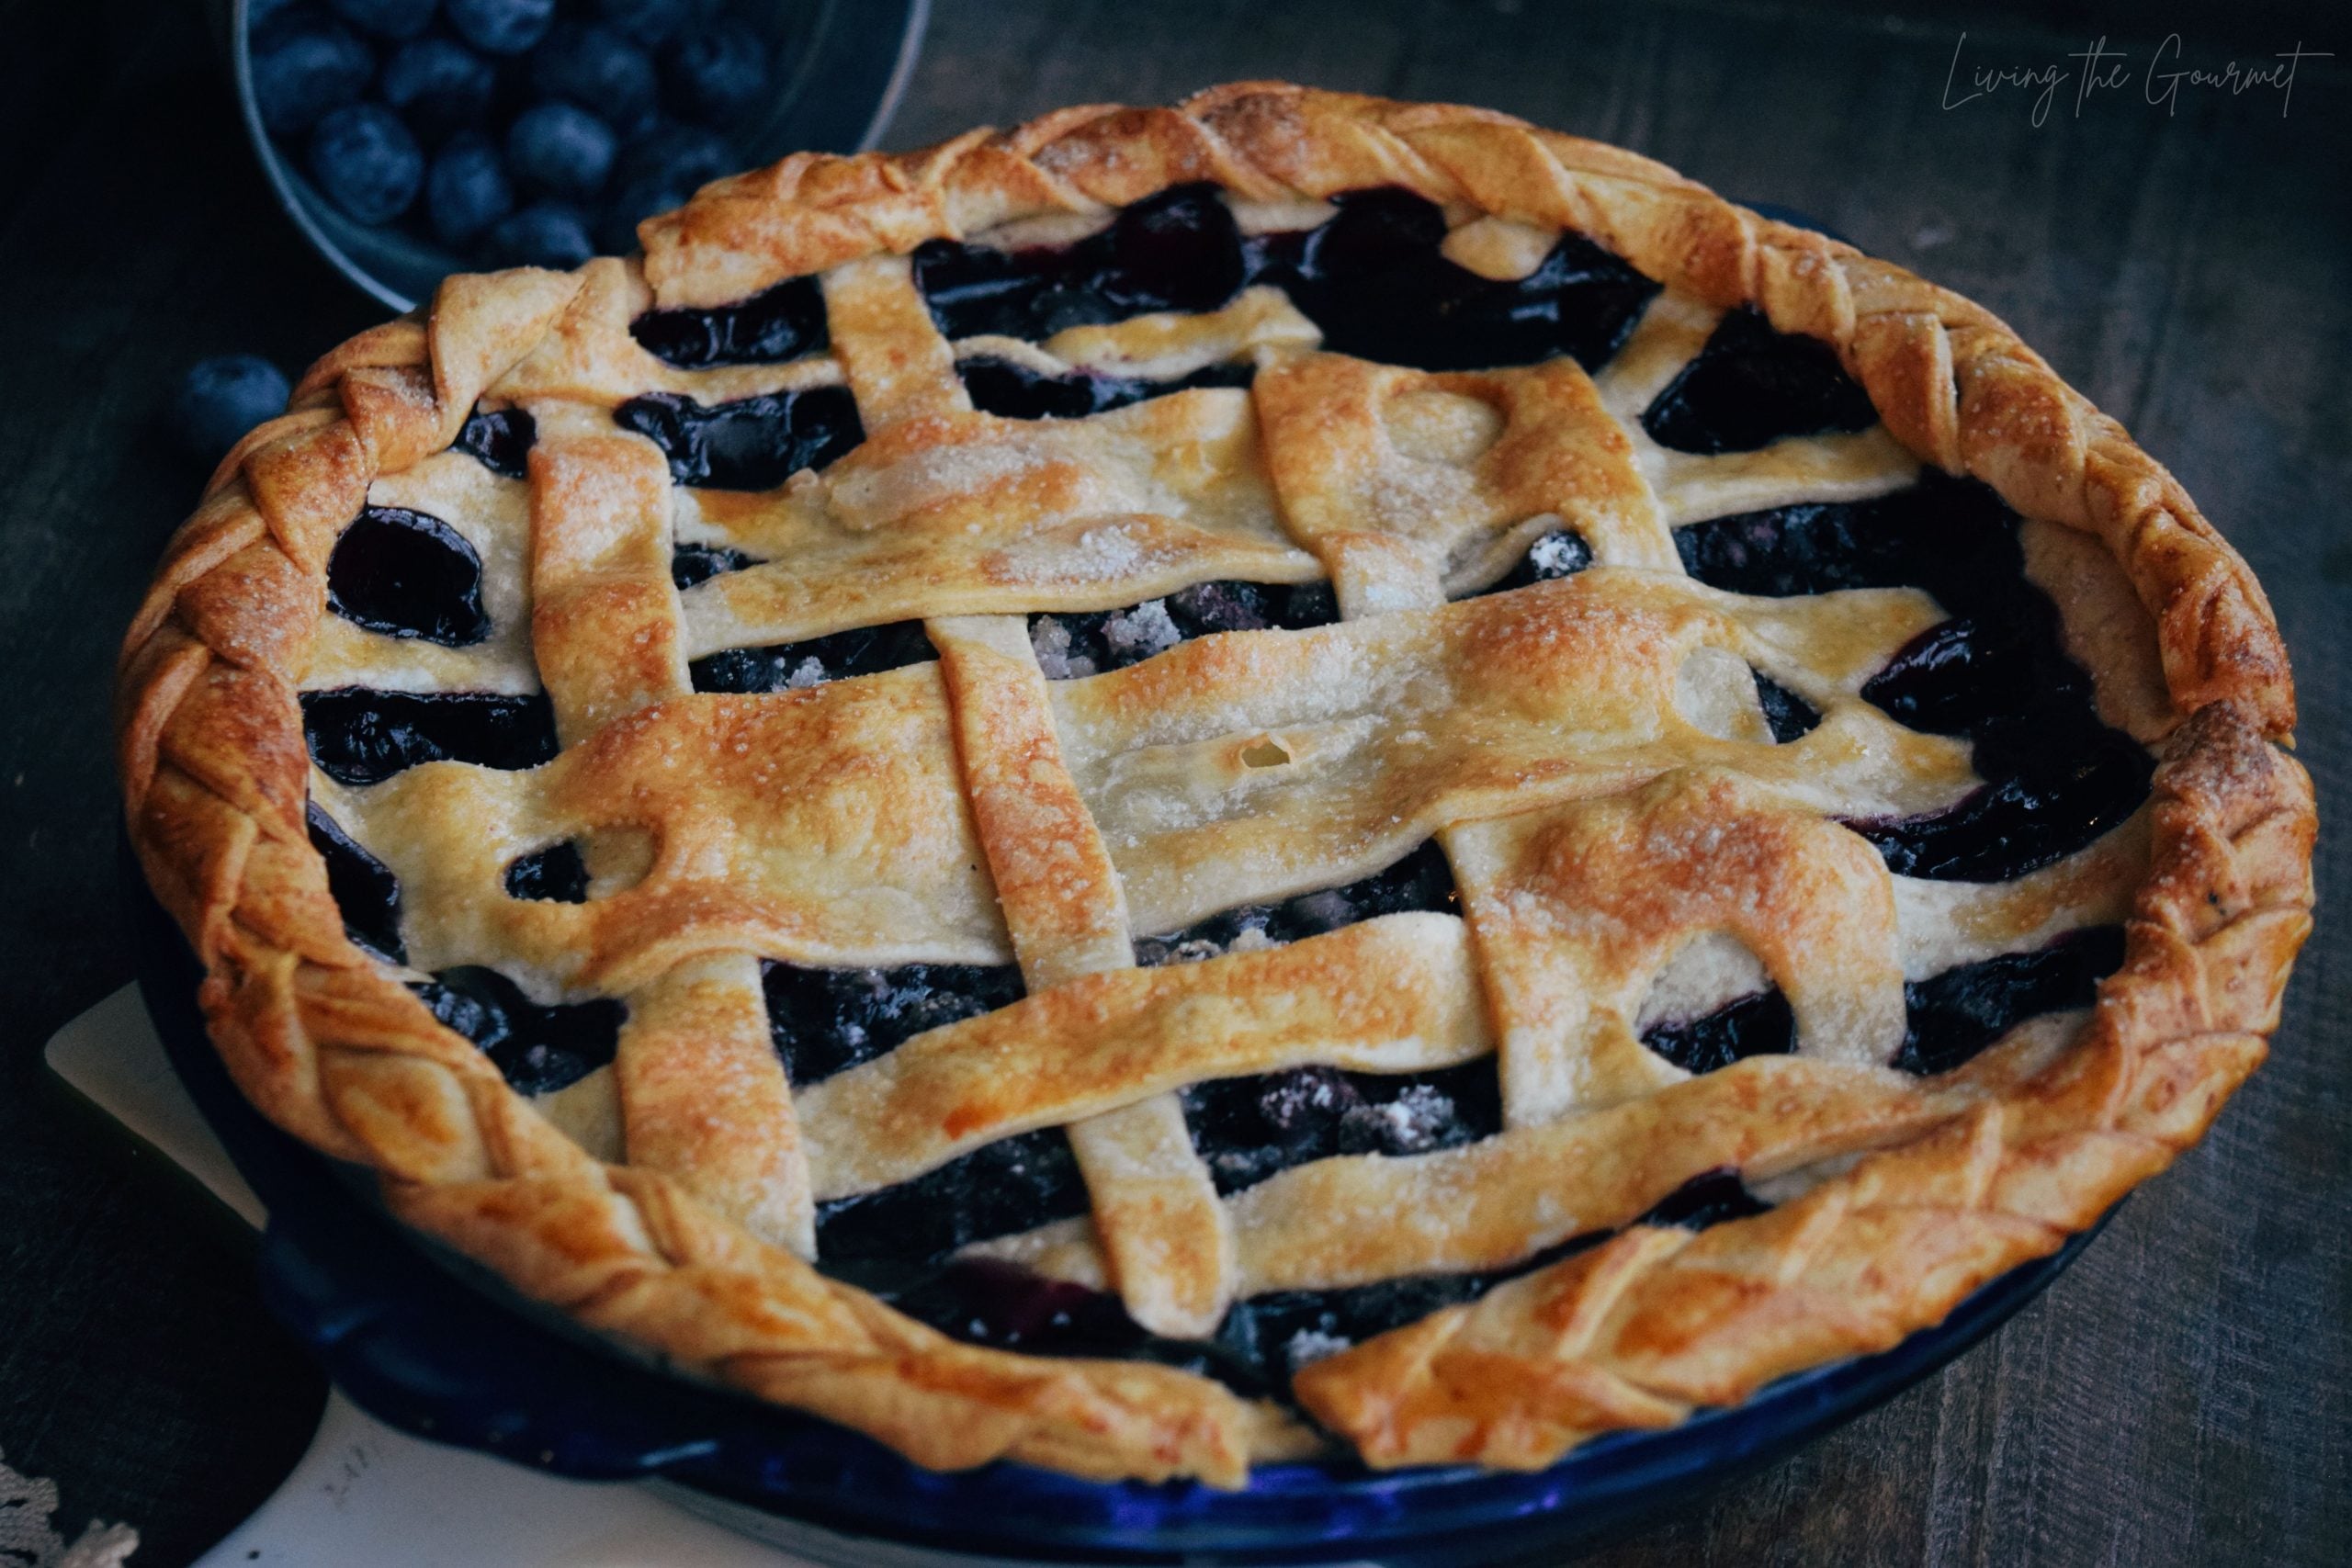
Instead, the most reliable way to avoid a soggy pie bottom is by combining two or three techniques. For example:
For Fruit Pies (apple, berry, peach, rhubarb), combine the following:
- Use a metal or Glass Pie Plate
- Egg wash the bottom crust
- Use a preheated pizza stone, baking steel, or baking sheet
- Position the pie in the lower third of the oven
- Start at 425°F, then reduce to 375°F after 20 minutes
For Custard or Cream Pies (pumpkin, pecan, chocolate cream), combine the following:
- Fully blind-bake the crust before filling
- Use a metal or glass pie plate
- Position it in the lower third of the oven
For Quiche or Savory Pies
- Partially blind-bake the bottom crust
- Egg wash the bottom crust after blind-baking
- Use a metal or glass pie plate
Signs You've Nailed It
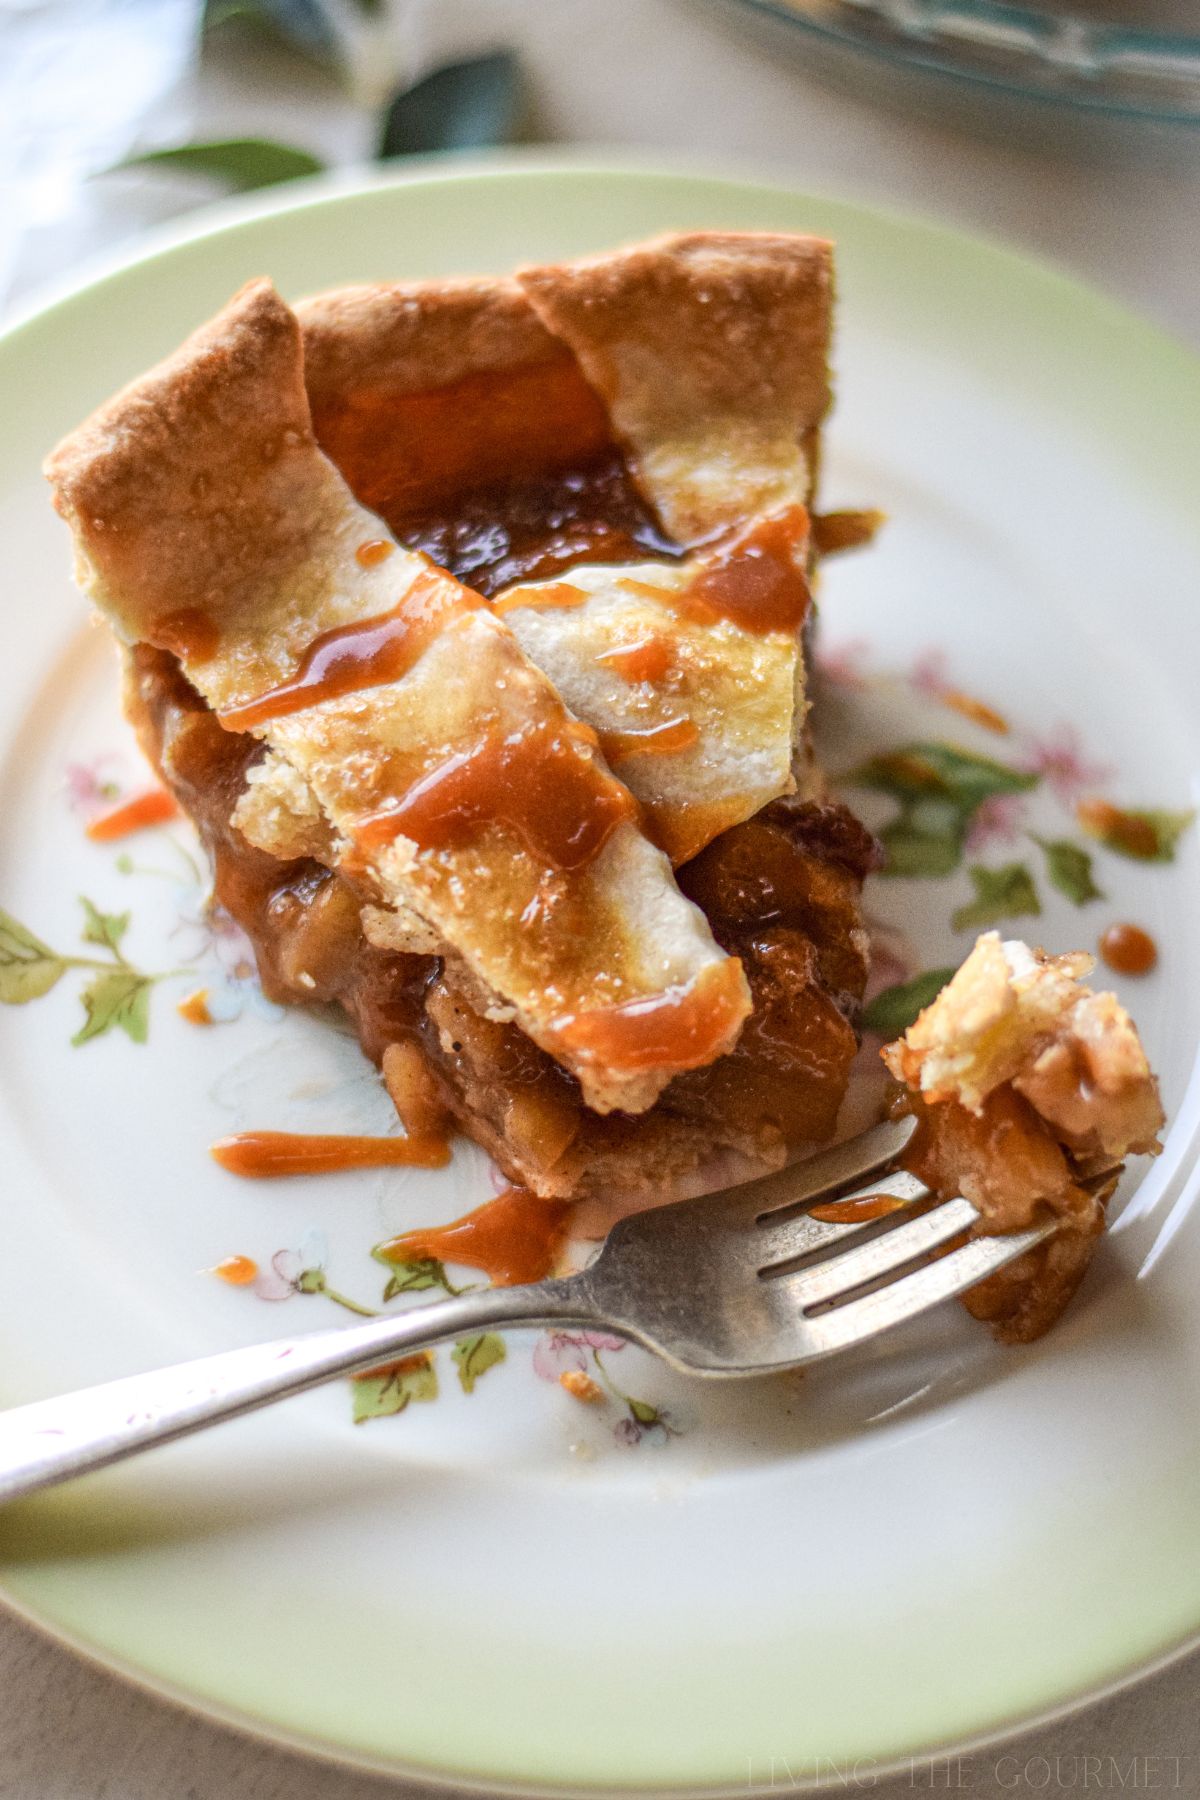
A properly baked pie bottom is:
- Golden brown, never pale
- Has a crisp texture
- Holds its shape when sliced
- Flakes cleanly rather than tearing
What to Do If It's Already Soggy
The reality is, there is no perfect fix. Your choices are all varying degrees of "less than ideal." However, rather than tossing out a pie with a soggy bottom and wasting all of those ingredients, here's what you can do to try and salvage it.
Return it to a Hot Oven
The simplest fix is to continue baking the pie. I recommend baking it slightly higher than normal, at about 400 degrees F, and I recommend doing so on the rack in the lower third of the oven. Bake for about 10-15 minutes. The bottom crust will crisp considerably, though this does risk slightly overcooking the filling and the top crust. This works best for fruit pies. Custard pies and cream pies are somewhat too delicate for this, in my opinion.
Serve Slices in a Hot Skillet
You can, of course, warm individual slices in a dry cast iron skillet over medium heat for 2-3 minutes. The direct heat crisps the bottom crust fairly quickly. That said, this won't work if the soggy pie bottom is so soggy that it doesn't hold its shape at all - in which case I would recommend returning the pie to the oven, or just accepting the pie has a soggy bottom and enjoying the filling and top crust on their own.
Bottom Line
Soggy pie bottoms are the result of the bottom crust absorbing too much liquid before it has had a chance to set. The fixes are simple and can be combined: blind-bake or egg-wash the crust, use a metal or glass pie plate, bake on a preheated stone or sheet, and position the pie within the lower third of the oven. Combining two or three of these will almost always guarantee a crisp, golden-brown bottom crust.
Ready to put these tips into practice? Check out our Apple-Rhubarb Pie and our Best Apples for Baking Guide.
Happy Baking!

Leave a Comment