From establishing themselves as a culinary resource to exploring monetization opportunities and preserving family traditions, sharing recipe videos online offers food enthusiasts numerous benefits. Whether you want to create a recipe video for personal or professional gains, this guide can help make the entire process more efficient and manageable.
Step 1: Efficient Planning and Preparation
The key to a smooth filming process is thorough planning and preparation. This ensures that you remain organized and waste less time and effort. Define your goals, and decide if your video is a quick tutorial or an in-depth guide. Doing so can also help you determine the style and resources required.
Create a video storyboard, highlighting every action you need to film, from chopping an onion to the final plating. This will serve as your blueprint during filming and editing. Also, decide whether you'll be on camera, doing a voiceover, or relying on text overlays to guide your target viewers. Make sure to create a script, outlining your intro, ingredient list, step-by-step instructions, and conclusion.
Gather your essential equipment, which should include a smartphone or camera, a tripod, and lighting gear. Remember to leverage natural light and to avoid harsh overhead kitchen lights. While you don't need to buy the most expensive filming tools, you must use quality items to ensure your video is noteworthy.
Take the time to optimize your filming area, as a clean and organized kitchen helps minimize distractions. Use a simple background to ensure your viewers focus on you and your cooking. Measure and organize all ingredients before you start the filming process, so you can film individual steps seamlessly and lessen the need for retakes.
Step 2: Streamlined Filming
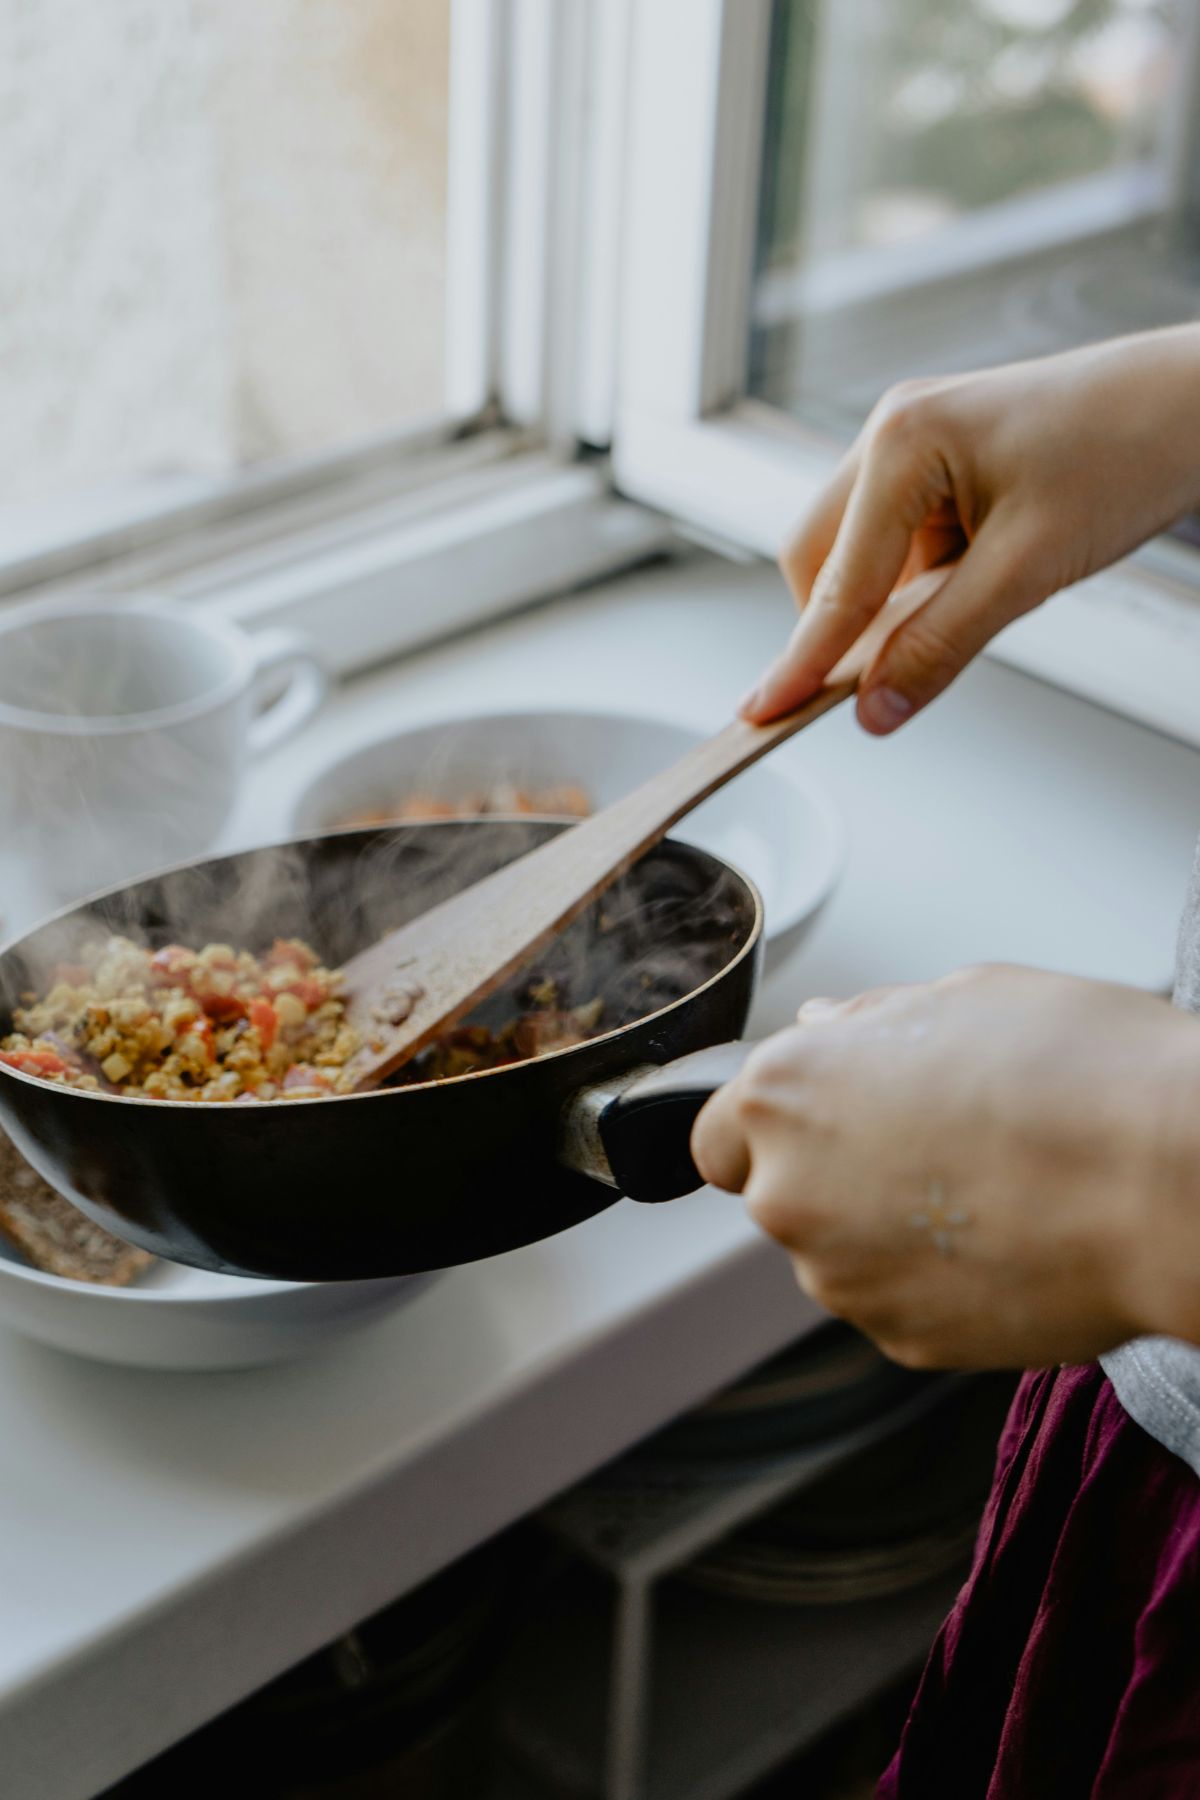
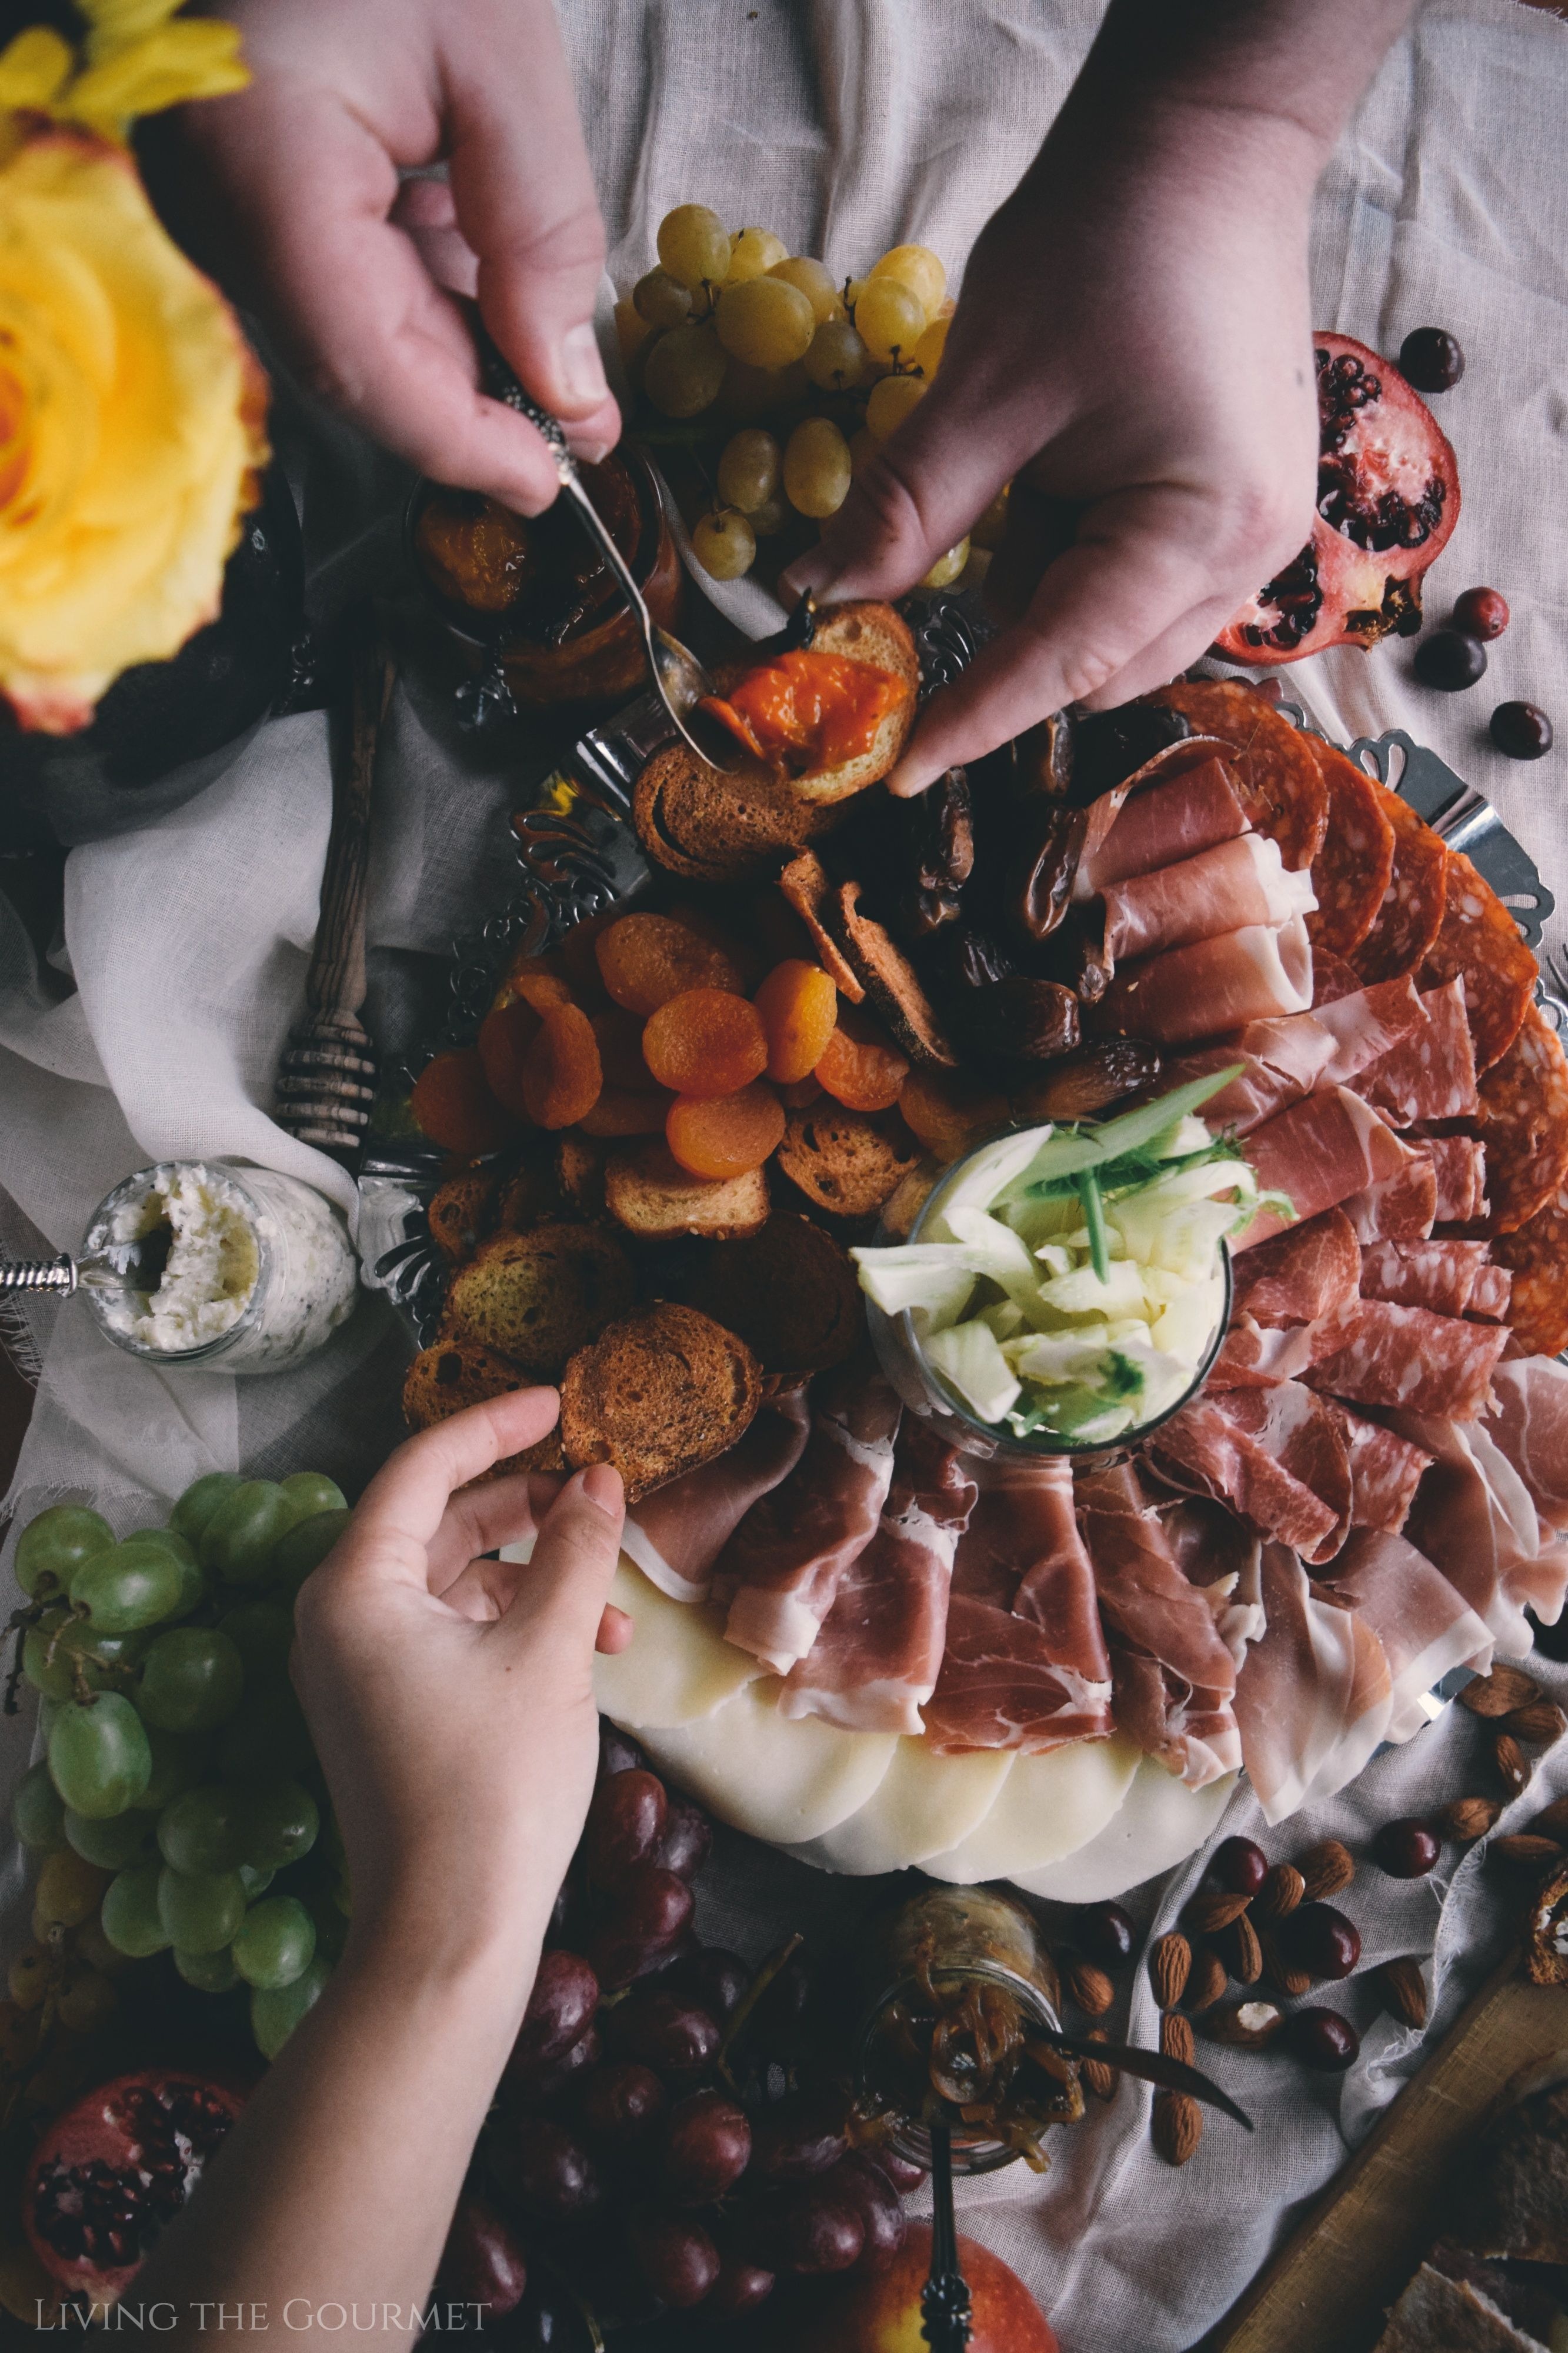
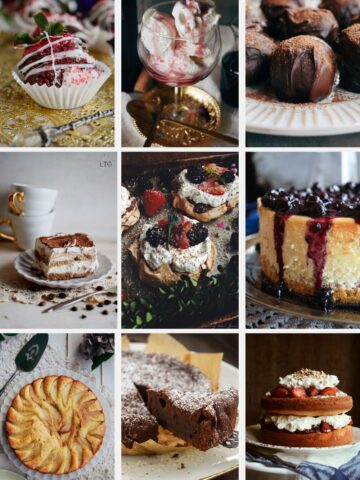
Begin your video with a beautiful shot of the finished dish, as this can immediately grab your viewers' attention. Shoot from different angles, such as overhead and eye-level, and remember to position your camera to clearly show the action rather than your face.
Make sure to get detailed and extra close-up shots of the textures, like the butter melting, the food sizzling, and extra clips of the ingredients, stirring or garnishing, as these can be used to cover edits or visual interest.
Capture several short clips, around 20 to 30 seconds long each, instead of one long, static shot. Doing so can help make the editing process much easier and efficient. Film each stage of the recipe sequentially, as it's better to have too much footage than not enough at all.
Control the pace and use techniques like time-lapse for long processes, like mixing or baking, to speed up the video and keep your audience engaged. Use your video for all static shots and don't worry about your audio yet. As a beginner, it's often easier to film all your video clips silently and record a voiceover later during the editing phase.
Step 3: Editing with Free Online Tools
Once you have all your video clips, the next step is to bring your recipe video to life using accessible free software. Some free tools you can use include CapCut, which is excellent for short-form video with trending sounds, filters, and text; iMovie, a built-in and user-friendly tool for Mac users; and browser-based options like Clideo, Canva's free video editor, or Adobe Express, which allow you to directly edit in your web browser without installing heavy software.
The Editing Process:
- Import and assemble. Upload all your video clips to your preferred editor. Make sure to drag the clips in the correct order or timeline to make the editing process more manageable.
- Trim and cut. Remove the dead space, redundant actions, and other filming mistakes to ensure a good flow and smooth pacing.
- Add text overlays. Use the text tool to add key ingredient names or measurements directly onto the screen as they are used. Keep in mind that many viewers prefer to watch videos without sound, so captions are crucial.
- Include voiceover or music. If you plan to add a voiceover, record it clearly and consider using an external microphone. You can also use subtle background music to set the mood, just make sure that it doesn't overpower the narration. Also, ensure that your background music is royalty-free to avoid copyright issues.
- Export and share. Export your video in the appropriate format for your target platform.
Consider adding a call to action (CTA) to your recipe video. End it with a final shot of the finished product and a CTA encouraging your viewers to like, comment, or subscribe. This can help generate more traction for your video and increase online engagement.
When creating your first recipe video, don't forget to enjoy the process. Learn from your mistakes and avoid dwelling on them. Understand the elements you need to modify or the techniques you need to master, and don't hesitate to seek professional guidance.
Endnote
By following these steps and utilizing free, accessible tools, you can efficiently create professional-looking videos, whether for your personal archive or a growing audience.


Leave a Comment