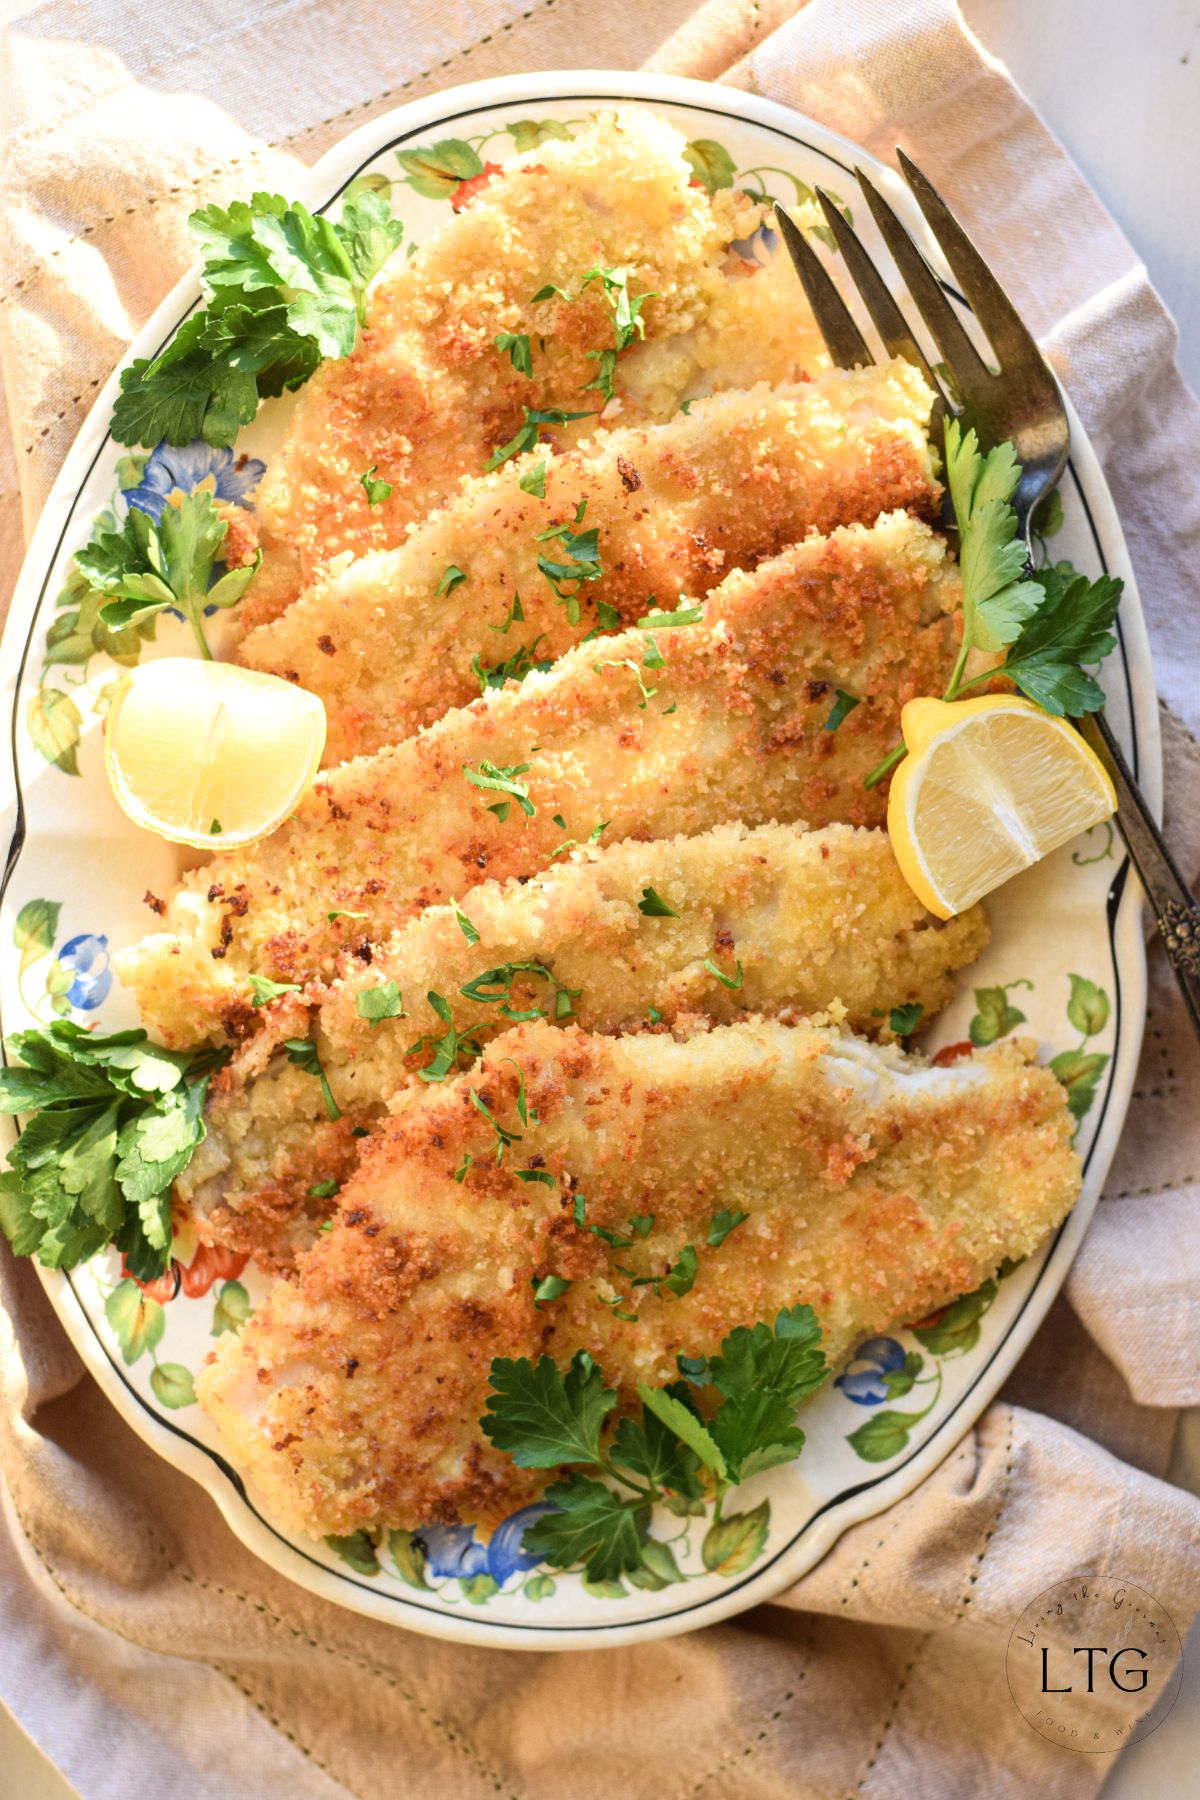
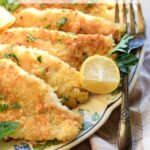
This super simple Fried Flounder Recipe features a crispy panko crust, and tender, flaky fish, that's been fried to golden perfection. Deliciously moist, this fried flounder recipe heightens the natural flavor of the fish, while keeping the prep process blissfully simple, making it an ideal recipe for relaxed weekend dinners, or busy weeknights.
Best of all, this recipe uses just six simple ingredients, all of which are pantry staples that are readily and affordably available at your local supermarket. What's more, the recipe requires no special cooking techniques, all we're doing is breading the fish and then shallow-frying it on the stove. Super simple.
Now, without further introduction, let's get to it because we've got a lot to cover. Read on for a complete ingredient checklist, tips for selecting quality fish, a comprehensive recipe overview, and a printable recipe card.
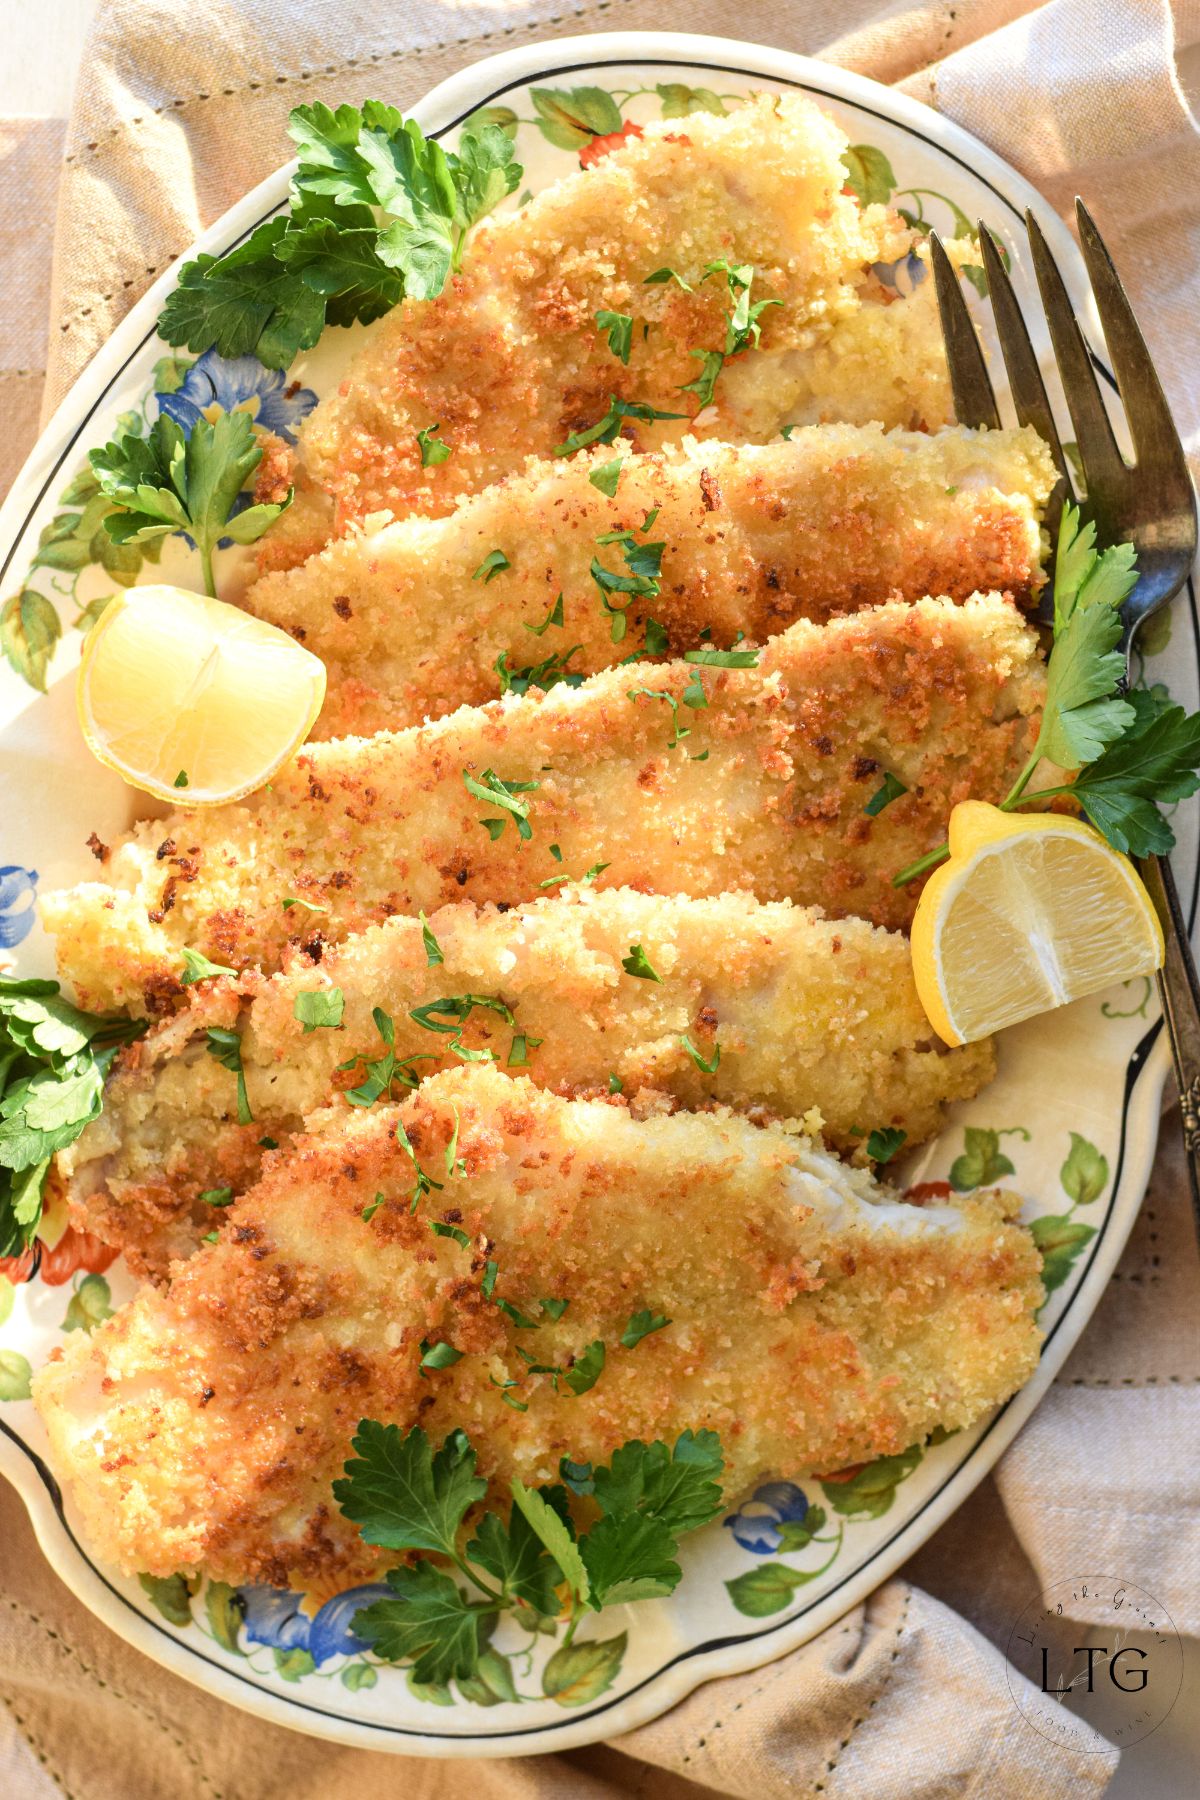
Recipe Overview - Fried Filet of Flounder
This recipe is one of my favorites due to its simplicity, consistent results, and versatility in pairings. However, if you're wondering what this recipe delivers in terms of taste and texture, what it pairs well with, or how hard it is to make, read on.
Top Highlights:
- Beginner-Friendly: I'll be the first to say that preparing seafood can be challenging. Seafood tends to be delicate, and most types require specialized techniques or careful attention to detail for proper preparation. There's no doubt about that. However, the prep process for this recipe is about as simple as it gets, without skimping on flavor or satisfaction. Minimal effort, delicious results. That's what I love.
- Quick Cook Time: From prep to plate, this recipe really shouldn't take more than 30 minutes, or at most 45 minutes. And that quick prep time makes it perfect for busy weeknights or relaxed weekends.
- Natural Fish Flavor: As you might have gleaned from the ingredient list, the flounder's natural flavor is front and center in this recipe. We're not going heavy with spices or herbs, and are instead letting the fish itself shine - and that's by design. Of course, that means you want to be sure you're getting the best flounder available. Tips on how to do that are below.
Taste and Texture: In my opinion, the texture of a good fried fish recipe should deliver a balance between the crisp coating on the outside, and the tender, flaky fish underneath. And that's exactly what this recipe does. In terms of flavor, the fish is mild, not at all 'fishy' or 'briny,' and that mild flavor really shines through, heightened by the frying process.
Difficulty Level: Couldn't be simpler. This recipe is textbook beginner-friendly, making it a great starting recipe for beginner home cooks or those new to preparing seafood. While the dredging or coating process can be a bit tedious or even messy, it's not hard at all to do. From there, it's just a matter of shallow-frying the fish. The only part of this recipe that takes a little attention to detail is managing the oil, as you don't want the oil dipping below 350 degrees Fahrenheit or going above 375 degrees.
Preparation Process: This starts with setting up the dredging station, with your flour, egg wash, and panko breadcrumbs set up in separate bowls so that you neatly and quickly go about the process of breading the fish. Once the flounder is coated, we heat up the oil in a sturdy, shallow pan (preferably cast iron), aiming for a temperature between 350 degrees Fahrenheit and 375 degrees Fahrenheit, and we begin frying. It's that simple.
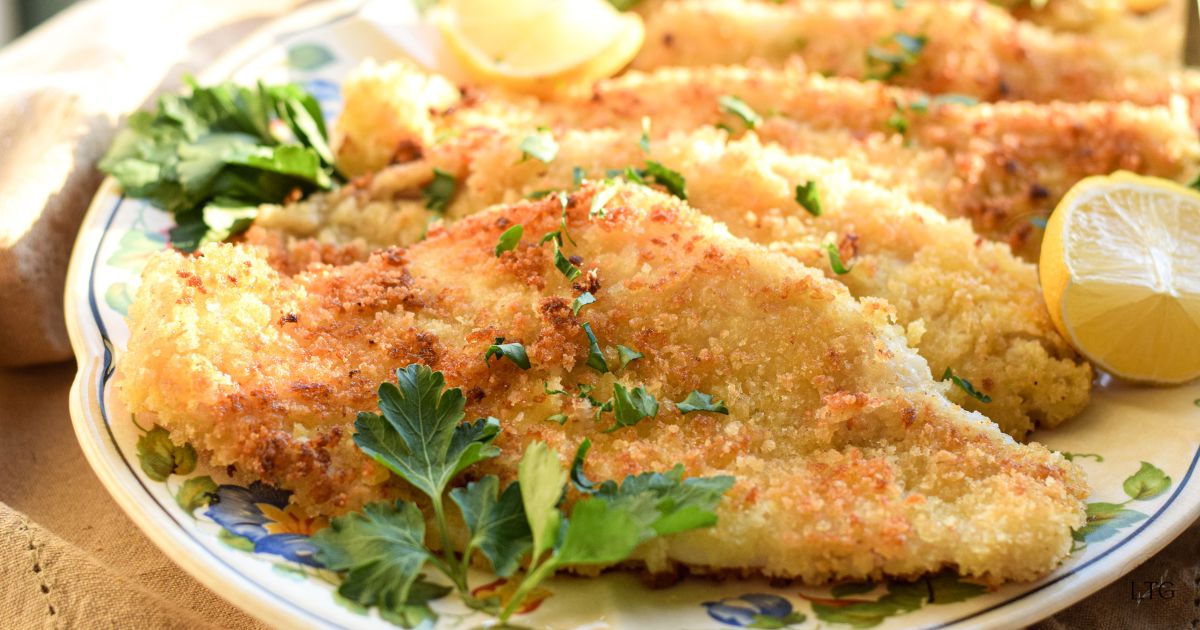
Pairings and Presentation
- Sauces: Fried fish classics like tartar sauce or cocktail sauce are the go-to sauces, but you might consider something like a spicy mayo, or keep things simple by using your favorite hot sauce. Any sauce you might pair with a squeeze of lemon is a safe bet.
- Other Fried Foods: If you're planning a hardy weekend meal, or throwing a game day party, consider serving this fried fish alongside other fried foods like onion fritters, a basket of fries, or onion rings. Or do surf-and-turf by pairing it alongside fried pork or fried beef. Delicious.
- Side Dishes: Personally, I would keep the sides simple. Think coleslaw, roasted potatoes or potato salad, and leafy green salads.
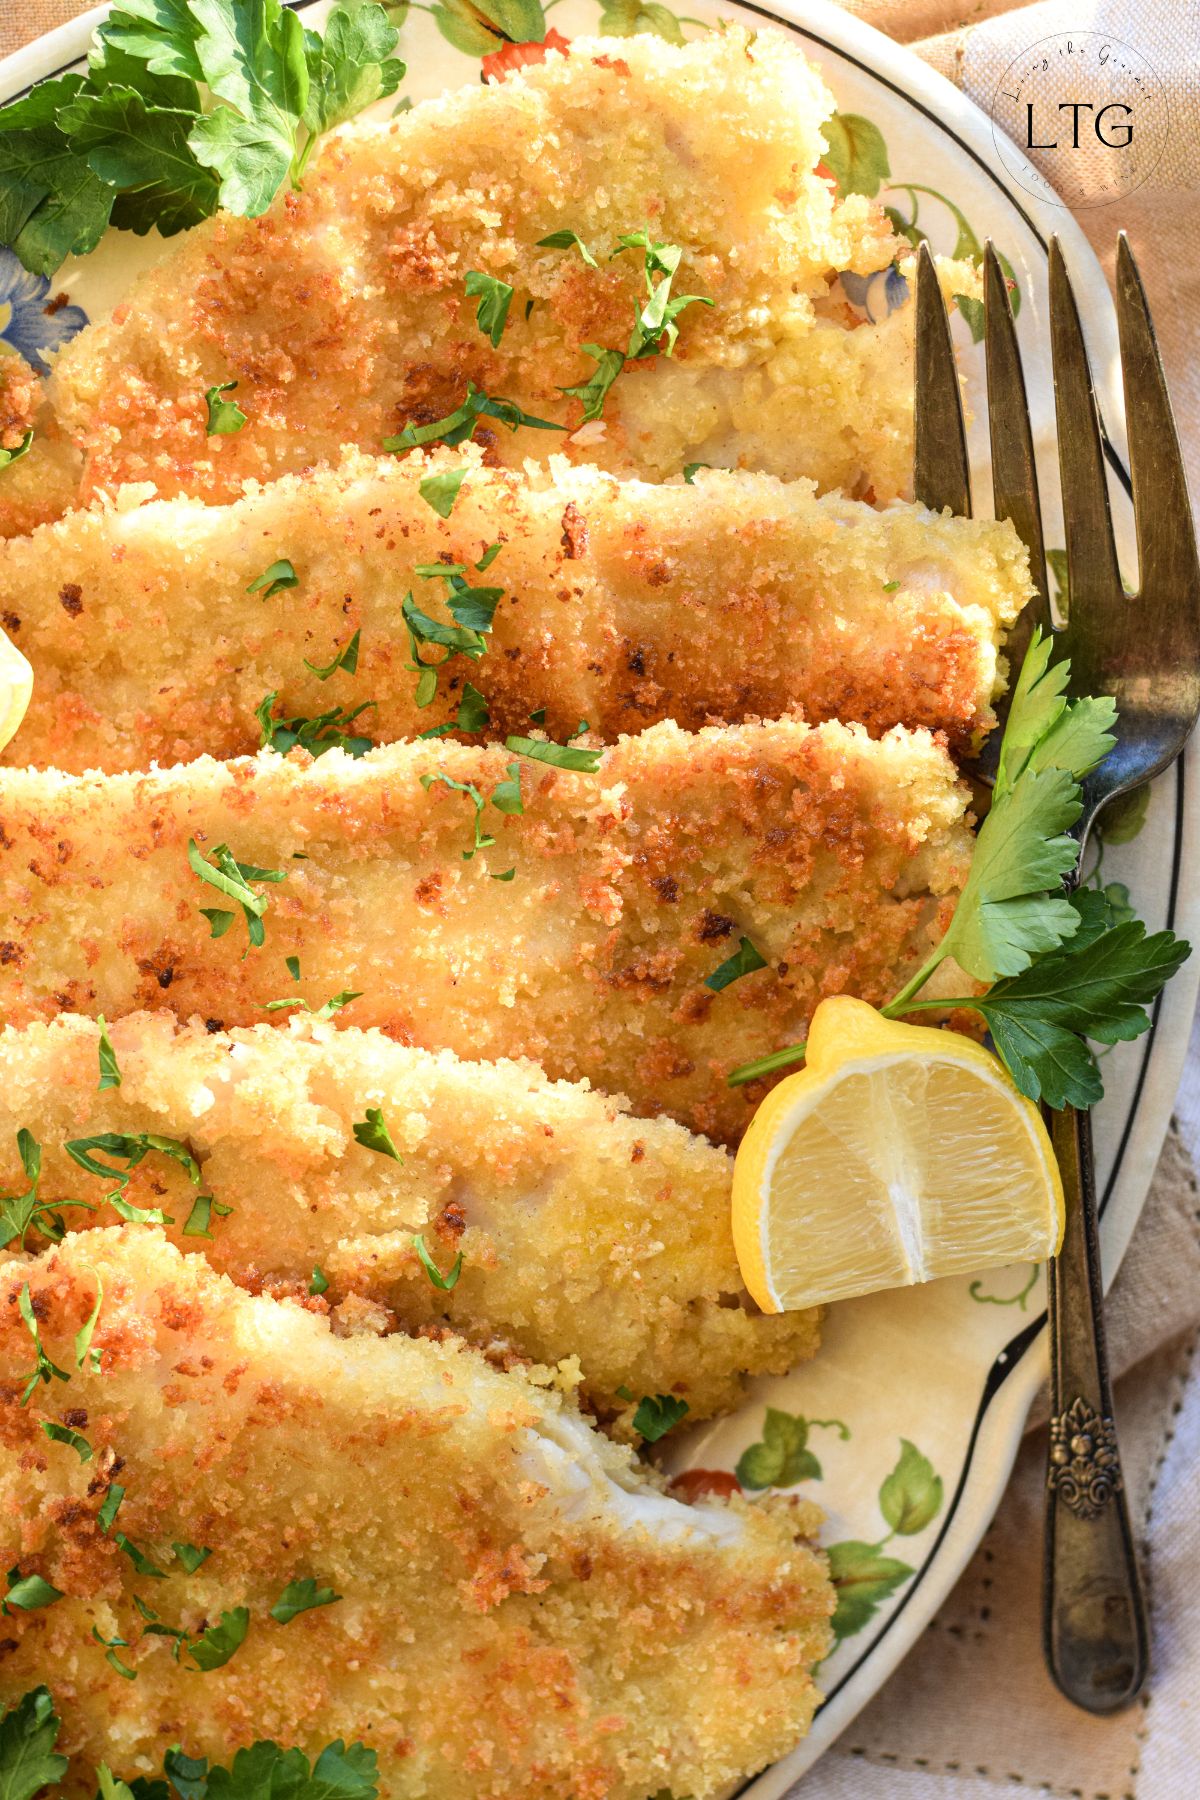
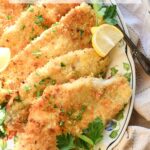
- Plating Tips: In terms of presentation, the fried filets' golden color handles most of the eye appeal. So plating is simply a matter of arranging the filets neatly on a platter, and then garnishing with Italian parsley, maybe a dusting of dill, and some lemon wedges. Basically, keep it simple.
- Beverages: White wine, cold beer, or soda. My go-to white wines would be either a crisp pinot grigio or a dry sauvignon blanc.
Ingredient Checklist - Everything You'll Need
This recipe uses just six simple ingredients, all affordable and readily available at your local supermarket. With that in mind, here's what you'll need.
- 2 lbs. filet of flounder
- Notes: A good fried fish recipe starts with quality fish. You want fresh, firm filets that have only a mild scent with no discoloration. Of course, you can opt for frozen filets, but you want to thaw them fully before using them. Do 'not' try to rush the thawing process. Instead, let them thaw fully in the fridge.
- Tips: Keep in mind that thinner filets cook faster. Meanwhile, thicker filets may require slightly longer frying time. Take this into account while frying your fish.
- Substitutions: Tilapia, sole, or haddock would be my go-to substitutions.
- Canola or vegetable oil for frying
- Notes: You want to use oils with a high smoke point that are flavor-neutral. For me, that means using either canola or vegetable oil.
- Tips: Avoid olive oil, as it has a lower smoke point and may impart a stronger flavor to the fish.
- Substitutions: Corn oil, peanut oil, or sunflower oil are excellent alternatives.
- 2 large eggs
- Notes: As always, opt for room-temperature eggs, as they will be easier to work with.
- Tips: Beat the eggs thoroughly with the milk to ensure a smooth, uniform coating.
- Substitutions: If you cannot use eggs, consider using a mix of buttermilk and cornstarch in place of the egg.
- 1 cup of milk
- Notes: I wholeheartedly recommend using whole milk, or even whole milk with a splash of heavy cream. I do 'not' recommend using skim milk. You want that added fat for texture and flavor. This is not a recipe to worry about cutting corners on fat and calories.
- Tips: Ensure the milk is cold to keep the batter cohesive.
- Substitutions: As always, feel free to experiment with your dairy-free milk alternatives.
- 1 cup of Panko breadcrumbs (plus more as needed)
- Notes: Panko creates a crispier texture compared to regular breadcrumbs.
- Tips: Spread the Panko in an even layer on a plate for better dredging.
- Substitutions: Naturally, standard breadcrumbs will get the job done if panko isn't available.
- 1 cup of all-purpose flour
- Notes: All-purpose flour is what you're looking for, not bread or baking flour.
- Tips: Feel free to try seasoning the flour lightly with salt, pepper, or your favorite chili flakes.
- Substitutions: Naturally, your gluten-free all-purpose flour can be used instead.
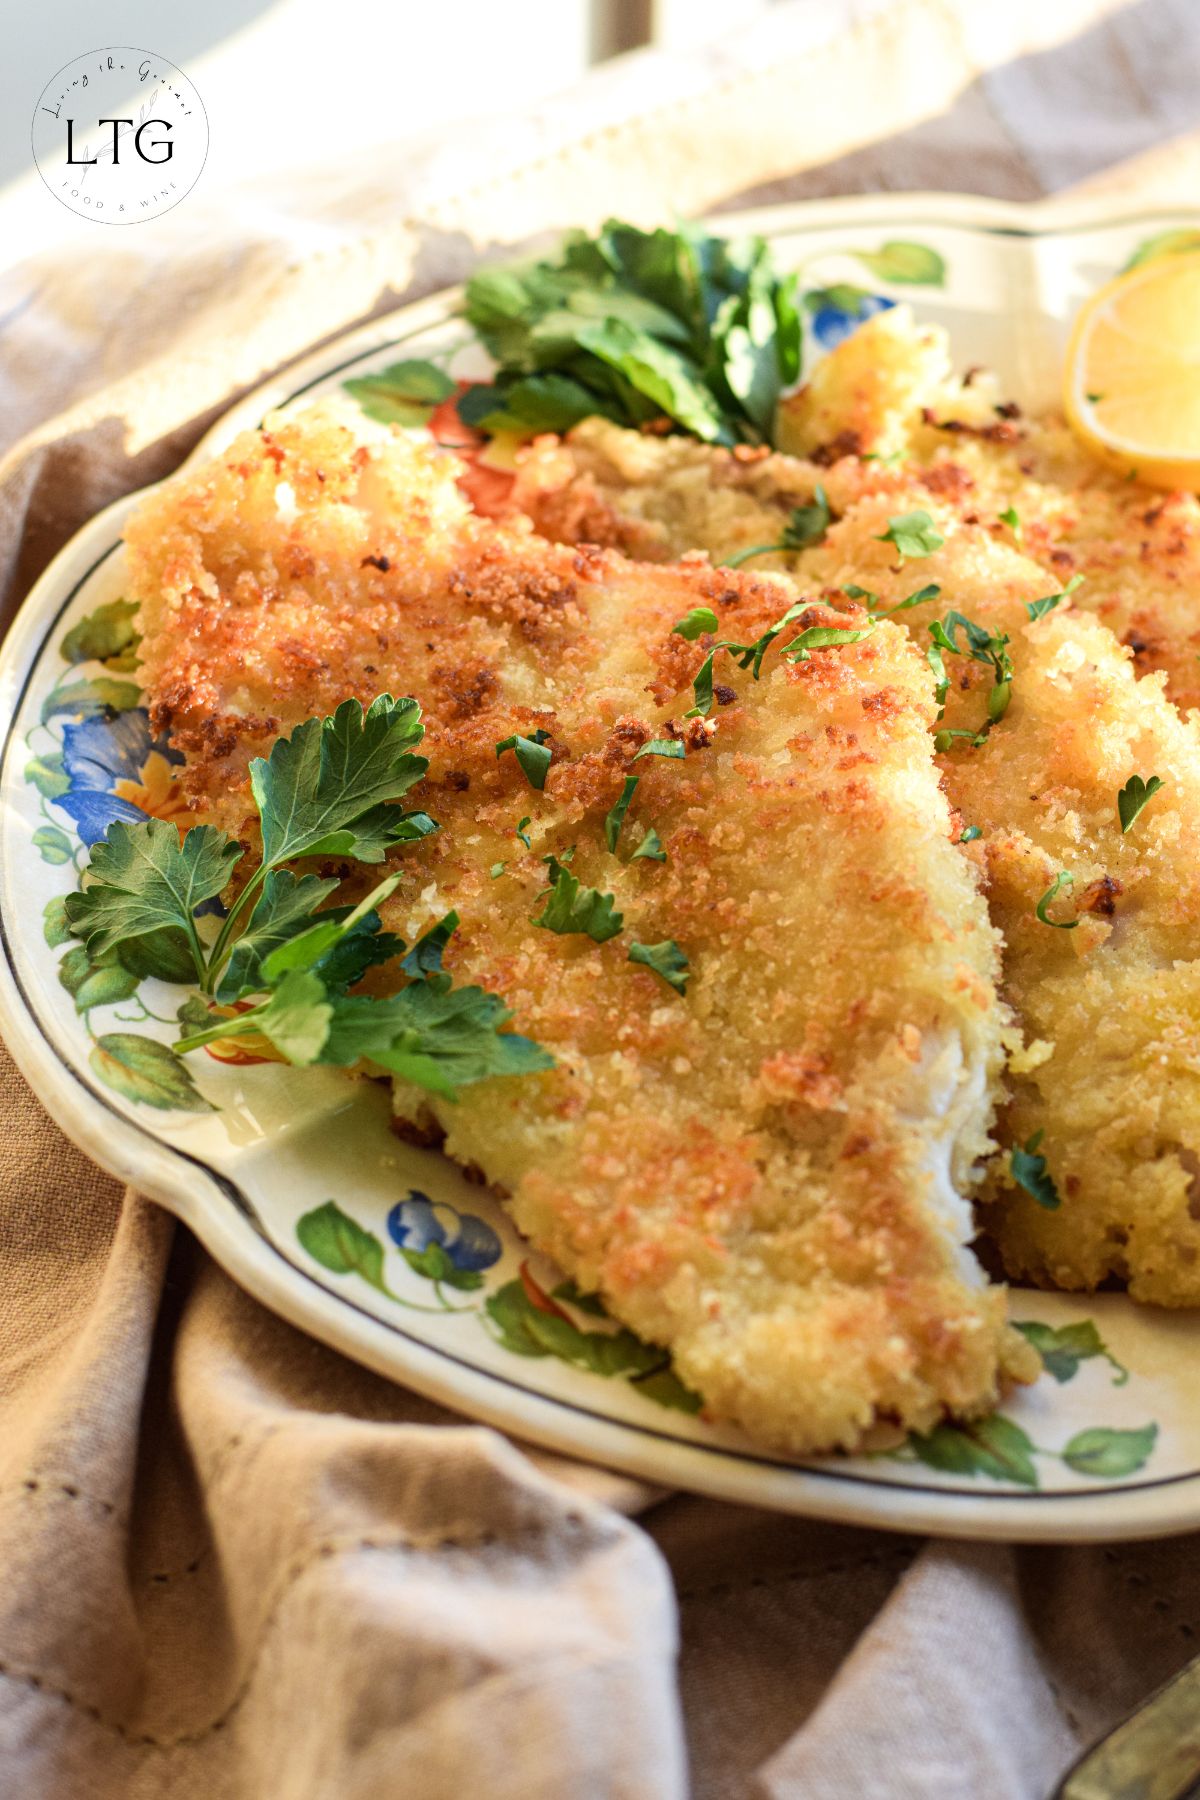
Tips for Selecting Quality Flounder
Any good fish recipe starts with good fish. But how do you know the good stuff from the not-so-good? Thankfully, it's not too difficult. Here are my top tips.
- Freshness Facts
- The Smell: Quality flounder should have a mild, ocean-like aroma. It should 'not' smell overly fishy (all fish will have 'some' fish smell). However, flounder that smells of 'fish' rather than 'ocean' has begun to decay.
- Moisture: Quality flounder filets will have a moist and somewhat translucent appearance. Avoid flounder that appears dry or dull, or that has any discoloration. These are marks of decay.
- Texture
- Firm: Flounder flesh should feel firm to the touch, and spring back readily when pressed. Stay away from fish that is soft or mushy feeling, as this is a clear indication that the fish is well past its prime.
- Inspect the Skin (If Buying Whole Flounder)
- Whole Flounder: Flounder skin should be slick and shiny in appearance. Full stop. There is no room for nuance on this point. The gills should be bright red inside. Furthermore, the fish should also be free of any excessive slime or oil. Meanwhile, the flounder's eyes should be clear and bulging, as these are signs of freshness.
- The Color
- Color: Fresh flounder meat should be white to off-white with a slight pinkish hue. Meat that is grey, brown, or that has patchy spots should be avoided entirely. These are signs of decay or improper storage.
- Ask Your Fishmonger
- Only This: I am not a fan of pestering store clerks, or the mongers behind the counter, as they are very rarely privy to any information beyond when the fish arrived, and what was most recently defrosted before being packed into the case. That said, if you have a fishmonger that you trust and are familiar with, the questions to ask are A) when the fish was caught B) when the fish was delivered, and C) how long the fish has been in the case. Fish that was caught within the past 24-48 hours is ideal, but unless you live in a coastal region, this is not always practical or possible. The reality is that almost all fish is frozen, and then defrosted before being placed in the case.
- Frozen Flounder Tips
- Buying Frozen: If opting for frozen flounder, look for vacuum-sealed packaging that is free of any ice crystals. Ice crystals can be indicative of freezer burn. Also, and this should go without saying, but ensure the package is free of tears or leaks.
- Consider the Source
- Wild: Farm-raised fish just isn't there yet. Someday, maybe, but not this day. If you can afford it, wild-caught is the better option right now in terms of both sustainability and flavor. Opt for farmed only if you want to save a few dollars.
- Smaller Filets for Better Flavor
- Smaller for Flavor: This may sound counterintuitive, but smaller flounder filets often have a sweeter, more delicate flavor when compared to their larger counterparts.
other videos you may enjoy
PrintFried Flounder Recipe
- Prep Time: 15 minutes
- Cook Time: 15 minutes
- Total Time: 30 minutes
- Yield: 4 1x
- Category: Main Dish
- Method: Fry
- Cuisine: American
Ingredients
- 2 lbs. of filet of flounder
- Neutral oil for frying
For the Coating:
- 1 cup of flour
- 1 cup of milk
- 2 eggs
- 1 cup of Panko, plus more as needed
Instructions
- Create a dredging station for the filets: one shallow dish for flour, one with the milk and eggs beaten together, and one with Panko.
- Dredge the flounder in the flour first, then in the milk and egg mixture, and finally in the Panko.
- Heat a large cast iron frying pan on medium heat and add about a 1/4 inch of neutral oil.
- Carefully place the prepared slices in the heated oil, making sure not to overcrowd the pan. Cook for 2-3 minutes per side, until the flounder is cooked through. The cooking time depends on the thickness of the flounder filets, but the filets should flake easily.
- Carefully, place the cooked flounder on a platter lined with paper towels to absorb any excess oil.
- Serve with lemon wedges and your favorite condiment.
And that's our Fried Filet of Flounder Recipe. If you enjoyed today's recipe, or have any questions or suggestions, be sure to let us know in the comments below, we always love hearing from you!
Happy Cooking!
10
Amy says
The breading was light and didn't overpower the delicate flavor of the fish. Definitely a keeper!
Catalina says
I made this for dinner and it came out light and crispy. The fish stayed tender inside and cooked fast.
Ben says
Super, super good recipe. The simplicity is great becuase it's so easy to tweak. I added some parmesan and a little lemon pepper. Chef's kiss.
Terri says
Golden, delicious, and easy. What's not to love? I made this last night with some rice and veggies, and it was perfect.
Beth says
This is really good! I love how simple the recipe is, and it's so open for interpretation, too. I added some red pepper flakes for a little heat, for example.