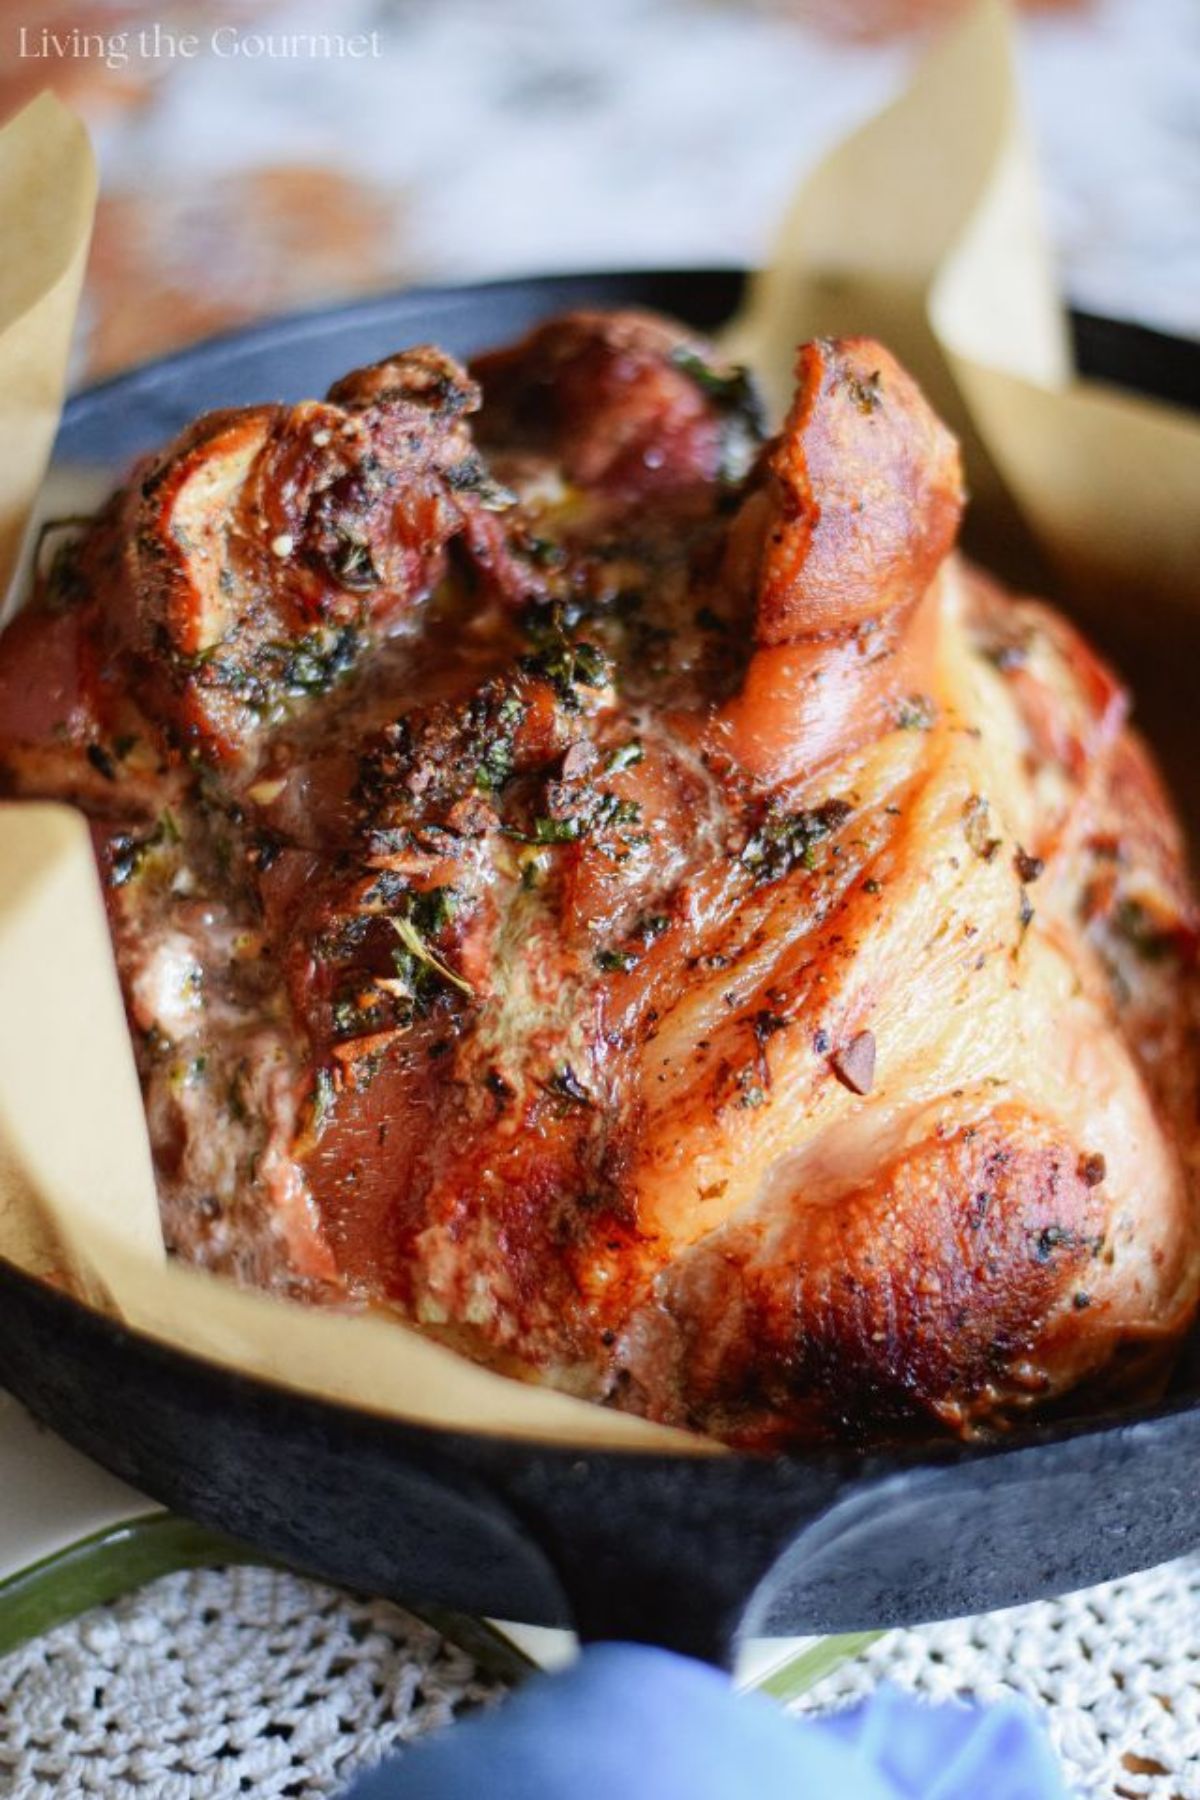
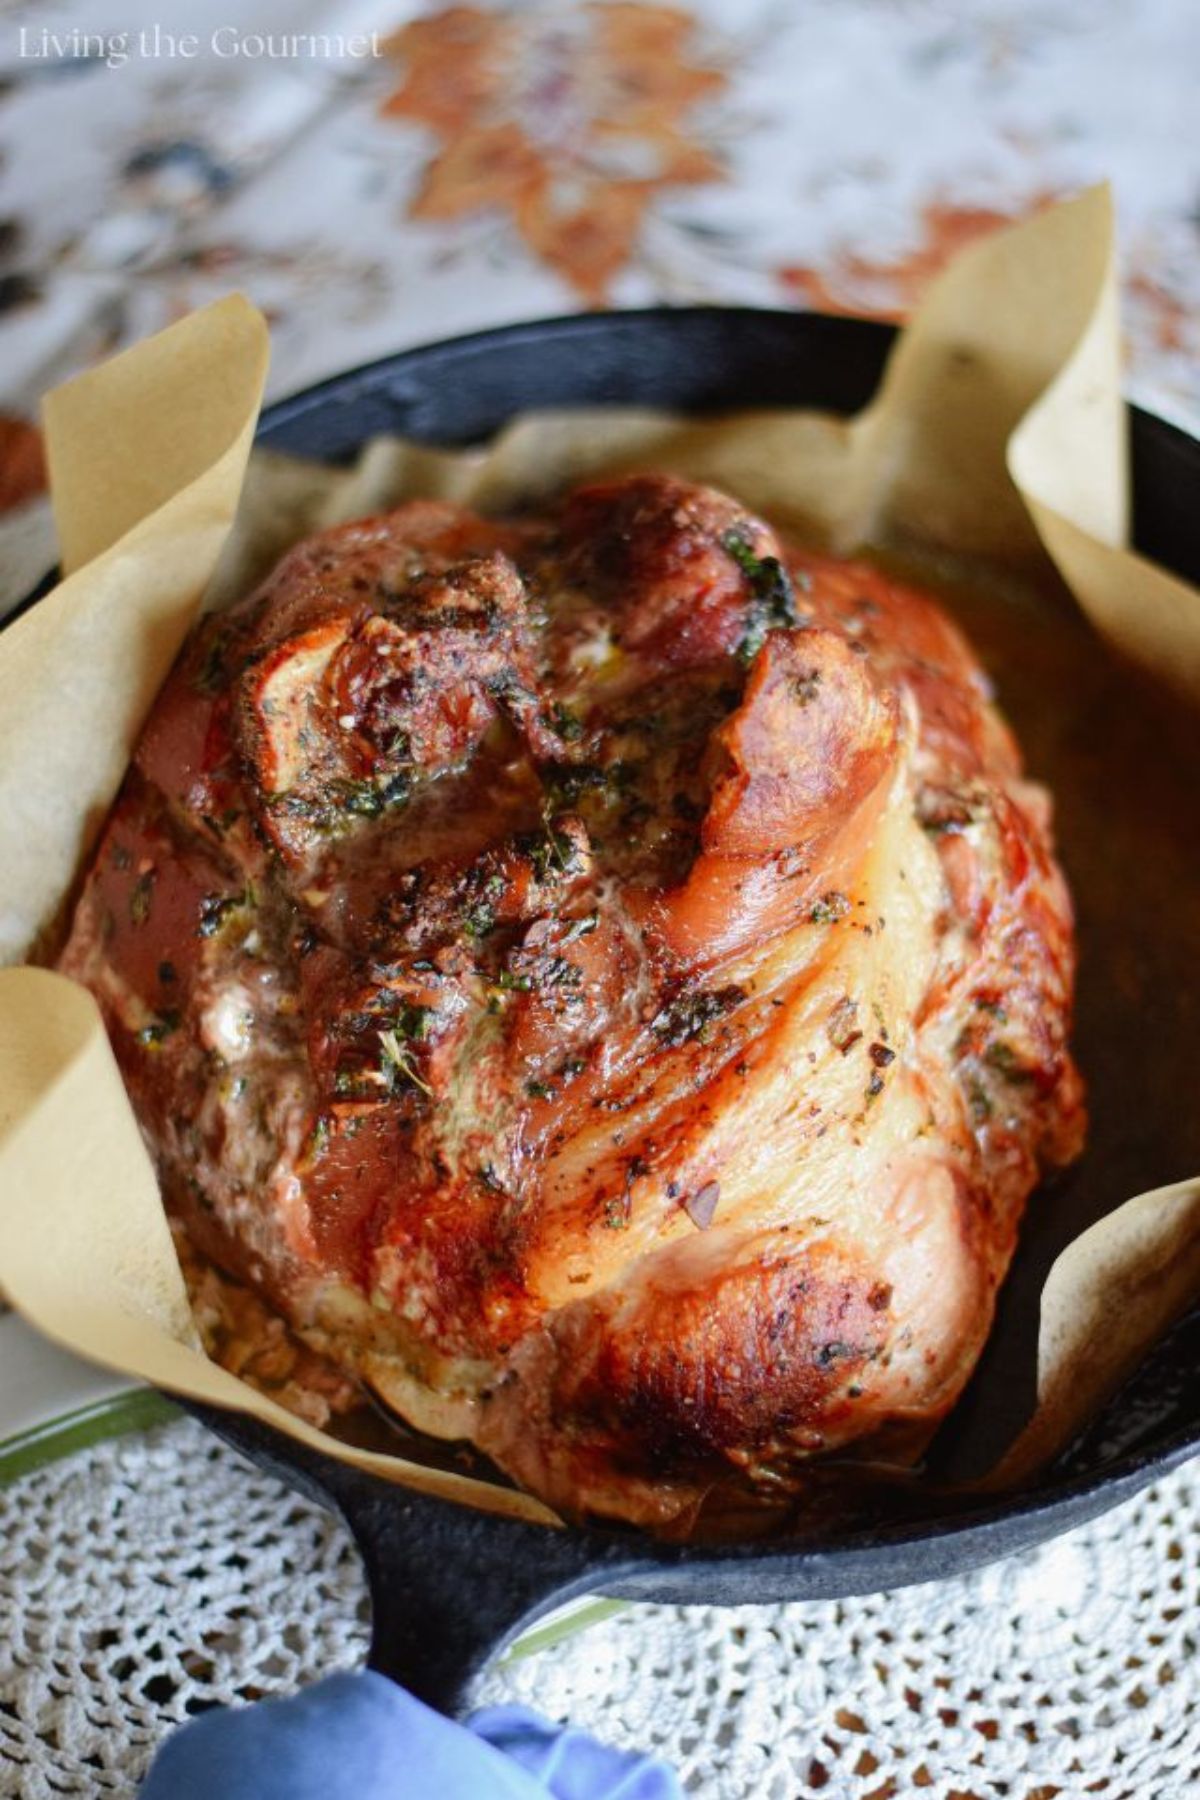
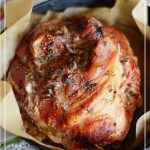
Cooked to crisp and golden perfection, this Boneless Fresh Ham Roast Recipe makes for a beautiful presentation. Are you looking for a classic Sunday roast recipe? Or a centerpiece for a special occasion that serves alongside all of the usual favorites like mashed potatoes, roasted vegetables, or pasta? If so, our Roasted Fresh Ham has got you covered.
Simple to make and easy to love, this recipe is straightforward to prepare and features no hard-to-find or expensive ingredients. The rub itself is a simple mix of parsley, garlic, and red pepper, while the recipe works both with bone-in and boneless hams. The fresh ham roast cooks up moist and juicy and delivers delicious leftovers, that are perfect on sandwiches or wrapped in tacos.
With the introductions out of the way, read on for a recipe overview, a step-by-step guide, prep tips, and a complete ingredient checklist.
Boneless Fresh Ham Roast Recipe – Recipe Overview
If you’ve read this far, you’re probably interested in this recipe, but also likely have a few questions. Perhaps you’re wondering what this recipe is like in terms of taste and texture, how hard it is to make, or what it pairs well with.
For the answer to those questions and more, read on.
- Taste and Texture:
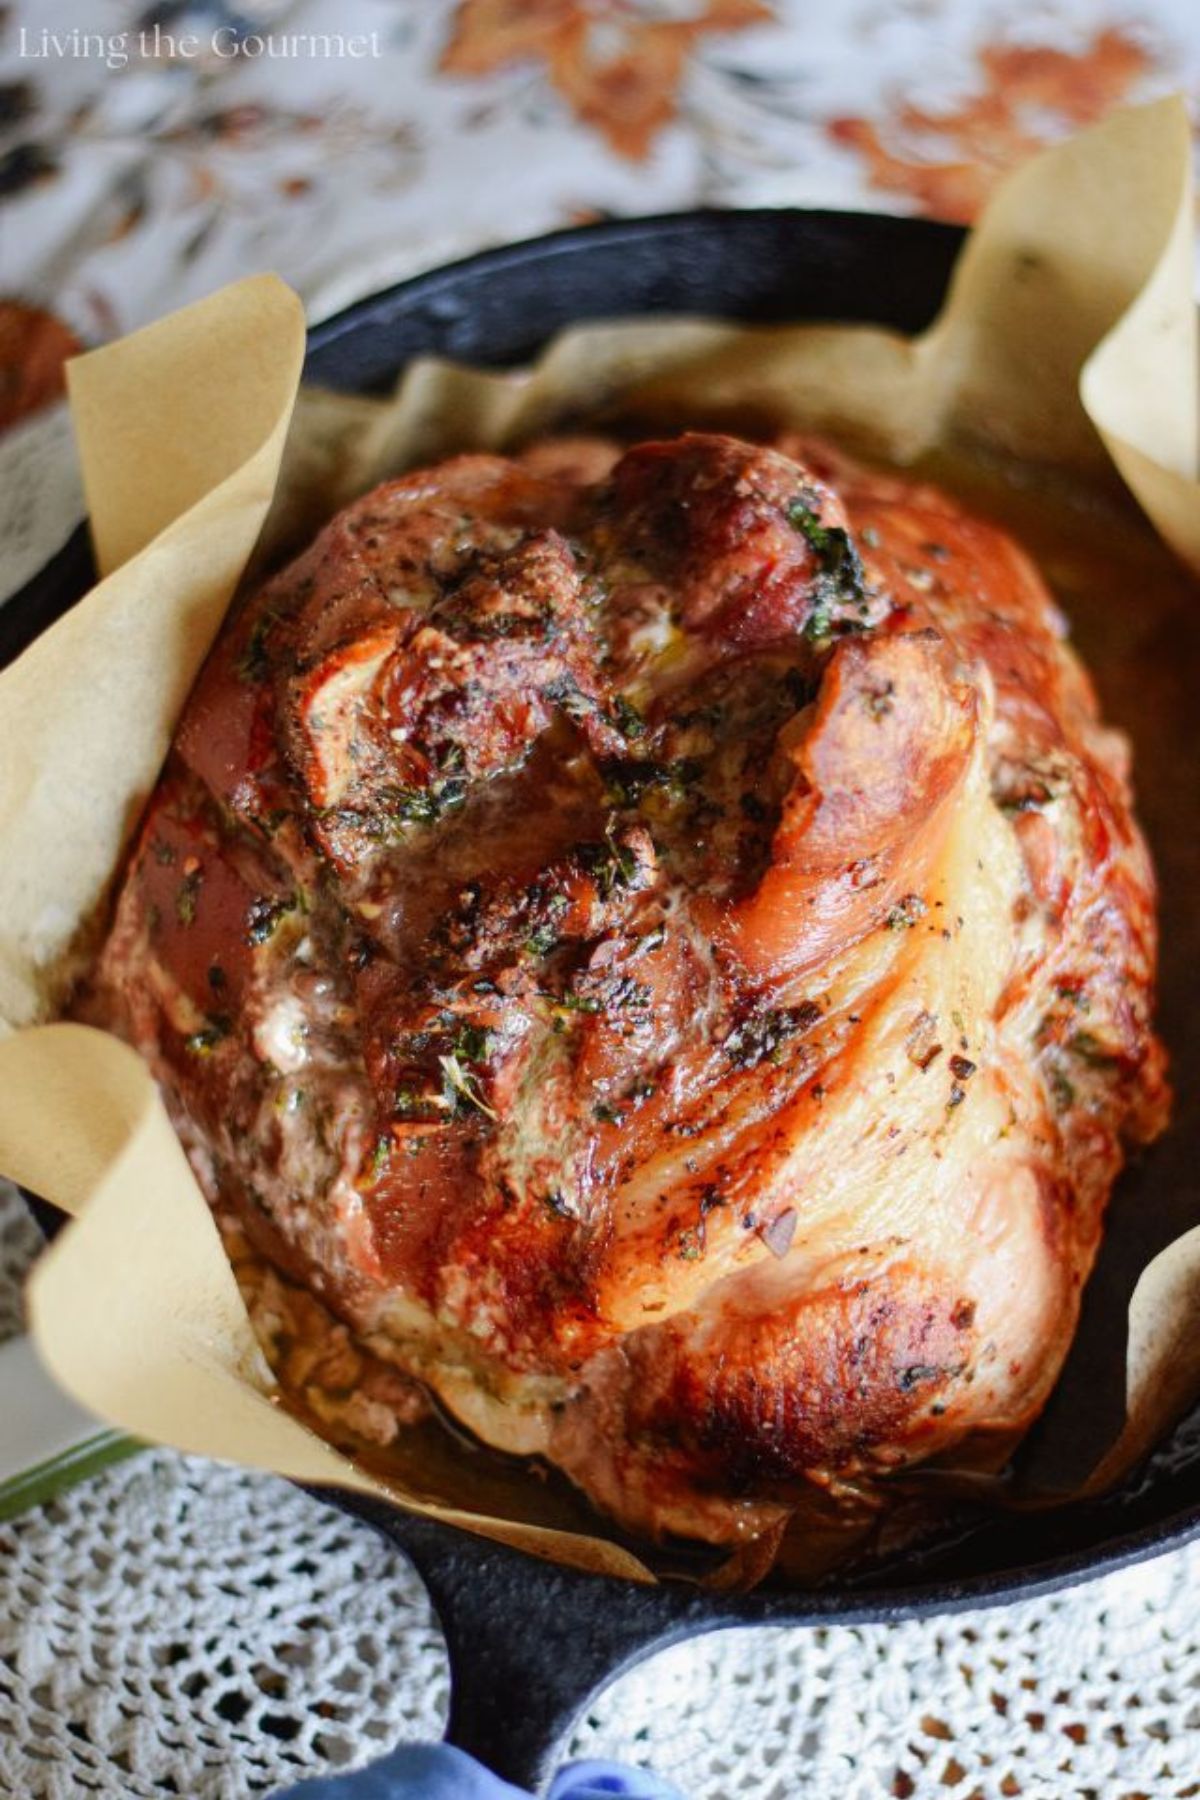
- We start off with a rub made from fresh parsley, fresh garlic, and Korean red pepper. We rub this over the ham, including in-between the scored fat cap, ensuring that the entire piece of meat is thoroughly infused. Then, as the ham roasts, the scored skin crisps up beautifully, providing a crunchy exterior, which offers a lovely contrast to the meat, which cooks up juicy and tender.
- Difficulty Level:
- Fairly easy. As long as you aren’t intimidated by handling a whole fresh ham, this recipe is very straightforward in terms of prep process and overall difficulty. I would even go so far as to say that this is a great starting recipe for new home cooks looking to try their hand at preparing larger cuts of meat. Whether we’re talking about preparing the rub, scoring the ham, or slow-roasting it, none of the steps involved are complicated, difficult, or time-consuming.
- Cooking Process:
- We start by mixing together parsley, garlic, salt, olive oil, black pepper, and red pepper in a small bowl to make the rub. Super simple. From there, we score the skin of the ham in diamond patterns. Be sure not to cut too deep, only the skin. Also, try to do this gently so as not to damage the skin or pull it off of the meat. From there, we apply the rub to the ham, being sure to get it in all the folds and under the skin. Once that’s done, we pop the ham in the fridge to let it rest for about an hour. After the ham has rested in the fridge, it’s time for low and slow cooking – no high heat, high heat will ruin this ham. I’m talking very low heat of about 325 degrees F. in a preheated oven for about twenty minutes per pound. Once the ham is done cooking, we let it rest for about fifteen minutes before carving. I know it can be tempting to cut right into the ham after it’s out of the oven, but please resist this temptation. Letting the ham rest locks in the juices by allowing them to redistribute through the meat. Do ‘not’ skip the resting period.
- Pairings:
- For me, the go-to pairings would be garlic bread, creamy mashed potatoes, grilled vegetables, or a good risotto. If we want a heavier pairing, think risotto with sliced sausage. The ham would also serve nicely alongside pasta with red sauce, ravioli, or eggplant rollatini. Sautéed greens, like spinach with pine nuts, would also be delicious. You might also opt for lighter pairings, such as a fresh green salad, especially a Greek salad with lots of olives and sliced peppers. For a wine pairing, I would suggest a decent merlot or a Sangiovese-based wine such as a good Chianti.
- Storage and Reheating:
- The leftover ham should keep for about three to five days in the fridge. It tastes great cold, especially on sandwiches, and reheats beautifully. To reheat, put the oven on 225-250 degrees Fahrenheit, and warm the meat for about ten to twenty minutes.
Boneless Fresh Ham Roast Recipe - Ingredient Checklist
This boneless fresh ham roast recipe uses only simple ingredients that are readily available at your local supermarket. We’re not using any fancy or hard-to-find ingredients.
Here’s everything you’ll need:
The Ham:
- 5 lb. fresh ham
- Tip: You want a ham with the skin on it, and intact. That means you’ll want to check for any sign that the skin has been damaged or pulled from the meat. If you must, ask your butcher for a ham with the skin on it.
- Tip 2: Use a sharp knife. Be sure to use a very sharp knife when scoring the skin. A knife that is too dull will tear the skin or ‘pull’ the skin, causing it to detach from the meat.
- Tip 3: Also, be sure not to cut too deeply, as we only want to cut the skin. Cutting into the meat itself can cause the meat to leak moisture during cooking.
- Substitution: For those who prefer a bone-in ham, this recipe absolutely works with a bone-in ham.
The Rub:
- 1 bunch of fresh Italian parsley, chopped
- Note: I find that fresh parsley adds a nice herbal brightness to the rub.
- Substitution: Your choice of basil, cilantro, or even oregano would all work. The basil or cilantro I would substitute at a one-to-one ratio. For the oregano, I would use slightly less, as fresh oregano has a tendency to be overpowering.
- Substitution 2: If using dried parsley, about 2-3 tablespoons will do the trick, but won’t be as vibrant or fresh.
- 5-6 whole cloves of garlic, chopped
- Tip: Fresh garlic cloves are key for maximum flavor. Adjust the amount to taste if you prefer a milder or stronger garlic flavor.
- Substitution: If you’re short on fresh garlic, 1 teaspoon of garlic powder per clove can be used, but fresh is best for this recipe.
- 1½ teaspoons salt
- Note: Plain table salt is all you really need here.
- Tip: Feel free to use Kosher salt or sea salt if preferred.
- 1½ teaspoons coarse ground black pepper
- Note: As always, I do suggest freshly ground pepper, as this provides the best aromatics possible. That said, pre-ground will do the trick just fine.
- 1½ teaspoons Korean red pepper flakes (gochugaru)
- Note: I’m using gochugaru as it has lovely sweet-and-smoky notes, with a very chili-forward flavor, and pleasant background spice.
- Substitution: If you don’t have gochugaru, regular red pepper flakes will work just fine. You could also opt for a pinch of cayenne mixed with your favorite style of chili powder or chili flakes.
- 3 tablespoons olive oil
- Tip: I do suggest olive oil over flavor-neutral cooking oils in this instance, as the flavor of the olive oil really does help meld the flavors of the pork and the rub. It also adds a nice overall richness to the recipe. That said, I do suggest using extra virgin olive oil for the best possible flavor.
- Substitution: That said, if a flavor-neutral cooking oil, such as canola or vegetable oil, is all you have on hand, that will get the job done, though I do strongly recommend using olive oil.
Prep Tips – Getting it Perfect
- Thermometer. Overcooking is the quickest way to ruin this boneless fresh ham roast recipe. The ham is done when the thickest part of the ham has reached an internal temperature of 145 degrees Fahrenheit. To help facilitate this, I do recommend using either a good meat thermometer or an instant-read thermometer.
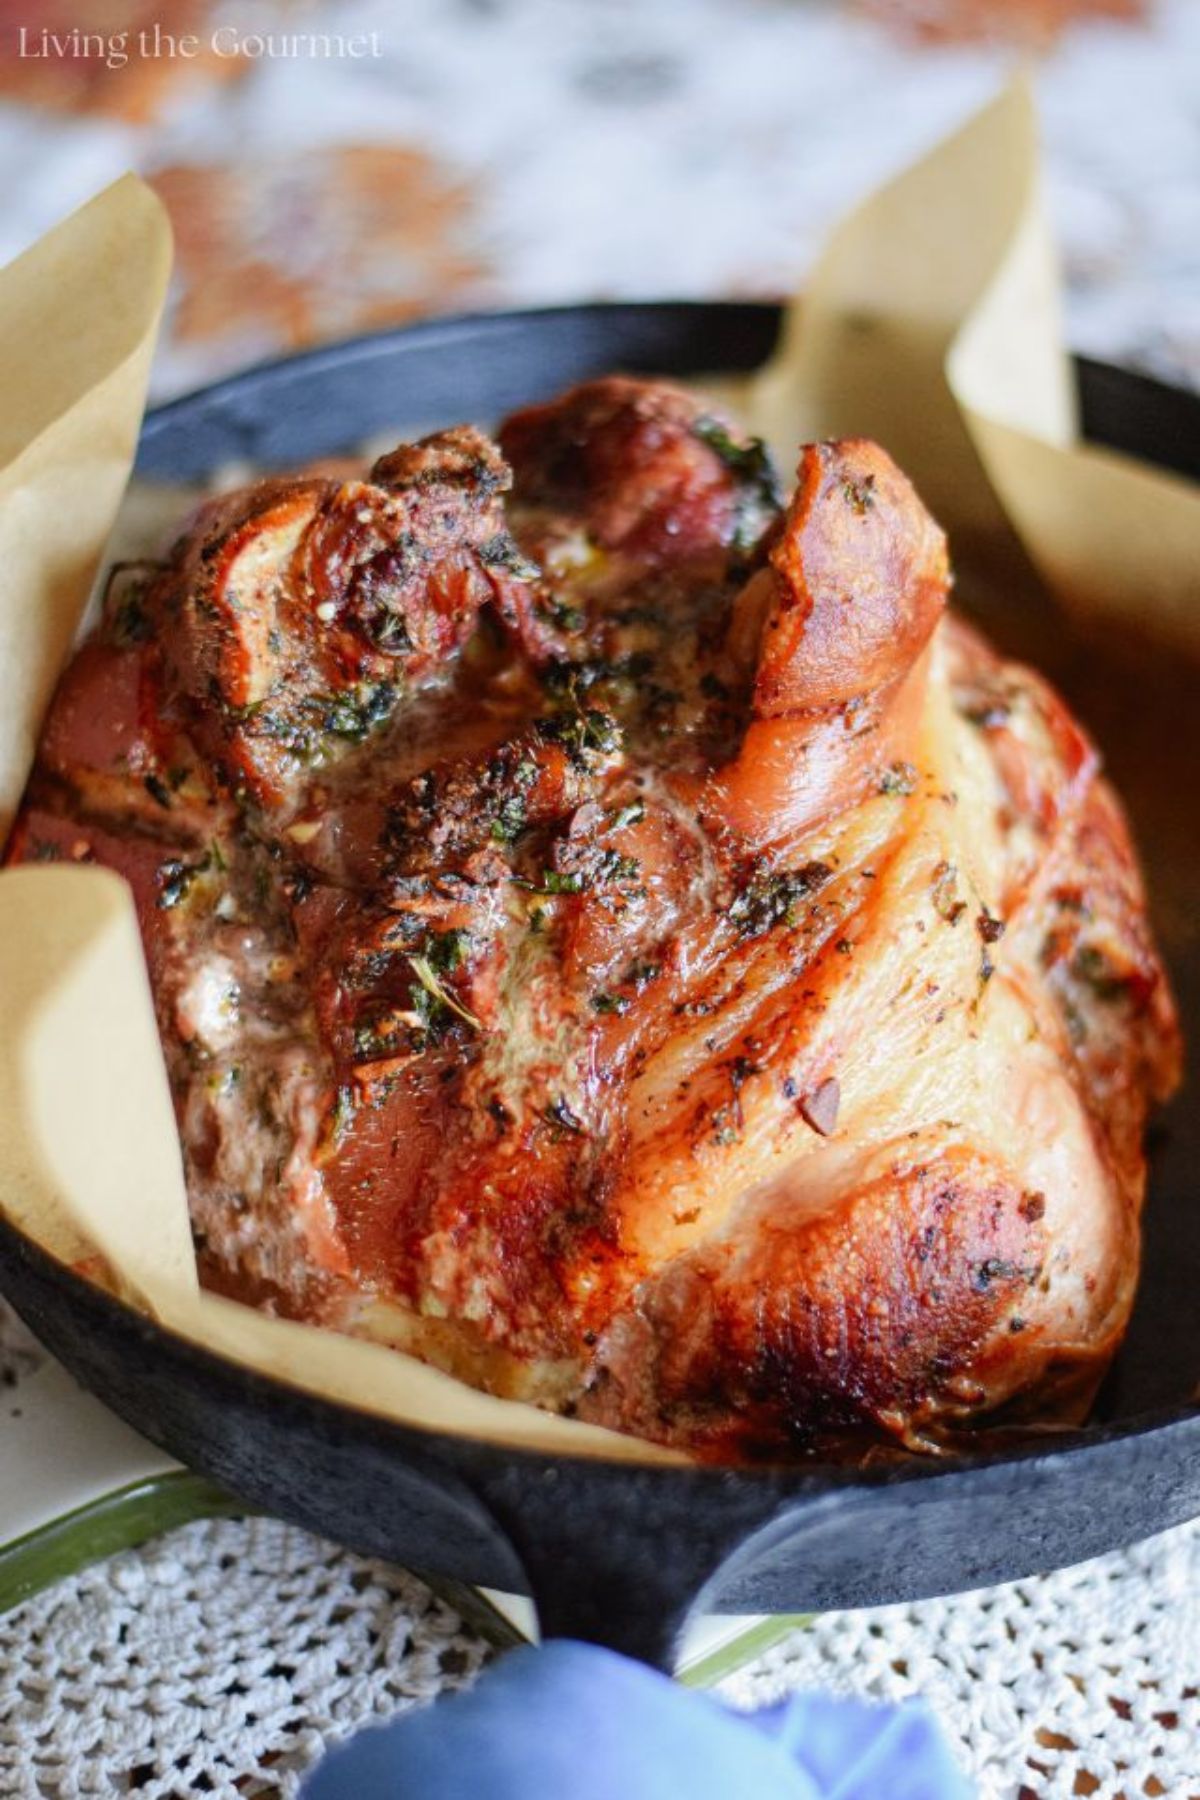
- Size of the Pan. You want to use a large roast pan or a decent-sized cast iron pan. You want the roast to have enough room to cook so that the pan juices spread out along the bottom of the pan during roasting. If the pan juices accumulate, you will end up boiling the bottom of the roast. Not good.
- Proper Position: You want the pork to cook fat side up. Otherwise, the fat will reduce into the pan drippings, as opposed to forming a crisp, golden crust. This is true whether you’re preparing a whole ham, a fresh ham, or a pork shoulder. As a rule, when roasting meat, fat side up.
- Temperature Matters: As mentioned above, we are cooking this ham on low heat. We want an oven temperature of 325 degrees Fahrenheit. Medium heat or high heat will absolutely ruin this recipe. Low and slow is the way to go.
- Cooking Time: We’re looking at a cooking time of about twenty minutes per pound, at 325 degrees Fahrenheit. Low and slow.
Tips for Selecting the Best Fresh Ham
With all of that out of the way, the key question remains – what about the ham? The recipe is about the ham, so if we aren’t starting with a good quality ham, nothing else in the recipe really matters.
So, how can you ensure you’re getting the best ham the store has to offer? What do you look for to ensure quality? How do you tell a good ham from a not-so-good ham?
Here are my top tips for doing precisely that:
- Select a Fresh Ham:
- This might sound like I’m stating the obvious, but the first step is assuring that you are, in fact, starting with a fresh, uncured ham, as opposed to a cured ham, smoked ham, or a pre-cooked ham. Fresh, raw ham is pork that has not been cured, smoked, or pre-cooked. Ensure the label says "fresh ham" and not "fully cooked" or "cured ham." Bottom line, this recipe does ‘not’ work with any type of cooked ham.
- Bone-In vs. Boneless:
- Bone-In Ham: As mentioned above, this recipe does indeed work with a bone-in ham. Why might you opt for a bone-in ham? Because a bone-in ham typically provides more flavor, and since the ham bone also helps the meat retain moisture during cooking. That said, bone-in hams are slightly more difficult to carve, as you need to maneuver the knife around the bone.
- Boneless Ham: The big plus for boneless hams is the ease of slicing, which makes it a better choice for home chefs who may not be familiar with handling larger slices of meat. Also, boneless hams tend to make for better leftovers, as the lack of bone makes the ham much better for sandwiches.
- Check the Fat Cap:
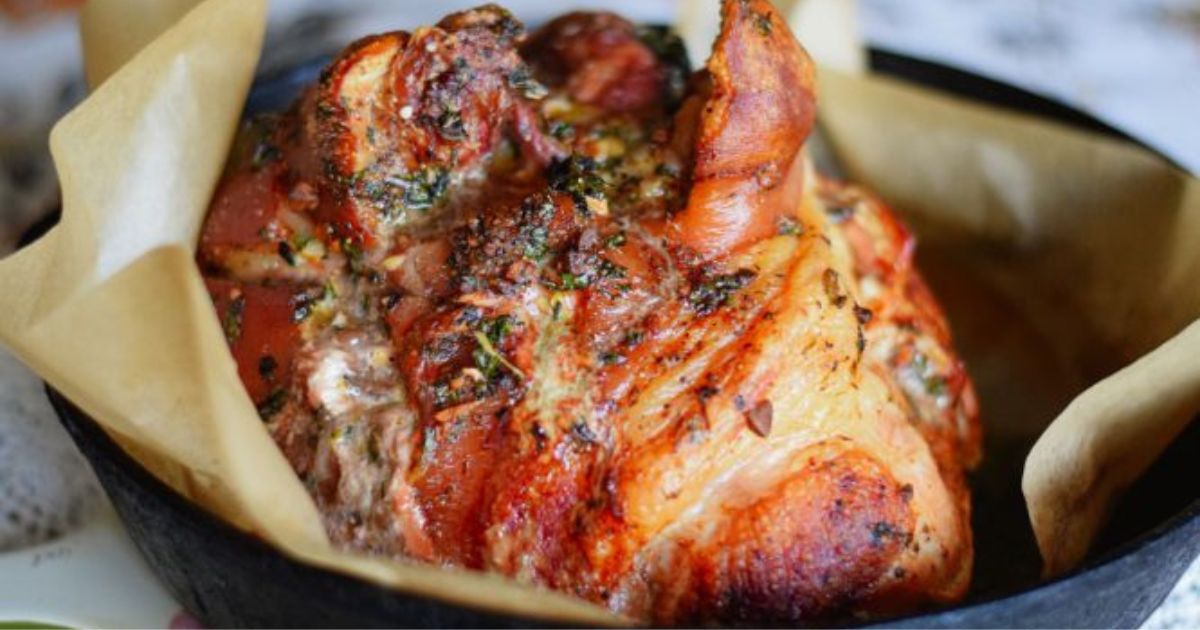
- Why: This one is important. You want a ham with a good, substantial fat cap, which is simply the layer of fat that covers the top of the ham. Why? Because the fat will crisp and render during cooking, which will help to keep the meat moist, as well as provide a crisped exterior. It also makes for a lovely presentation, as shown in the photos.
- Color: As a general rule, the fat cap should be white and free of discoloration. Avoid hams with a grey or brown fat cap, as this indicates either poor storage or that the ham has been sitting on the shelf for too long.
- Weight and Size:
- Another one that should be obvious, but when selecting a pork roast try to account for how many you’re serving. Plan for about half a pound to one pound per person, or more if you want leftovers.
- What The Butchers Can Do:
- Yes, we’ve all heard how the butcher sections of (most) supermarkets or your local grocery store order precut, frozen meats, which are then defrosted and packed for the store shelf. However, there are certain things that butchers in larger supermarkets can (usually) do for you. This includes things such as removing bones, tenderizing meat, dividing packages, making special orders, or even grinding steaks down into chop meat.
- That said, do bear in mind that supermarkets are ‘not’ specialty butcher stores. Supermarkets pack what sells, and if you’re looking for artisan or rare cuts of meat, or are looking for a butcher to work “miracles with knives,” you need to find a decent butcher shop. With Americans eating more meat than ever (you would never know it from current corporate culture), local butcher shops are experiencing something of a minor renaissance. That means that your local butcher is better for things like prime cuts, rare or ‘odd’ cuts, and premium or ‘specialty’ brands of meat that the local supermarket simply doesn’t have the clientele or budget to stock.
- Good Marbling:
- Fat is flavor ‘and’ a flavor enhancer. Not only that but fat – quite literally – triggers our tastebuds. On top of that, “fatty” is now a taste that has been added to those sensed by our tastebuds. When it comes to meat, the less fat there is, the less flavor there is. That means you want to check for a good amount of intramuscular fat or marbling in the meat that you buy.
- Avoid Excess Liquid:
- A fresh ham should not be packed with a lot of water or liquid. If the ham seems too wet, it might affect the texture and moisture levels during cooking. That said, beware of ‘droplets’ that have formed on the interior of the packaging, as this could indicate decay.
- Inspect the Skin:
- The skin is a good indicator of the overall quality of the meat. You want the skin to be smooth and firm. Dry or discolored skin is an indication of decay. Not good. That said, leave the skin. The skin helps protect the ham during cooking, we’ll also be scoring the skin, so as to create a crispy, golden crust.
Boneless Roasted Fresh Ham Recipe with Garlic Rub
- Total Time: 3 hours 30 minutes
- Yield: 4 1x
Ingredients
- 5 lb. fresh ham
For the Rub:
- 1 bunch of fresh Italian parsley, chopped
- 5-6 cloves of garlic, chopped
- 1 1/2 tsps. of salt
- 1 1/2 tsps. of coarse ground black pepper
- 1 1/2 tsps. of Korean red pepper flakes
- 3 tbs. of olive oil
Instructions
- Score the skin of the ham. Use a sharp knife to score the skin in a diamond pattern cutting about 1/4 inch deep through the skin. Do not cut into the meat.
- Combine the ingredients for the rub in a small bowl and stir.
- Massage the rub into the skin and through the crevices of the meat. Try to push the rub deep into the meat and all over the skin.
- Place in a bowl. Cover the bowl with plastic wrap and place in the refrigerator for at least an hour or more.
- Preheat oven 325 degrees F.
- Place the meat in a large cast iron frying pan prepared with parchment paper and cook for 20 minutes per pound until the internal temperature reaches 145 degrees F. when checked with a food thermometer.
- Let the ham rest for 10-15 minutes before carving.
- Prep Time: 10 minutes
- Cook Time: 3 hours 20 minutes
- Category: Main Dish
And that’s our Boneless Fresh Ham Roast Recipe with Garlic Rub. If you enjoyed this recipe, or have any questions or suggestions be sure to let us know in the comments below. We always love hearing from you!
10
Marie says
Now I know what I’m having for Christmas dinner. This recipe looks scrumptious!!
rposa says
40 minutes per pound?
Living the Gourmet says
Hello! That is 20 minutes per pound at 325 degrees F! Thank you for pointing that out! Happy Cooking!
Benjamin says
That's half the time. What is correct? Should this post be updated as I was about to use the original recommendation of 40min/lbs for dinner.
Living the Gourmet says
Hi Benjamin, apologies for the confusion and oversight! The correct time is 20 minutes per pound. The updates now reflect that. Thank you for stopping by!