This post has been sponsored by Drinkmate. All opinions expressed are my own.
Today's recipe is an effervescent treat for the season that everyone can enjoy!

Recently, I had the pleasure of receiving the Drinkmate Machine, an at-home carbonator that can make any drink sparkle. It can even bring back to life flat beverages with just the click of a button.
It has always been something that interested me, so without hesitation, I accepted to try out Drinkmate at home for myself.
Over the last decade, at-home carbonation has rapidly entered the mainstream, previously being reserved for enthusiasts with money to burn. However, a range of affordable, simple to use carbonators have hit the market over the last ten years, making the process of at-home drink carbonation both simple and affordable, as a healthier, fun alternative to sugary sodas.
Drinkmate is one such carbonator, being competitively priced at around just $90. This places DrinkMate at the lower end of the price-scale, as many home carbonators can run well into the hundreds of dollars.
Unboxing
The DrinkMate itself is sleekly designed, takes up very little counter space, and - much to my surprise - it does not require a power connection or batteries, being entirely gas operated via its C02 reservoir. No wires is always a plus in my home. To note, the DrinkMate comes in three colors, Metallic Red, White, and Matte Black, and the drink bottle is BPA-free.
That said, I would have preferred if the bottle used for carbonating beverages felt a bit sturdier, the plastic feels slightly fragile for my taste.
Now, for making Carbonated Beverages
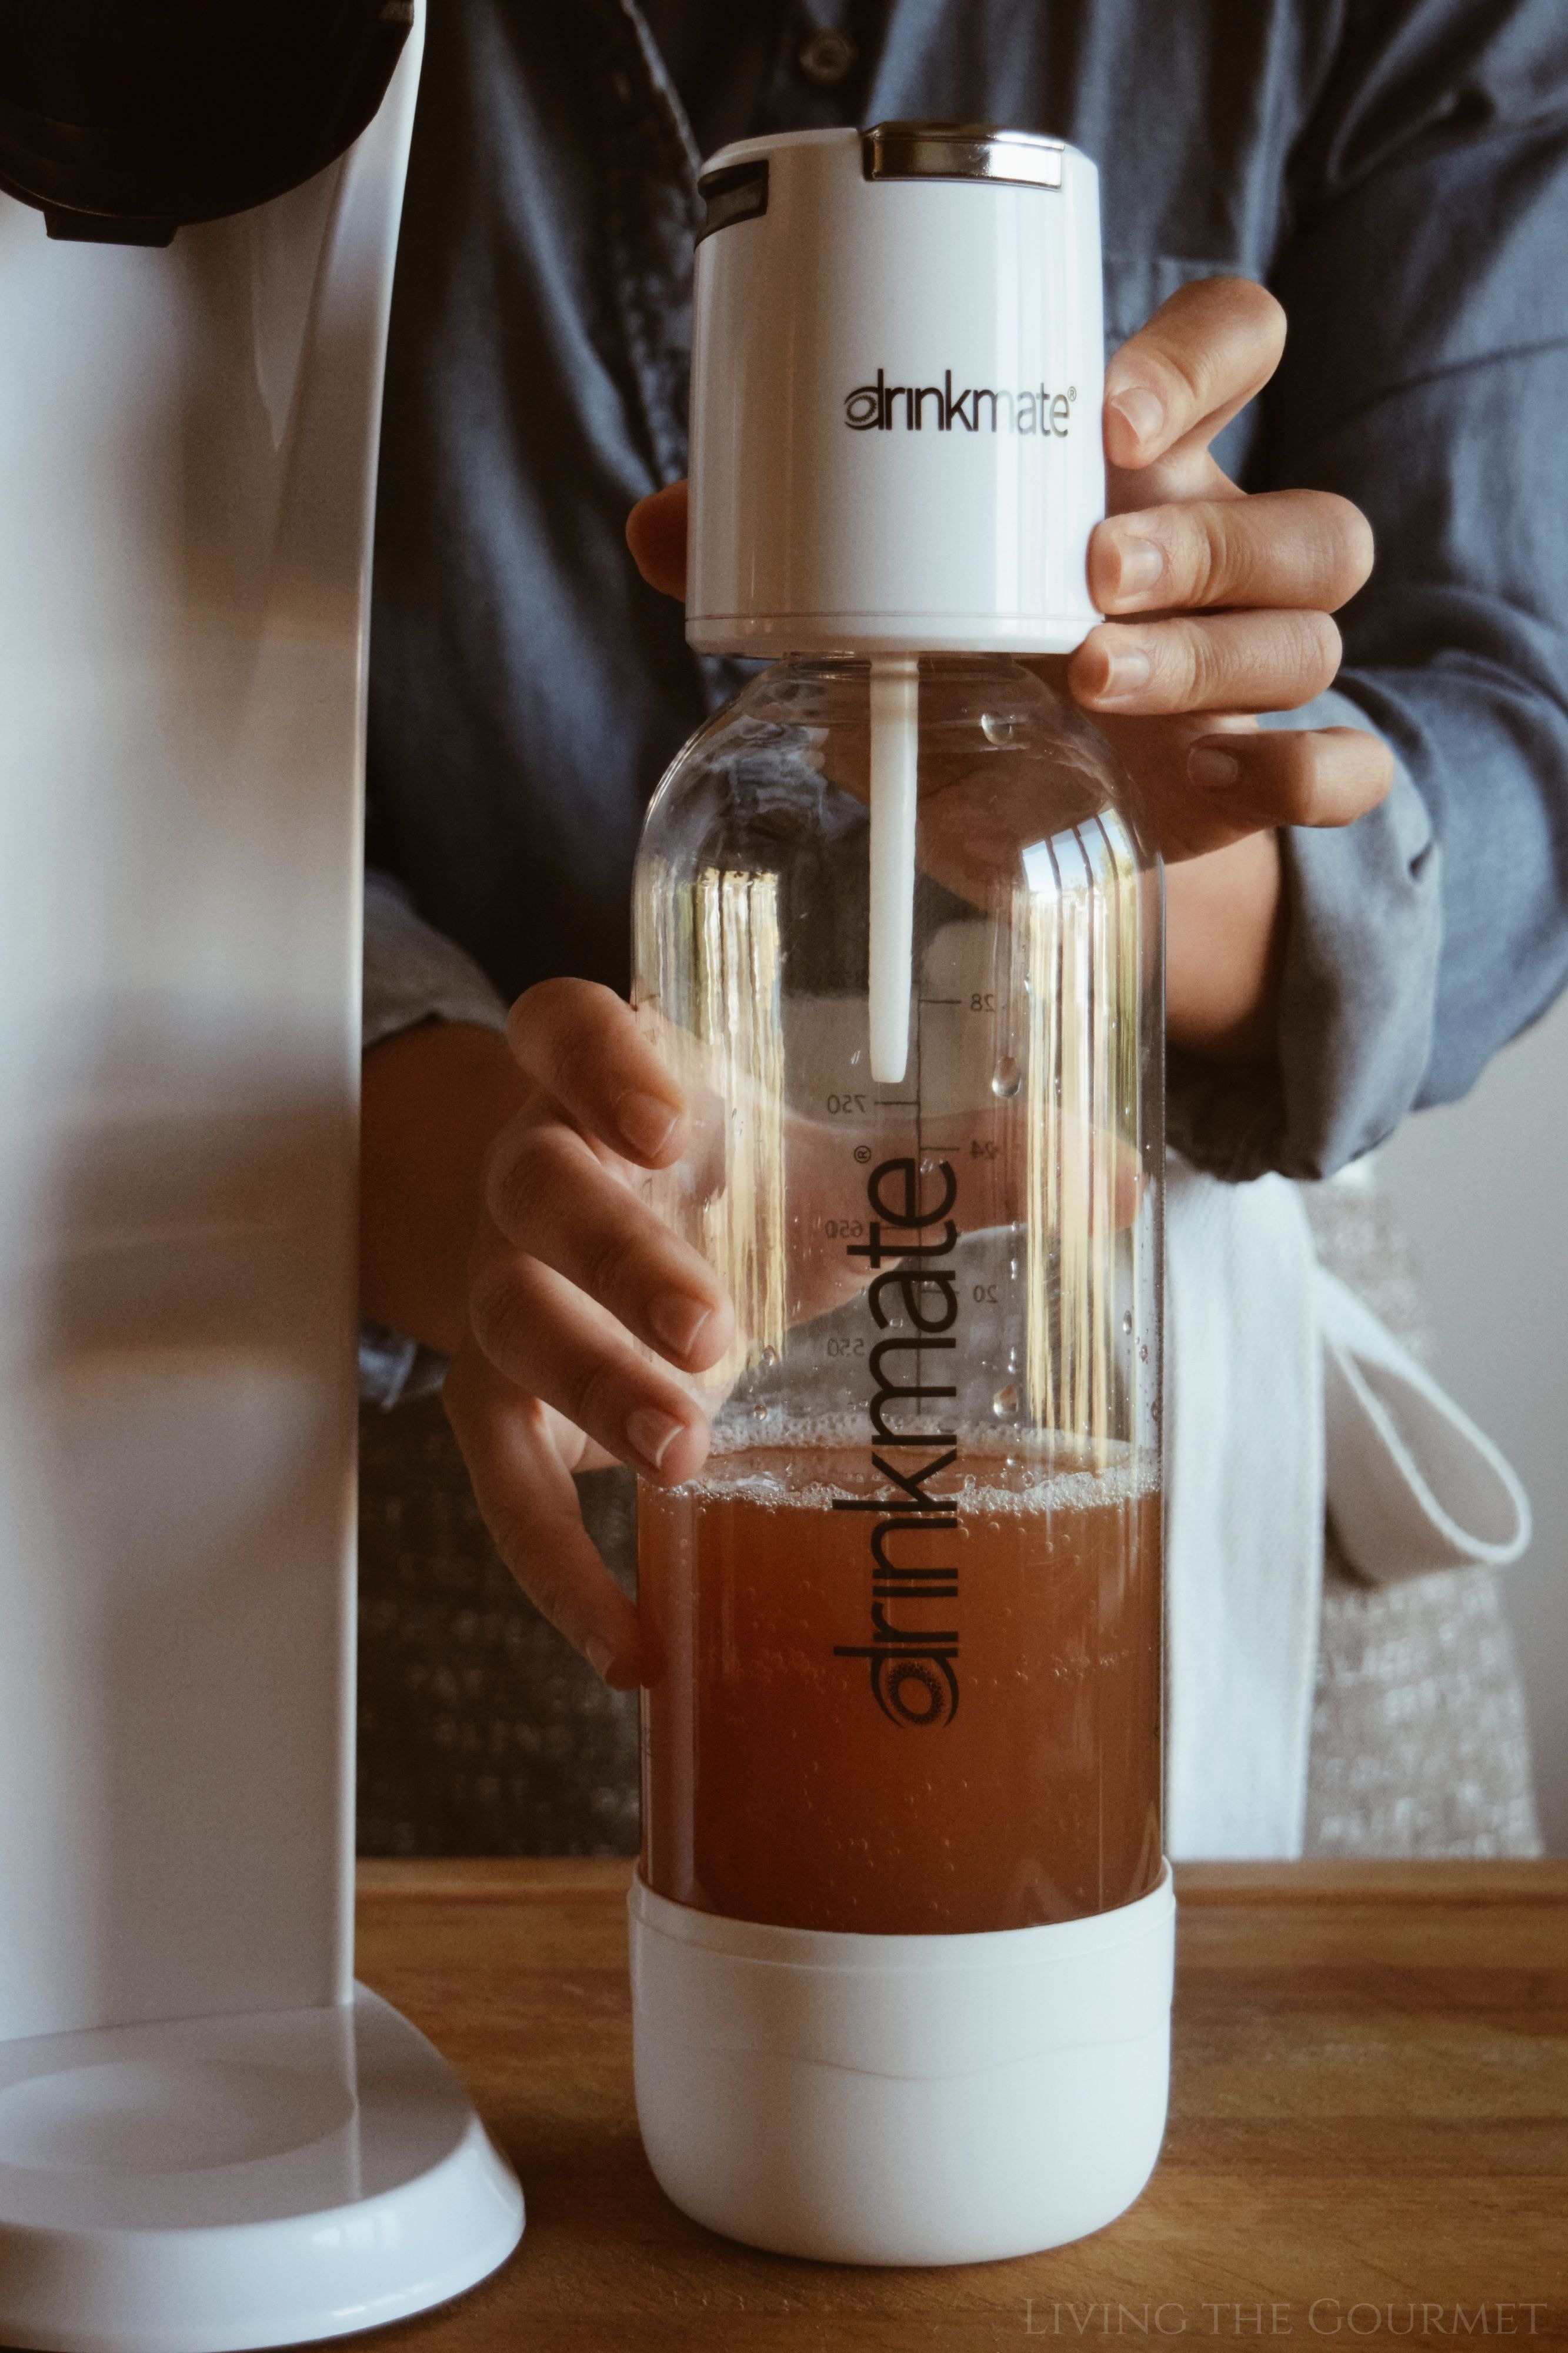
Let me begin by saying that most other carbonators only carbonate water, to which you then add flavoring, mixes, or use the water as a base for a drink. The DrinkMate however can carbonate prepared drinks, and the difference is in a sturdier, multi-stage "Fizz Infuser," which features a controlled pressure release valve at the top of the bottle - more on that in a moment.
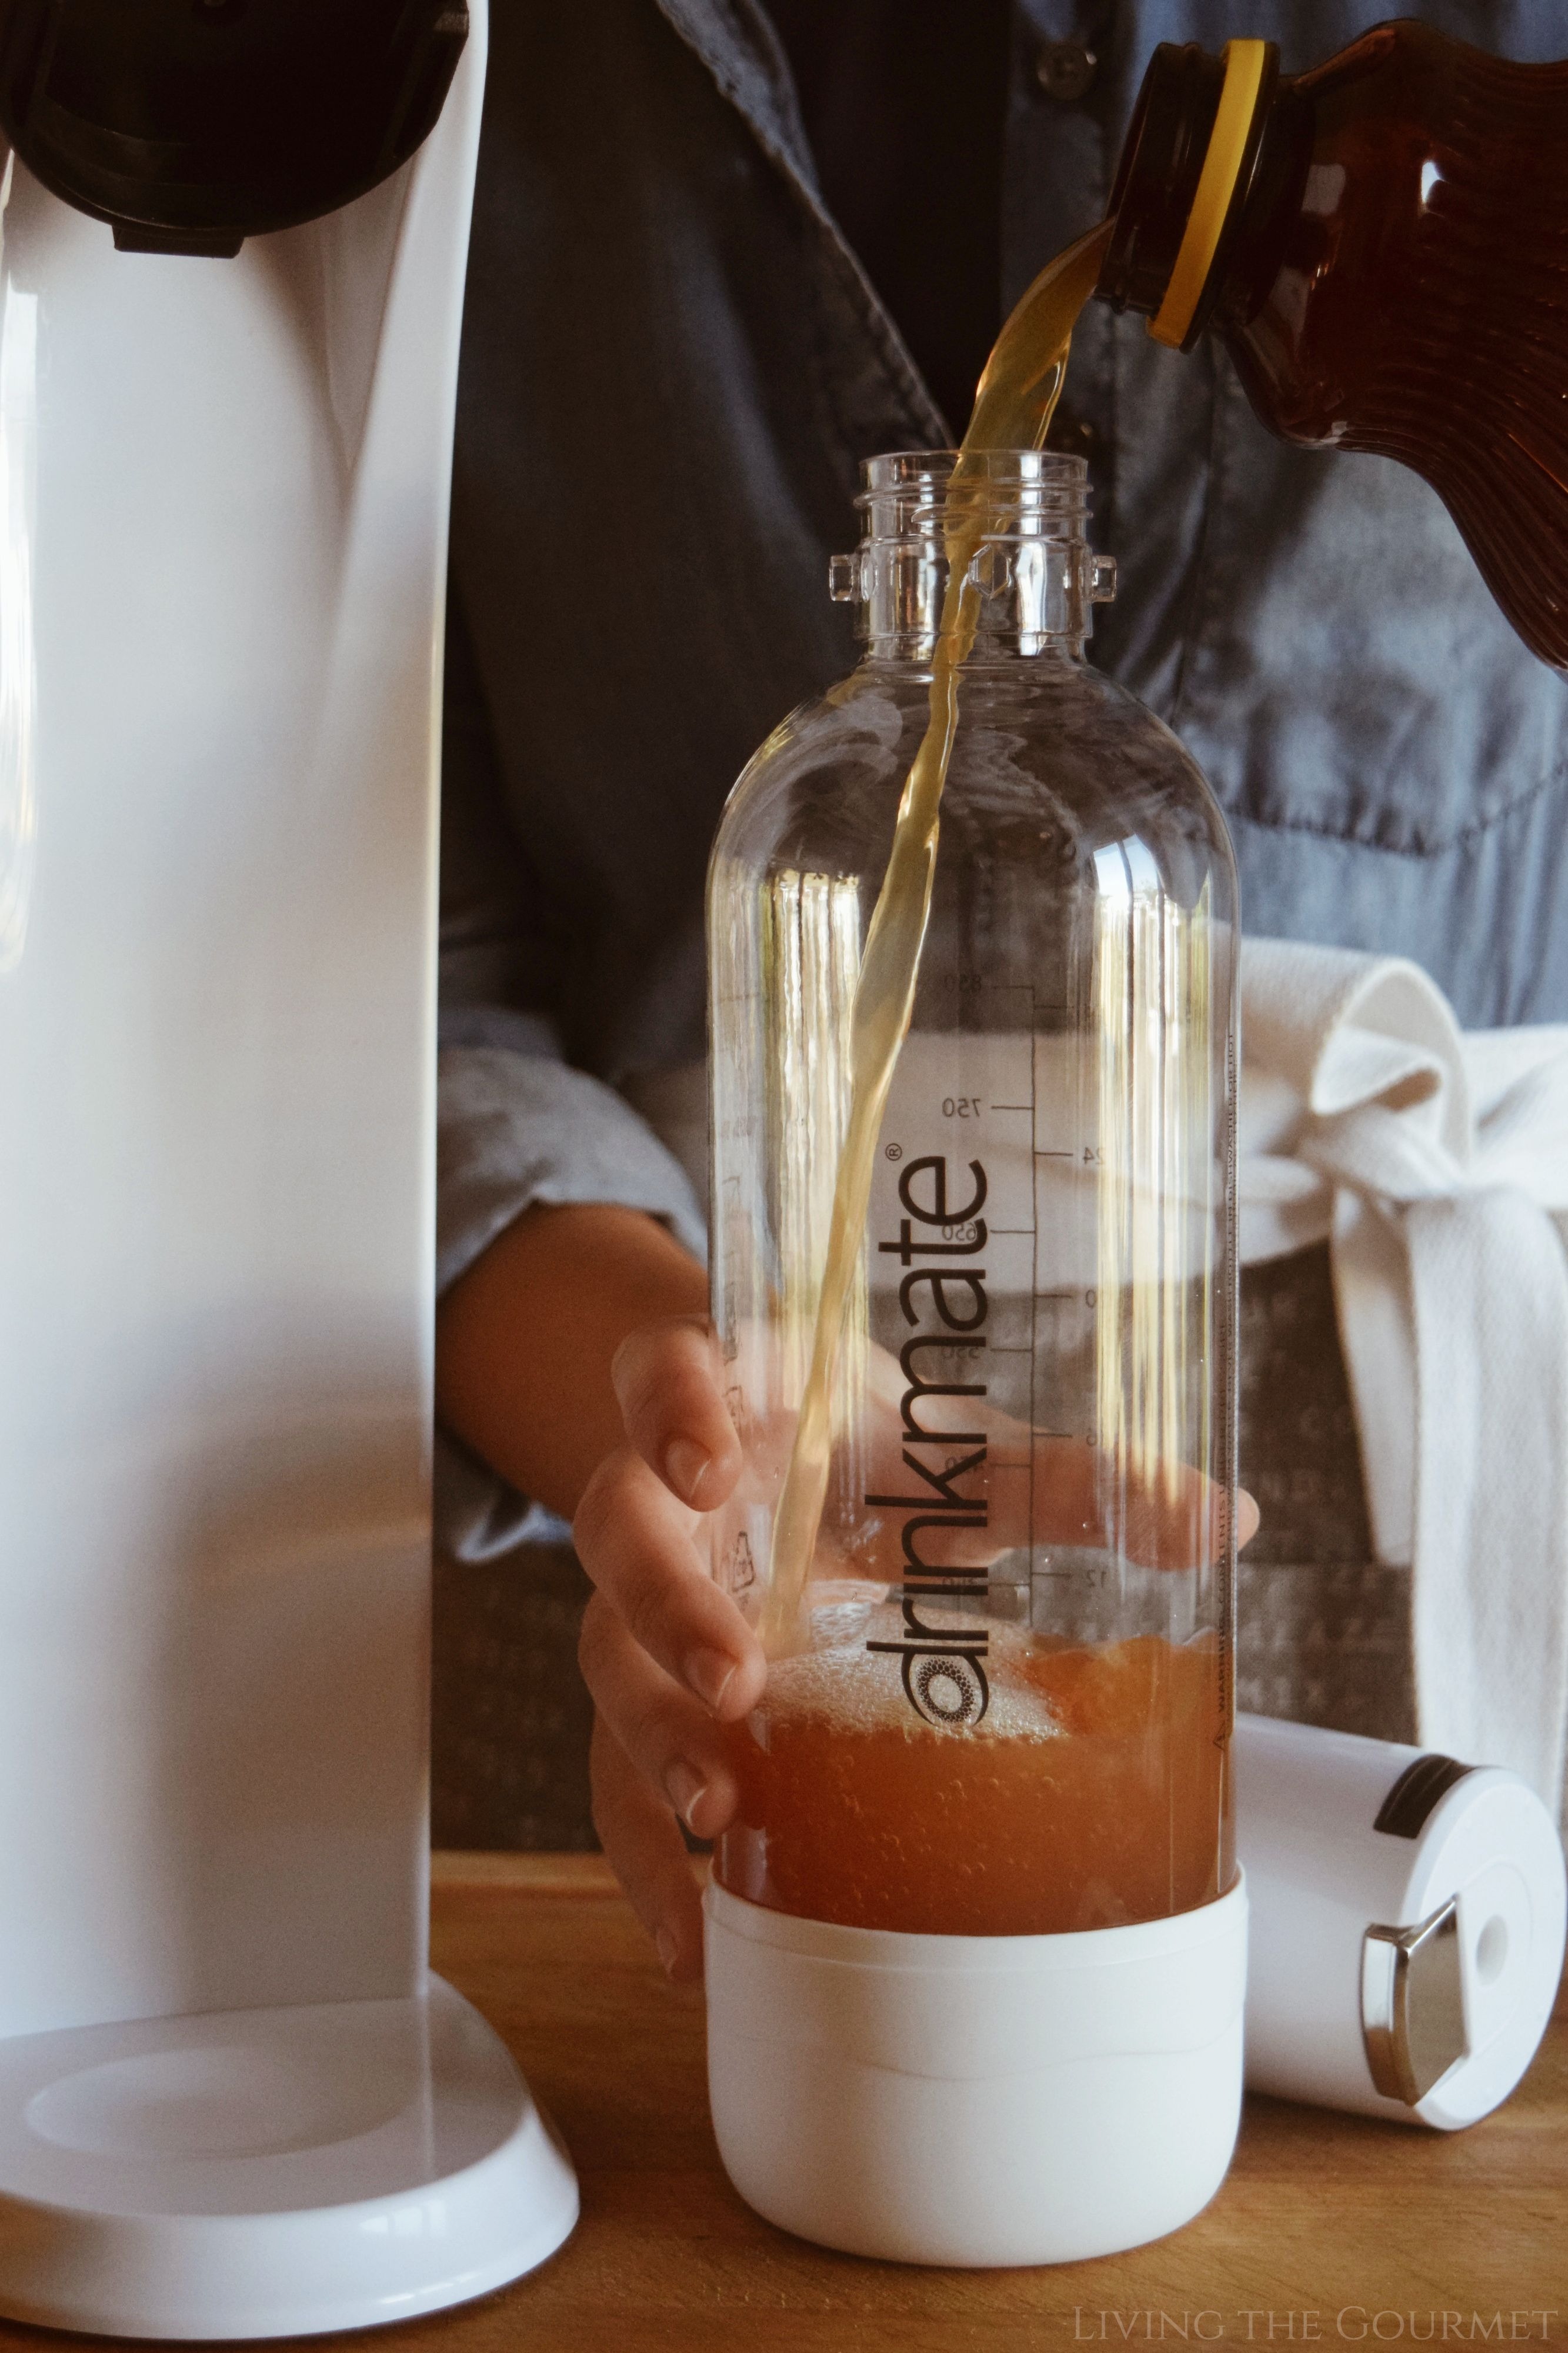
With that said, on paper, DrinkMate is very simple to use, with the entire process of carbonating a beverage being broken down into four simple steps. Fill the bottle with your beverage of choice, attach it to the DrinkMate machine, press the metallic colored button on the top of the machine a few times to carbonate. From there, remove the bottle from the machine, then patiently manage the release of excess gas via a pair of release valves, and voila, you've got a carbonated beverage.
In practice, however, this process can take a bit of getting used to. Allow me to explain.
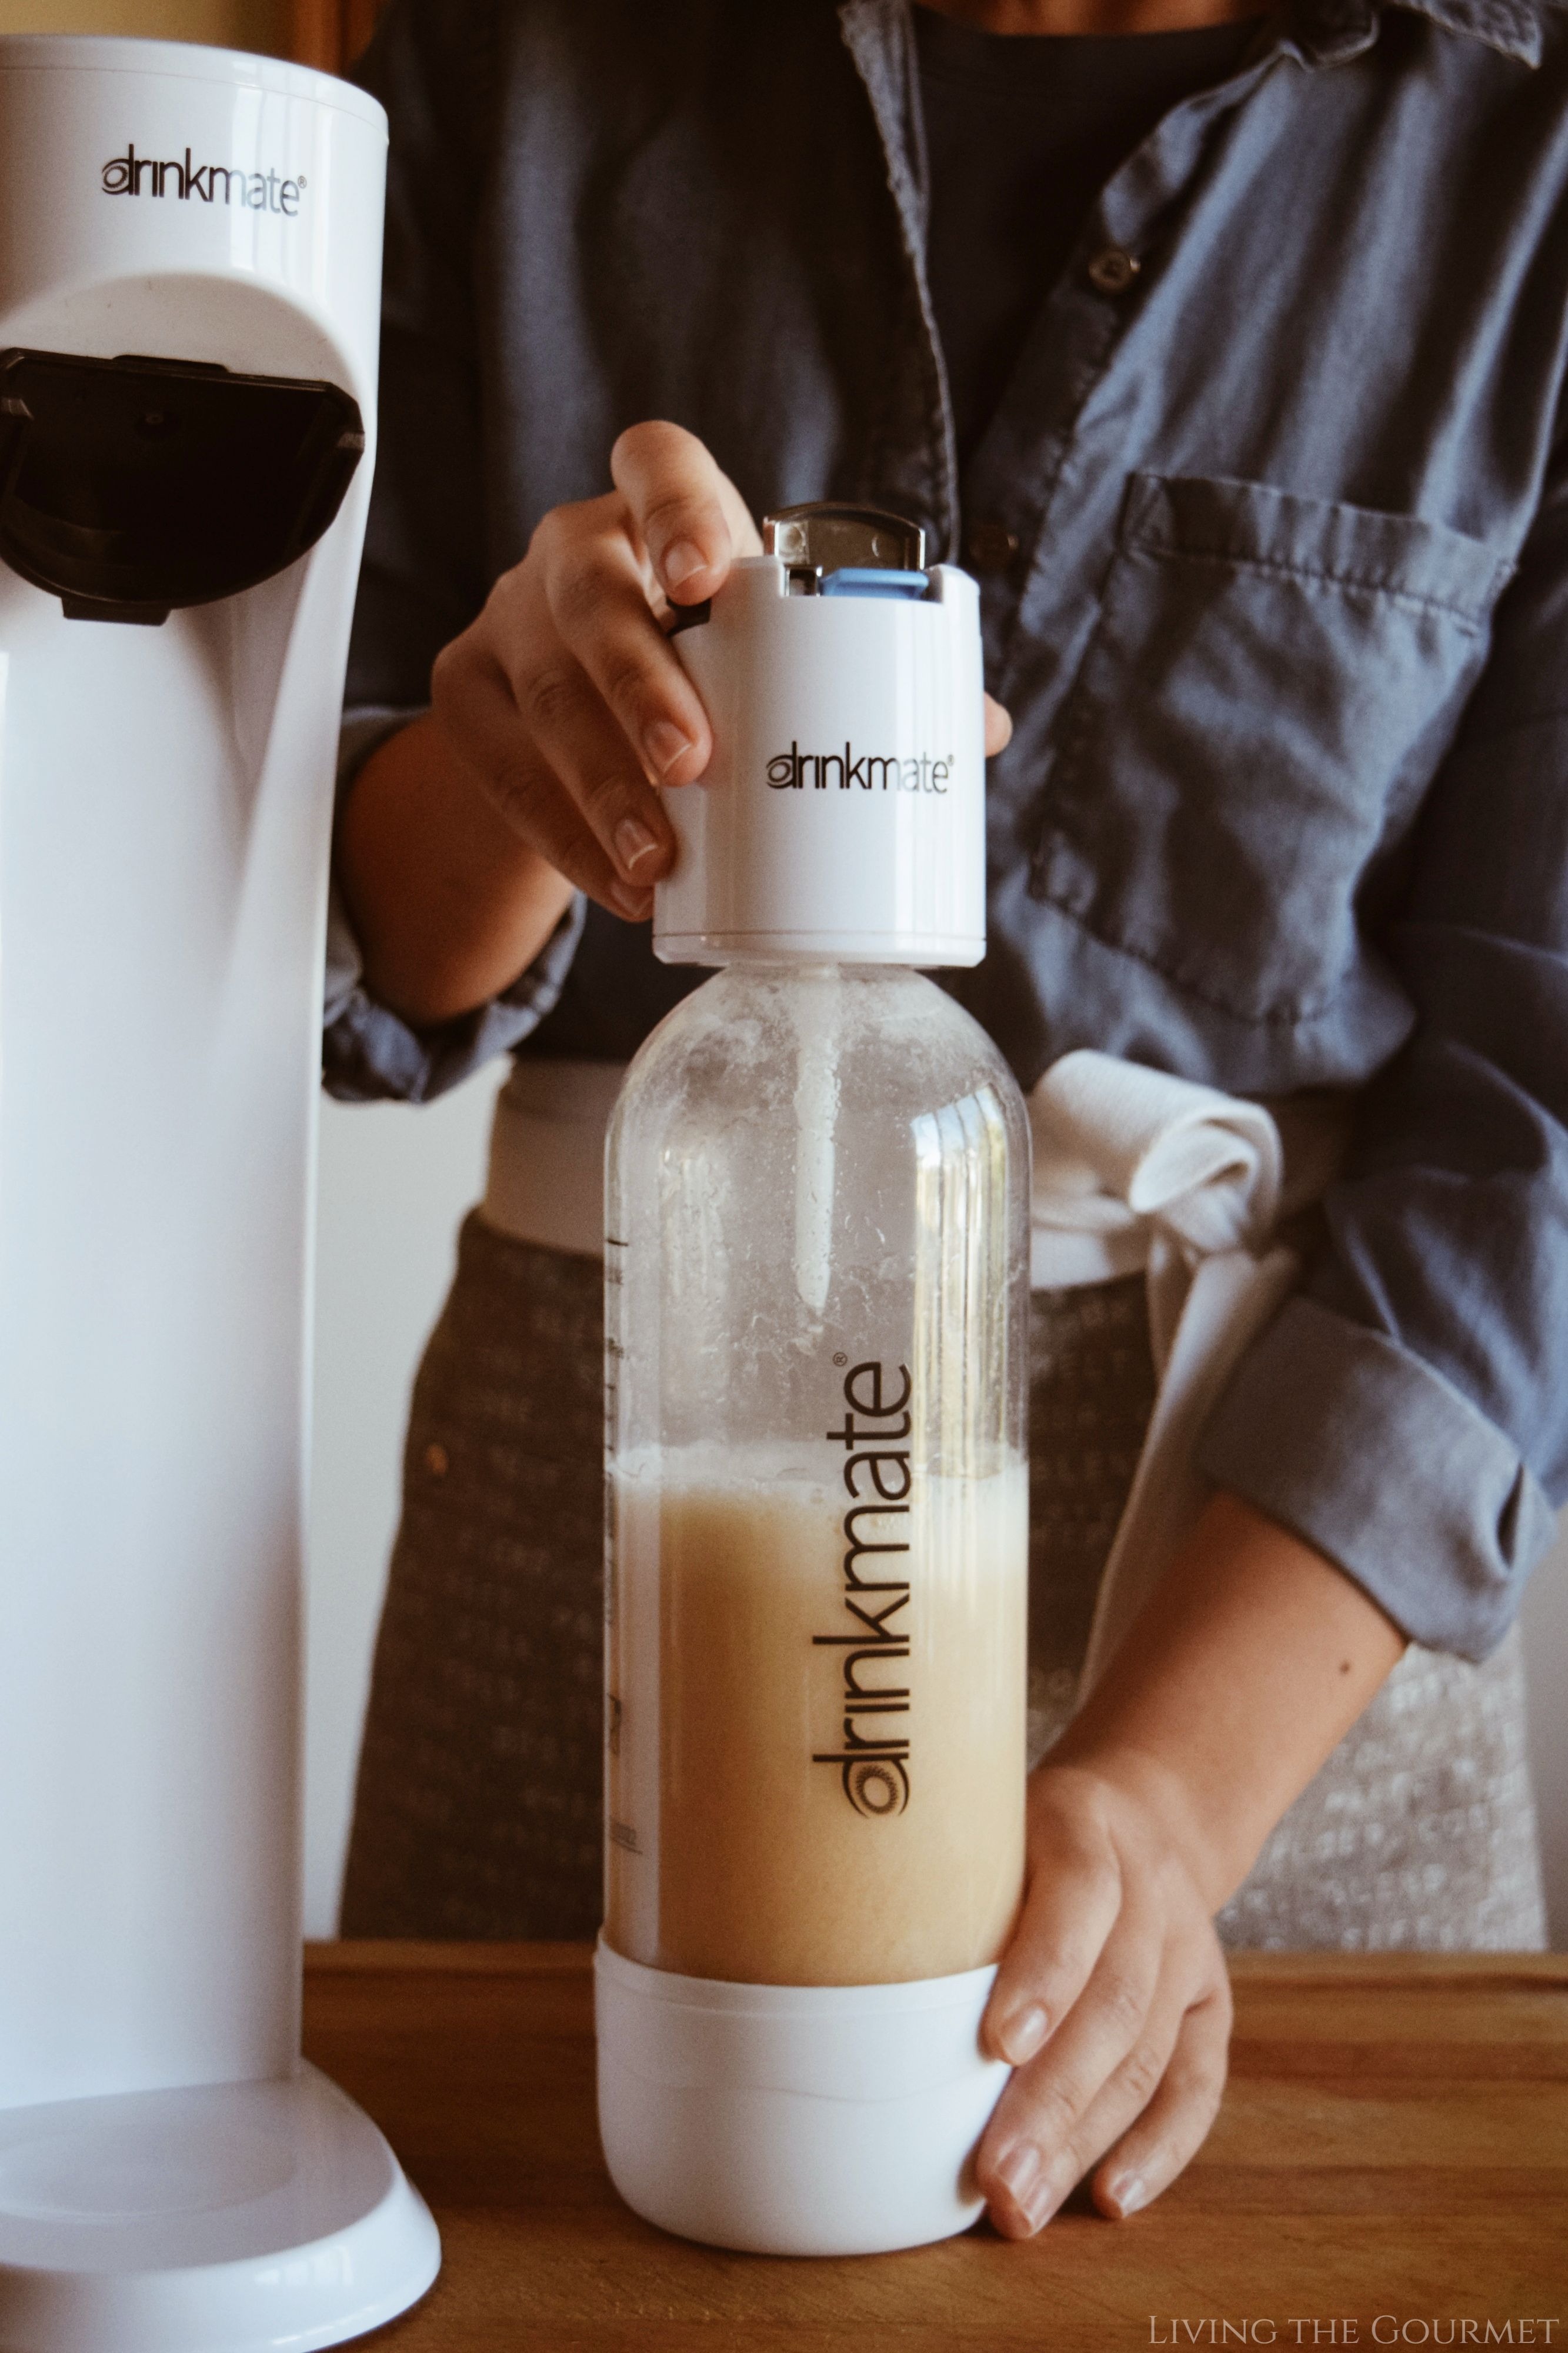
After carbonating your drink, you'll need to allow the bottle to release any excess gas via the dual release vale on the top - there's a standard release and a quick release. However, during this process the 'foam' of the carbonated drink will invariably rise up through the bottle during the gas release process. You need to be careful not to allow the foam to reach all the way to the top of the "Fizz Infuser" otherwise the drink will start to spill through the release valve. Also note, make sure the Fizz Infuser is locked securely before you begin carbonation, otherwise, it could result in a slight mess. This same process can also be used to re-fizz flat drinks.
It's worth noting that the bottle will not open until this process has been completed.
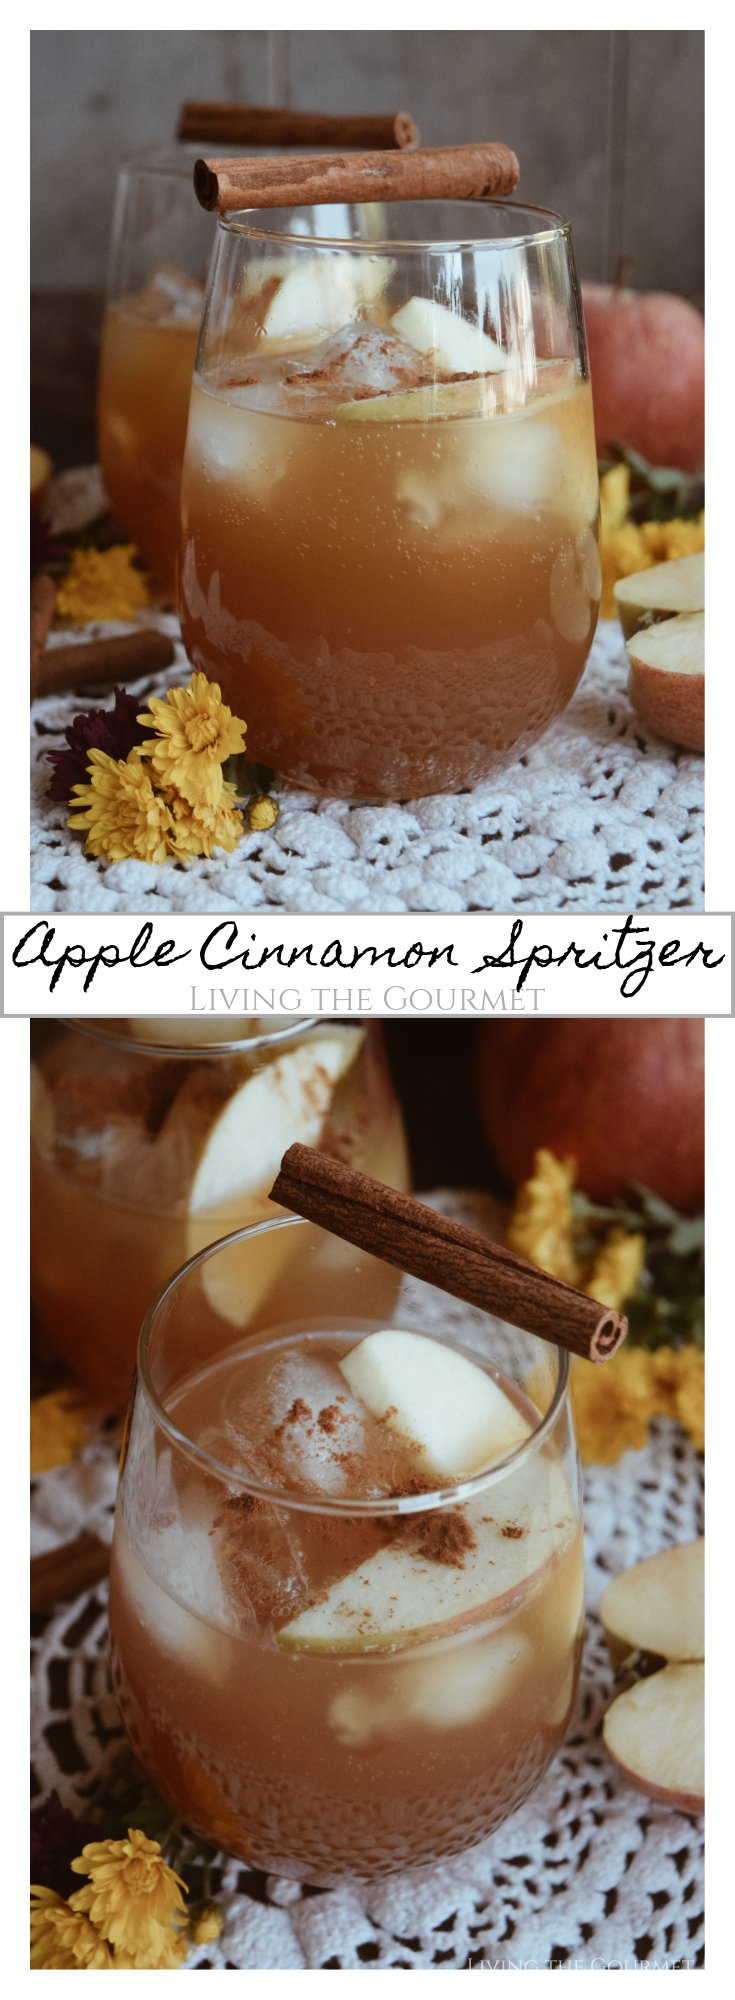
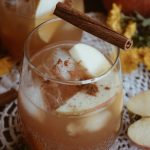
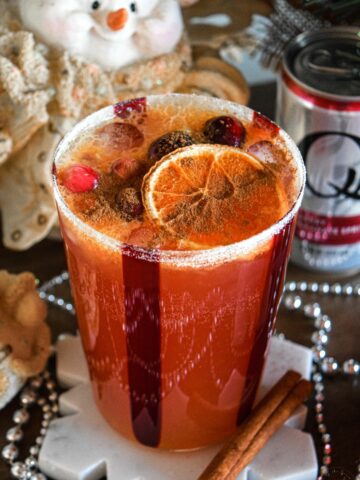
In all, preparing today's beverage, an elegant, warming yet refreshing non-alcoholic Apple Cinnamon Spritzer, took a total of maybe five minutes.

The Rundown - In Summary
Why you might choose a DrinkMate
1) Affordable. DrinkMate is competitively priced, being on the far lower end of the price spectrum despite its solid construction.
2) Simple to Use. As stated above, the process is simple, requiring only four basic steps, taking maybe five minutes in total.
3) No Power Needed. Being entirely gas operated, the DrinkMate has no attached wires, saving on counter space, and needs no batteries.
4) Sleek design. The DrinkMate takes up very little counter space, and feels sufficiently sturdy given its price.
Why you might Not
1) Gas Relief Process. The gas relief process takes some getting used to, and in my opinion could use some sort of fail-safe against potentially sticky messes.
2) A Sturdier Bottle. The drink bottle could be made of a sturdier feeling plastic. It simply did not feel sturdy in my hands as I was attaching and removing it from the DrinkMate machine itself, but this is personal preference. The bottle has held up fine through all my experimentation.
The Verdict - Thumbs Up
On balance, I can definitely give the DrinkMate a Thumbs Up, as a competitively priced, well-made, easy to use at-home carbonator.

More Drinks for the Season
If you're looking for more refreshing drinks to enjoy this season or serve for the holidays, we have a few suggestions for you...
1. Iced Caramel Cinnamon Bulletproof Coffee - Those who know us, know we love our coffee just as much as anything else. If you're in need a of a cold pick-me-up, look no further. This bulletproof iced coffee will certainly bring your senses back to life without any of the guilt since its sugar-free and low-carb.
2. Cosmopolitan Slushies (Two Ways) - If you're looking for something a little more elegant to grace your holiday tablescape, I'll direct you to our Cosmo Slushies which can be prepared classic or virgin-style. We went a little boujee with the garnish on this one with sugar-rolled blueberries and basil leaves. This is Living the Gourmet after all 😉
3. Vino - As the saying goes, it's wine five-o-clock somewhere, right? Take a peak inside the LTG Wine Cellar where we have an endless selection of both international and domestic wines from some of the country's most scenic vineyards. *Fun tip, you can carbonate wine with Drinkmate and make champagne in minutes.
Apple Cinnamon Spritzer (Non-alcoholic)
- Prep Time: 5 minutes
- Total Time: 5 minutes
- Yield: 2 spritzers 1x
Ingredients
- 16 ounces Organic All-Natural Apple Juice
- Cinnamon for sprinkling
- Ice, optional
- Apple slices for garnish
Instructions
- Pour the apple juice into the Drinkmate bottle and attach to the Drinkmate. Carbonate your beverage until you hear that the bottle is filled with enough carbon. (See video above).
- Lift the slow release valve and watch the foam levels. Once the foam rises to the top, close the valve and let the foam settle a bit, then hit the blue quick release button to release the rest of the air pressure.
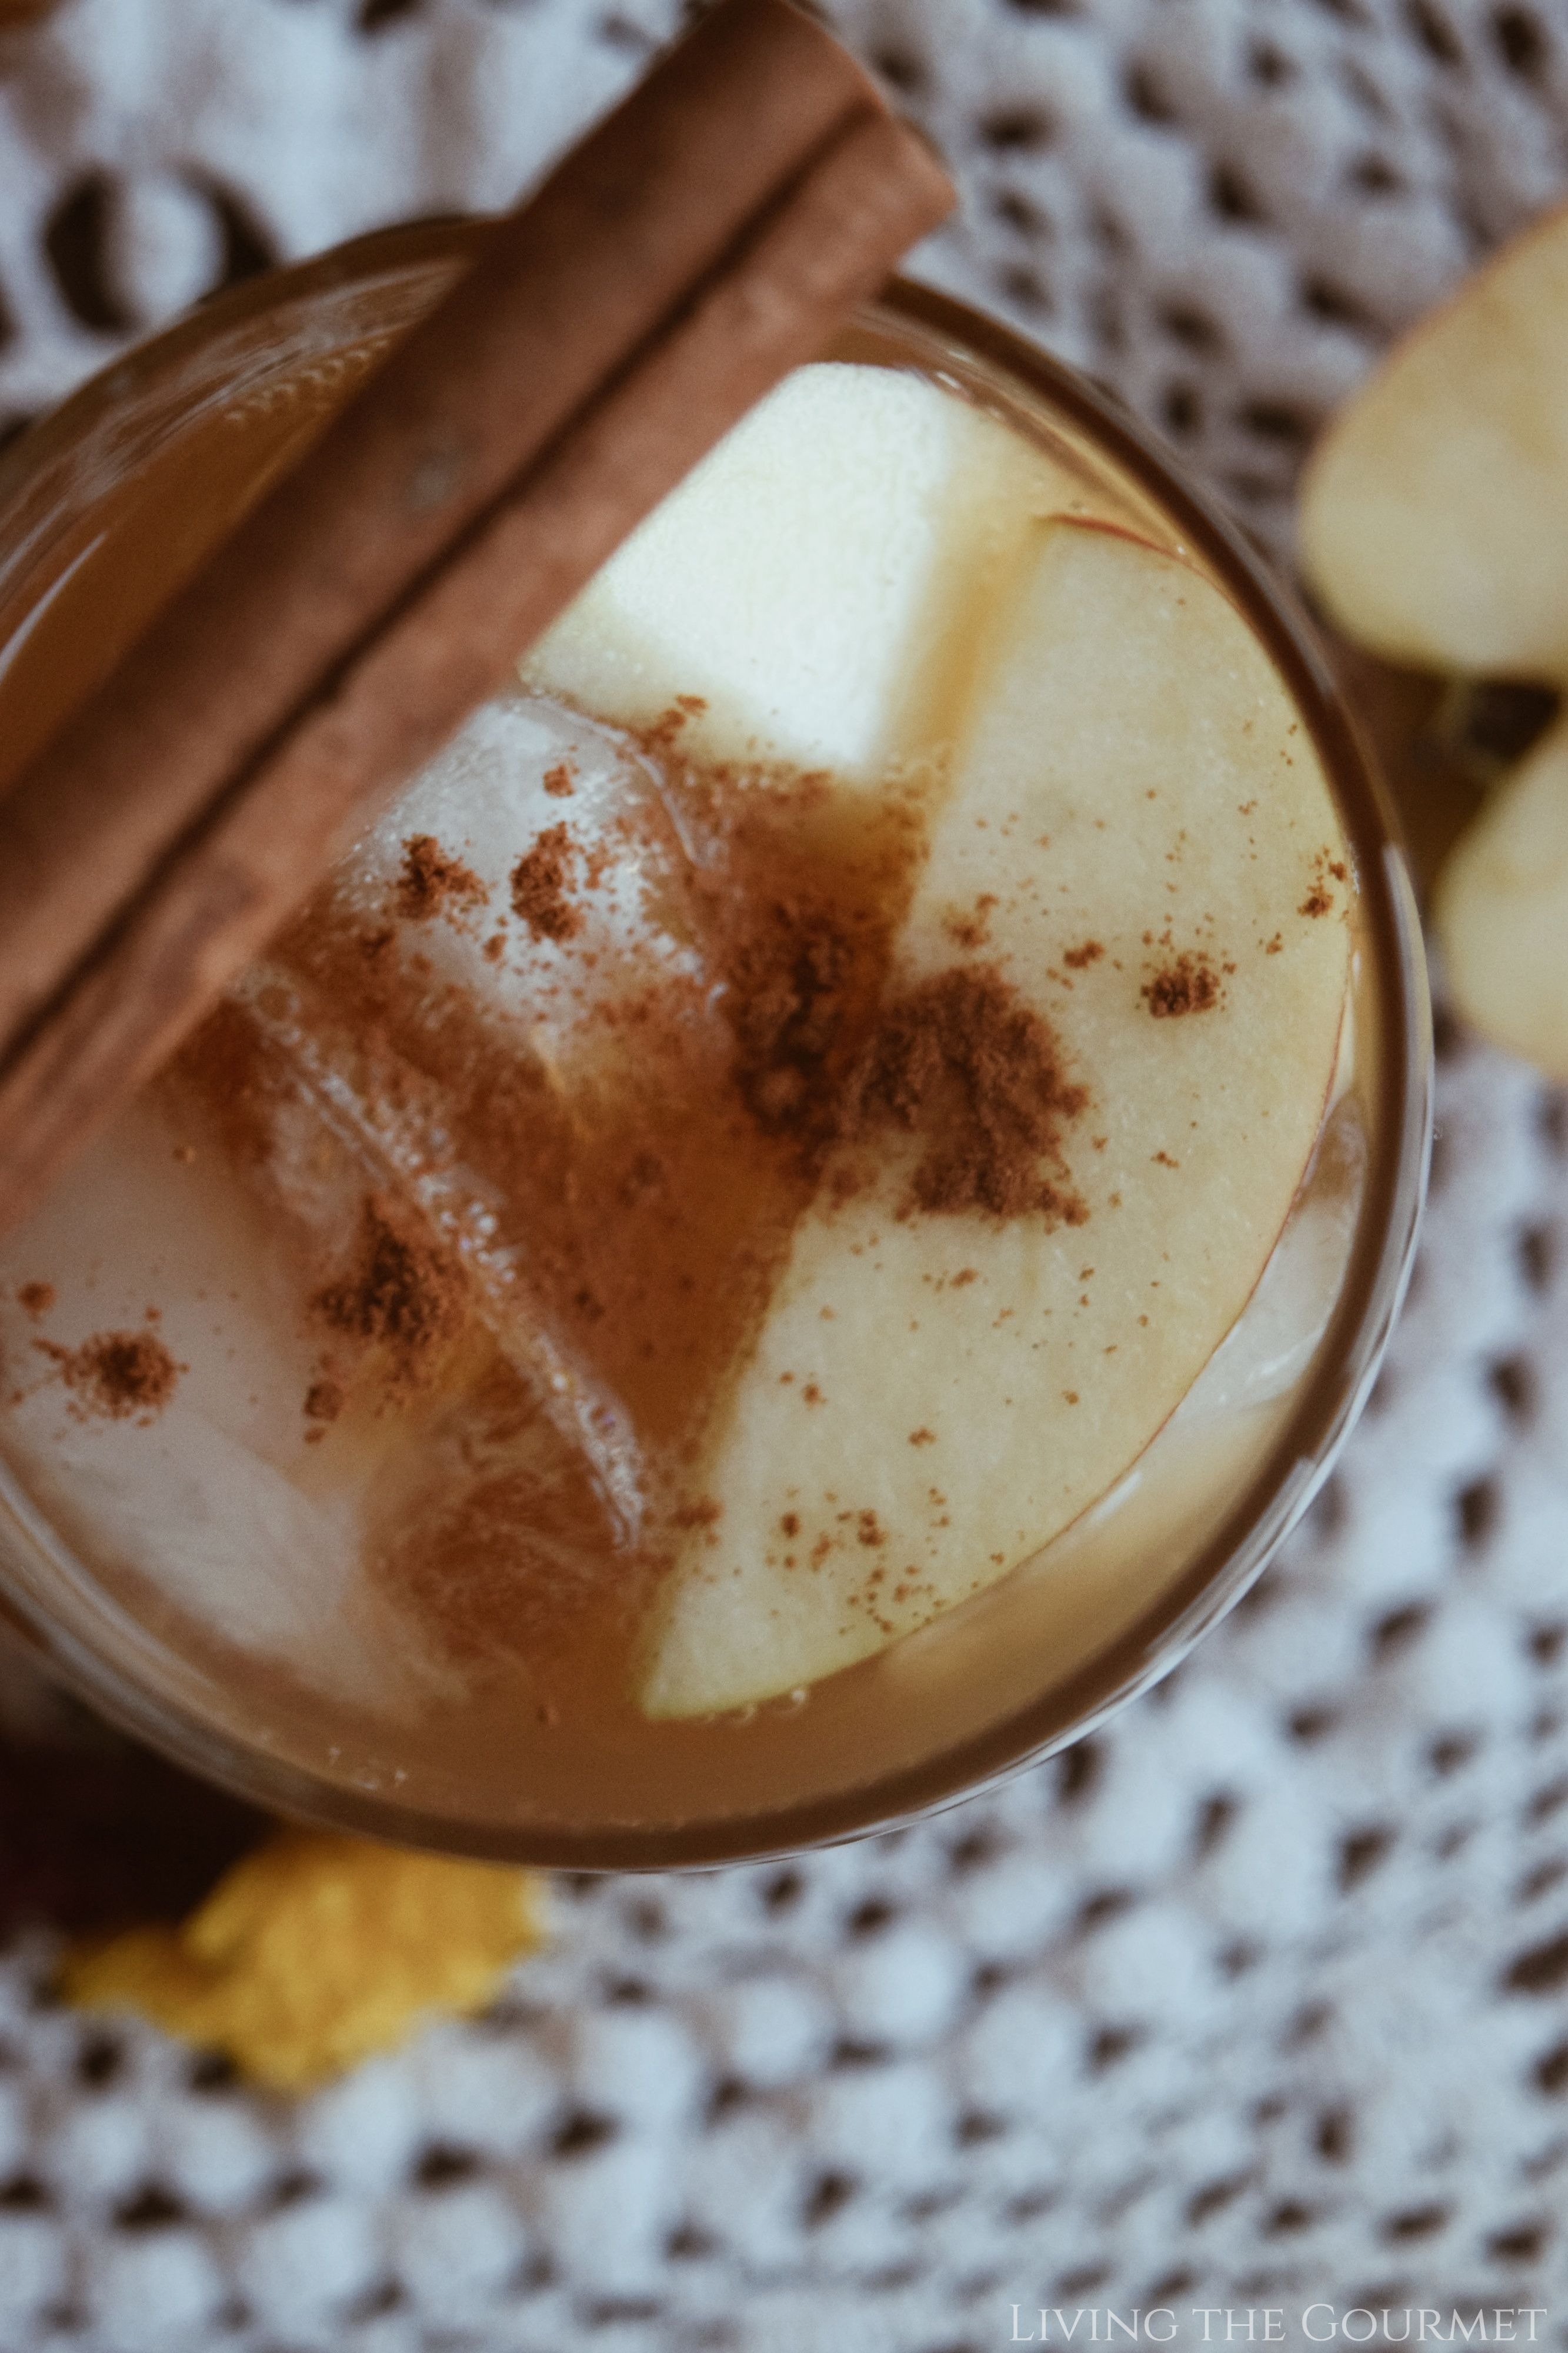
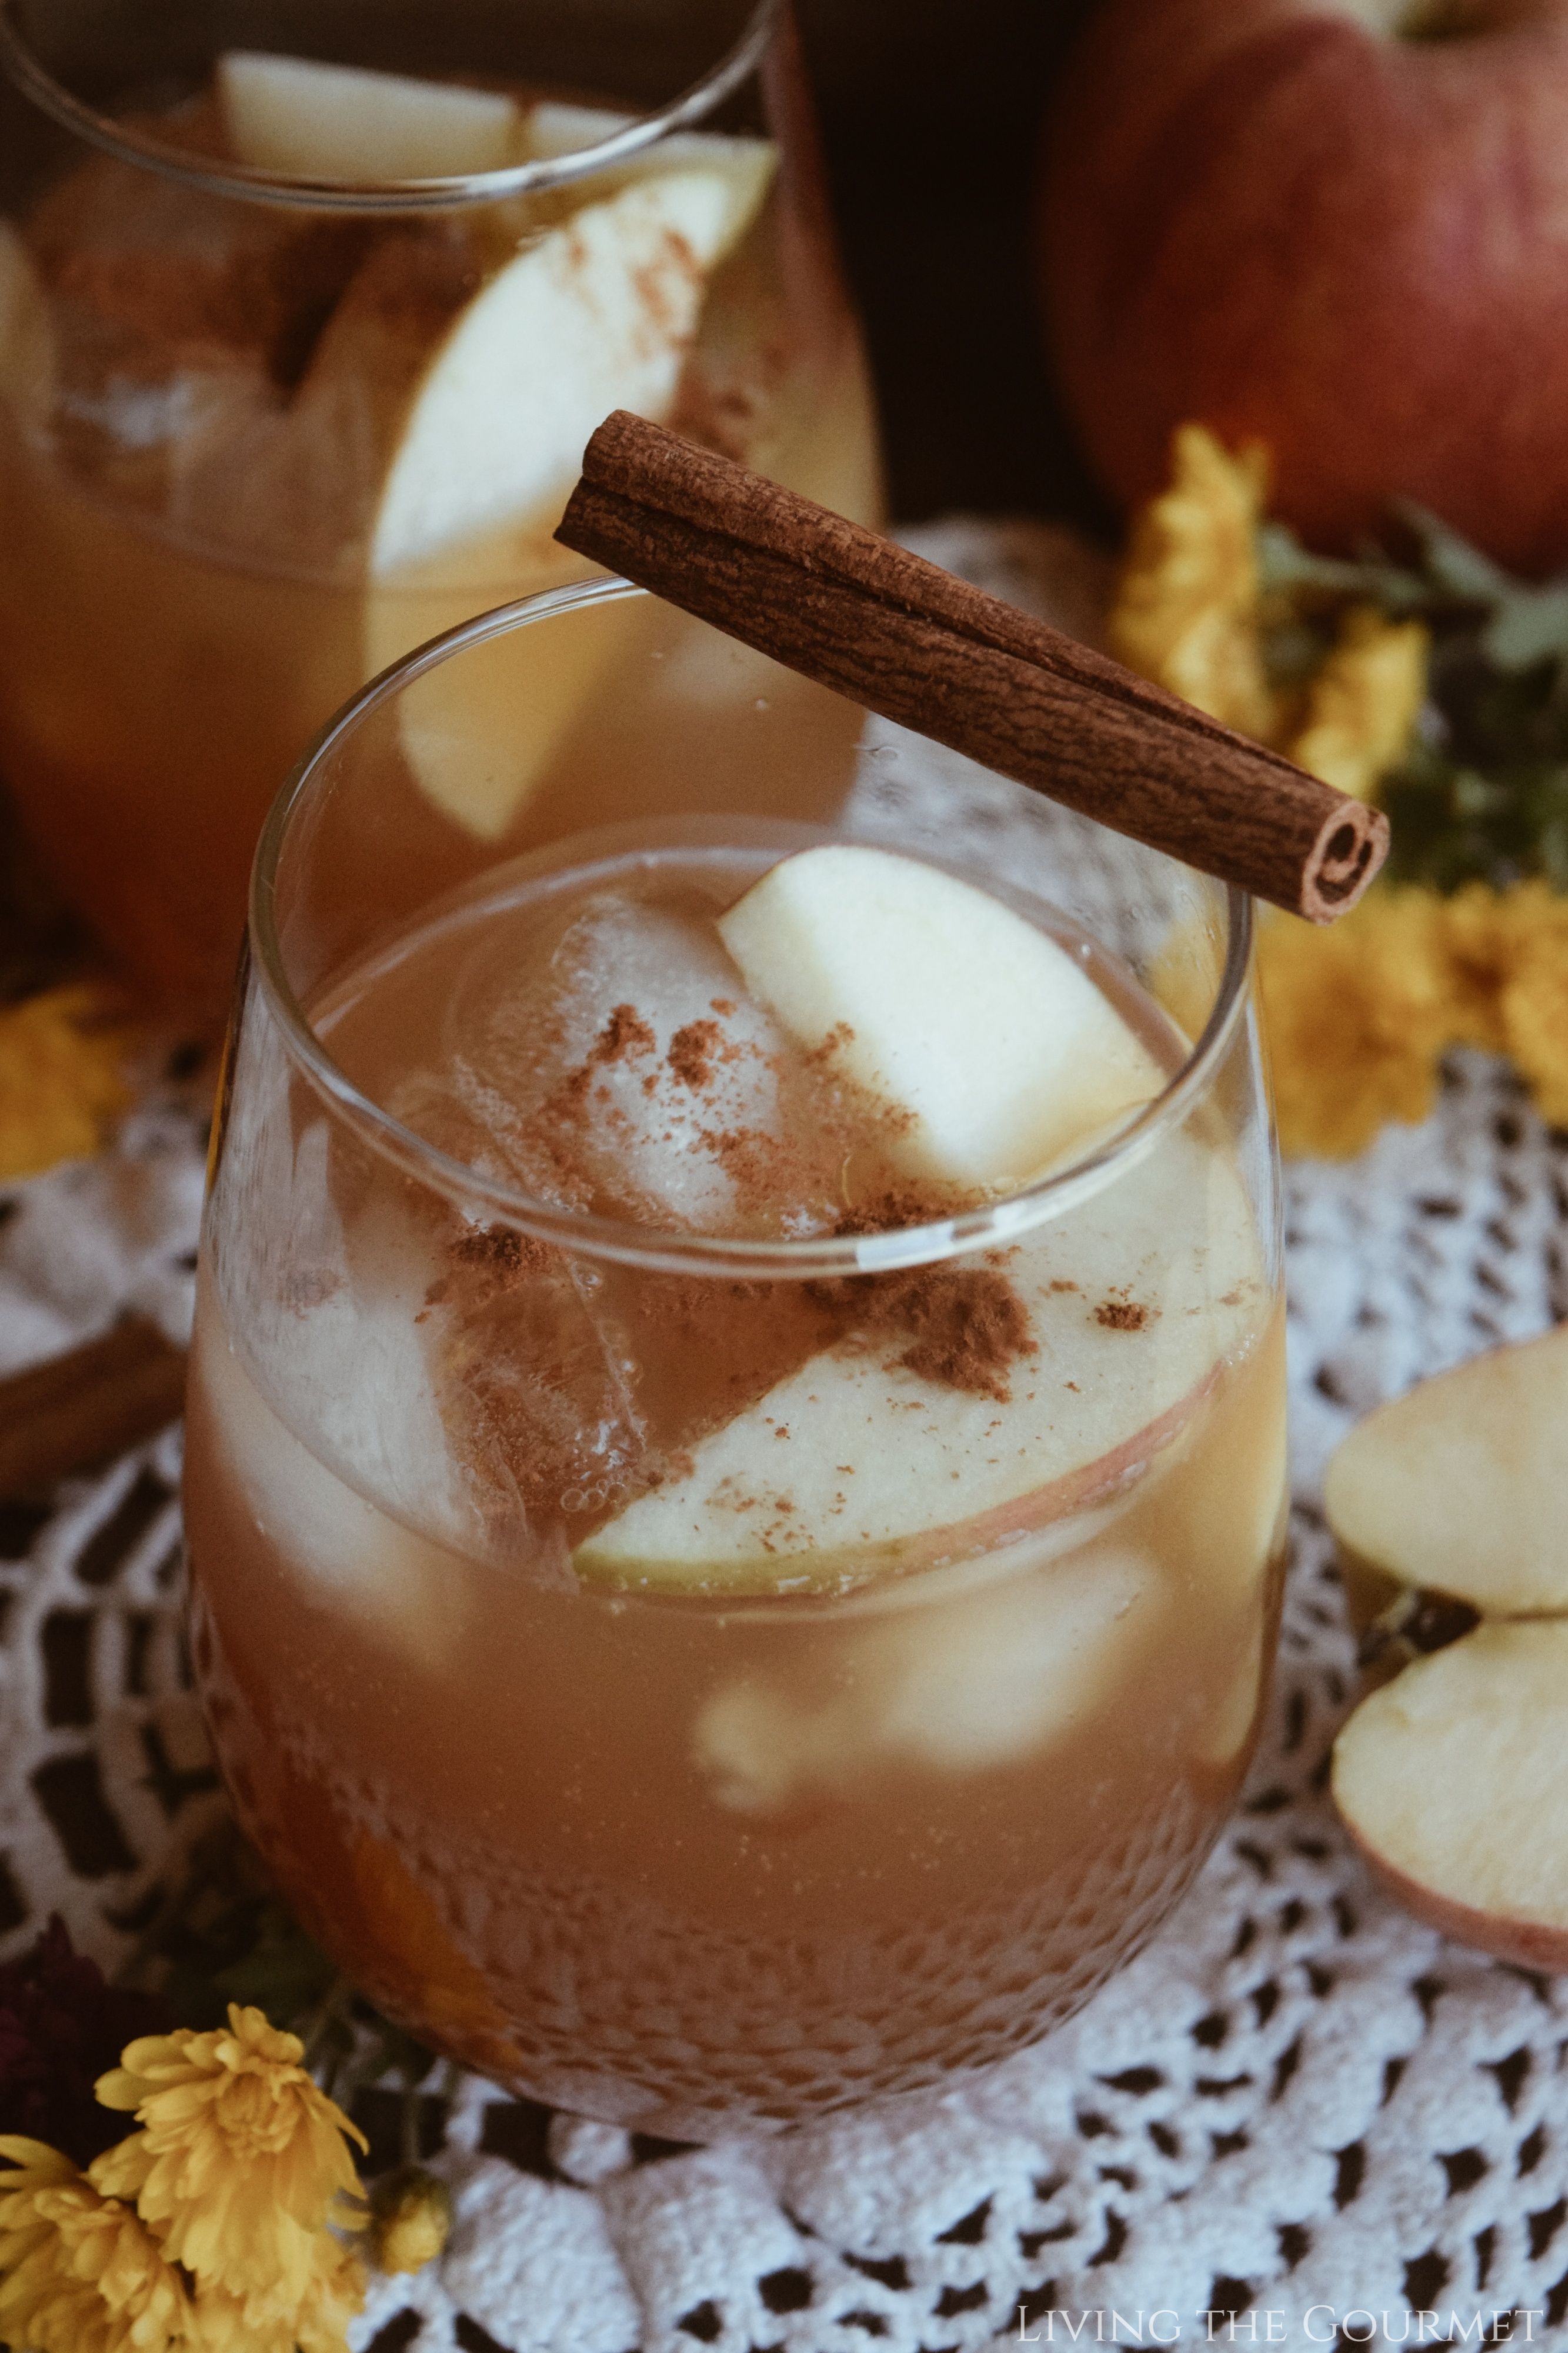
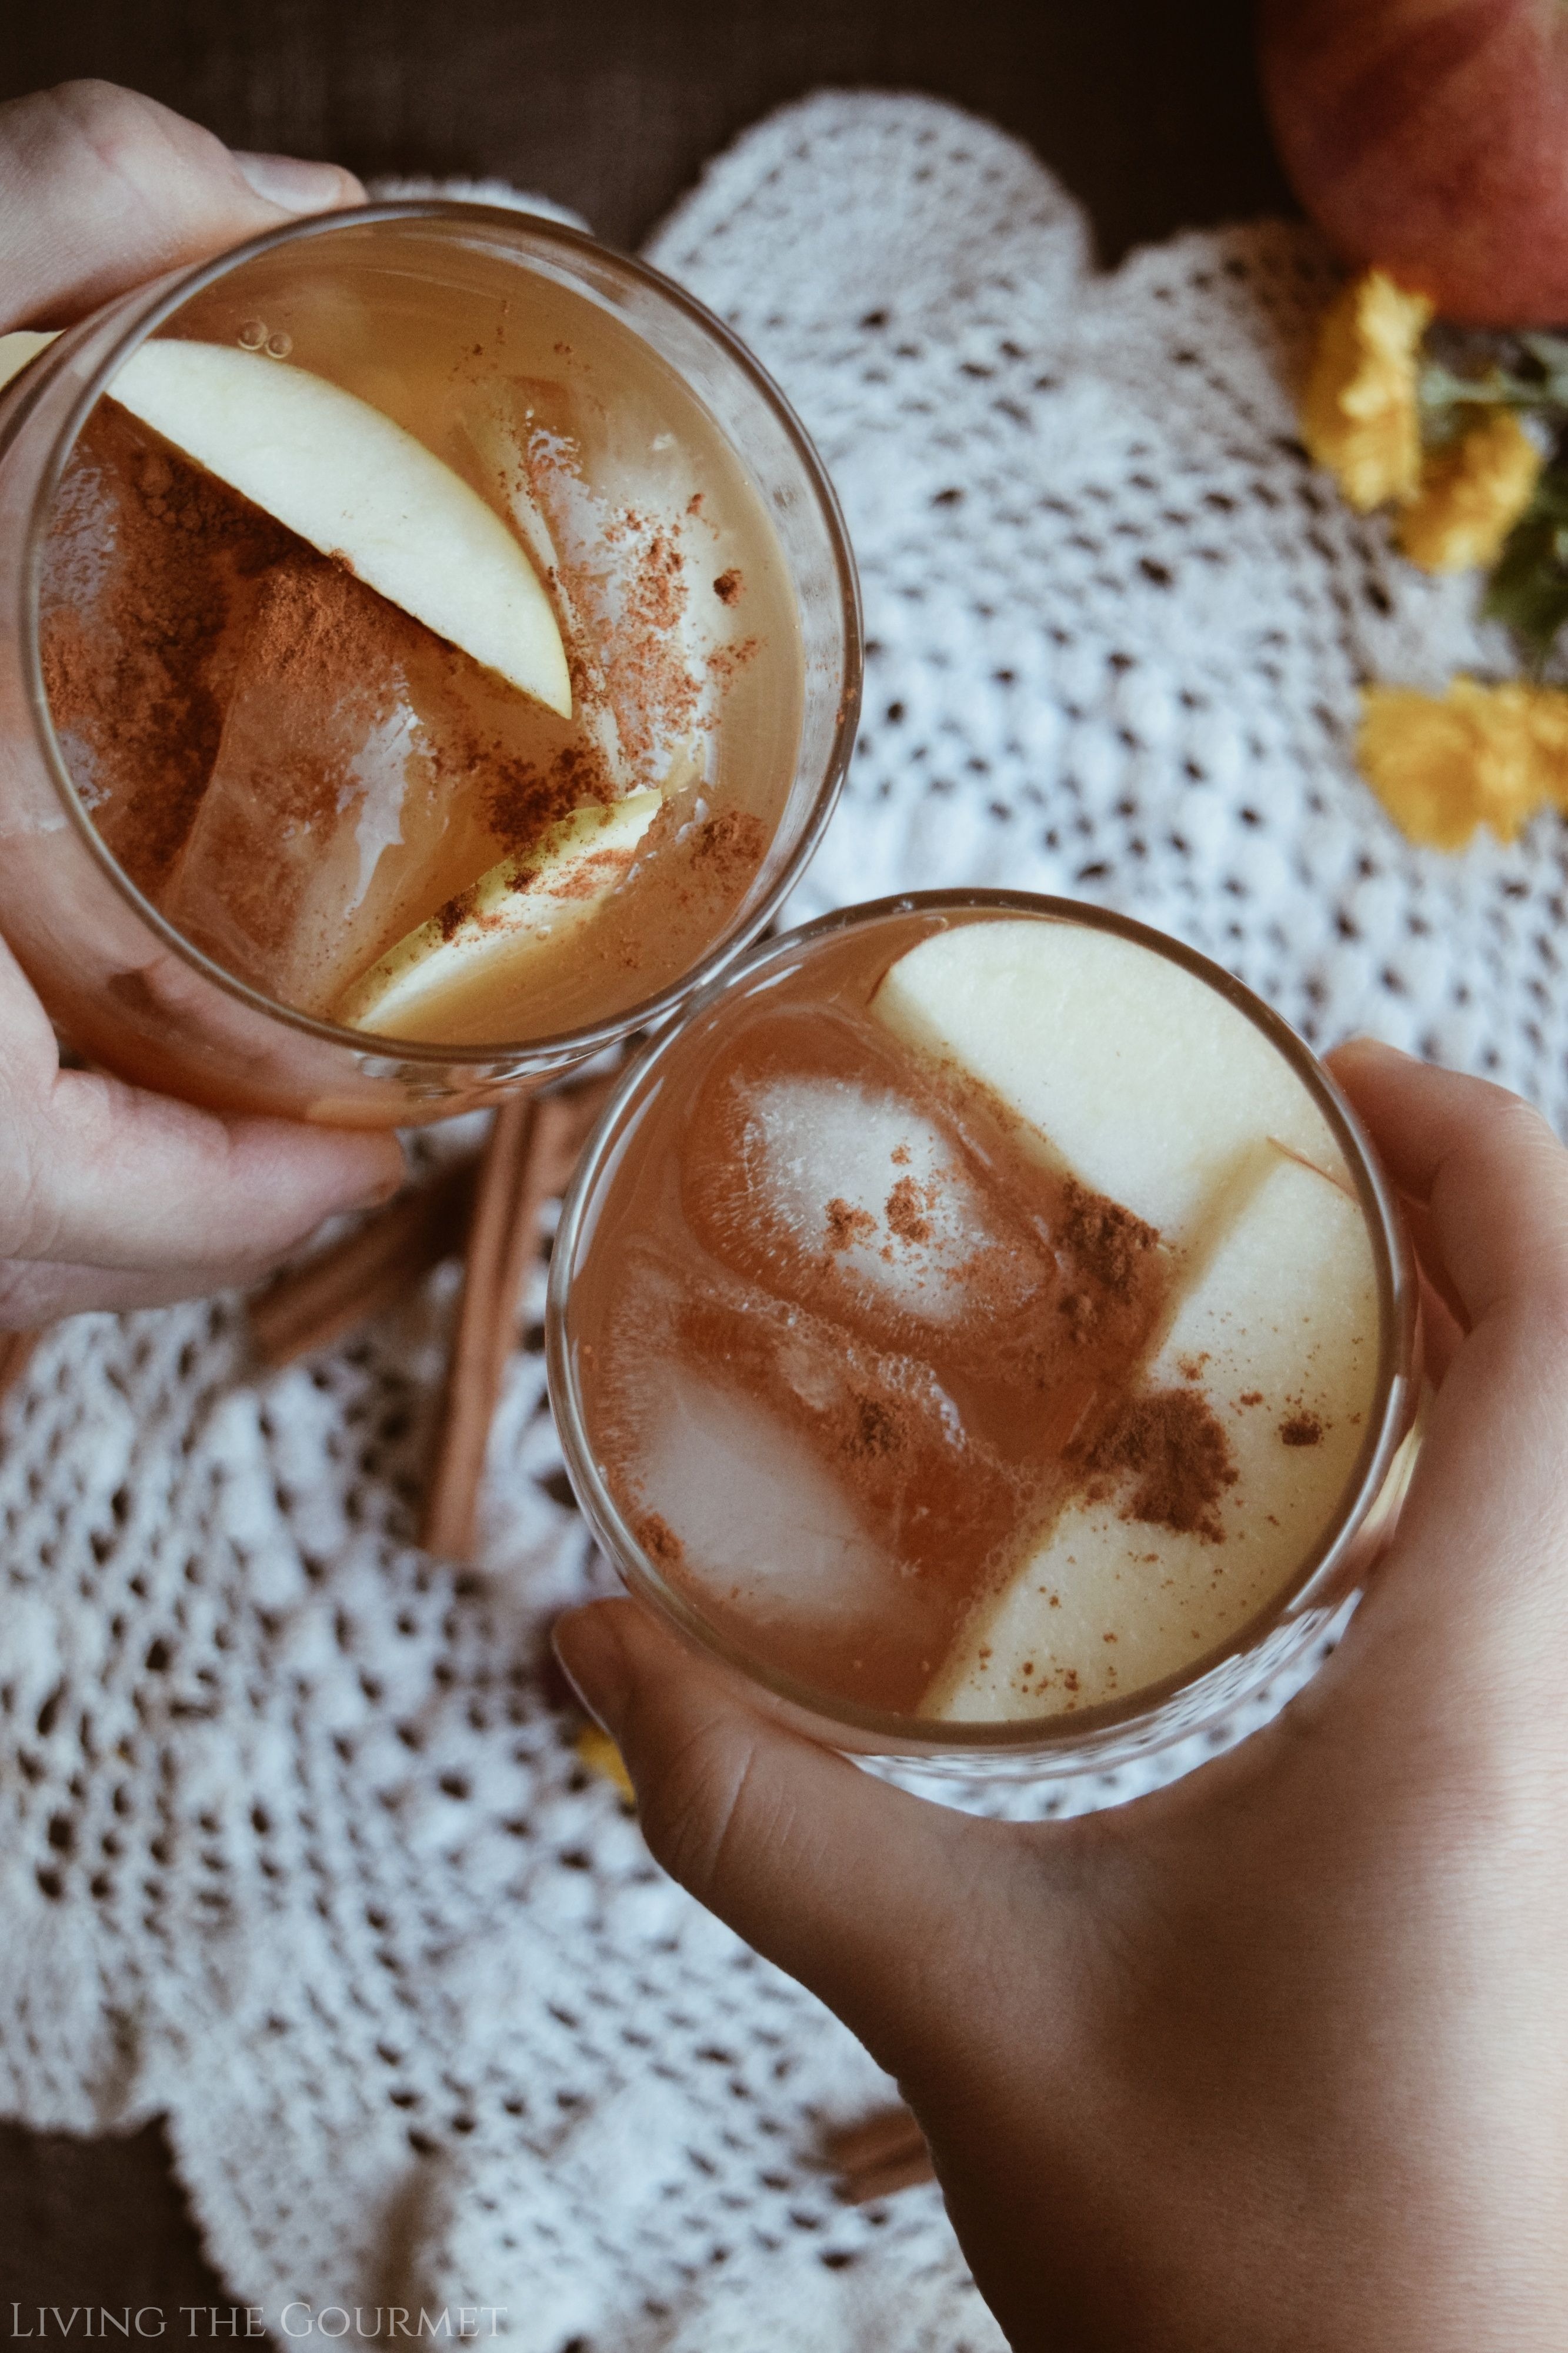
- Pour the carbonated juice into two prepared glasses with ice. Sprinkle with cinnamon and garnish with apple slices if desired.
Nutrition
- Serving Size: 1
Did you make this recipe?
If so, let me know in the comments down below, or post a picture to Instagram, or to Pinterest, and I'll give you a shoutout on Instagram, or post your pin to one of my Pinterest boards!
Cheers!
0
Marysa says
Great fall drink! Especially for those hot days. This sounds like a wonderful combination.
Jupiter Hadley says
I've never heard of a fizzy apple cinnamon drink! What a neat twist on apple cider - thank you for sharing your recipe.
Yeah Lifestyle says
The apple and cinnamon spritzer sounds really delicious. Its is something I would love to try it.
Monidipa Dutta says
Your Apple Cinnamon Spritzer recipe sounds amazing! The combination of flavors and the non-alcoholic twist is perfect for a refreshing drink. Your clear instructions and enticing description make me eager to try it out. Cheers to your creativity in the kitchen! 🍎🍁🥤
Lasonia Graves says
Iwill be adding this Apple Cinnamon Spritzer to my list of fall drinks.. Honestly, I need that drink machine as well.
Sue-Tanya Mchorgh says
I'm thrilled to share that I recently got my hands on the Drinkmate Machine! 🥤✨ This fantastic at-home carbonator has the power to turn any drink into a sparkling delight. And guess what? It's not just about adding bubbles – it can work its magic on flat beverages too, with just a simple button press. 💥🍹 As someone who's always been intrigued by such innovations, I jumped at the chance to try out the Drinkmate at home.
Luna S says
Sounds like the perfect gadget to add to the kitchen for those who love a carbonated drink! I like that it doesn't look like it takes up much room.
Marie Cris Angeles says
Wow! I never tried a Spritzer like Apple Cinnamon. And this seems good. I love cinnamon and I think I will love this also.
Beth says
your apple cinnamon spritzer is perfect for autumn! We love to enjoy fruit-infused carbonated water, and this simple yet flavorful mocktail combines it with fall’s freshest fruit flavor.
Karen says
I never had apple cinnamon spritzer to be honest!!! I love anything with cinnamon and apple so I am gonna love this for sure...I can't wait to make it.