
These soft, pillowy flatbreads can be served as a wrap with your favorite filling, or on their own with seasoned oil! These pita breads are so easy to make and delicious too!
Over the years, you've seen a lot of flatbread variations here on Living the Gourmet. There's usually always a fresh batch in the house, and I've found that it goes marvelously with everything- PB & banana wraps for lunch, obviously fajitas of all sorts, or sliced and toasted for quick chips!
On days when I need bread in a pinch, I still rely on this easy 5-ingredient (no yeast) flatbread recipe that many of you requested. It's still a tried-and-true staple in my home.
However, these long winter days have called me back to my bread-making roots and today I'm sharing a simple recipe for pita breads. I'll be breaking down the difference between these and naan, since the two often get mixed up, as both are soft leavened breads.
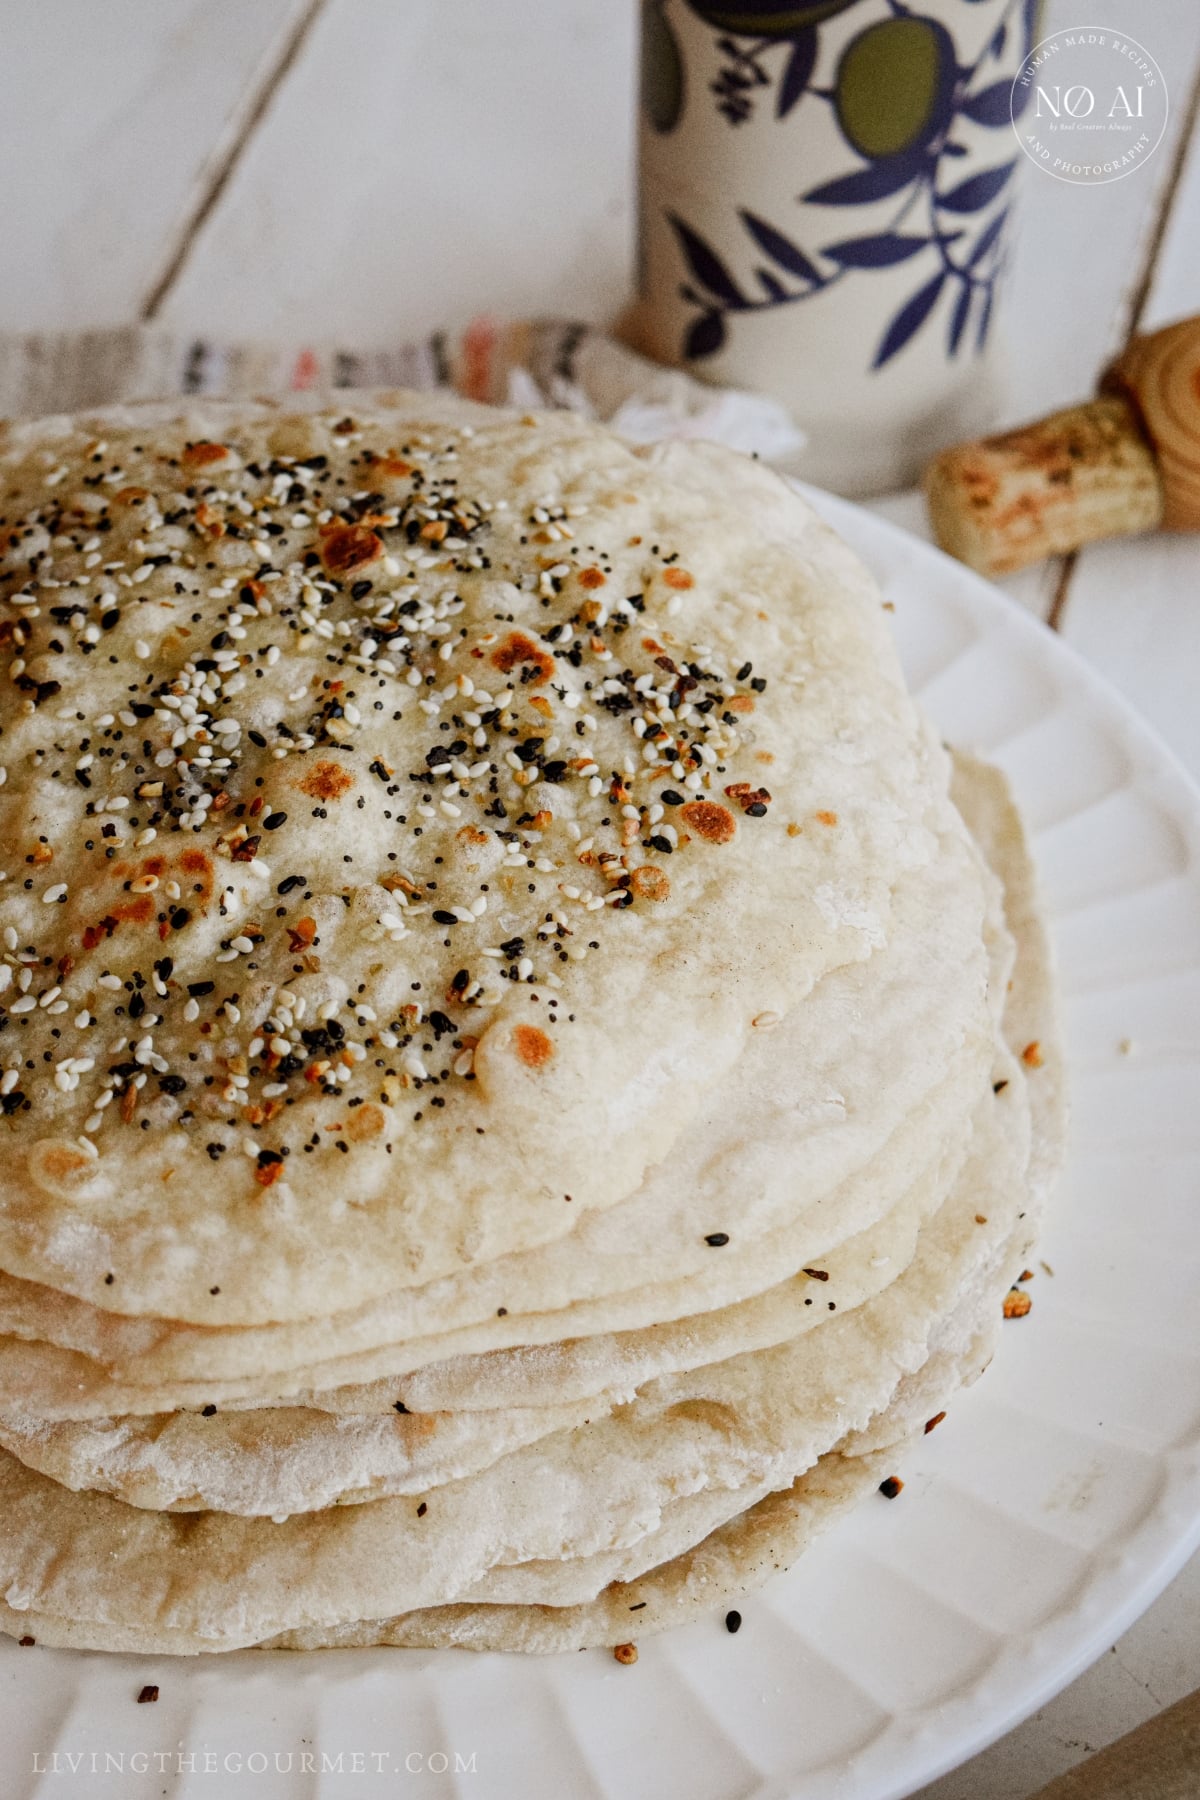
Pita bread is traditional to Middle Eastern and Mediterranean cuisine. It's wonderful alongside hearty meat dishes, soups, stews, or just on its own with seasoned oil.
Unlike naan, however, pitas are not made with yogurt, milk, or any type of dairy fat. It has a slightly lighter texture and has a very basic ingredient list and process than naan.
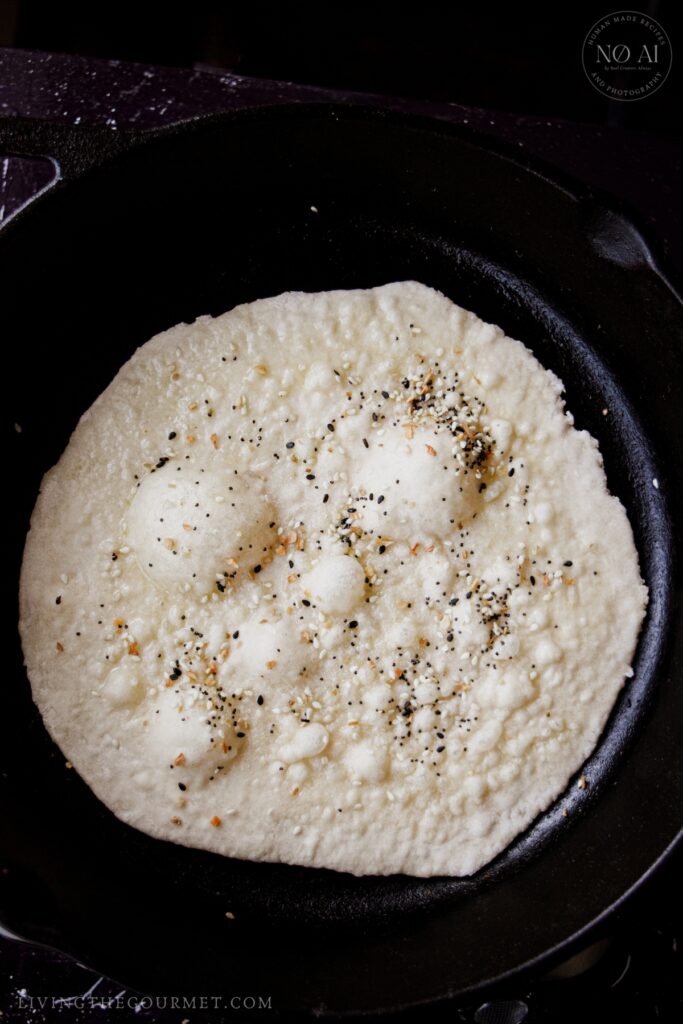
Simply leave the dough to rise during the day, and by the evening you'll have soft, seasoned flatbreads that will fill your home with a delicious aroma.
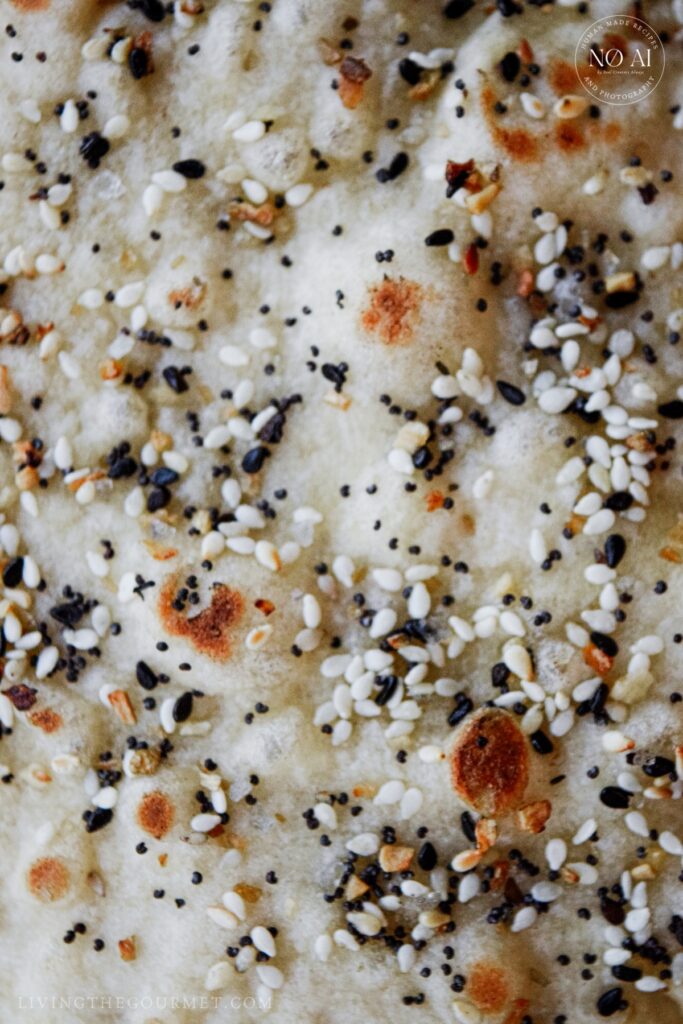
Seasonings are optional, though I might add, highly recommended. You can add your desired seasonings like Za'atar, thyme, or rosemary mixed into the dough, or sprinkle on top as I did with today's recipe using Everything Seasoning.
Just brush each flatbread with olive oil or butter before sprinkling your desired herbs and spices, and then place directly on a hot cast-iron pan.
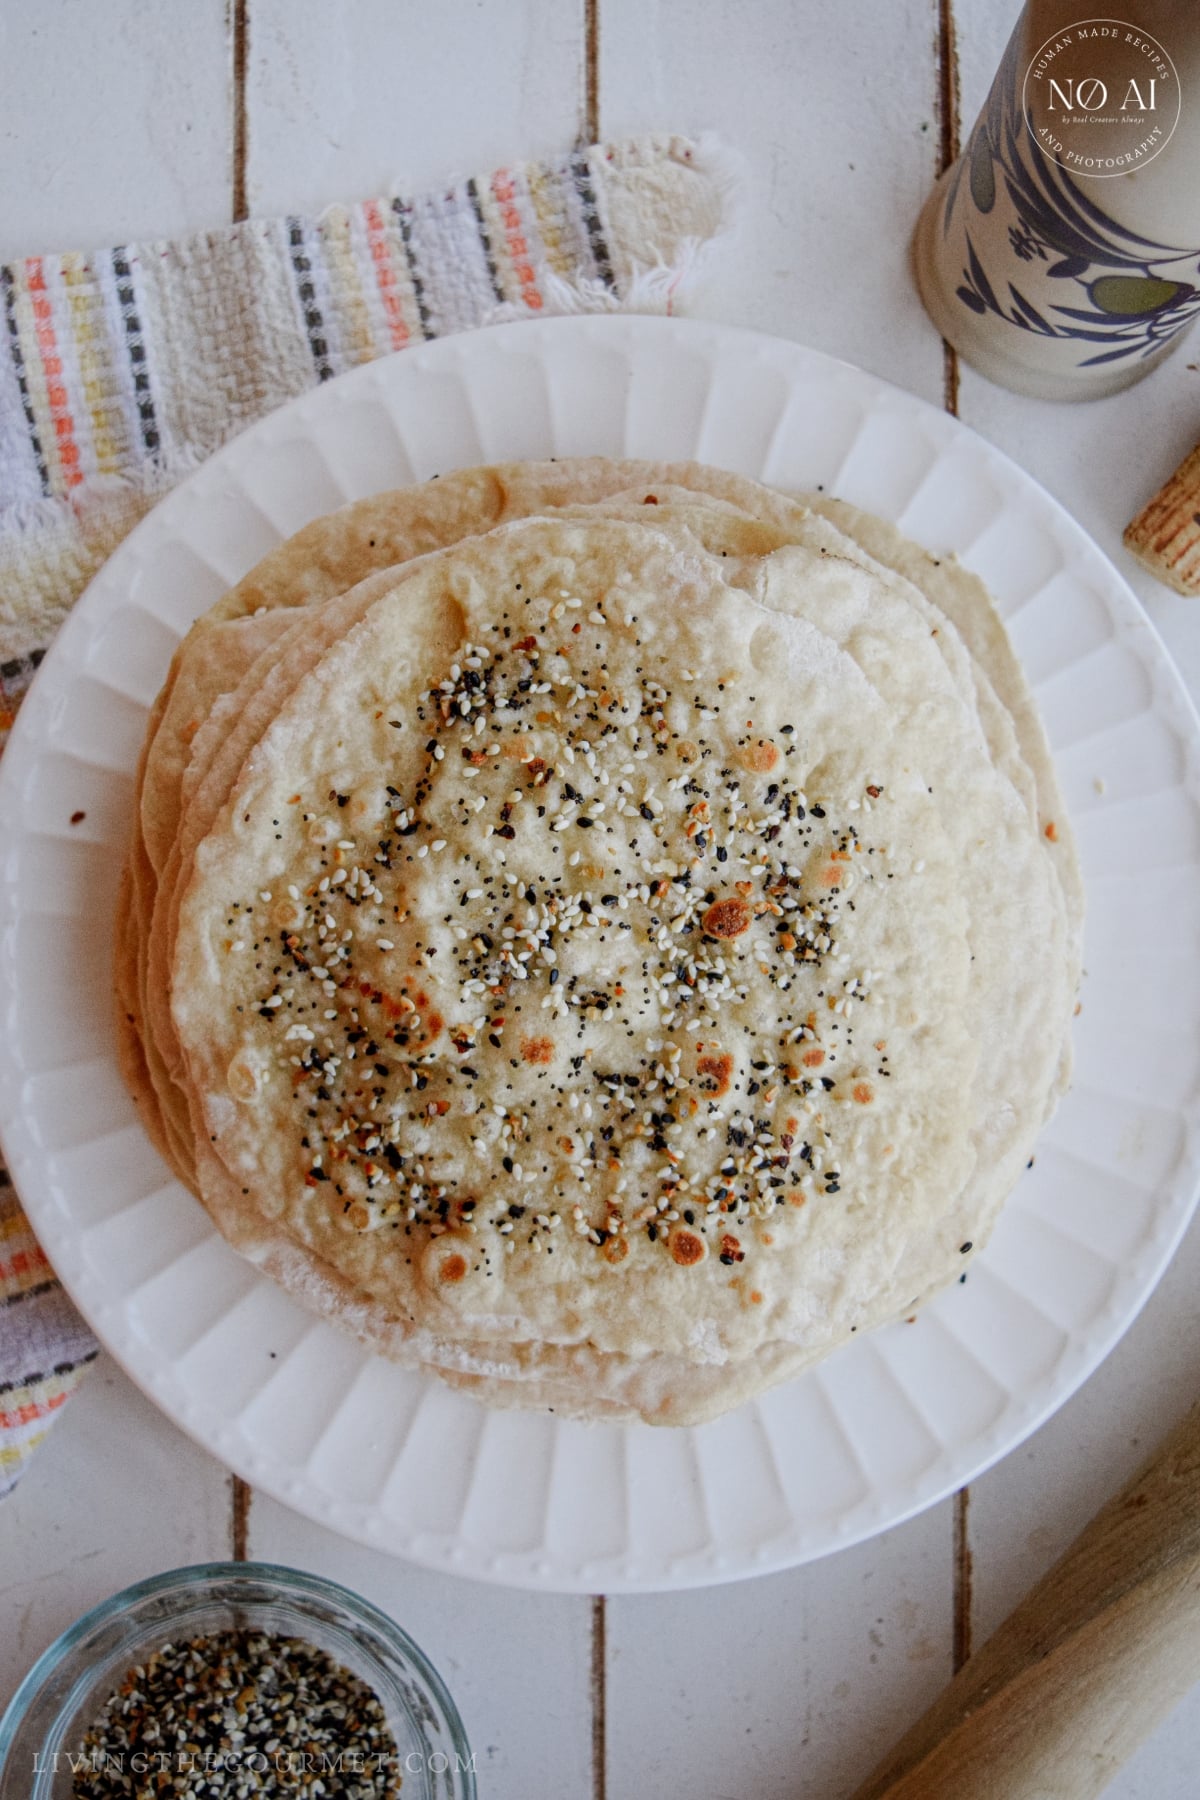
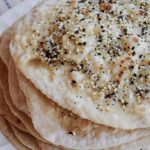
Fresh Pita Bread
- Total Time: 2 hours 40 minutes
- Yield: 16 pita breads 1x
Description
These soft, pillowy flatbreads can be served as a wrap with your favorite filling or on their own with seasoned oil!
Ingredients
- 2 1/4 teaspoons yeast
- 2 cups warm water
- 2 teaspoons sugar
- 3 1/2 cups AP flour, plus more for rolling out
- 1 tablespoon salt
- Olive oil, for brushing
- Everything Bagel Seasoning, optional
Instructions
- Proof your yeast. Combine warm water, yeast and sugar and let stand for 10 minutes until the yeast has bubbled up and become frothy.
- In a the bowl of a stand mixed with the hook attachment, stir flour and salt. Add the proofed yeast and mix on low to combine. Once a everything is incorporated, mix on medium high until a soft dough comes together and pulls from the sides of the bowl.
- Cover with cling film and a kitchen towel and place in a warm dark spot for the dough to rise, about 2 hours or until it has doubled in size.
- Turn the dough out onto a lightly floured surface. Knead gently into a smooth ball. You're going to divide the dough into 16 equal parts. To do so, divide the ball, then divide the halves, and from there, divide the halves into quarters. Since we're letting this dough rest again, the portions will have time to rise again slightly, so go ahead and divide the quarters as well.
- Roll each portion of dough between the palms of your hands into smooth palm sized balls. Cover and let rest for about 10-15 minutes.
- On a floured surface, take one ball and gently roll it out, making sure to turn it as you roll it out to keep its circular shape. Brush one side of the pita with oil.
- On a preheated dry cast-iron pan, place the pita oiled-side down. Brush the top and sprinkle with seasonings. Once it begins to bubble, check to make sure its nice and golden underneath and not burnt. Flip and cook the other side for 2 minutes. Repeat this process until all the pitas are cooked.
- Serve warm with your favorite meal!
Notes
To store, wrap the pitas in tin foil and store in an air-tight freezer bag. Pitas will keep for up to 5 days.
- Prep Time: 10 minutes
- Cook Time: 20 minutes
And that's our recipe for Fresh Pita Bread! If you enjoyed today's recipe, or have any questions or suggestions, be sure to let us know in the comments below. We always love hearing from you!
Happy Cooking!

Jasmine Martin says
I have always wanted to learn how to make pita bread. I just know that this is going to taste amazing.
Rosey says
I like the seeds on top. What a good idea to make it yourself at home.
Richa Raj Singh says
Such a lovely recipe. looking forward to trying as soon as possible.