
This post has been sponsored by Continental. All opinions expressed are my own.
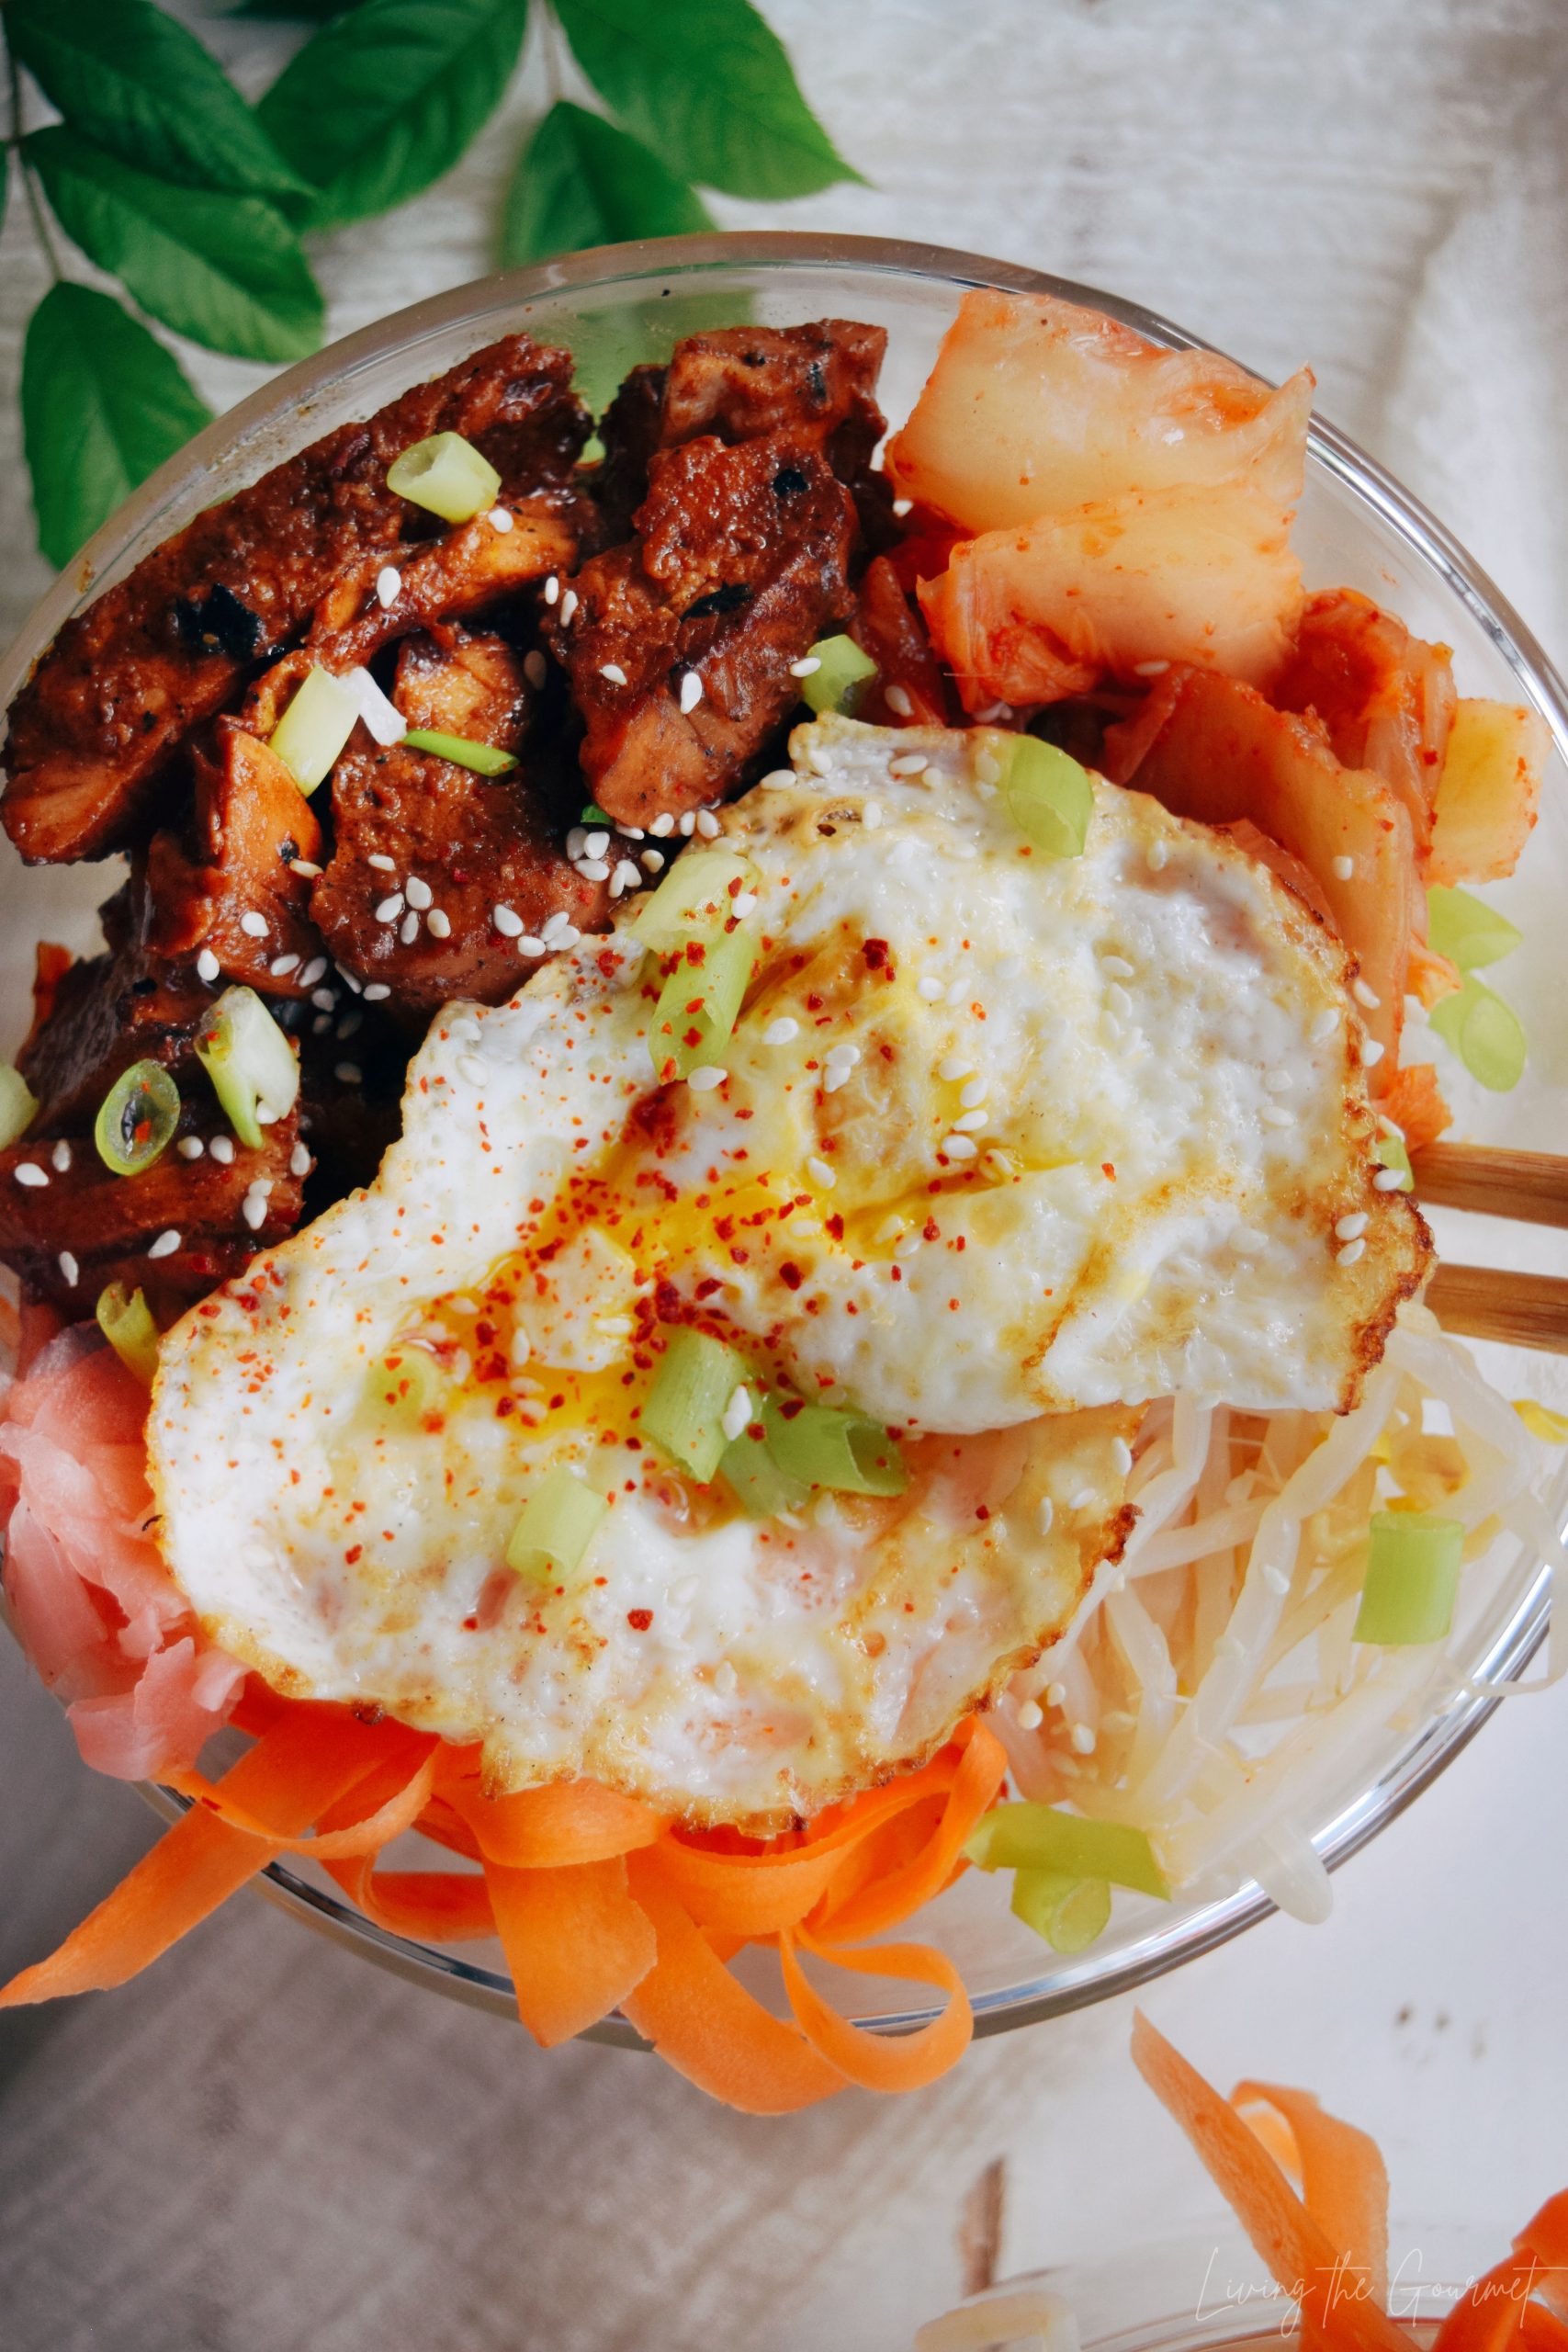
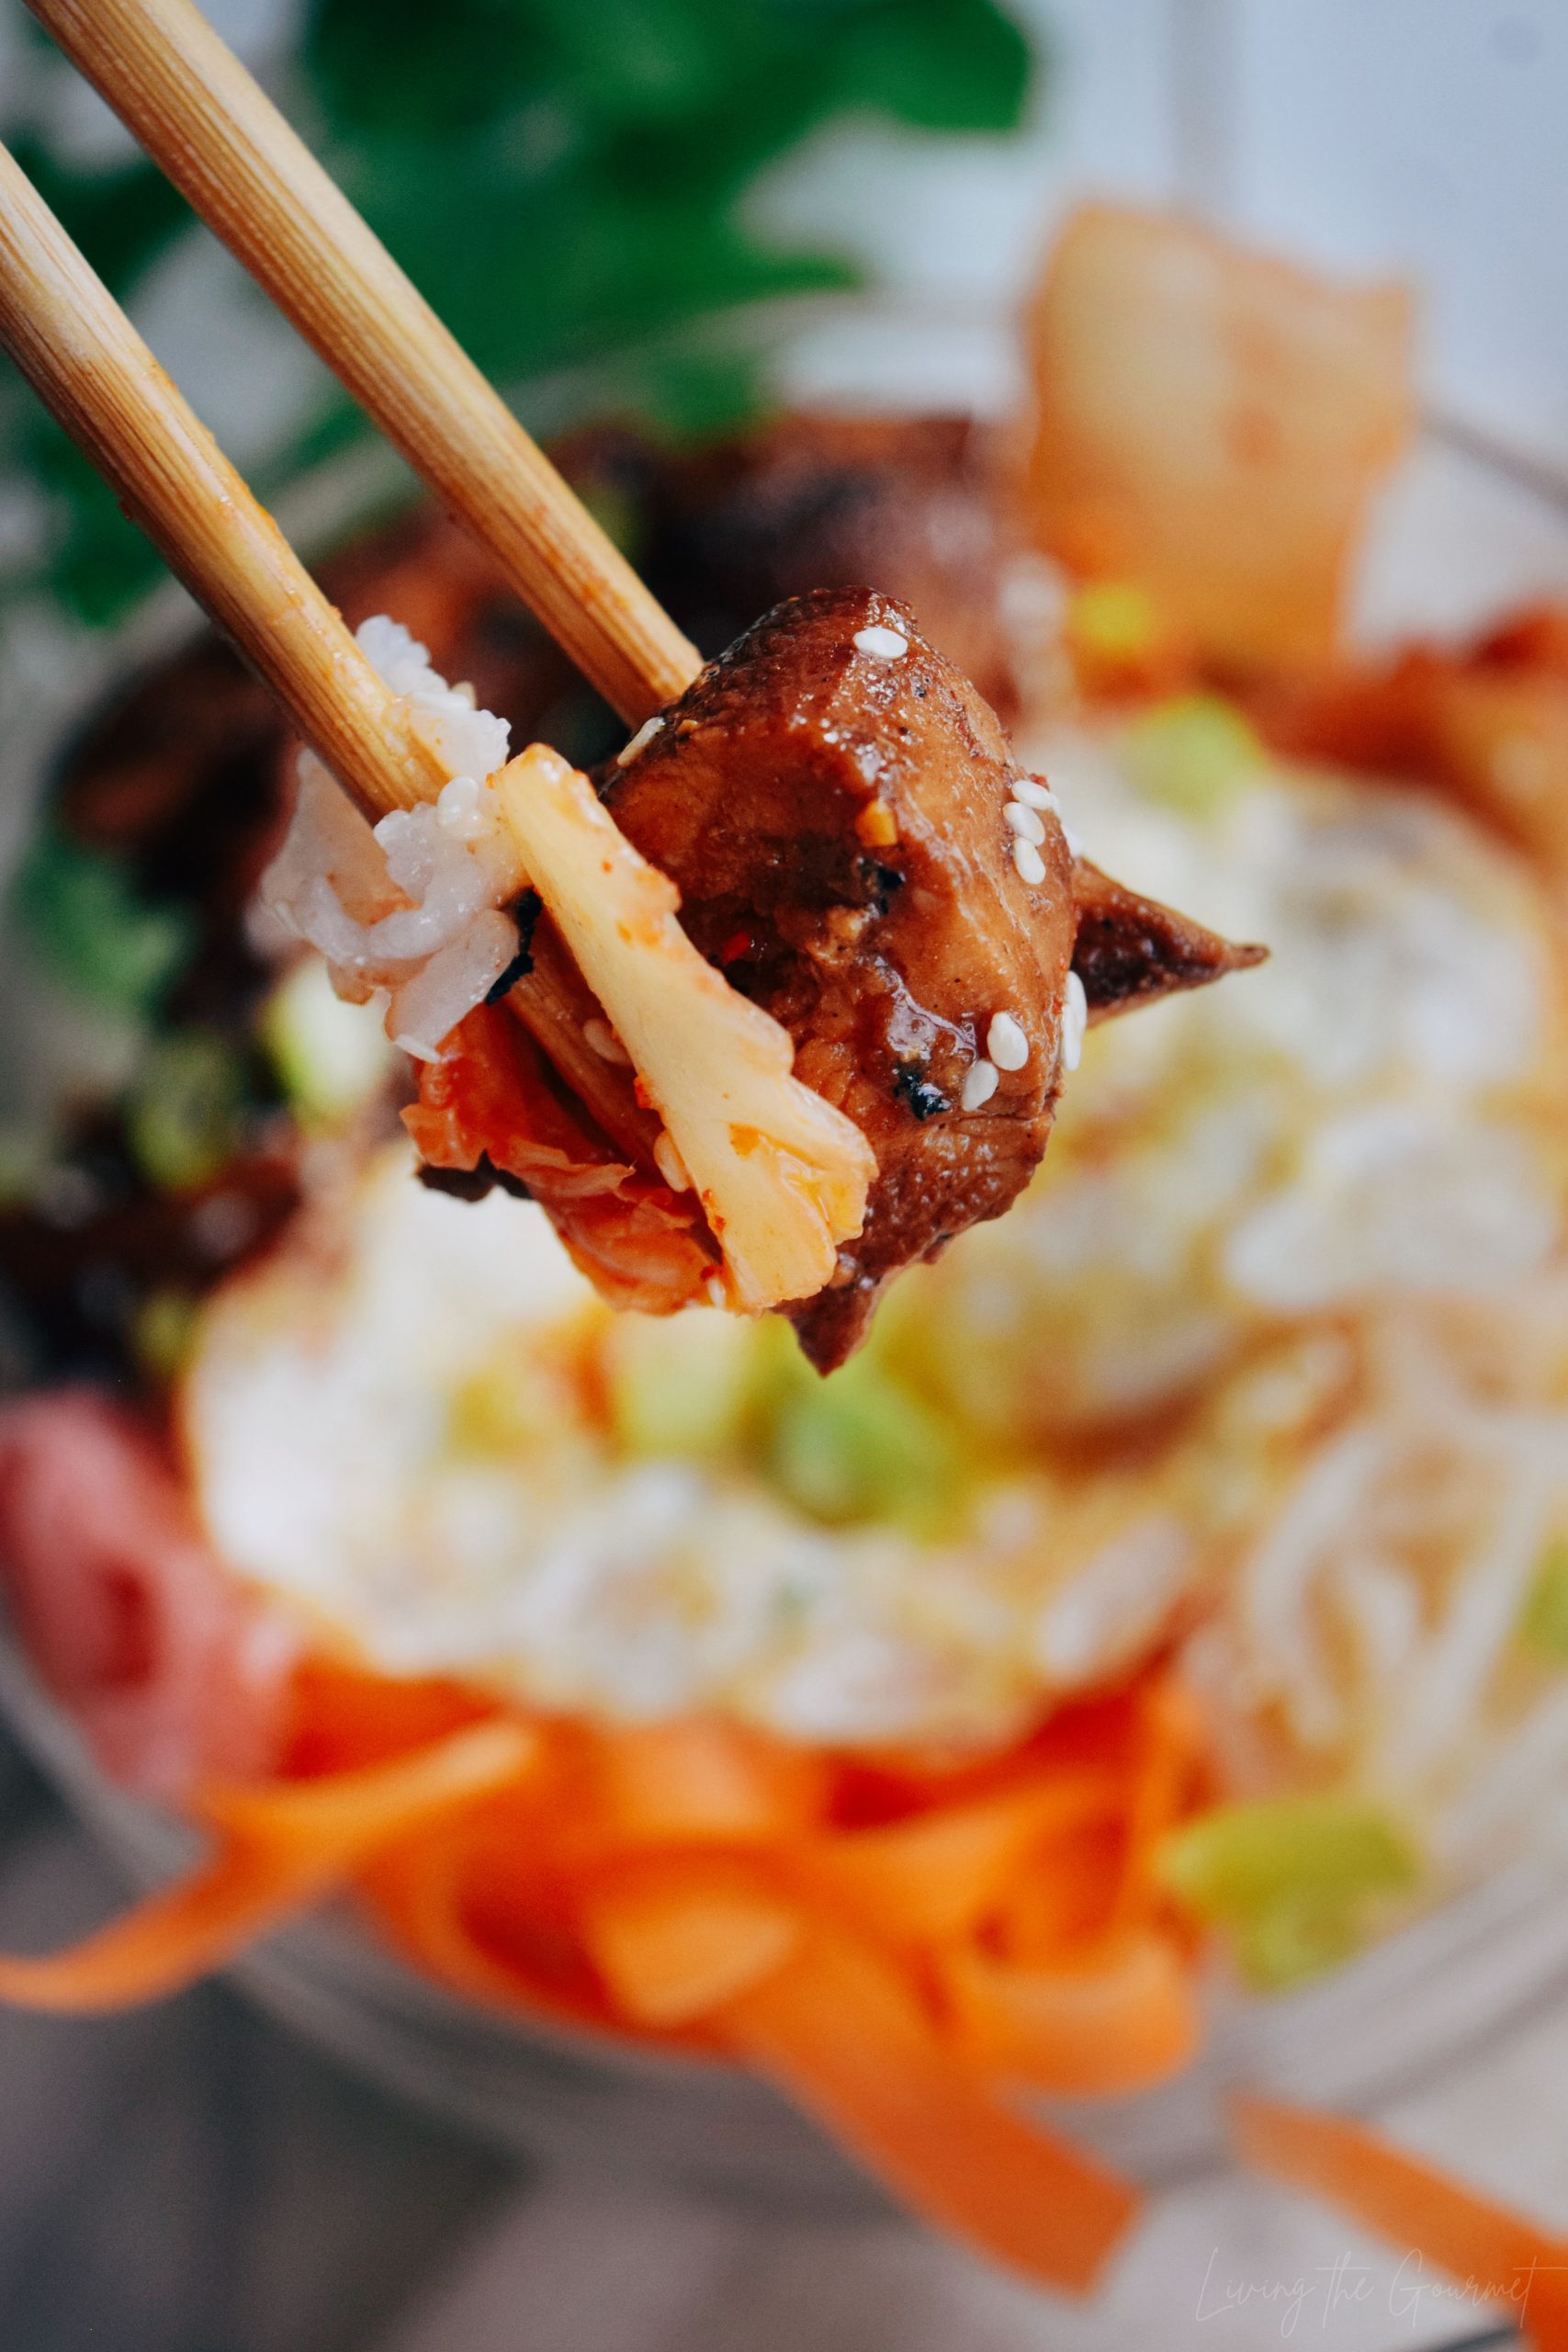
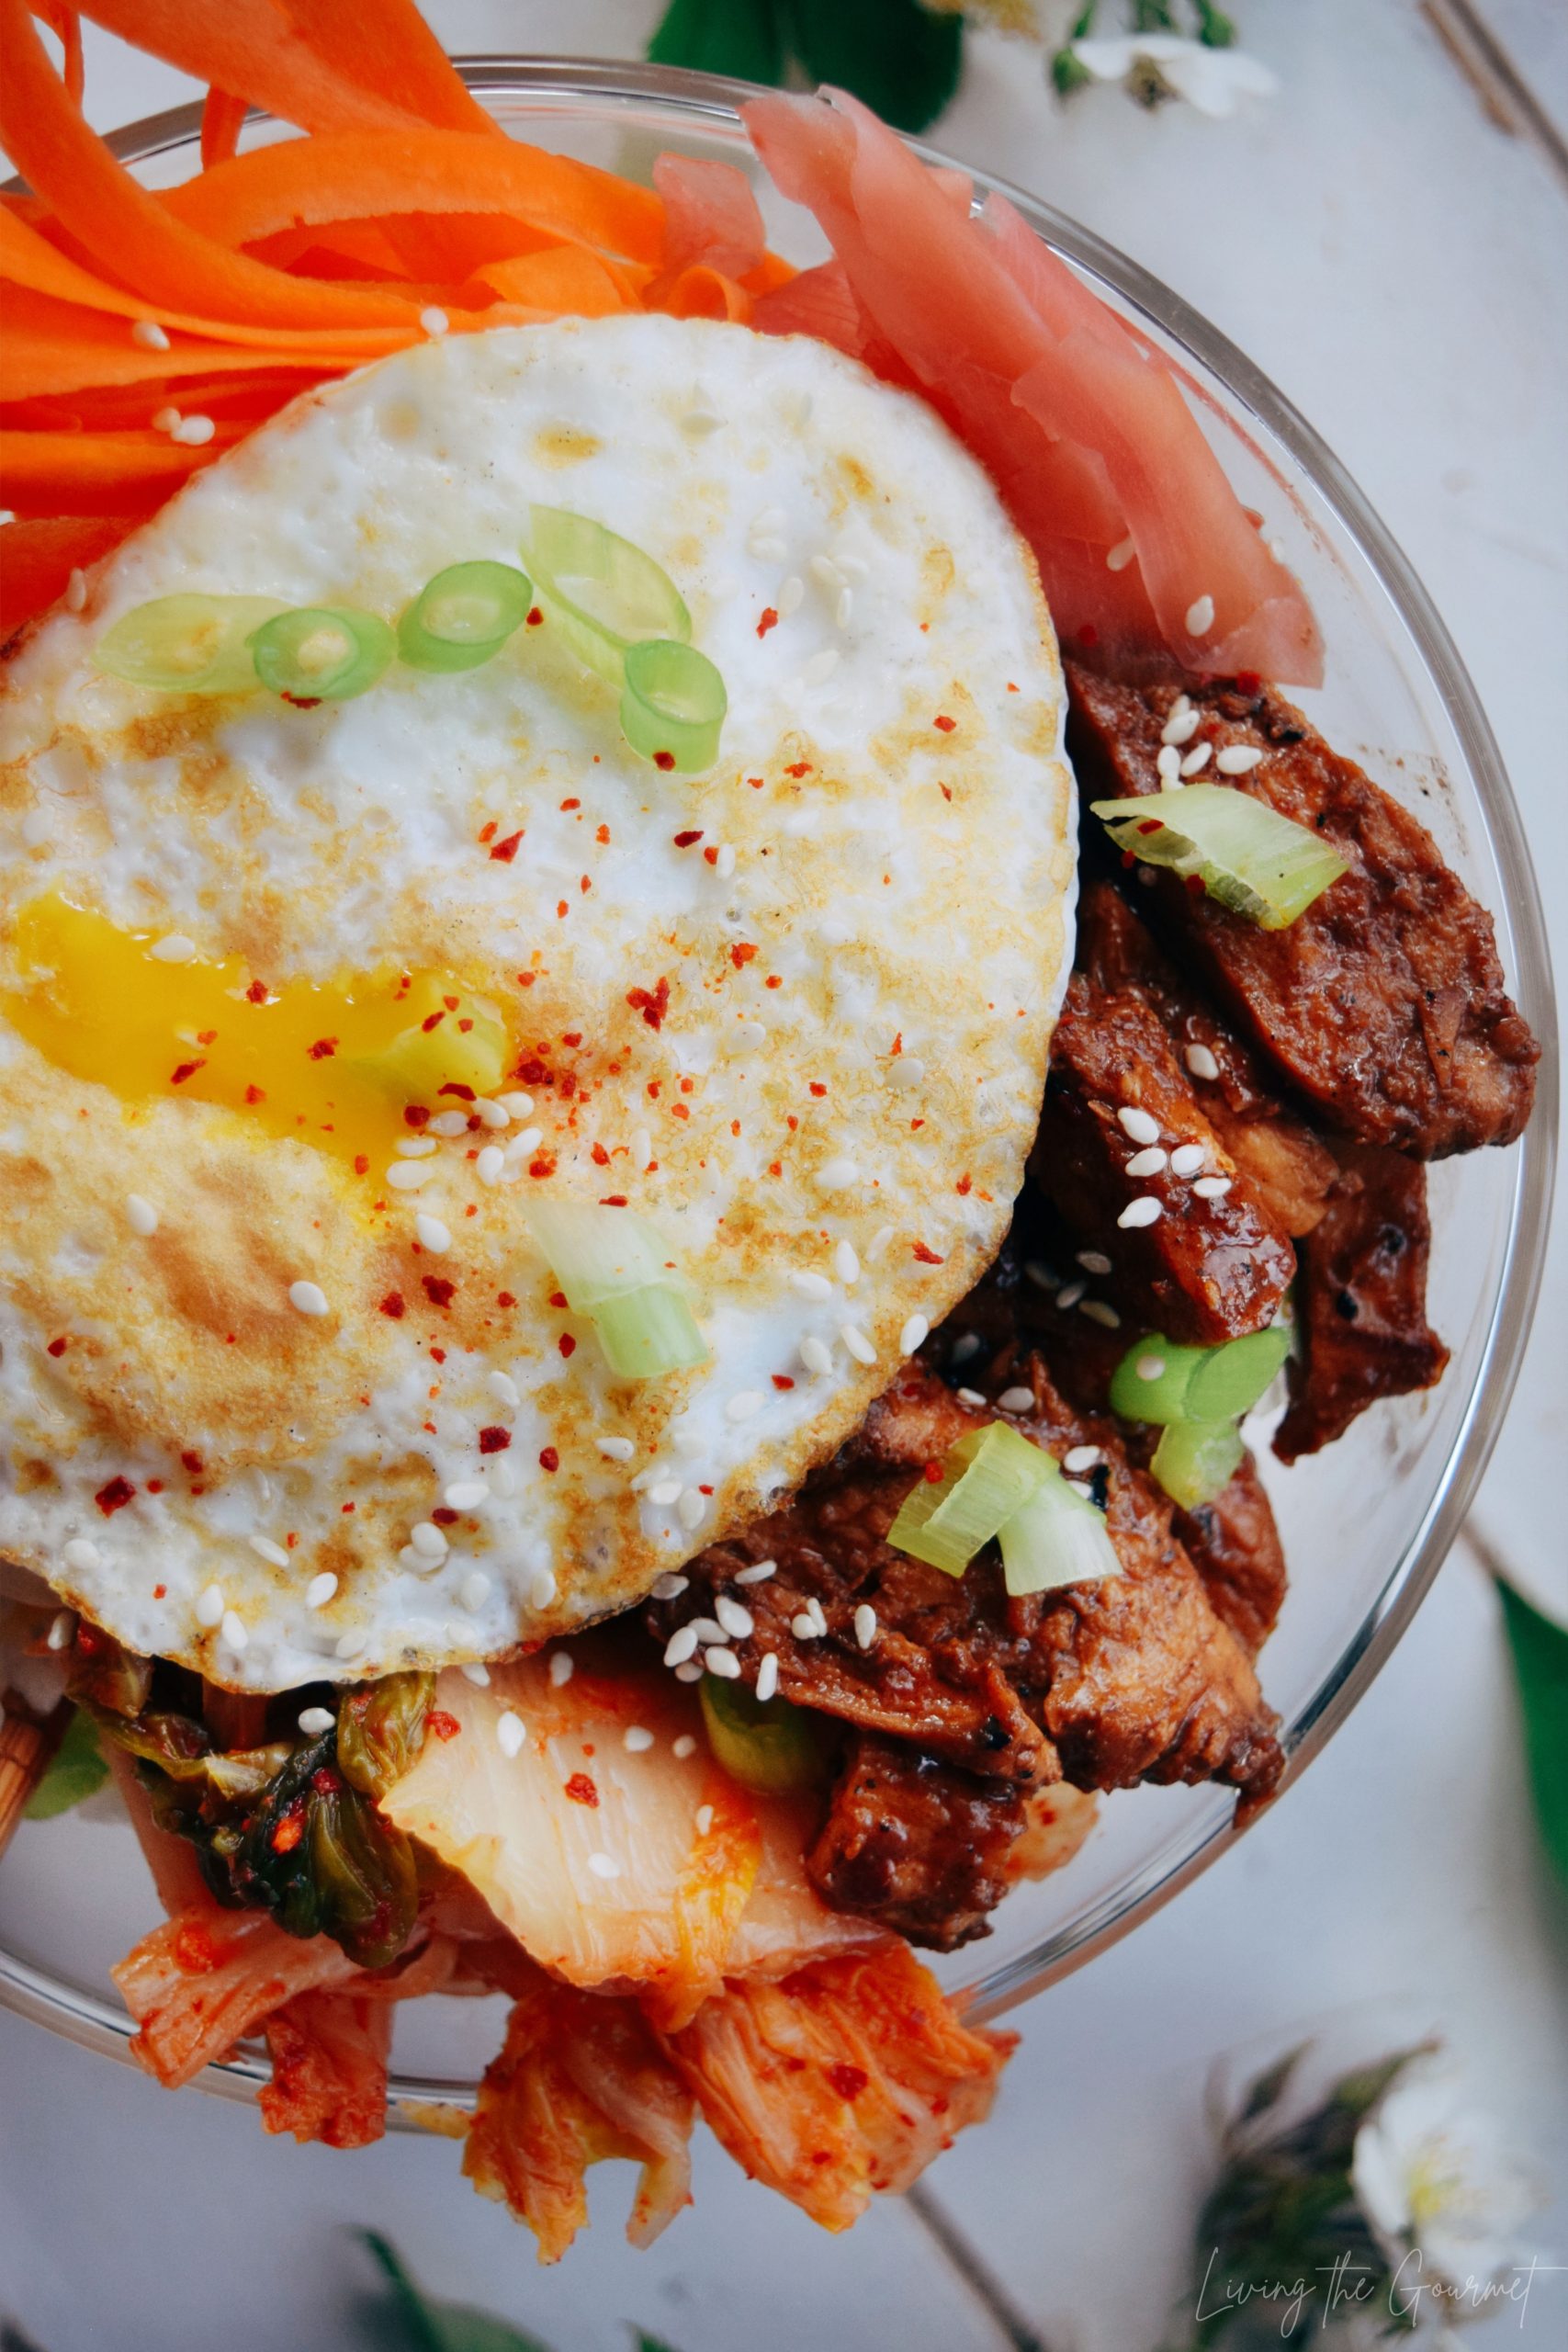
Bulgogi Chicken, spicy pickled kimchi, fresh veggies, and a fried egg come together over a bowl of warm rice for something hearty yet wholesome, and undeniably delicious.
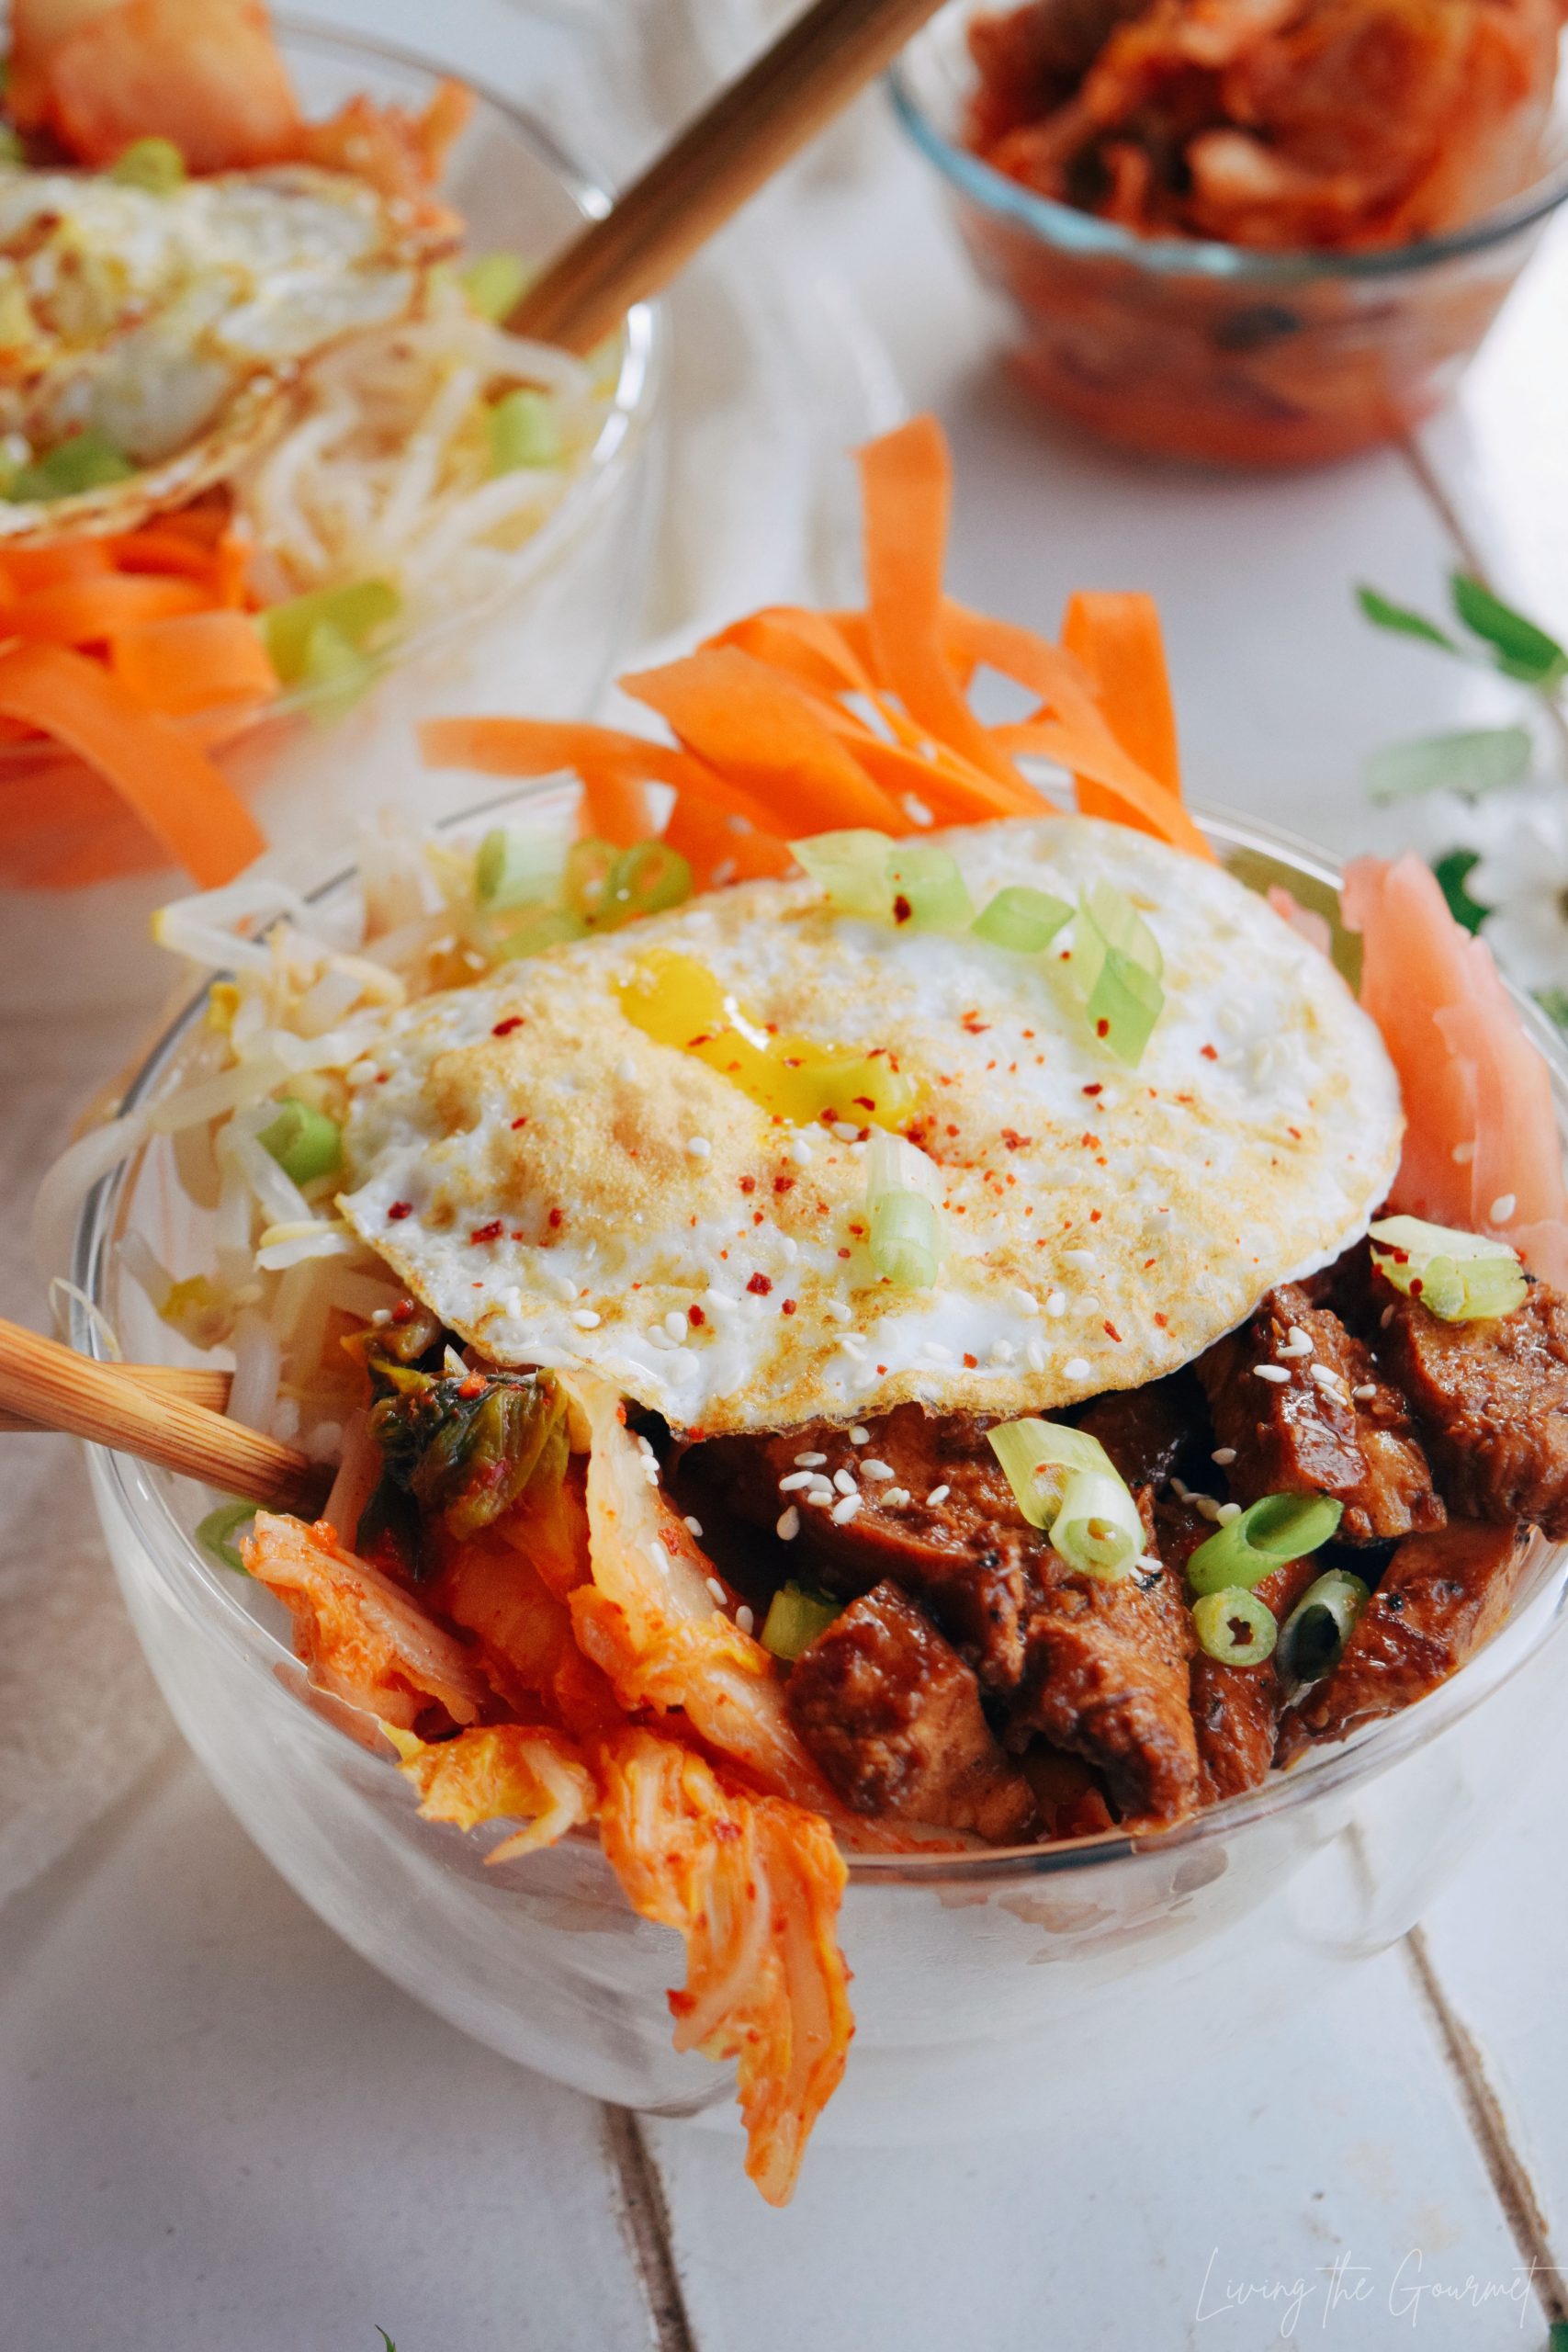
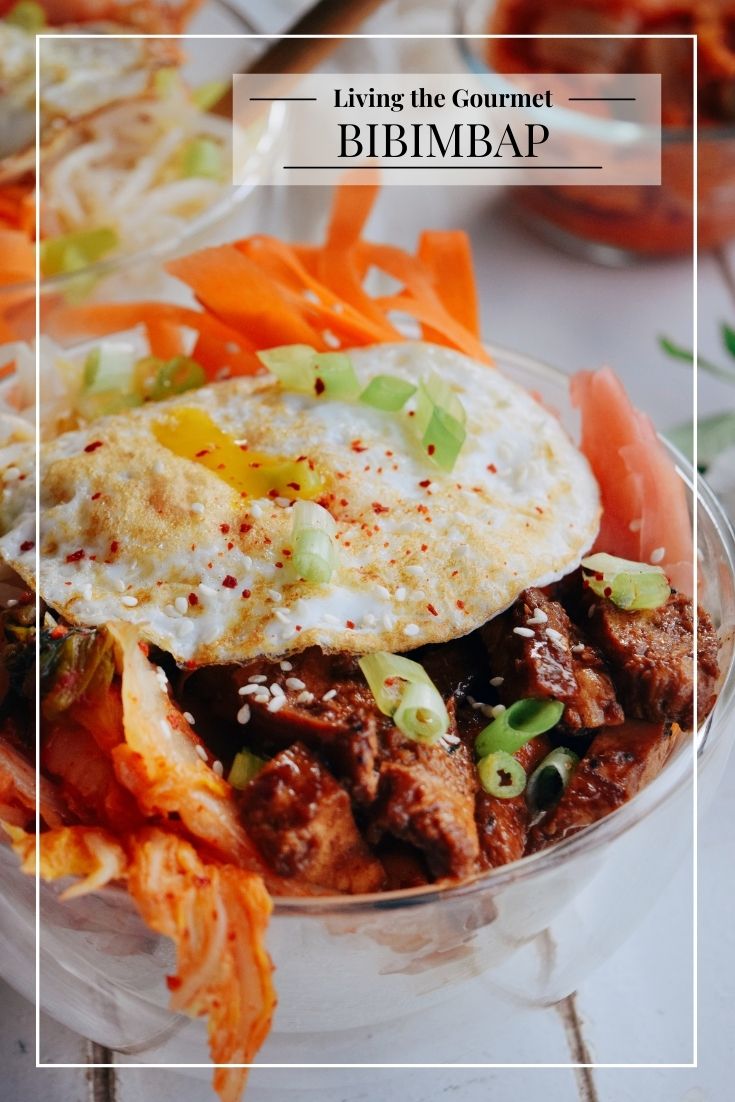
Bibimbap is a popular Korean dish which basically translates to rice bowl. A pretty simple translation, but it leaves a lot of room for creativity.
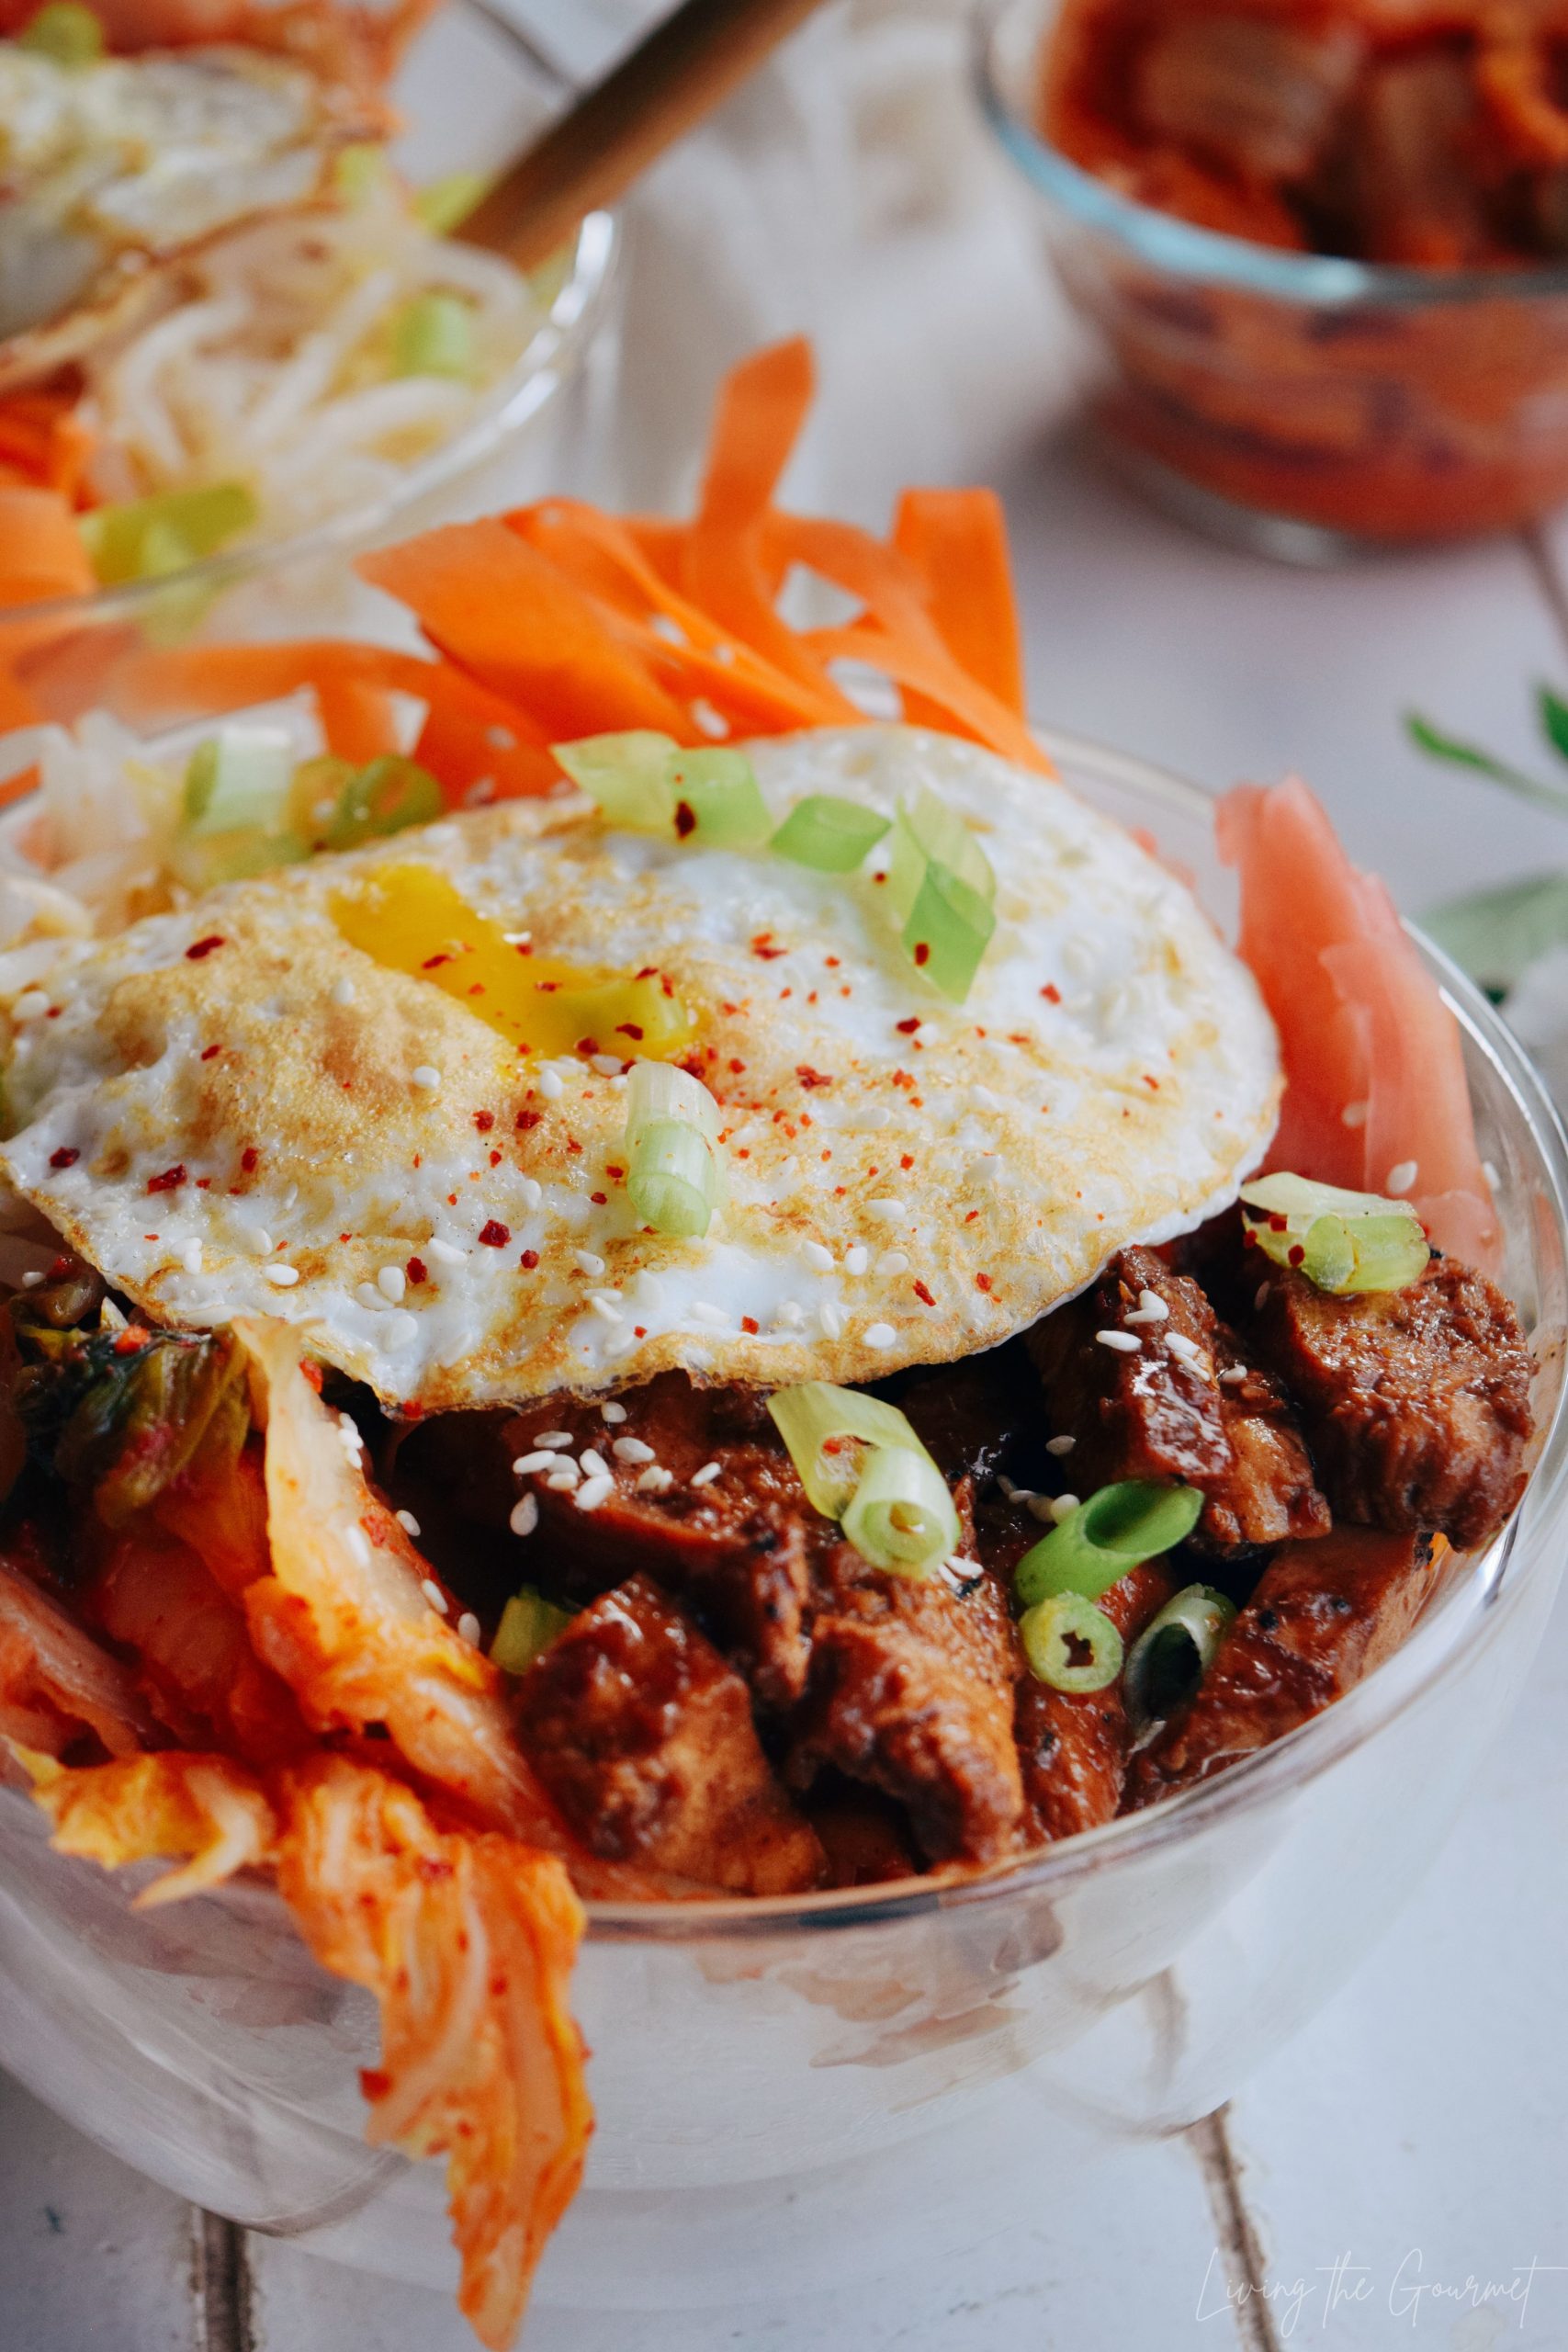
Today, we're sticking to the traditional route though, playing into the flavors of the background of the dish with Bulgogi glazed chicken, fresh Kimchi, and lots of veggies. To tie it all together we're topping it off with fragrant ginger and a fried egg because nothing quite compares to a runny yolk blending into the umami flavors.
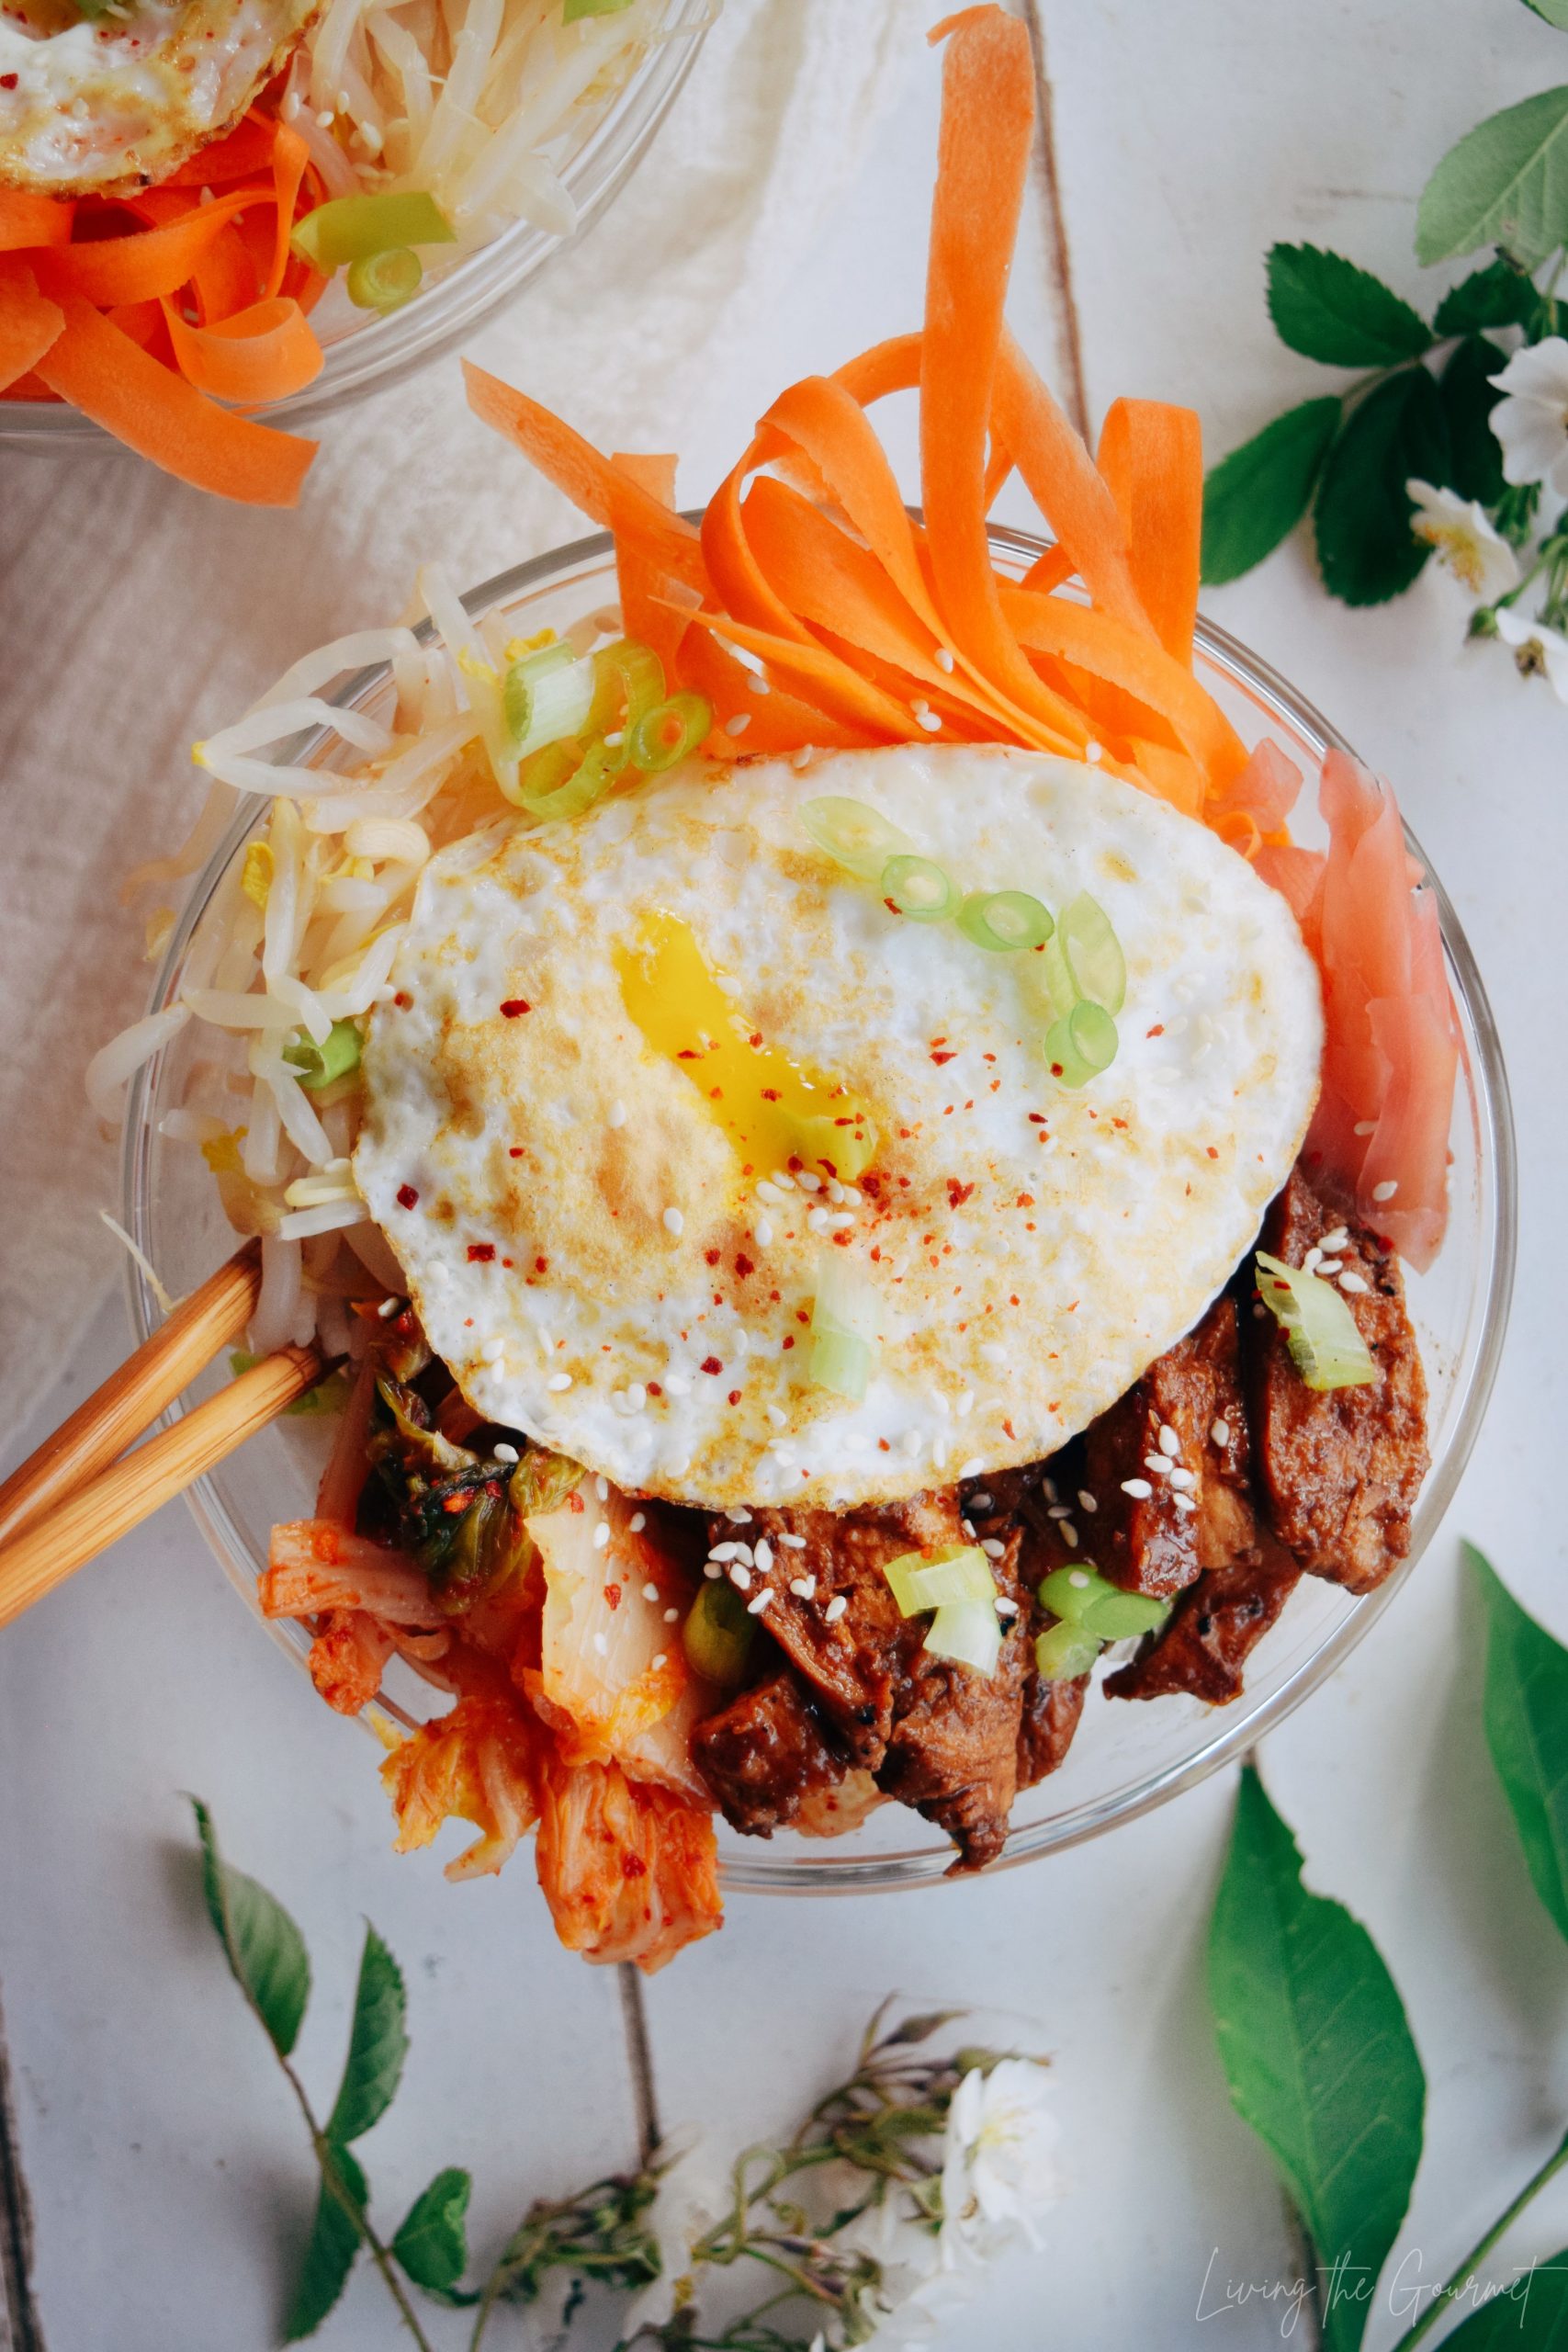
Now you know how much I love fusion food. I often mix Mediterranean and Latin flavors together quite often, and I love a good East-meets-West combination. So, let's talk a little bit about variations before we dive into today's recipe to give you some ideas on how to mix this bowl up.
You can pull a steak and eggs style combo by sautéing beef strips, maybe grilled asparagus, blanched broccoli rabe, and a fried egg over rice. You can also give it a Tex-Mex twist with taco seasoned meat, grilled corn, pickled jalapenos, and blistered tomatoes for a pop of color.
Even if you are looking to stay close to tradition there are plenty of variations. Pickled cucumbers, nashi pears, and avocado bring a light, fresh profile to Bibimbap making it perfect for the warm summer months. In the winter think heartier veggies like Shiitake mushrooms, edamame, and Japanese eggplant.
I really do love the addition of either a jammy egg or a fried egg. That egg yolk draws out the flavors and adds its own creaminess to the palate.
You know that old saying, 'simple doesn't always mean easy'? I've found through years of blogging that it's sometimes the simplest ingredients that can be the hardest to master.
Take for instance rice. This small common grain has left many a home chef completely perplexed when it comes to preparation. Three things have helped me over the years master the grain to ensure a perfect result each time which we'll quickly go over and then we can get cooking.
1) Rinse & Repeat. Rinsing your rice is a crucial step to preparation and one that I, myself, have admittedly only discovered fairly recently. Washing your rice removes excess starch from the grain. By doing so your rice developes a gelatin-like consistency during cooking. So in short, you'll get a fluffier rice from simply rinsing it a couple times beforehand. Side note: save that rice water for your house plants or garden because it provides a sufficient amount of (NPK) fertilizer and minerals.
2) The Fingertip Trick. Ok this is an old Filipino trick but one that I have found is fool-proof and when people explain to me that the water to rice ratio is the trickiest part for them, I share this technique. In the pot you're cooking your rice in, pour enough water to cover the rice. Now, dip your middle finger straight down into the pot until you just touch the rice. The waterline should reach the first joint of your finger. That's how you know you have enough.
3) Rice Cooker > Stovetop. If you're someone who cooks a lot of grains like rice, quinoa, barley or oatmeal, invest in a good rice cooker. I'm someone with limited counter space and like most people, I hate clutter so I invest only in counter appliances that are staples to my lifestyle. A rice cooker is without question one of them. I've recently fallen in love with the Continental Series Electric Rice Cooker due to its easy one touch control and size. It's also great for heating up soups and to simmer meals or to steam veggies.
Now that we have the basics covered, it's time to put your aprons on and get cooking. Probably the best part about Bibimbop is that it is a perfect dish for meal prepping. So, while it may take some time to get all your ingredients ready, you'll have enough on hand to bring this dish together for the next couple nights as well.
Bibimbap
- Total Time: 35 minutes
- Yield: 4 servings 1x
Ingredients
- 2 cups short grain rice, rinsed
- 3 cups water
- 1-2 lbs boneless chicken breasts, halved
- Pickled ginger
- Carrots, shredded
- Bean sprouts
- Fresh Kimchi
- Eggs
- Sesame seeds, for topping
- Scallions, for topping
- 1/2 cup soy sauce
- 1 tablespoons sesame oil
- 1 tablespoon rice vinegar
- 2 tablespoons brown sugar
- 2 teaspoons fresh ginger, grated
- 3 large cloves garlic, grated
- 2 teaspoons gochujang
- 2 teaspoons fresh chili paste
- 1 tablespoon cornstarch
- 1 tablespoon water
Instructions
In a large bowl, whisk together all the ingredients for the Bulgogi sauce. Add the chicken breast and toss. Leave to marinade for at least 2 hours or up to overnight.
In your rice cooker (or pot if cooking stovetop), add rice and cover with enough water. For 2 cups of rice you'll need approximately 3 cups of water. Dip your middle finger into the pot to measure the waterline. The waterline should reach the first joint of your middle finger.
While the rice is cooking, prepare your chicken. In a large pan over medium-high heat, drizzle with a neutral cooking oil, and cook the marinade chicken until the internal temperature reads 165 degrees F. Promptly remove from the heat and onto a cutting board. Slice the chicken breast and set aside.
To the pan, add the remaining marinade. In a small bowl or cup, prepare your slurry by whisking together 1 tablespoon cornstarch with a 1 tablespoon water. Once the sauce begins to bubble slightly, add the slurry, turn down the heat slightly, and keep whisking until the sauce thickens into a glaze. Turn off the heat and toss the sliced chicken back into the glaze.
In a small pan over high heat, add a pat of butter and fry your egg. Alternatively, you can also prepare jammy eggs ahead of time. Simply bring a pot of water to a boil and add then add the eggs. Set a timer for 5 minutes. Remove the eggs immediately and transfer them to an iced water bath.
Prepare your Bibimbap by scooping rice at the bottom of each bowl and topping with chicken, kimchi, your desired veggies, and egg. For garnish sprinkle with spring onion and sesame seeds. Serve and enjoy!
- Prep Time: 20 minutes
- Cook Time: 15 minutes
- Category: Main Dish
- Cuisine: Korean


bitlife says
Your directions were very detailed, and my bibimbap came out absolutely delicious!
Amy Casey says
This dish was absolutely delicious! It was easy to make and I loved the fried egg on top.