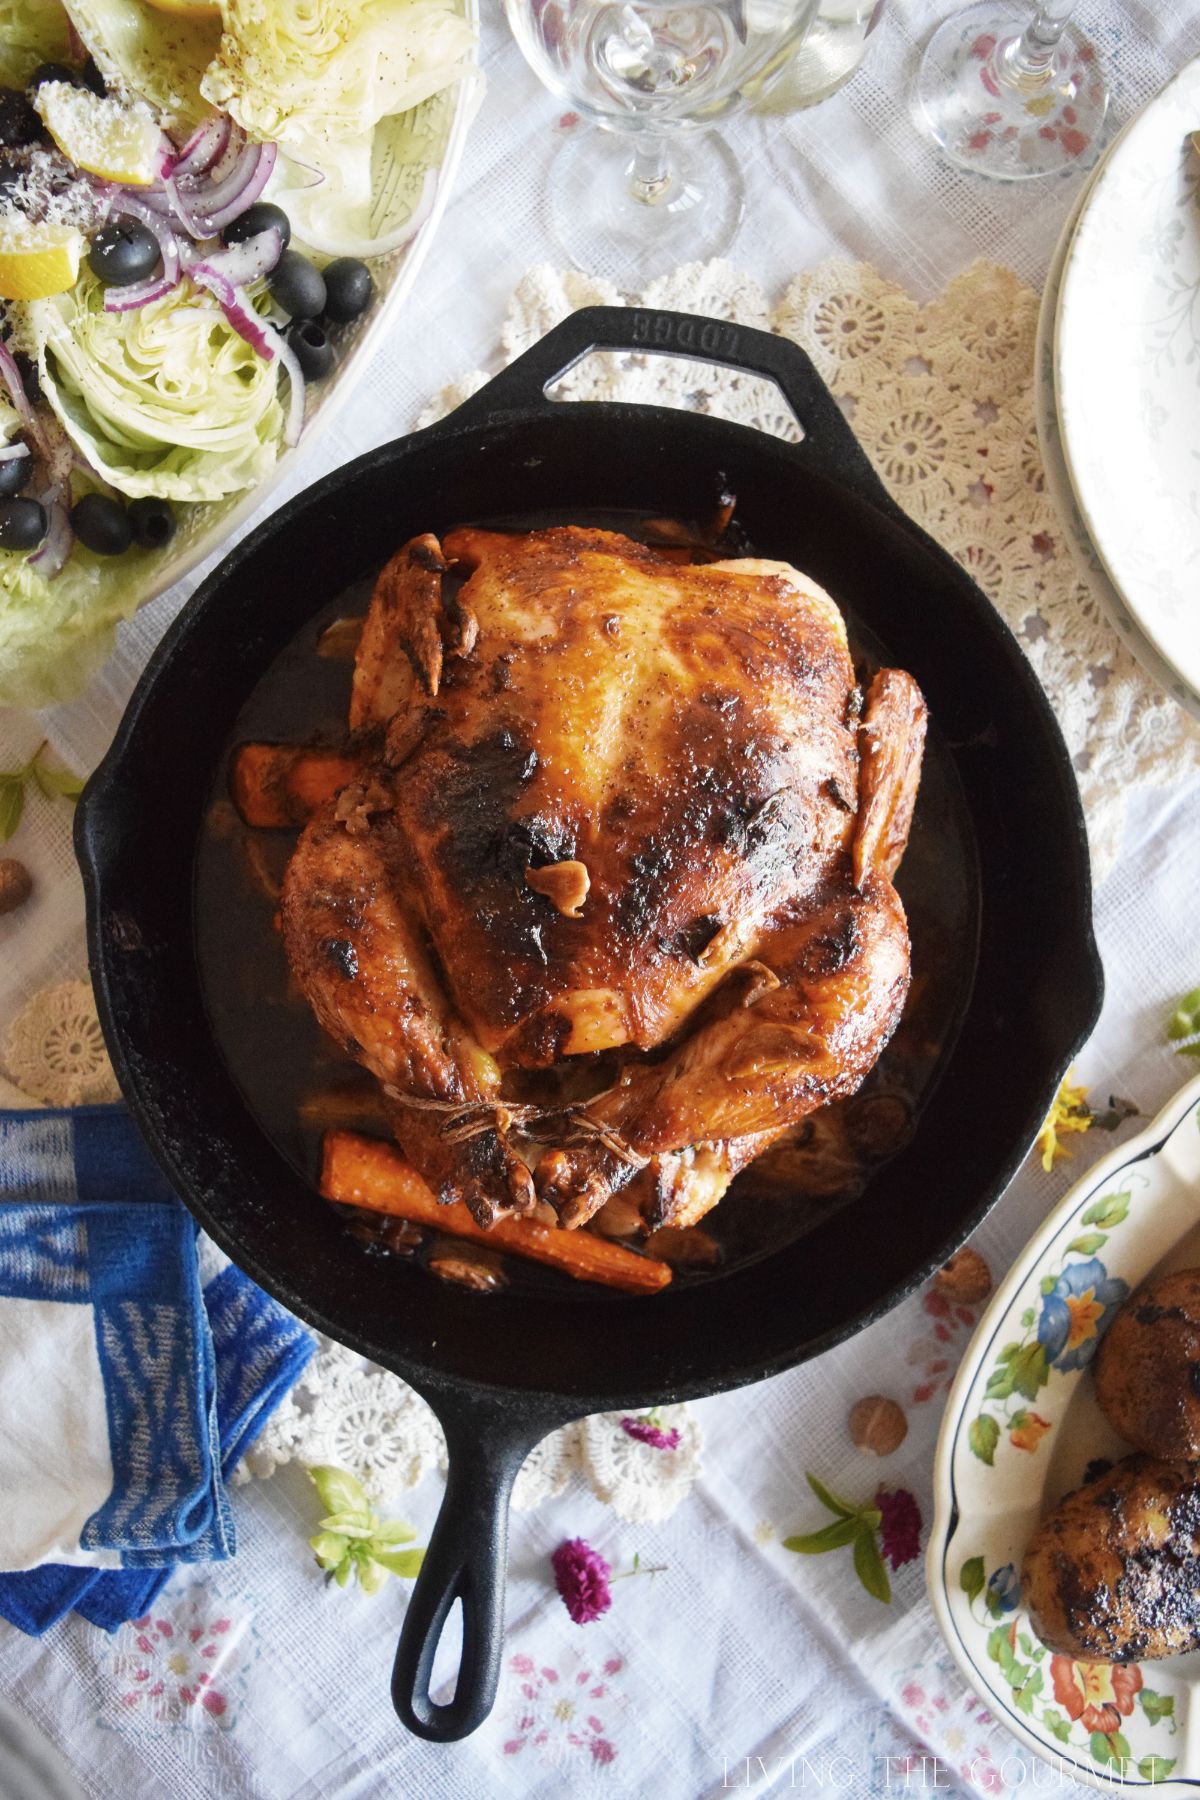
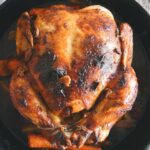
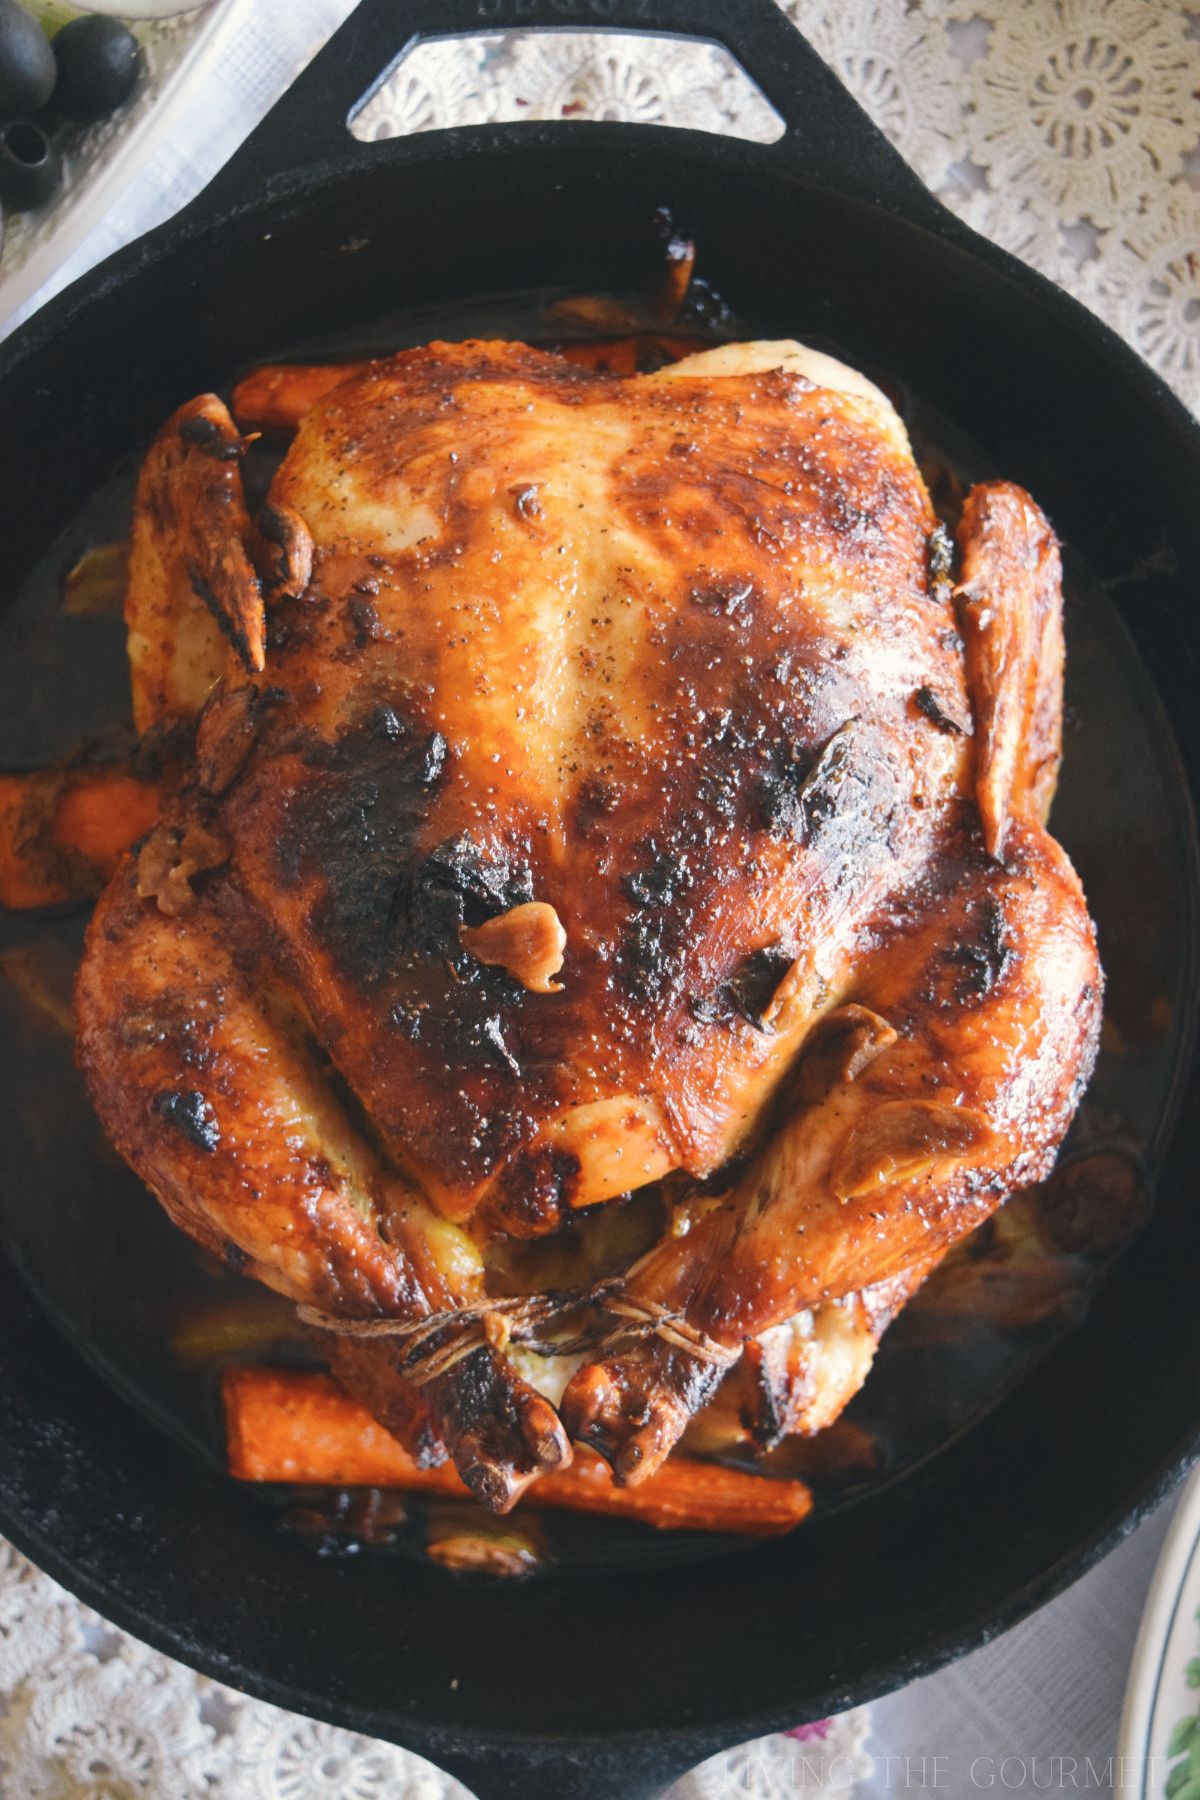
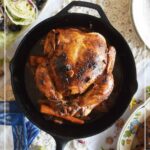
Rubbed in roasted garlic and basil then baked to golden perfection, this Garlic and Basil Roast Chicken is the perfect addition to your fall repertoire.
For whatever reason whole roasts seem to intimidate many home-chefs, but today we were inspired to break down the process into a few simple steps. Contrary to popular belief, there's really nothing to complex behind the process of a beautifully-browned chicken. So without further adieu, let's dive right into it!
The Basics
1. Prepping the Bird. The first step is to rinse your bird inside and out with salt and then pat dry. This process helps tenderize the meat itself so that the seasonings can work their way through, and the salt ensures a juicer result.
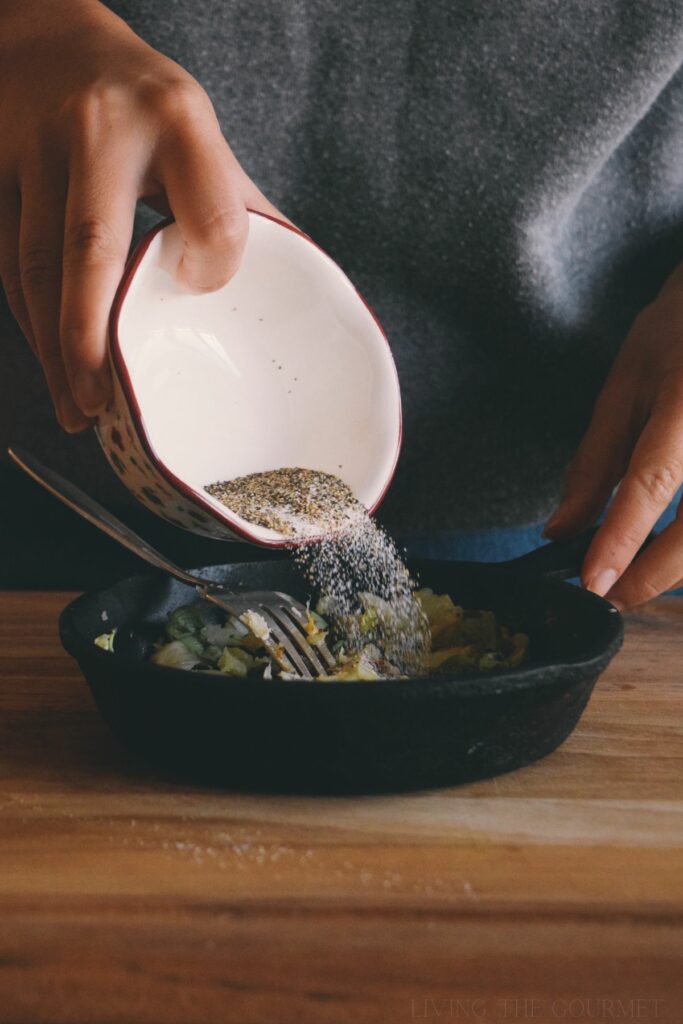
2. Seasoning. If you're new to the roasting game, it's best to stick with the basics which you can never go wrong with- lemon, basil, lots of garlic, and olive oil. Those are the key components of today's rub. You can add in other seasonings that you may enjoy like Italian Seasoning or Herbes de Provence. Today, I opted for salt, pepper, and fresh nutmeg.
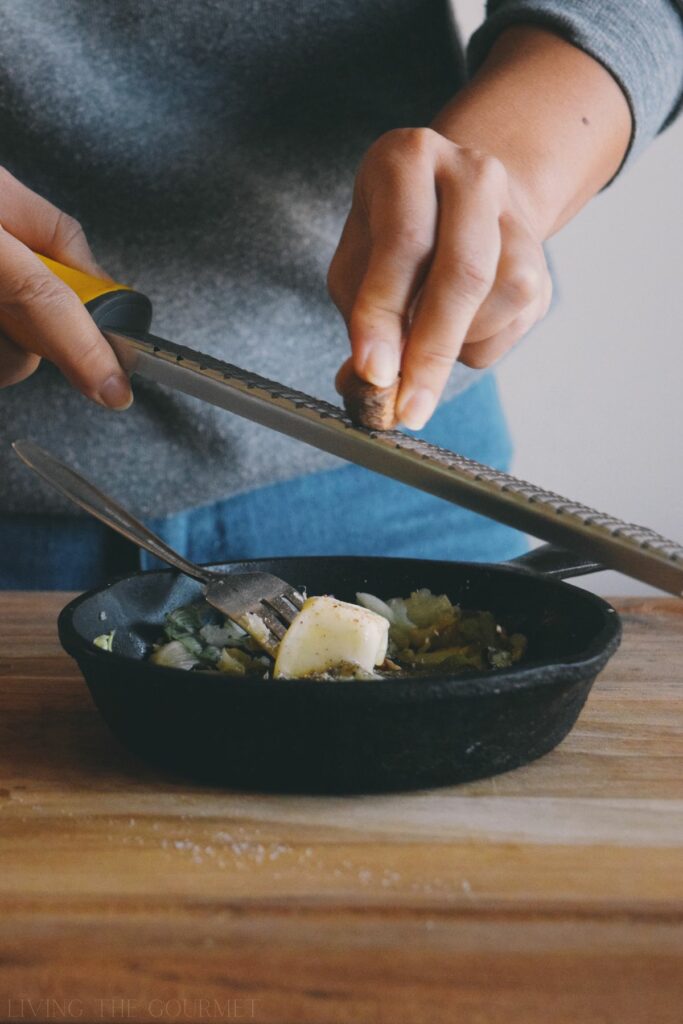
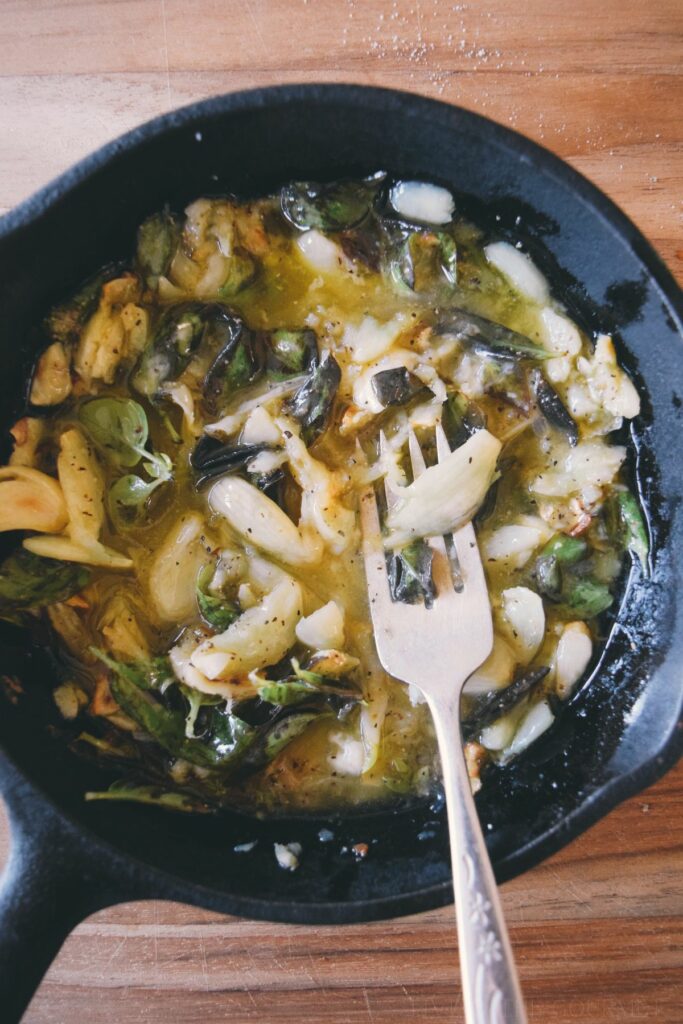
Now when it comes to dry rubs vs. wet rubs, I tend to go with the latter which adds more flavor when basting. I begin by roast the garlic until it has softened and then combine that with olive oil and butter. This is what you want to rub the chicken down with and you will get a beautiful crisp, juicy meat, and a rich depth of flavoring.
3. Best Position. I've heard it said that baking your chicken on a rack ensures a even roast throughout. I'm not a fan of the roasting elevated because I want the bird cooking in its pan juices. Trussing is a simple and good method for an oven-stuffer because it keeps the meat compact for an even result. Now, as far as spatchcocking goes, it's a method that requires you to remove the spine of the chicken so you can lay it out flat. If you're brave enough to try it at home, here is my post on Spatchcocked Chicken.
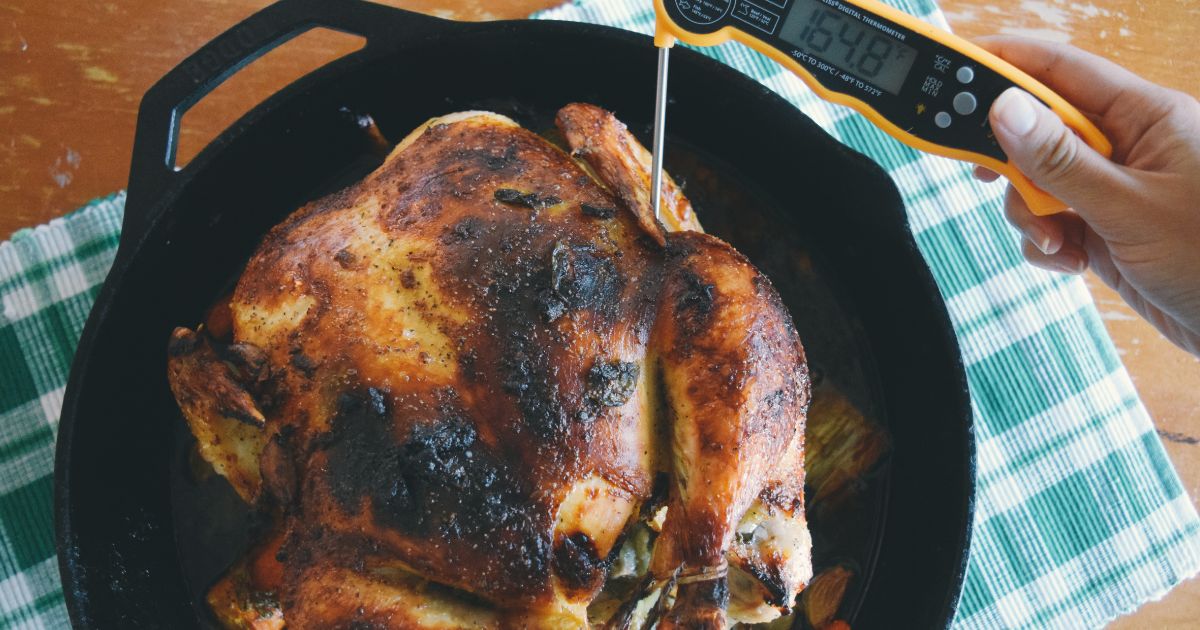
4. Thermometer. We've come to the part that has perplexed many a cook- when do you know if your bird is done? There are plenty of ways to test if your chicken is done, judging by color is not one of them. The skin can be quite deceiving so it's really important to have a good meat thermometer in your kitchen.
I've been a long time user of the Deiss Pro Digital Meat Thermometer because it gives me an instant precise reading, along with a recommended temp guide right on its handle. Probably one of the best kitchen investments and it's super affordable.
To test your roast, insert the thermometer into the inner thigh area near the breast but not touching bone. For poultry you want the temperature to read 164 degrees F.
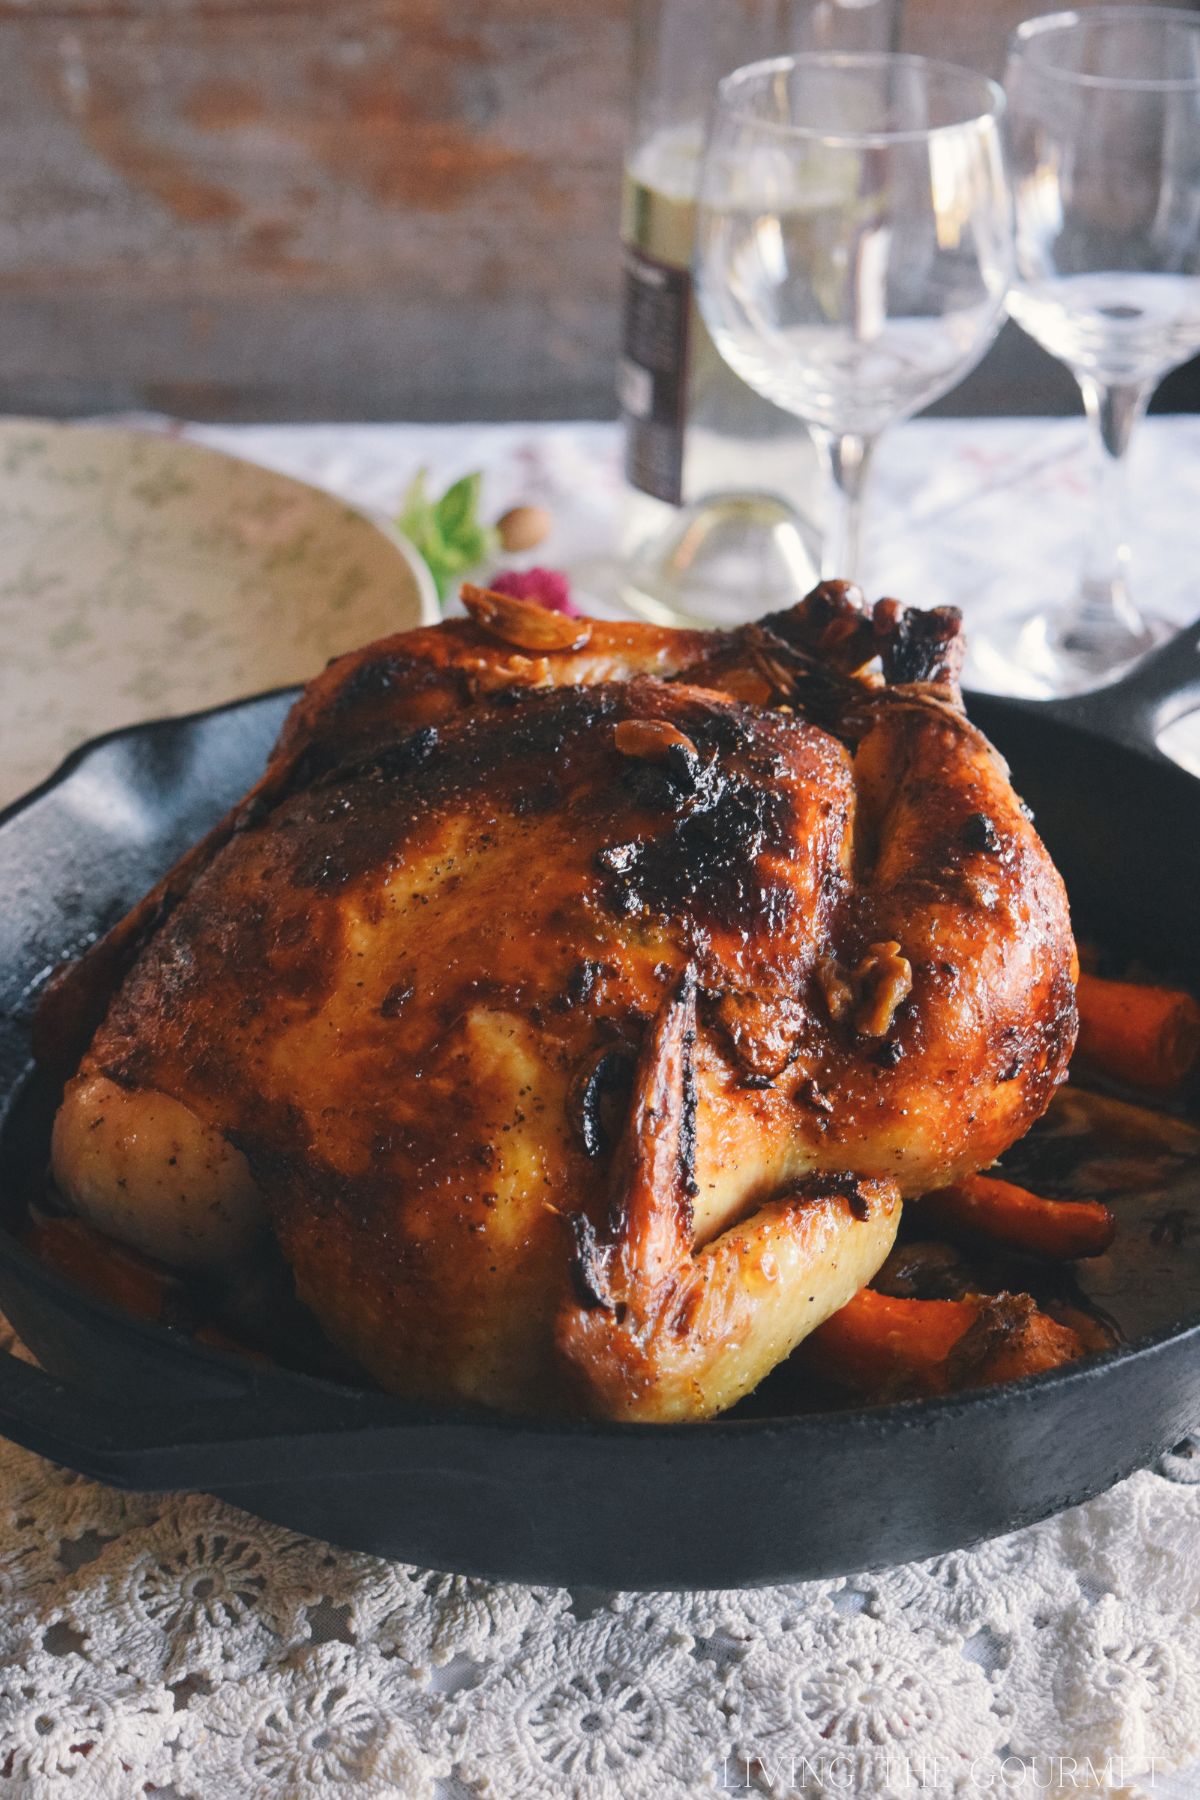
5. Rest. Always rest your meat before carving. This allows the chicken to redistribute its juices and cool down enough for you to carve it. You're now ready to enjoy your roast and revel in the praise of your delighted guests. You're welcome. 😉
Garlic and Basil Roast Chicken
- Total Time: 1 hour
- Yield: 1 small roast 1x
Ingredients
- 5 1/2 lb. chicken - rinse chicken with 3 - 4 tbs. of salt and pat dry
- 3 carrots
- 3 stalks of celery
- 2 - 3 cloves of garlic
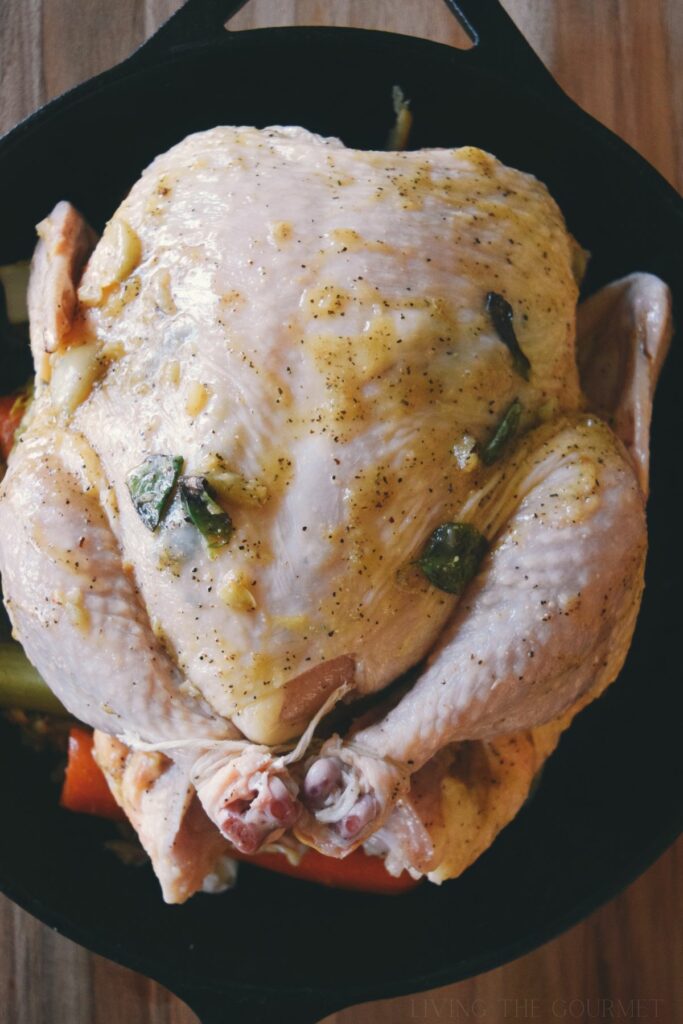
- Place the cleaned pat dried chicken on a rack made of carrots and celery stalks.
For the Rub:
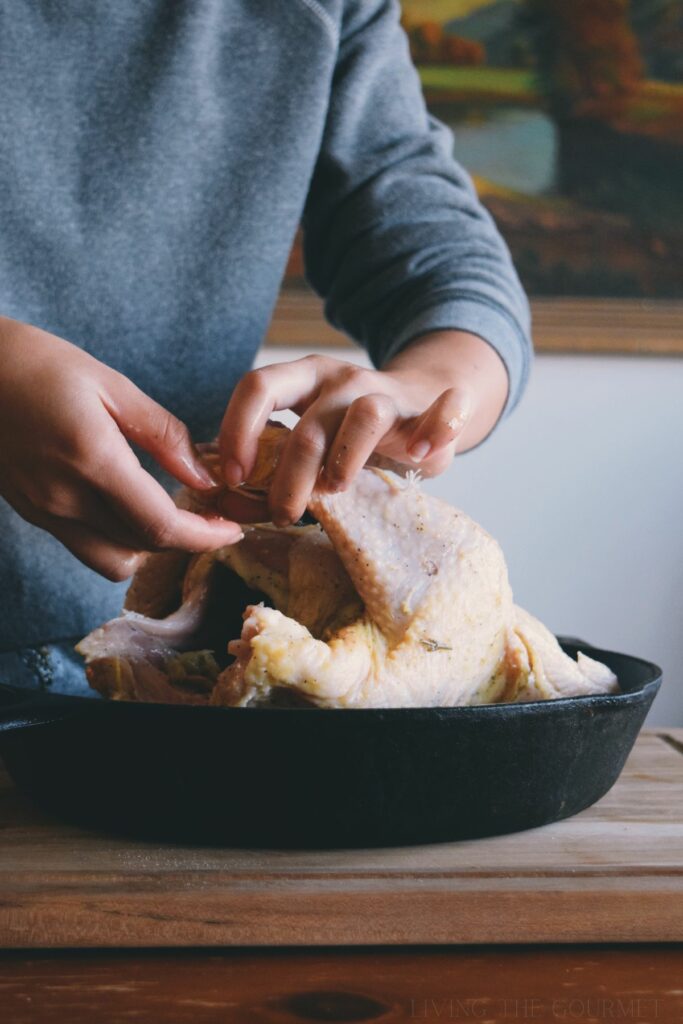
- 12 - 15 cloves of grilled garlic
- 10 - 12 fresh basil leaves
- 1 tbs. honey
- 2 tbs. fresh lemon juice
- 2 tsp. salt
- 1 1/2 tsp. black pepper
- 2 tbs. olive oil
- 1 tbs. butter - softened
- Gratings of fresh nutmeg
Instructions
- Place the garlic in a small cast iron frying pan and allow the garlic get a nice golden color.
- Add the basil leaves, honey, butter, salt, black pepper, olive oil, lemon juice, and fresh nutmeg. Mix until combined.
- Rub the chicken down with this garlic mixture and gently lift the skin to rub the mixture under the skin.
- Preheat oven 350 degrees F.
- Place the chicken in the oven and cook for 20 minutes per pound or until the juices run clear.
- Add 1 ½ cups of water to the pan the last half hour of cooking.
- Let the chicken rest 10 - 15 minutes before slicing.
- Prep Time: 15 minutes
- Cook Time: 45 minutes
- Category: Main Dish
- Method: Roast
Nutrition
- Serving Size: 4
And that is our recipe for Garlic and Basil Roast Chicken. If you enjoyed this recipe, or have any questions or suggestions, be sure to let us know in the comments below. We always love hearing from you!
Happy Cooking!

Kari Alana says
A;ways looking for great roast recipes and so grateful that I came upon this one!
Catherine Pappas says
Dear Kari, Thank you for visiting. I hope that you enjoy this recipe if you do give it a try. Have a beautiful day. xo