
This shop has been compensated by Collective Bias, Inc. and its advertiser. All opinions are mine alone. #ShareHarvestSnaps #CollectiveBias
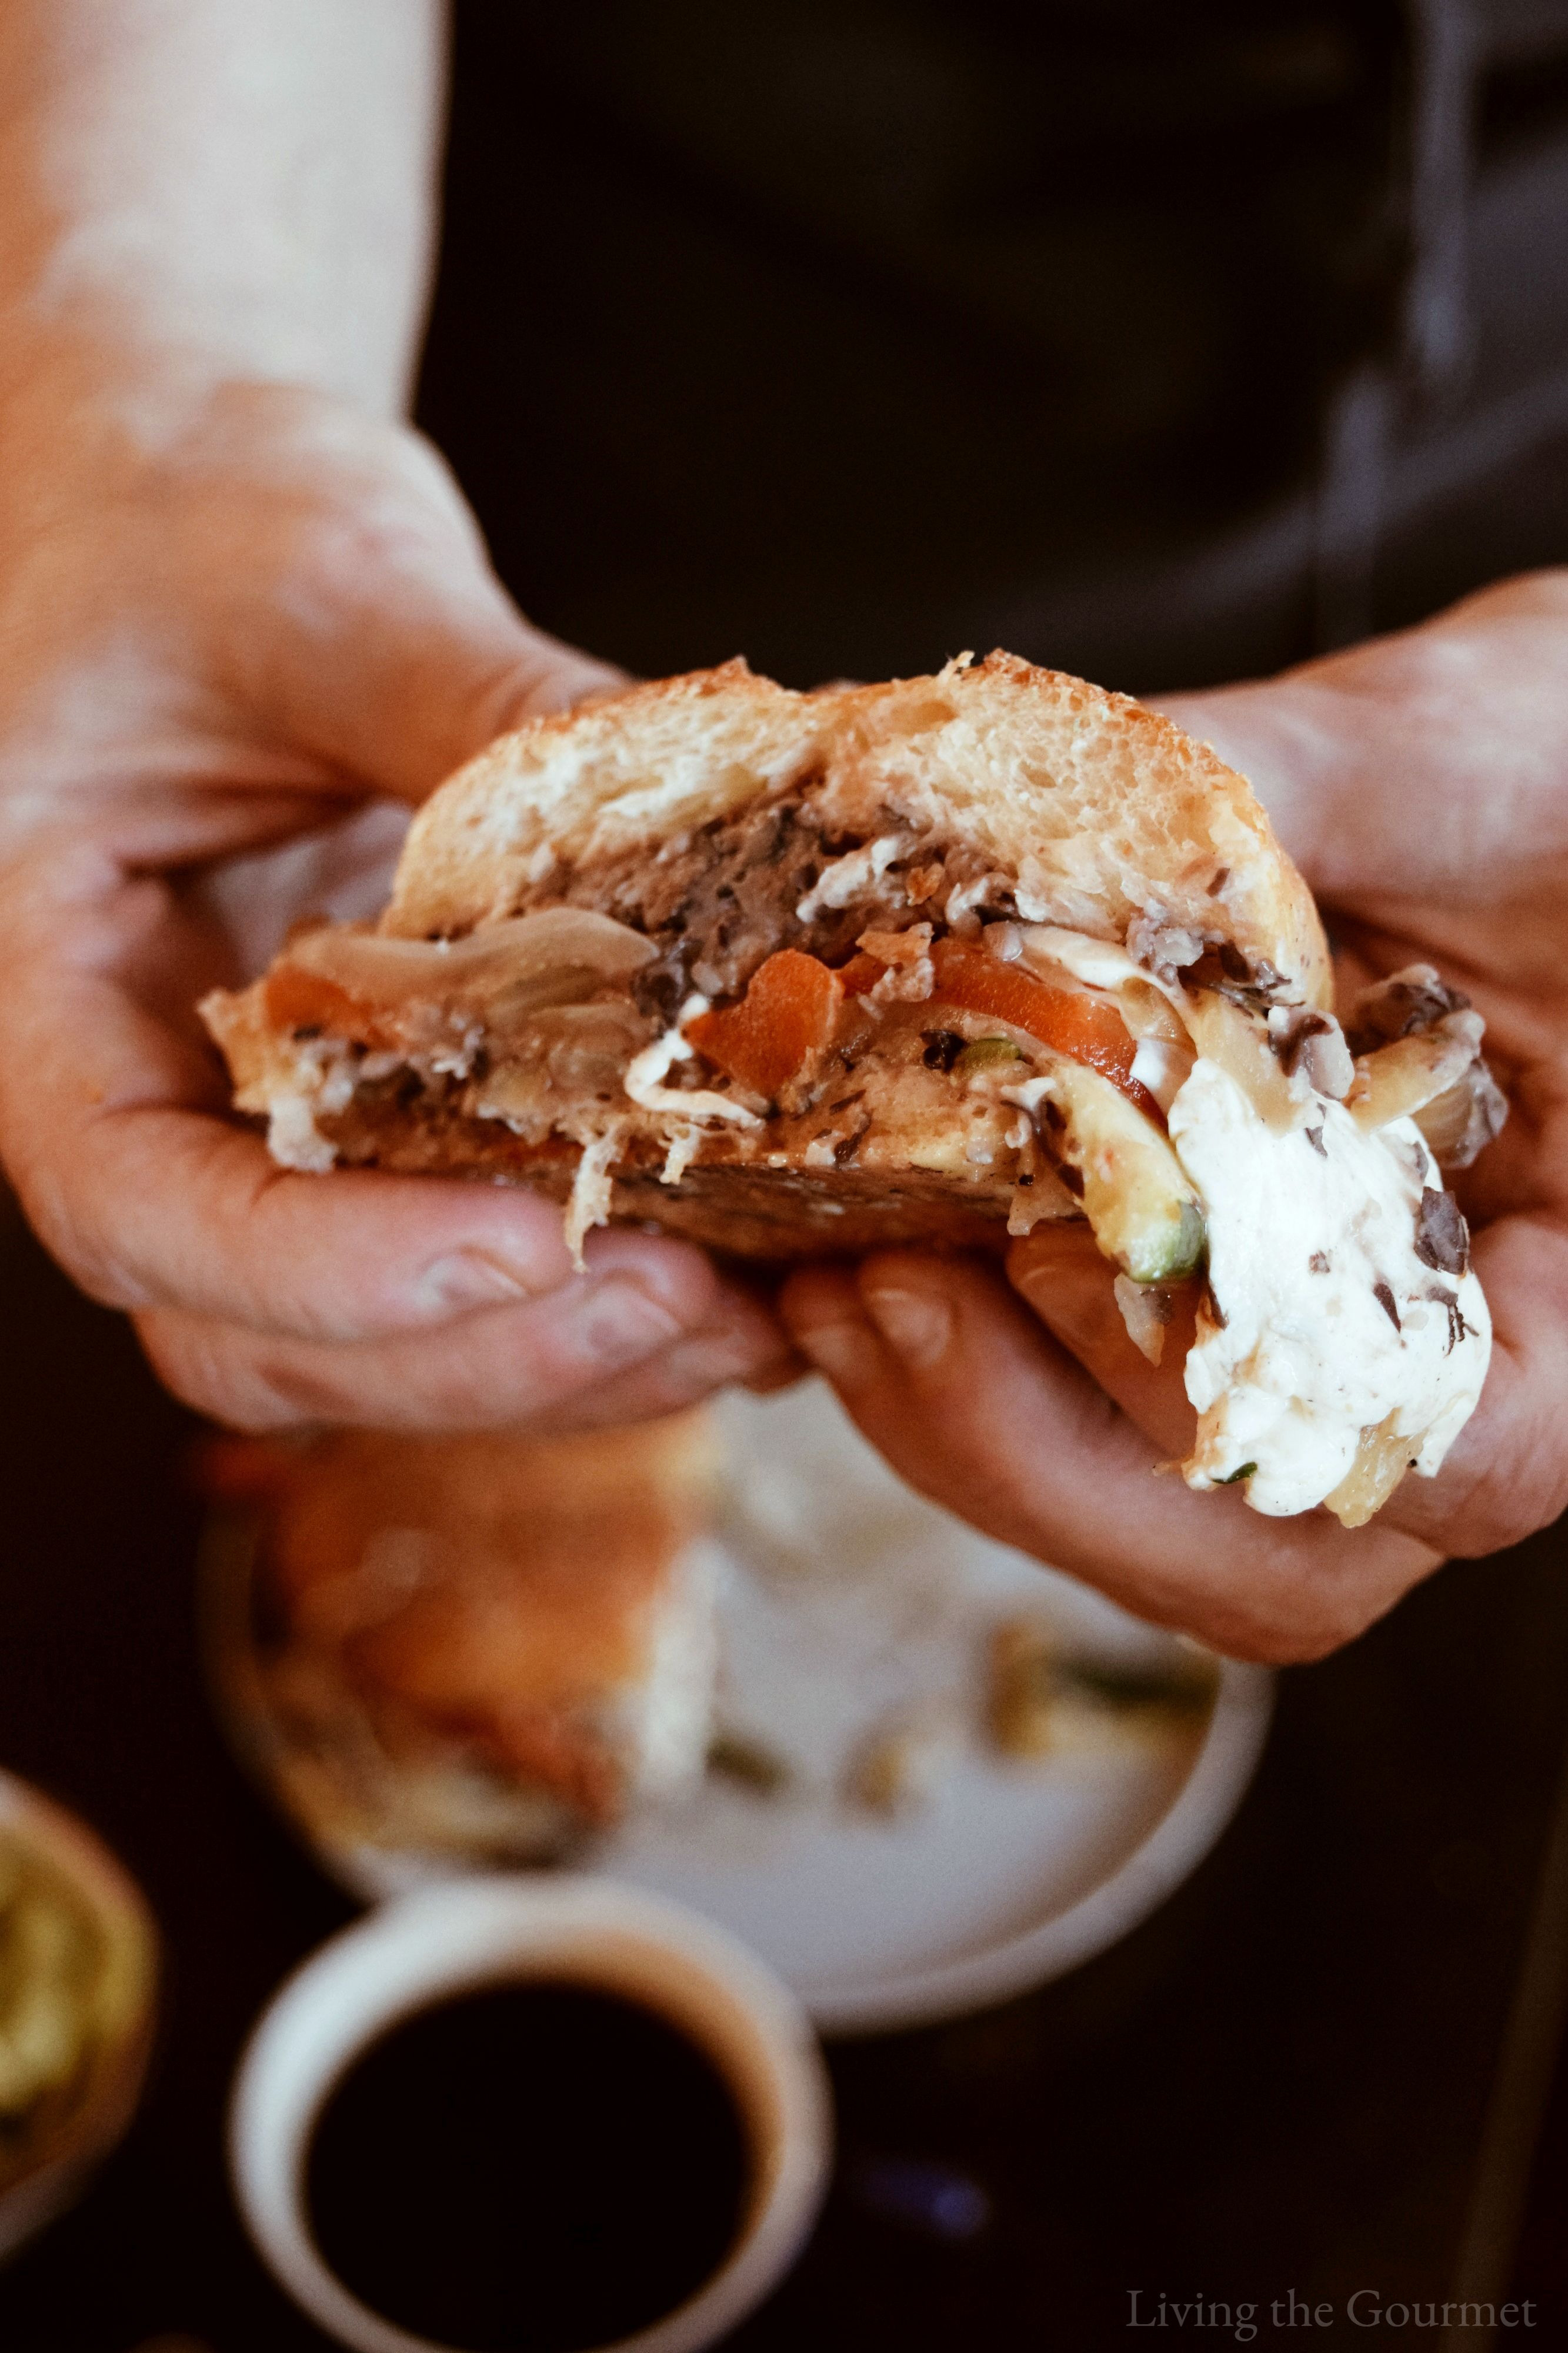
Satisfy your afternoon cravings with these wholesome, protein-packed Grilled Veggie Melts alongside the tasty variety of Harvest Snaps veggie crisps! 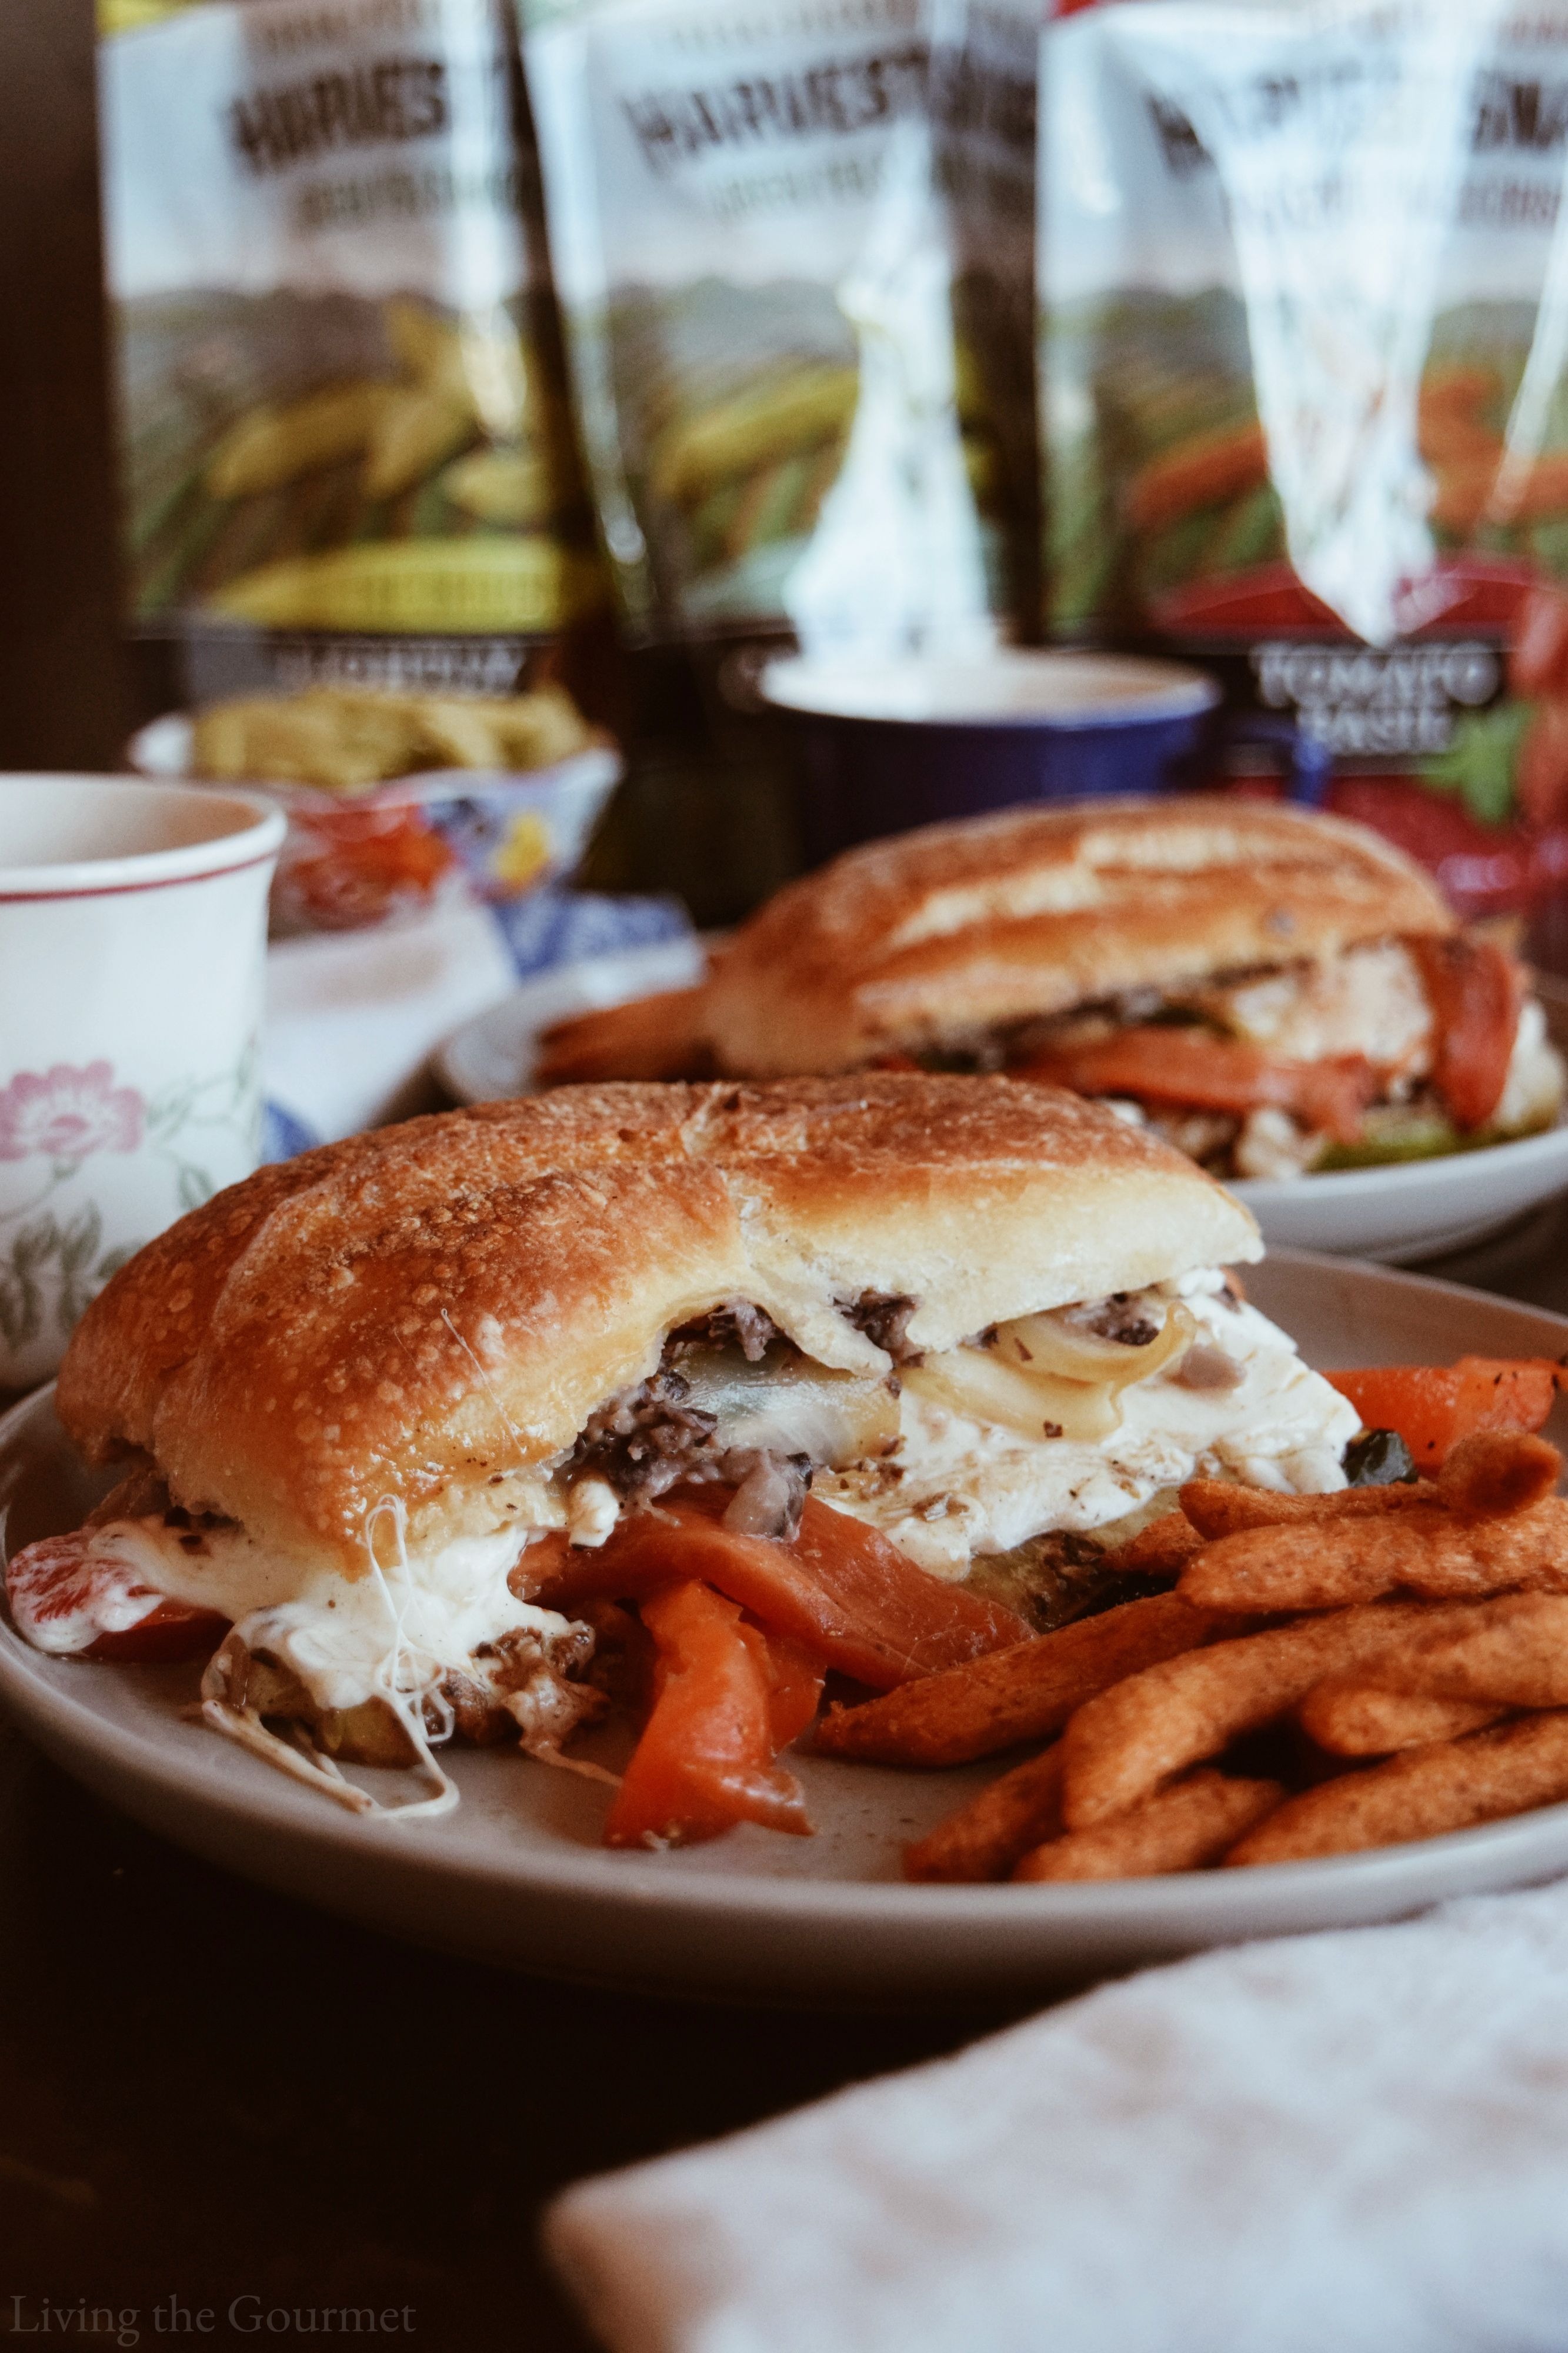
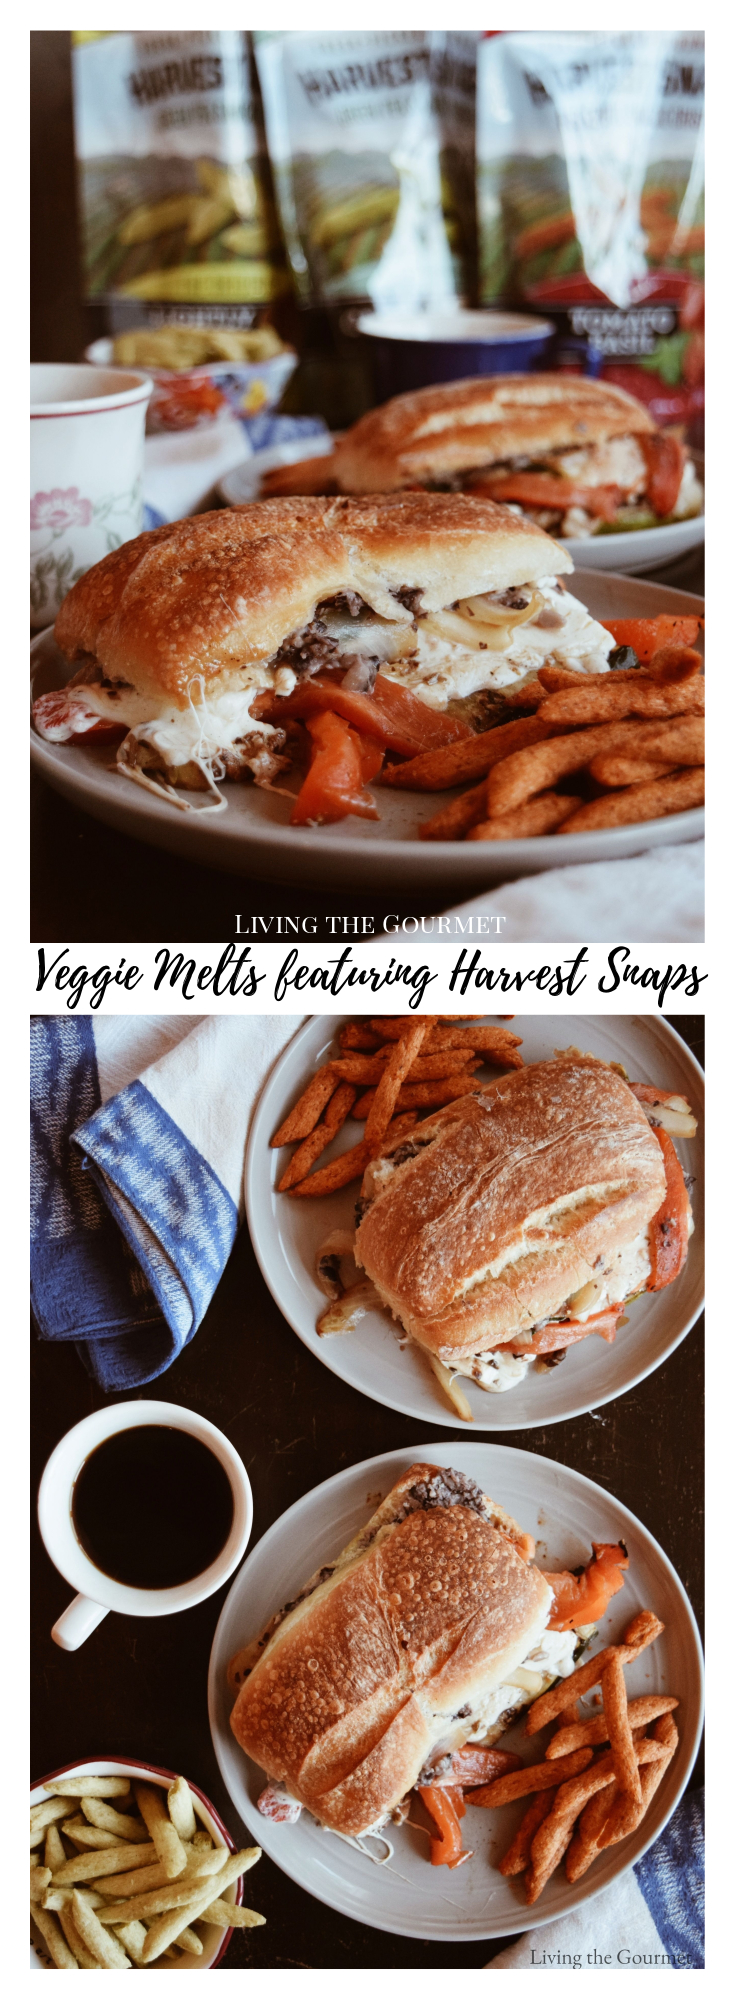
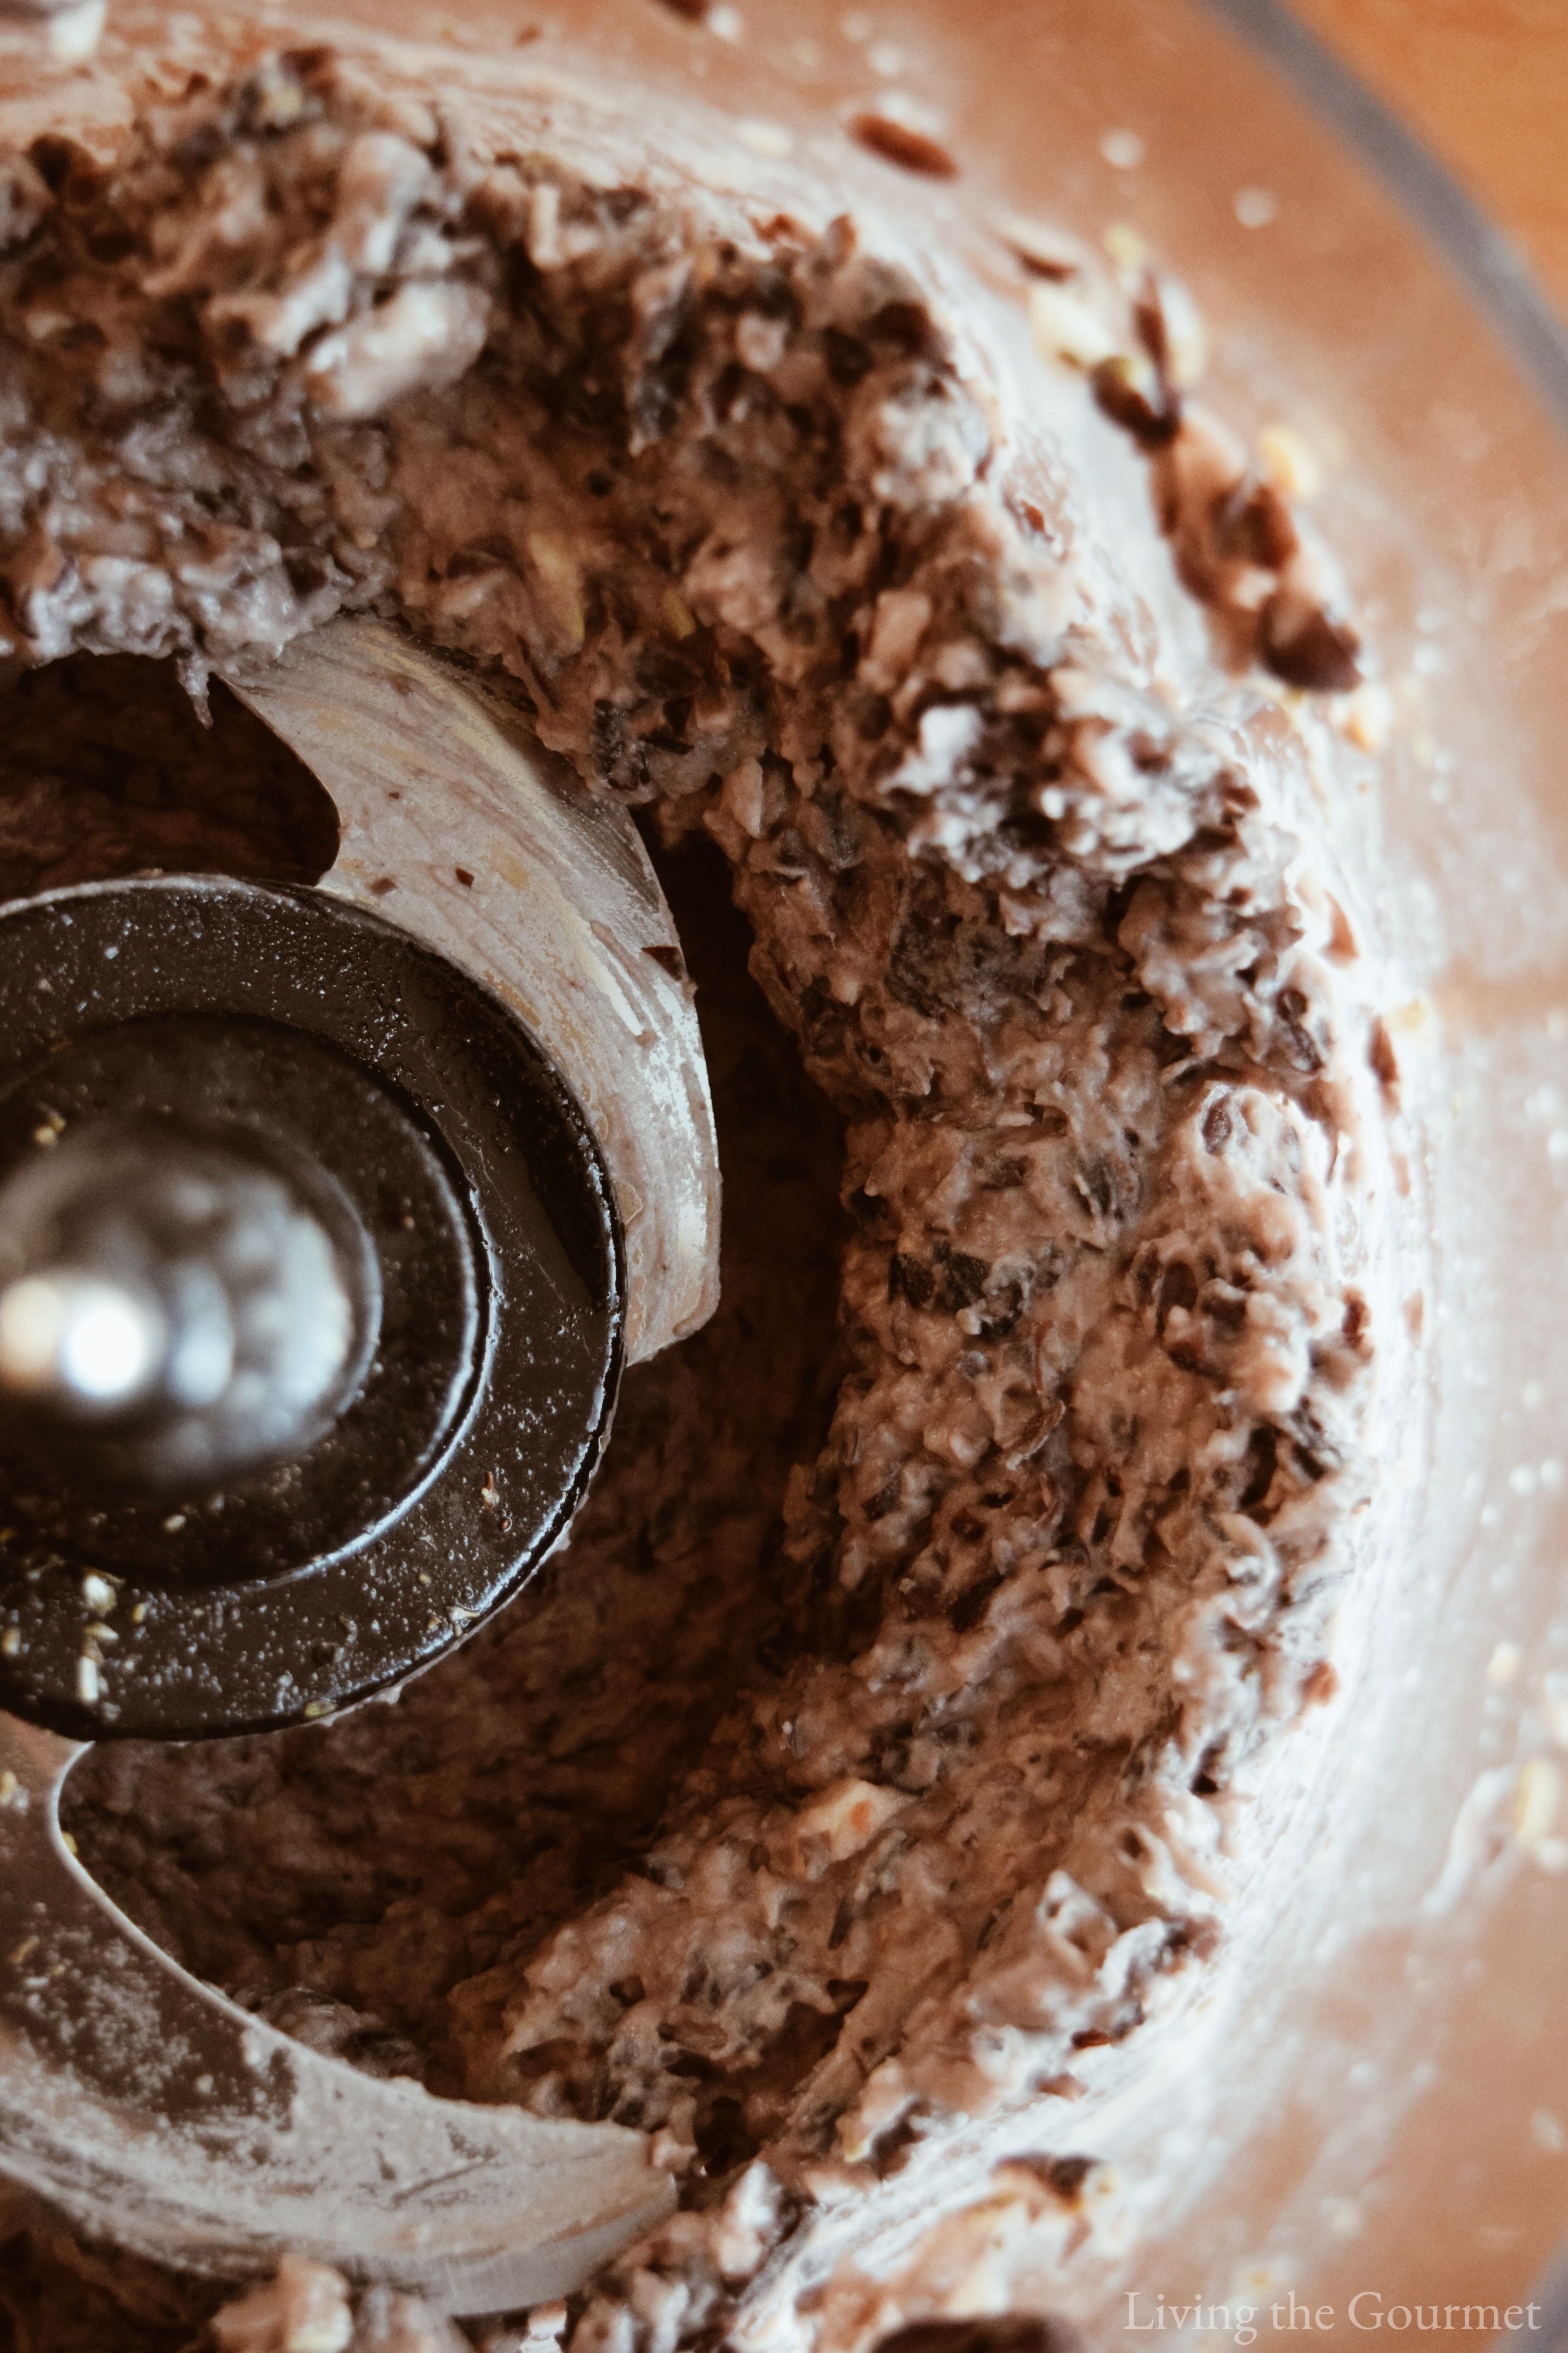
Some years ago, I 'invested' in a panini maker. Yes, the return on my 'investment' would be a long line of super-easy homemade paninis prepared almost on demand. The plan was that this little machine would turn my 'invested' dollars into a steady stream of on-demand gourmet sandwiches in which I could drown my stress in warmed cured meats, melted cheeses, and crisped artisan bread, washed down by reliably delicious coffee from my other sterling investment - the press button coffee pot. Indeed, between these two gizmos, my kitchen would be well on the way to automated bliss. Unfortunately, the only thing that dies slower and harder than old habits are 'old truths,' and the 'old truth' in this case is "The best part of any plan is the planning itself." Fast-forward about three years, and I've used my panini maker maybe twice that I can remember. As Plato remarked "Simplicity is the greatest of virtues," and the truth of the matter is there's really nothing simpler than a cast iron pan - or even two cast iron pans stacked on top of each other. Which, of course, is how we prepared today's recipe Grilled Veggie Melt. You'll pardon the rather 'to the point' name, but it does really get to the point. 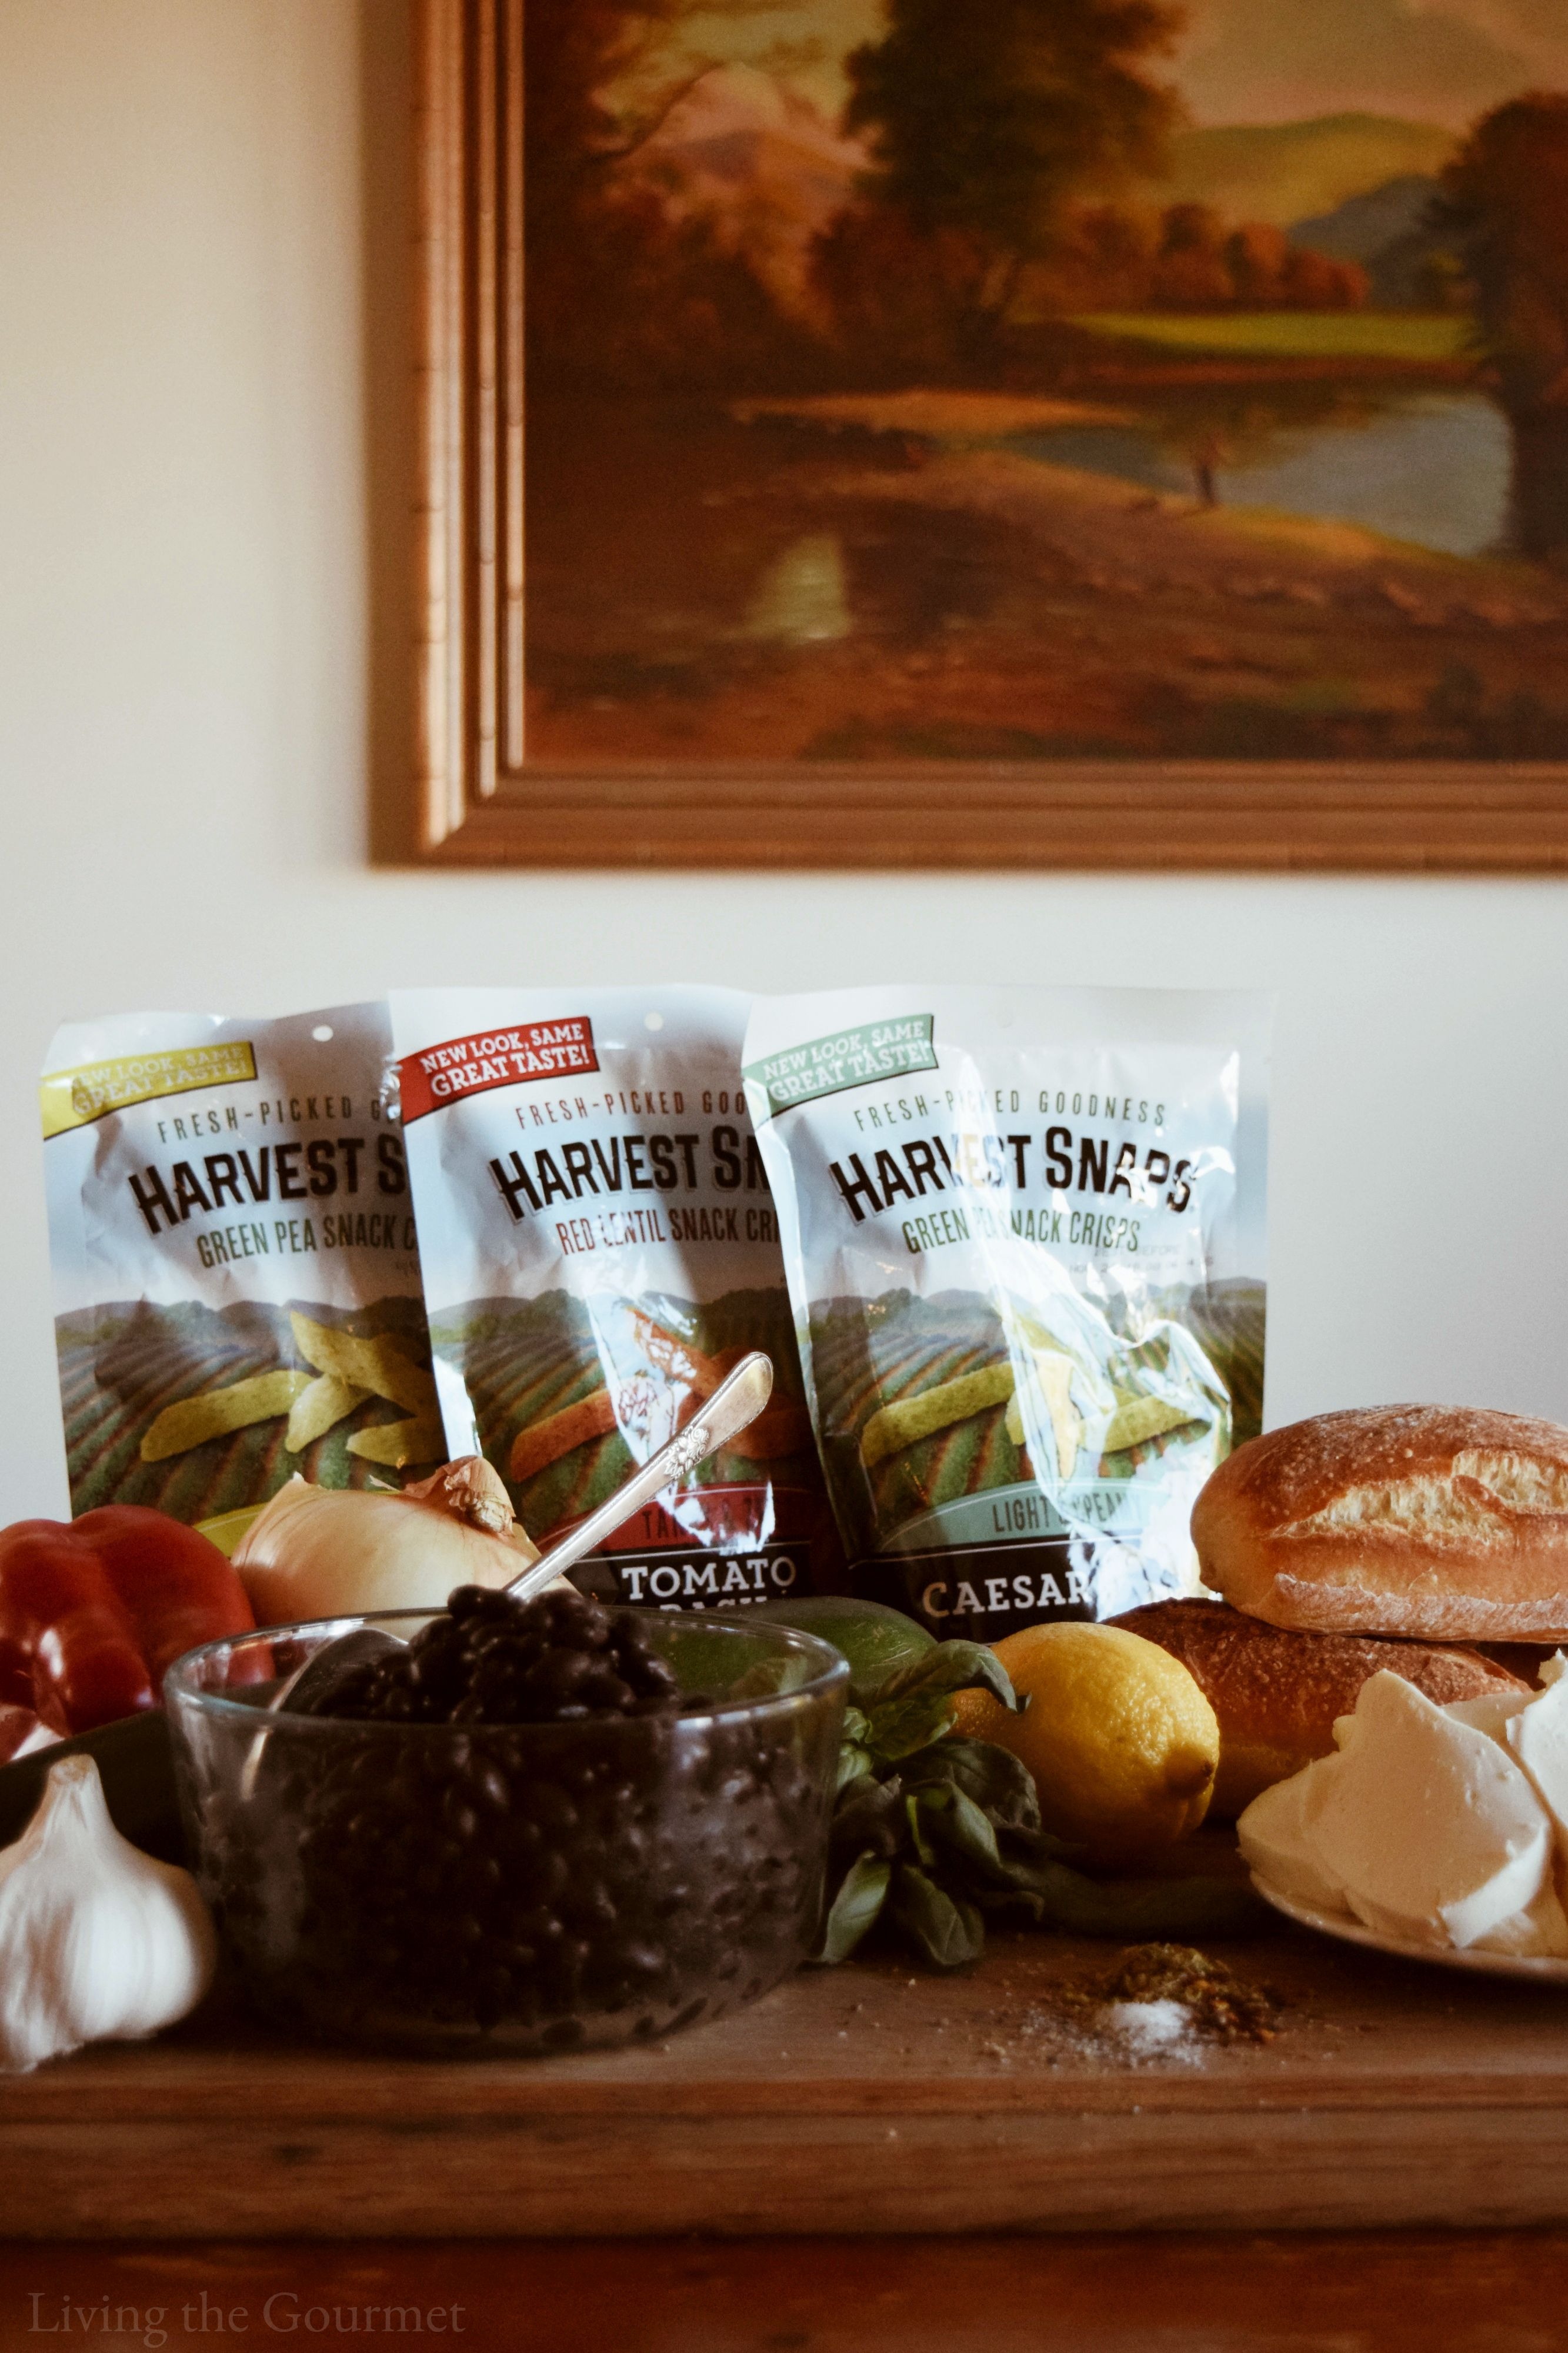 To start things off, we begin by prepping a bean spread. To do this, we combine black beans, fresh lemon juice, olive oil, salt, pepper, red pepper, and garlic in a food processor, and give it a few pulses. We want the bean spread to be spreadable, but still somewhat coarse to preserve texture.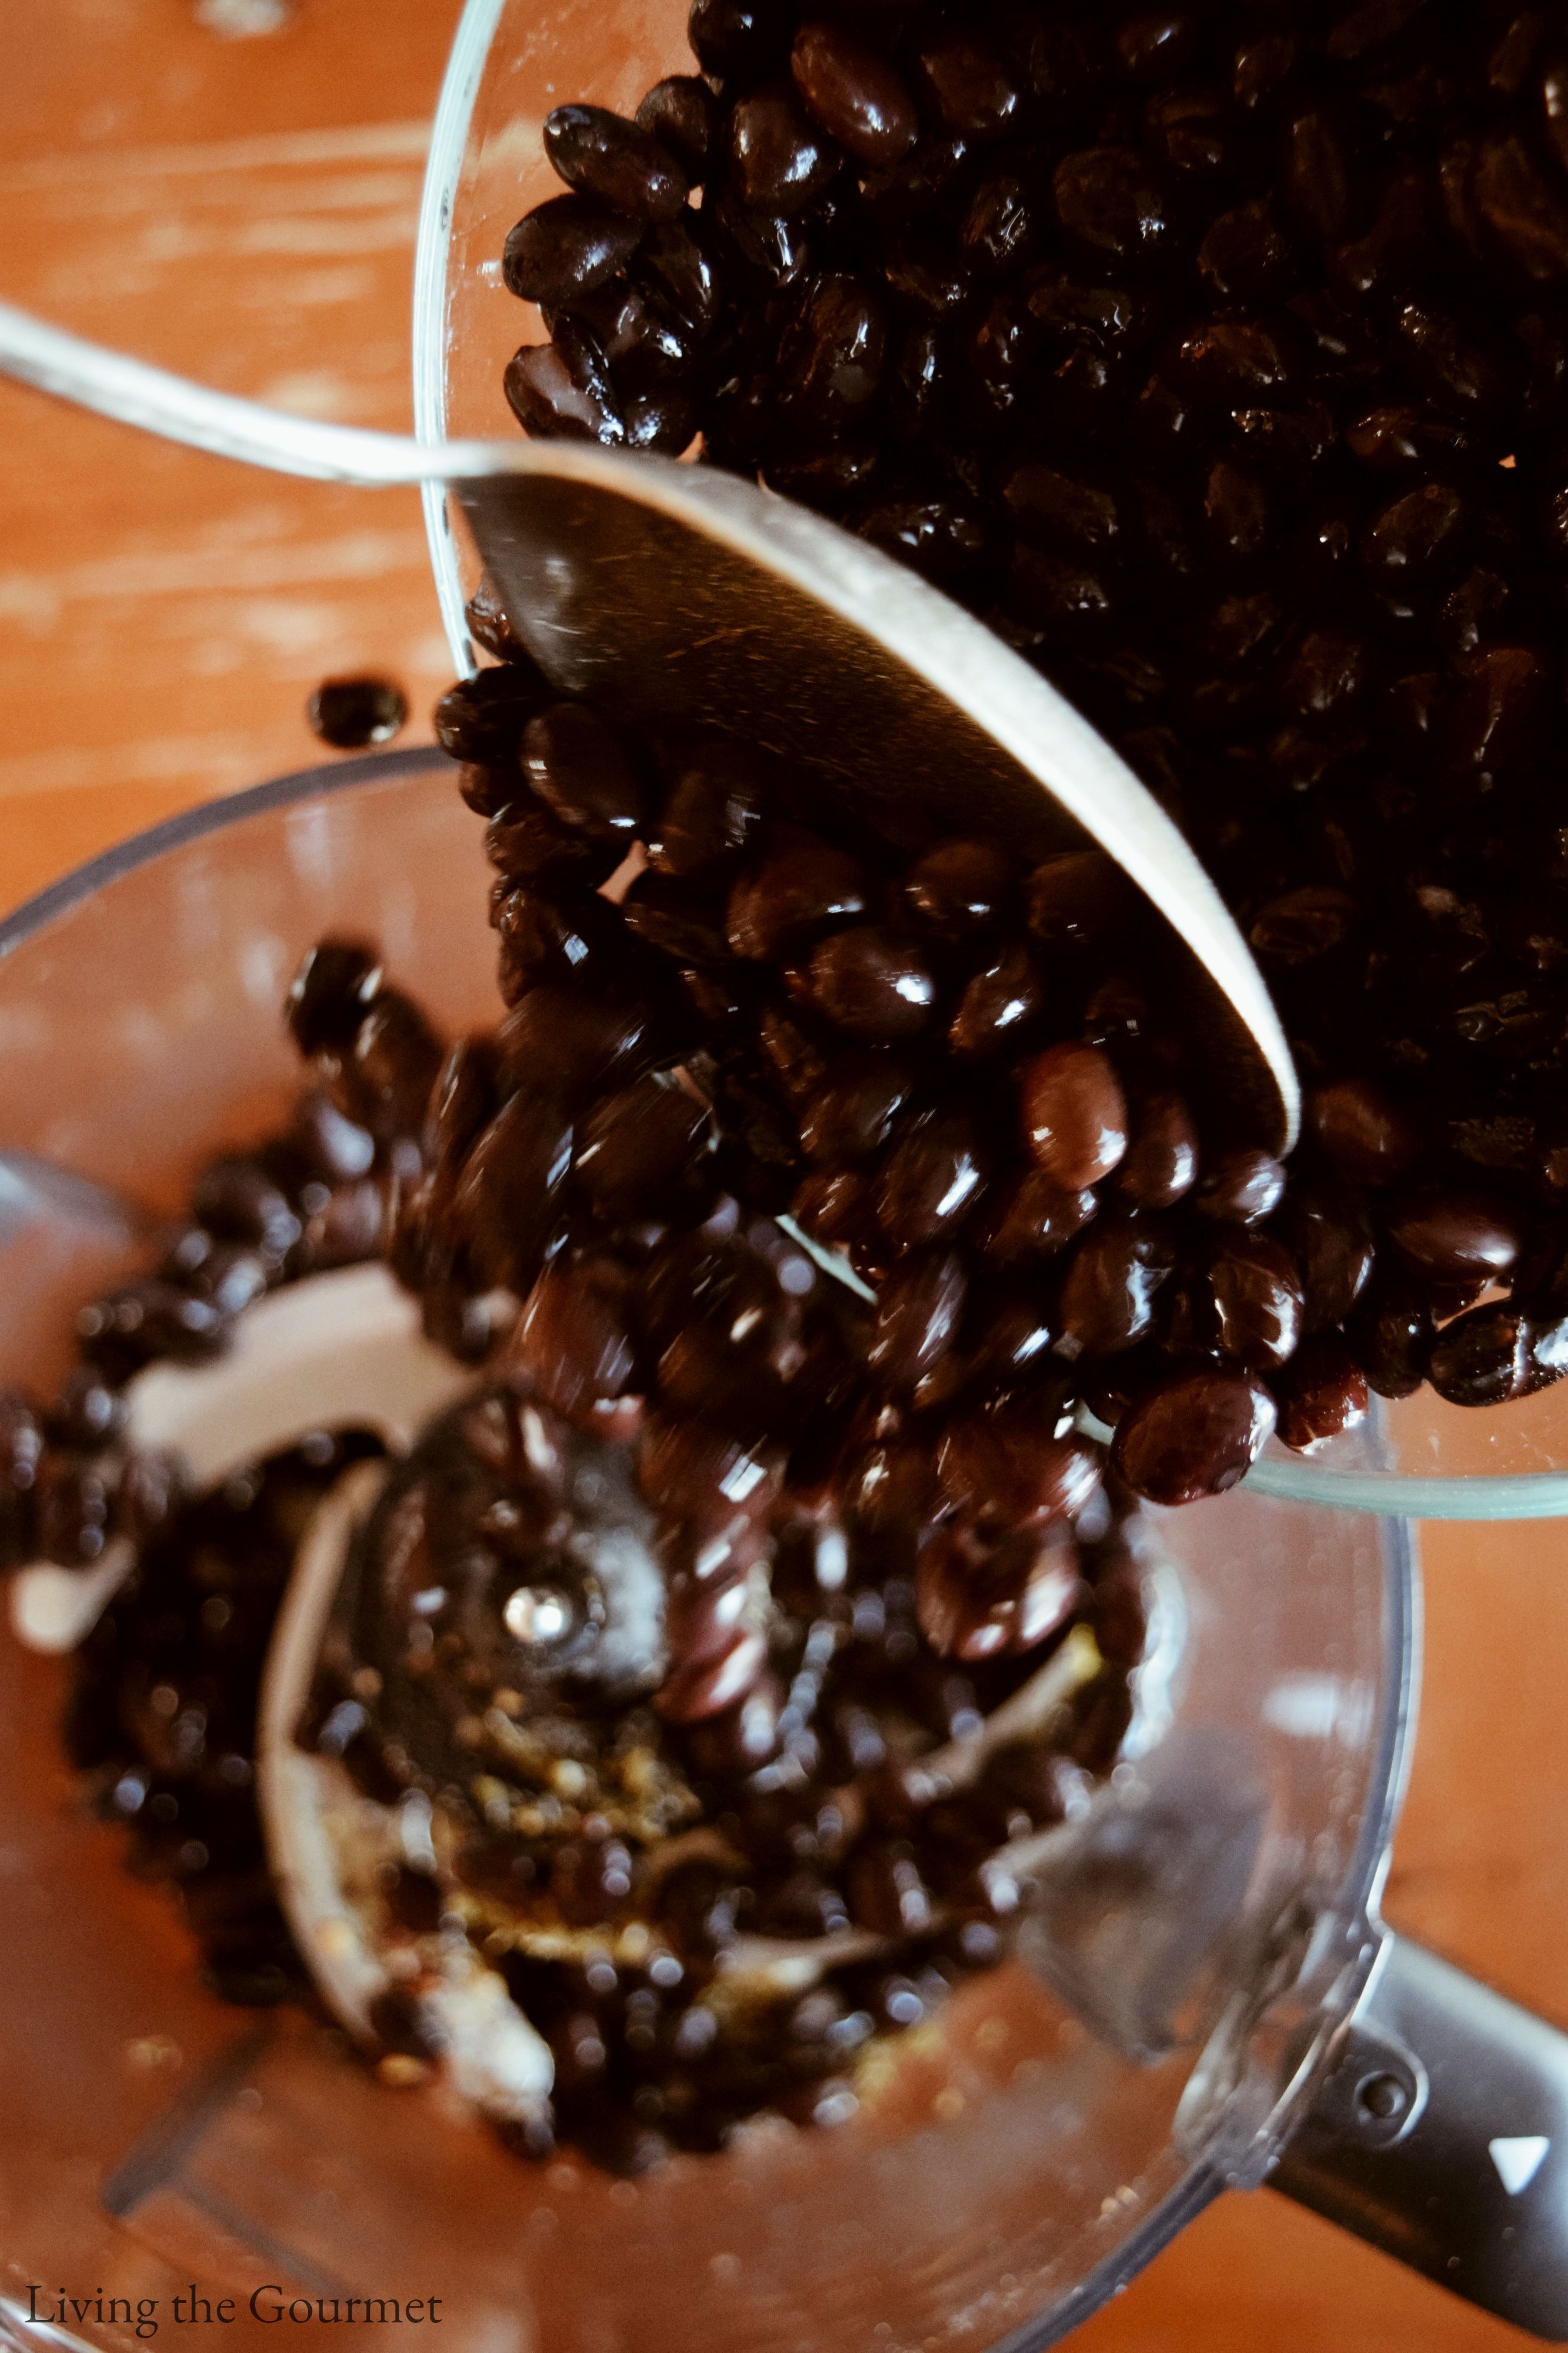
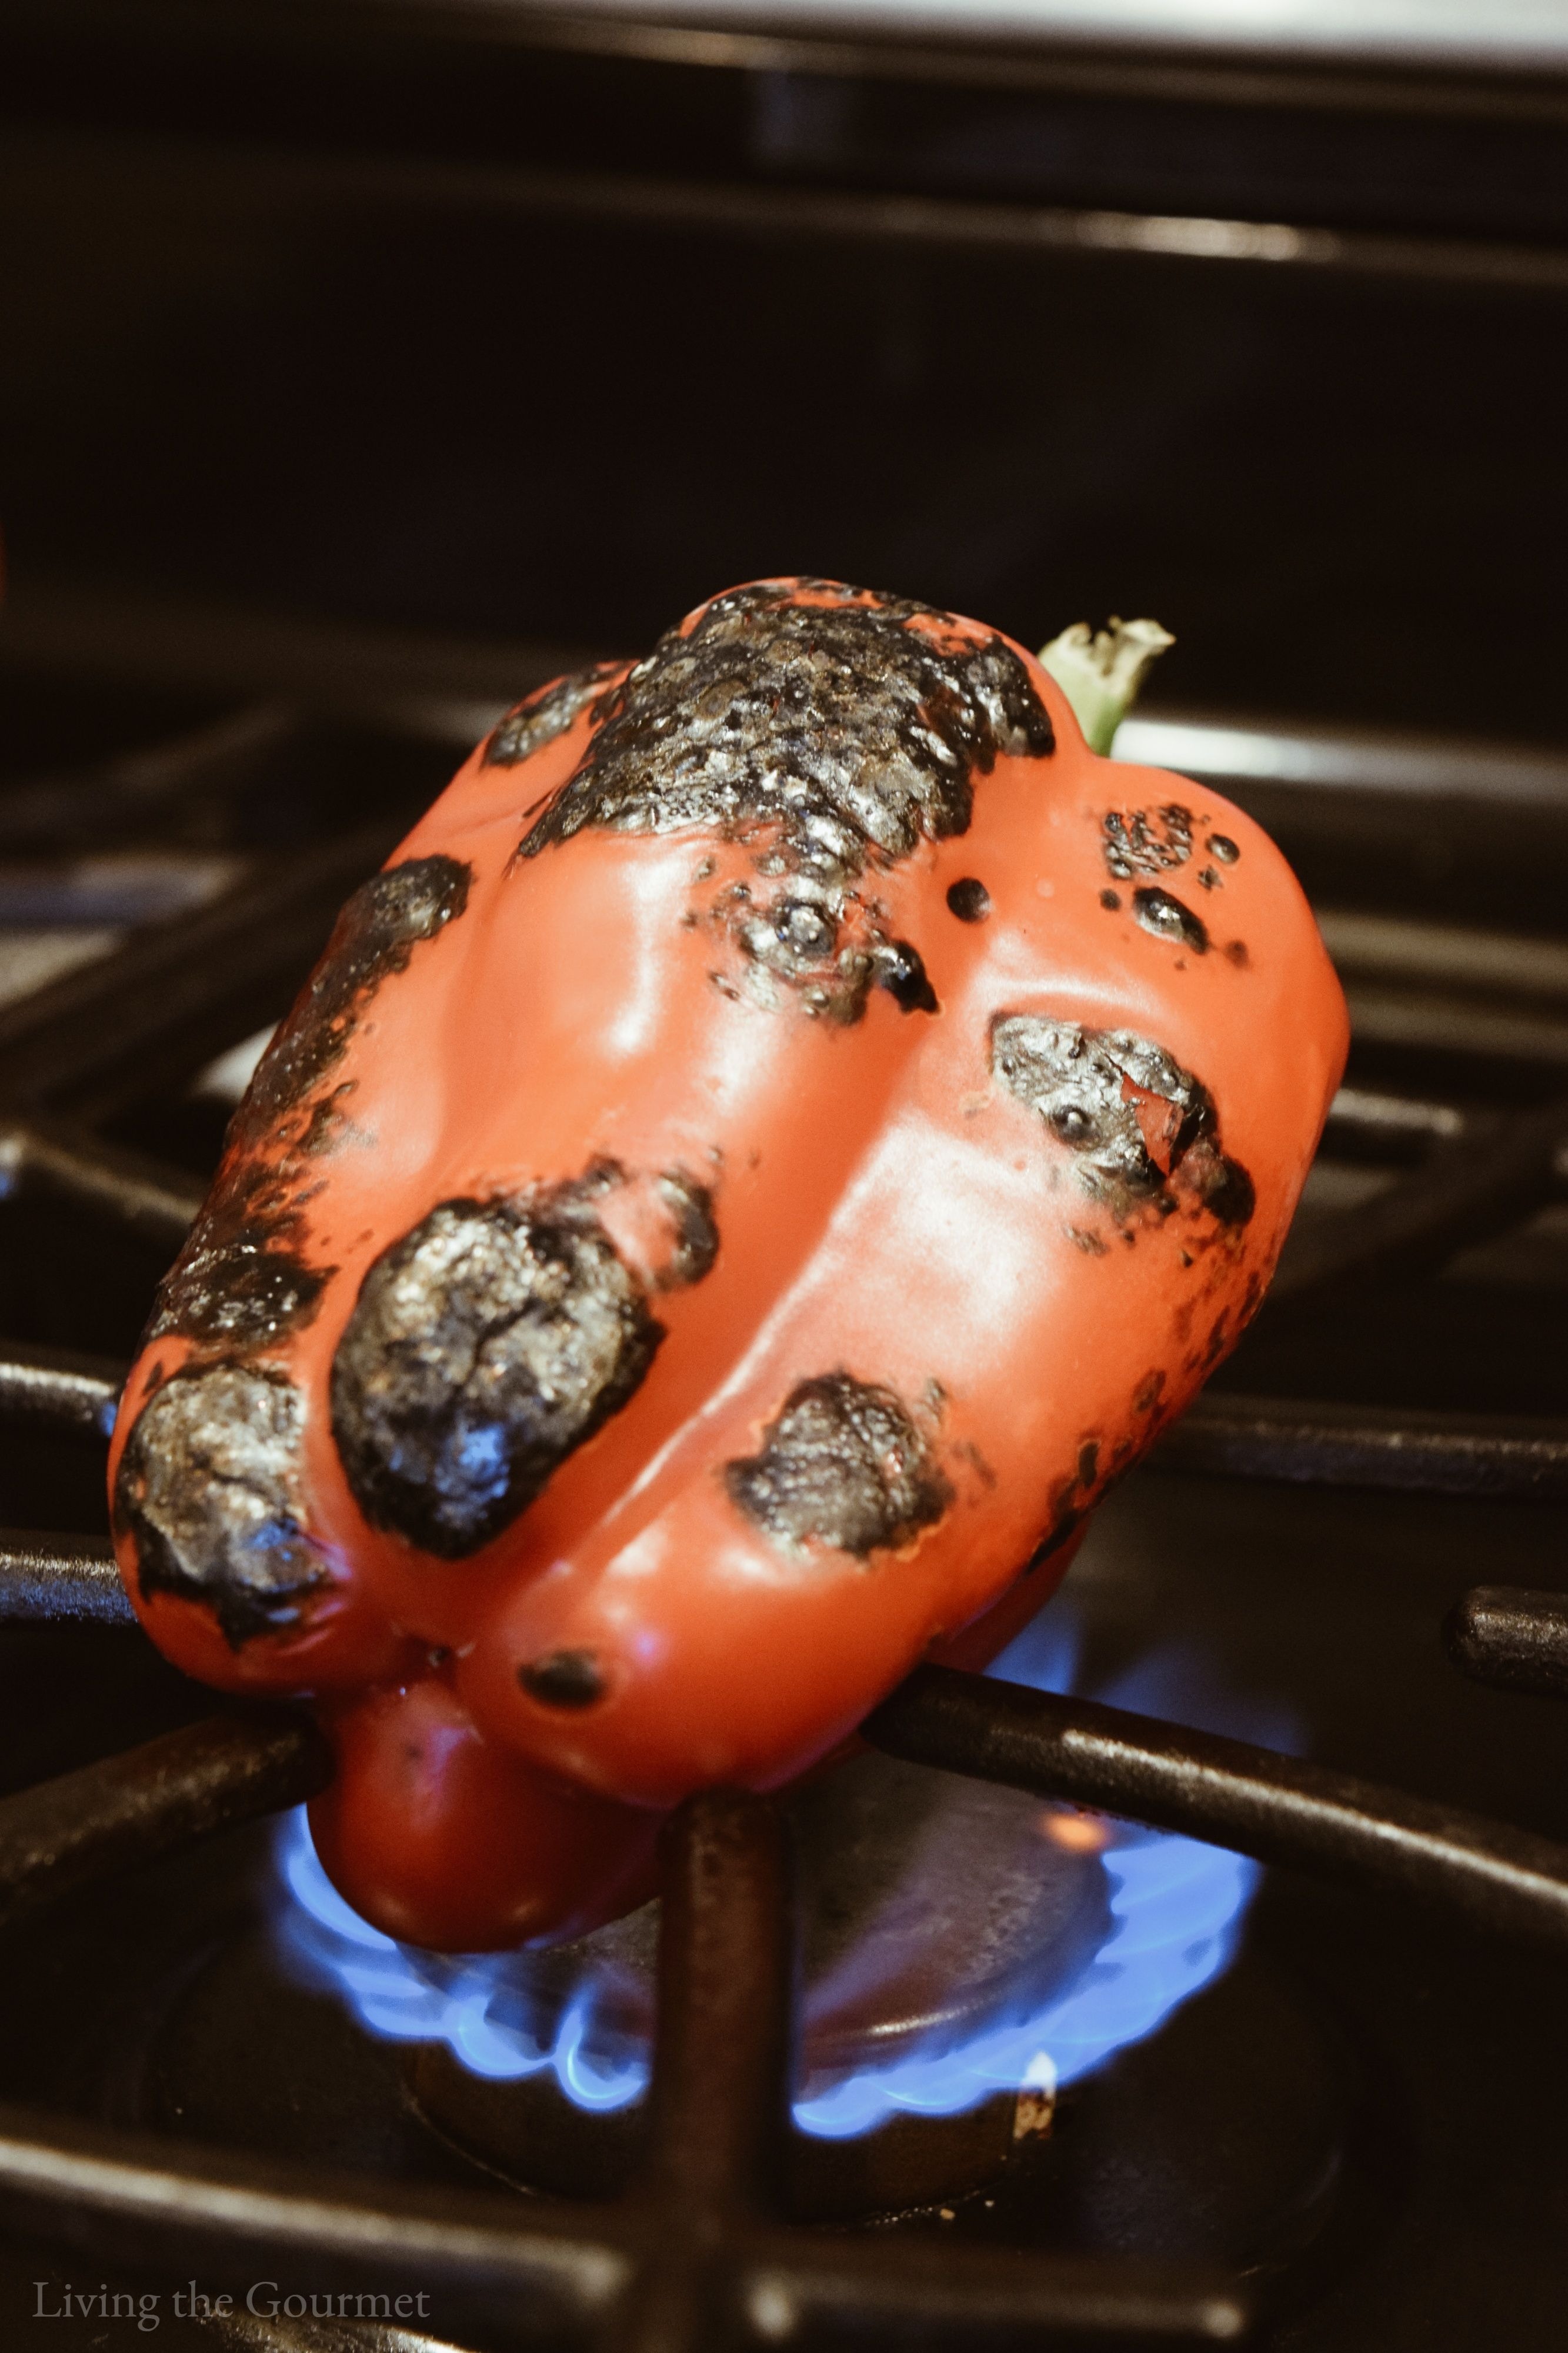
 Next, we begin by heating a large cast iron frying pan, then slice up a large sweet onion and grill the slices in the pan, and then drizzle with olive oil, a bit of salt, and freshly ground black pepper. You want the onion slices to golden before removing them from the pan - and you're going to toss them occasionally during this process. After that, we need to char two red bell peppers. You can do this carefully right over an open flame or in a dry cast iron pan. Then let the peppers cool and scrape off the skin. Then halve the peppers, de-seed them, and slice them into strips, and combine the strips in a bowl with olive oil, salt, and pepper.
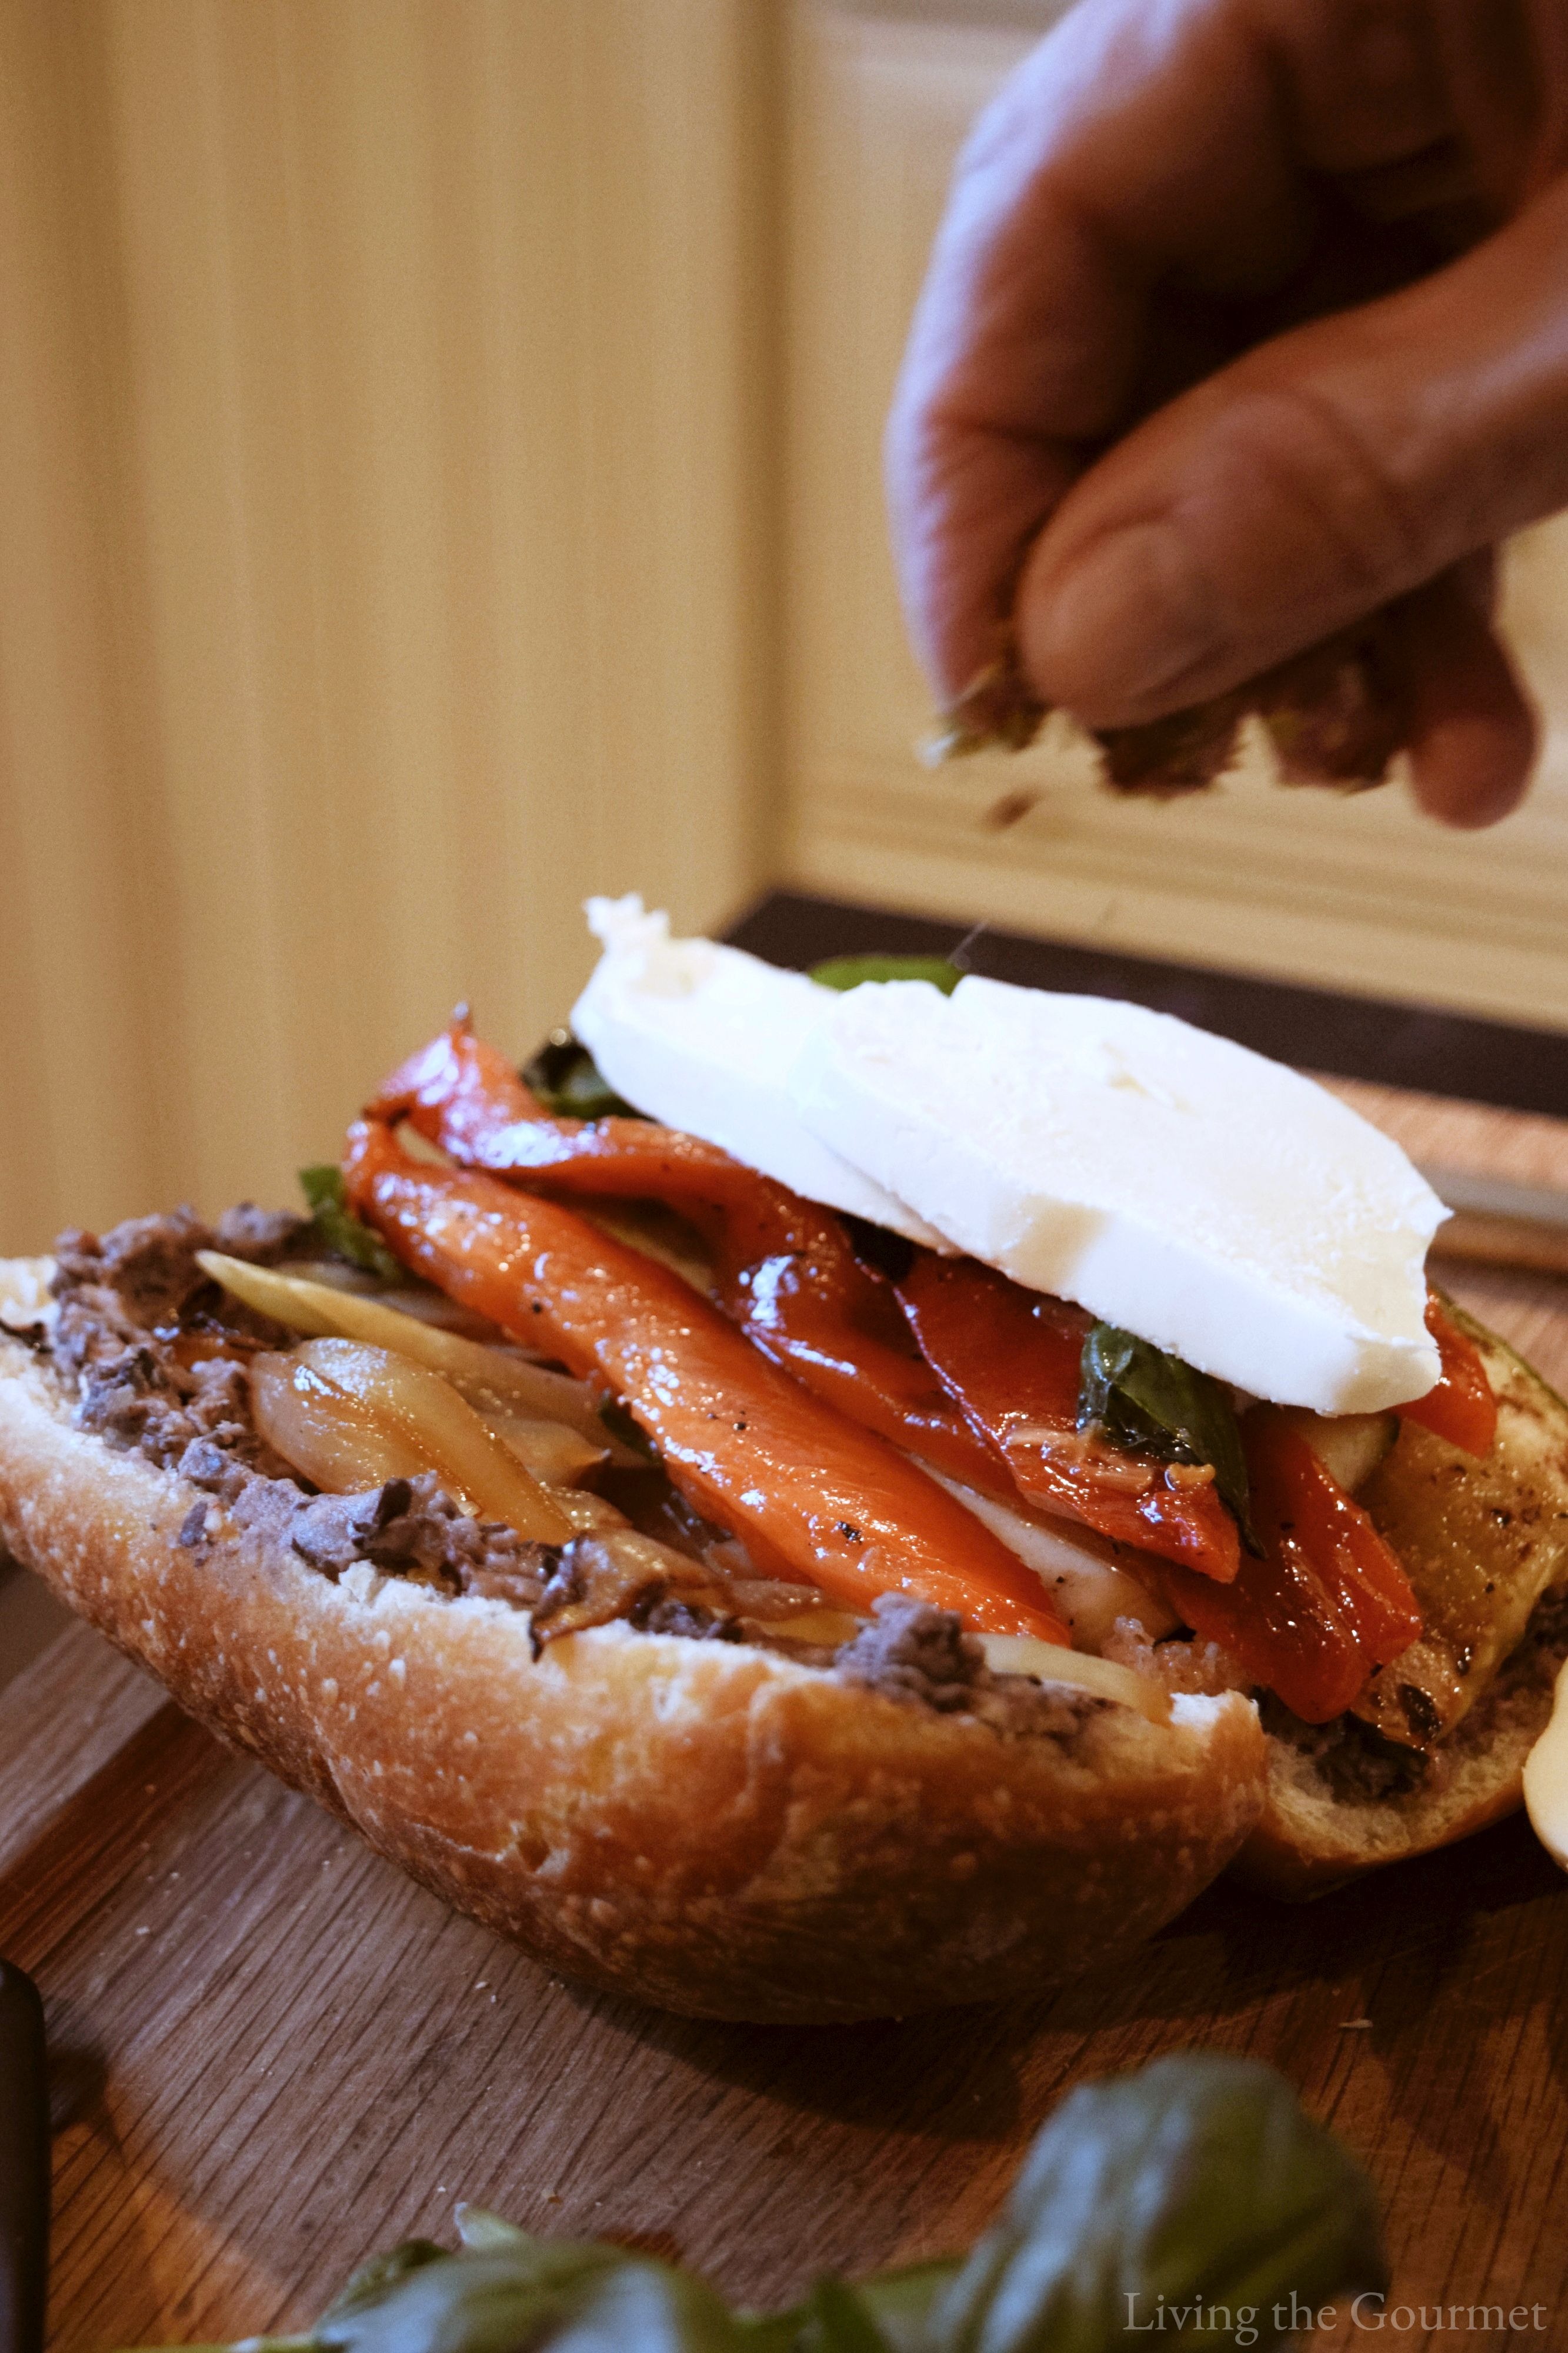
  From there, wash a zucchini with water and dry, and then slice it into one-quarter inch slices. Then heat a large cast iron frying pan with a drizzle of olive oil, and set the zucchini in the pan to achieve a nice golden coloration, and then remove from the pan and set on a platter. Now, it's time to build the sandwich. To begin, we start by slicing a ciabatta roll in half and spread the bean spread over both halves. Next, we line the bottom half with a few red pepper strips with the fresh basil, then the zucchini slices, a few onions, and finish with a slice or two of fresh mozzarella. Close the sandwich evenly and neatly.
  From there, heat a large cast iron pan with a drizzle of olive oil, and place the sandwich in the center of the pan, and then carefully place another cast iron pan on top of the sandwich to press it. Let the sandwich heat for about two minutes like this, then flip the sandwich, and repeat. And you're sandwich is done.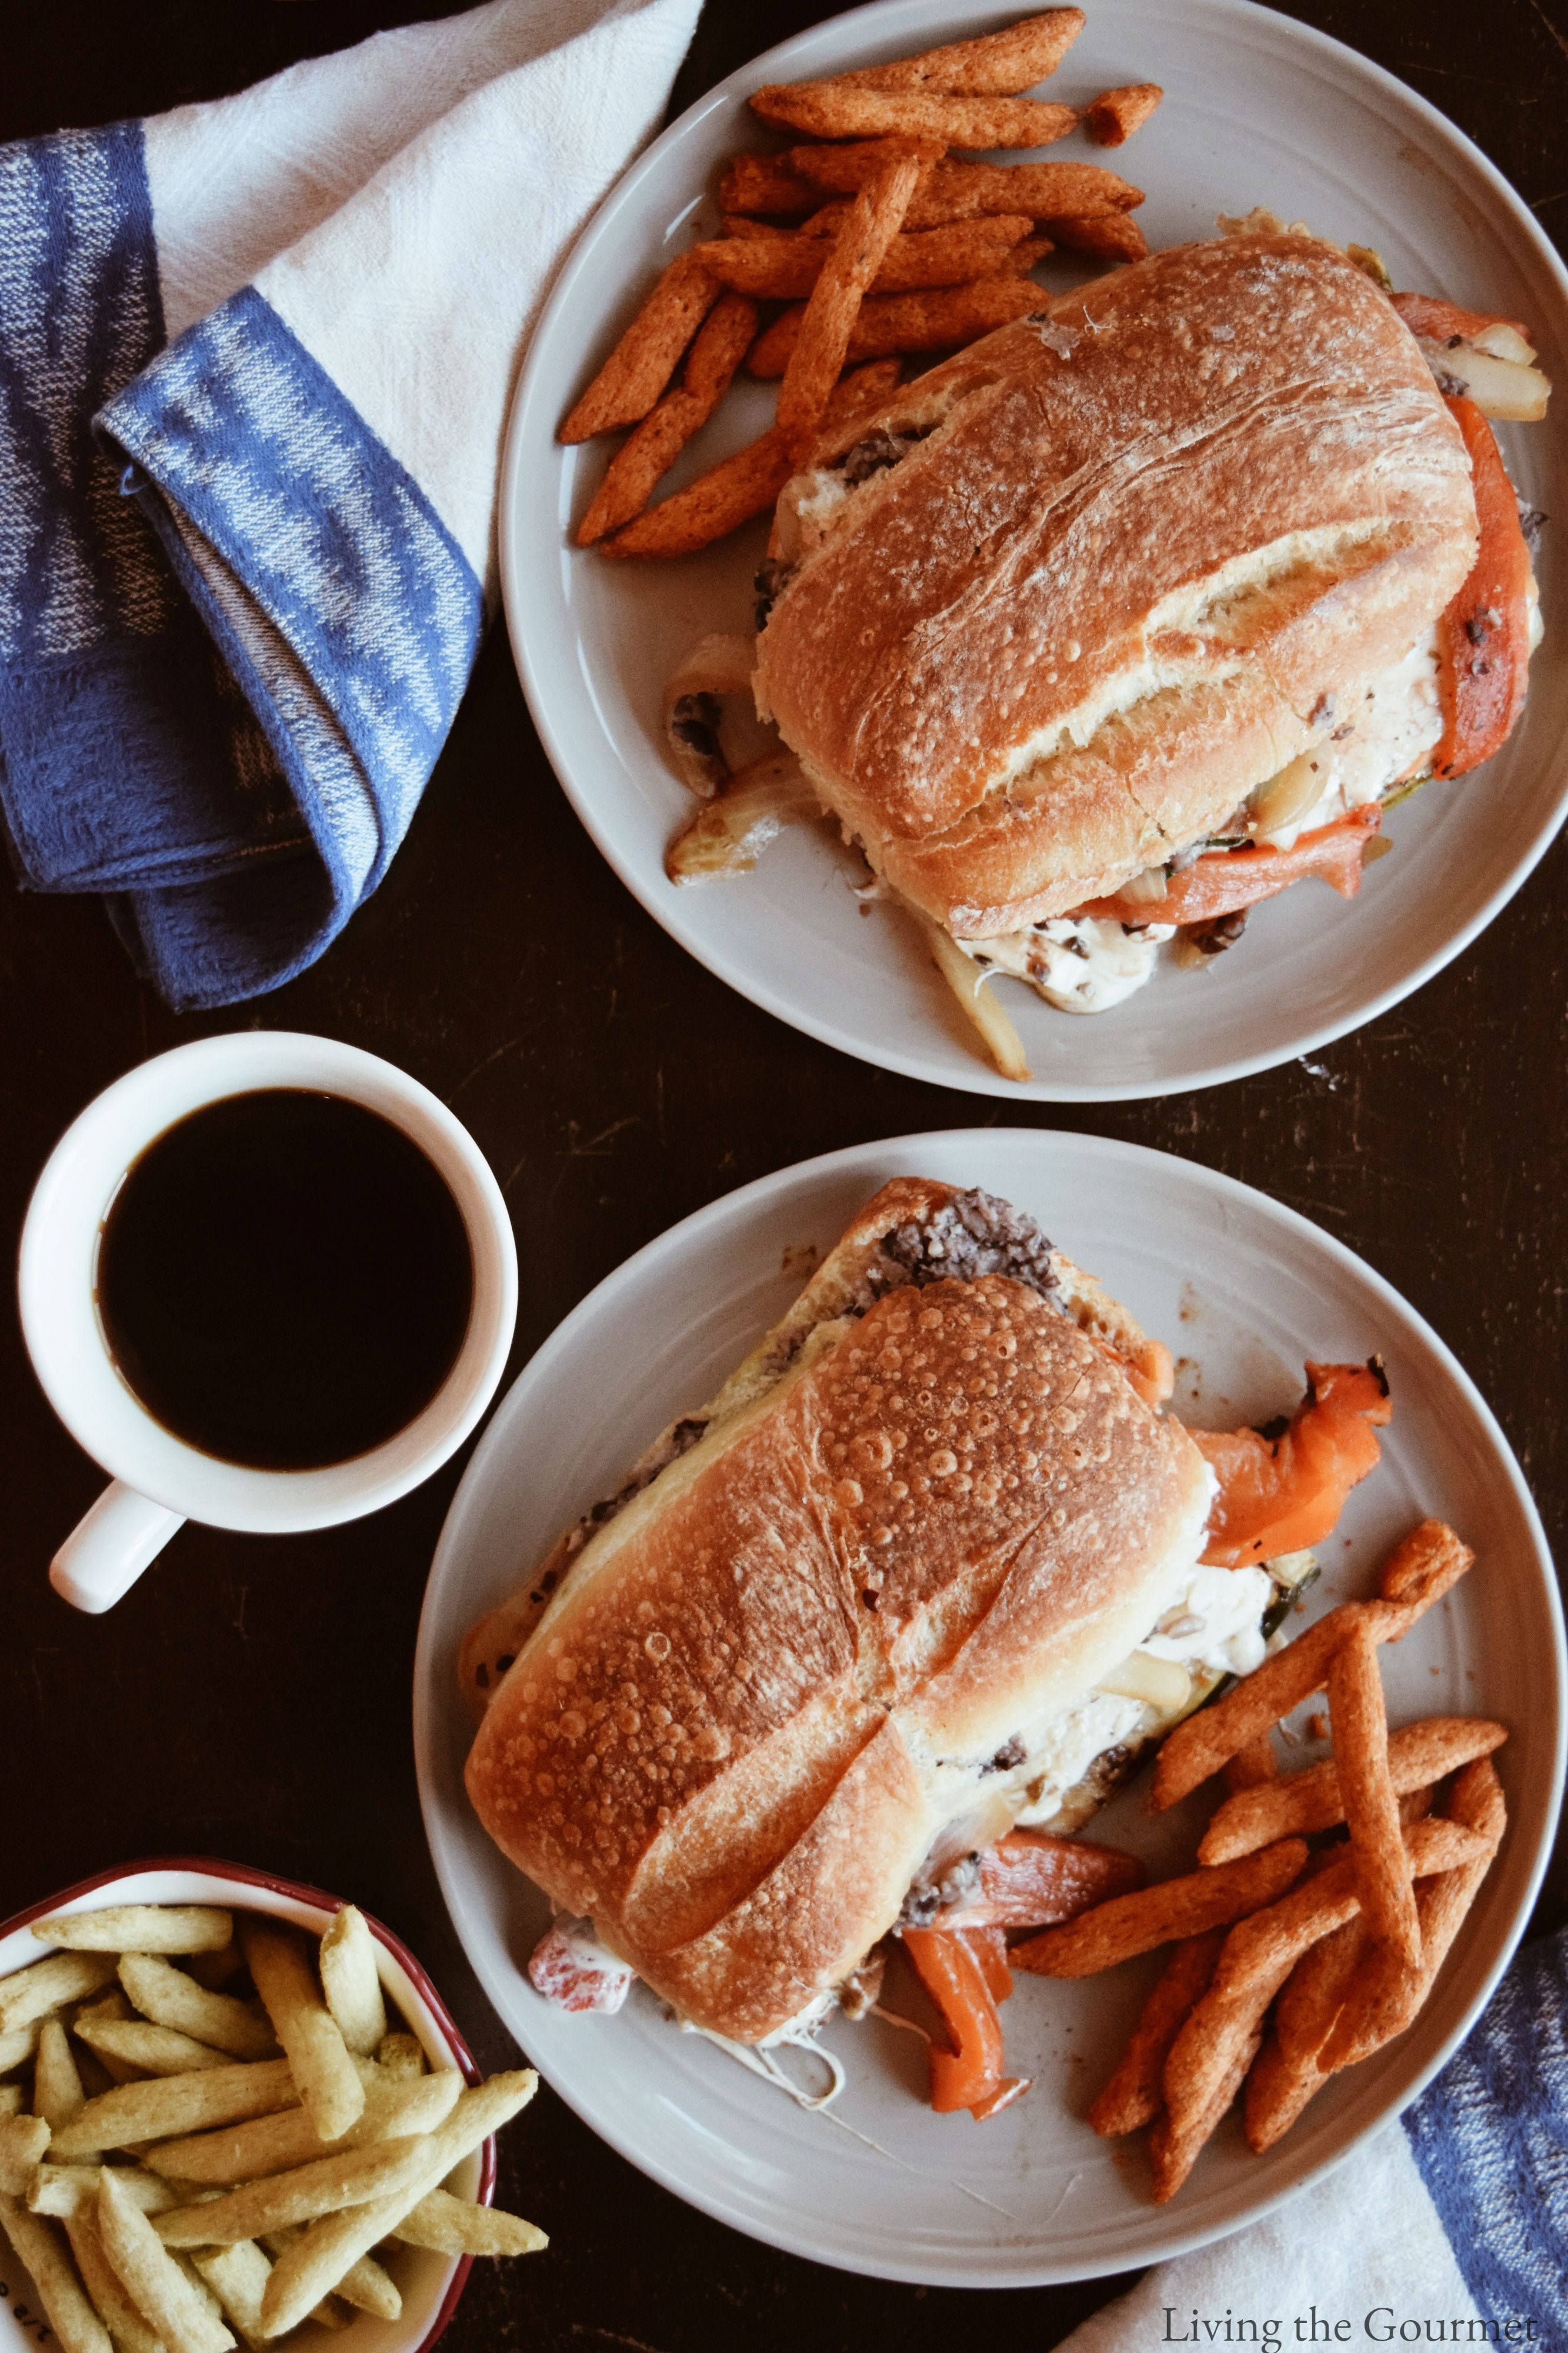
Print
Grilled Veggie Melts
- Total Time: 25 minutes
- Yield: 4 sandwich melts 1x
Ingredients
For the Bean Spread:
- (2) 15.5. cans of black beans - rinsed and drained or beans of your choice
- Juice of 1 lemon
- 4 tbs. of olive oil
- 1/2 tsp. salt
- 1/2 tsp. fresh ground black pepper
- 1/4 tsp. red pepper flakes
- 4 cloves of garlic
- Combine the beans, olive oil, seasonings and lemon juice in a food processor and give a few good chops.
For the Veggie Sandwich:
- 2 red bell peppers or any color of your choice - grilled
- 1 large sweet onion - grilled
- 2 zucchini - sliced and grilled
- Fresh basil leaves - about 1 cup loosely packed
- Fresh mozzarella - sliced
- Ciabatta roll or roll or your choice
Instructions
- Heat a large cast iron frying pan and place the onion slices in the pan grill for a minute or two; then add a drizzle of olive oil, sprinkle of salt and fresh ground black pepper. Let the onion slices grill to a beautiful golden color, tossing occasionally.
- This should take only 3 -4 minutes. Remove the onions and set aside.
- Place the peppers over a flame and grill on all sides. This char may also be achieved in a dry cast iron pan or in the oven.
- Let the peppers cool and scrape the skin off. Halve, remove the seeds and slice into thin strips. Place in a bowl, add the basil leaves. Drizzle with olive oil and add salt and fresh ground black pepper.
- Wash the zucchini skin with water and dry the zucchini. Slice the zucchini into ¼ inch slices.
- Drizzle a little olive oil in a large cast iron frying pan and place the zucchini in the pan to reach a beautiful golden color on each side. This takes only a minute or two on each side.
- Remove and place on a platter. Sprinkle with salt and fresh ground black pepper.
To Build Your Sandwich:
- Slice your roll in half and spread the bean spread on each side of the roll.
- Place a few strips of pepper slices with the fresh basil, the zucchini slices, a few onions and finish with the fresh mozzarella.
- Close the sandwich with the top squarely on top of the sandwich.
- Heat a large cast iron frying pan and place a little drizzle of olive oil in the pan.
- Place the sandwich in the center of the pan and carefully place another heavy cast iron frying pan on top.
- NOTES: Be sure to center the pan plainly on top of the sandwich or the sandwich will slip and all the ingredients will slip out!!!
- Leave the sandwich to heat about 2 minutes then carefully flip the sandwich and repeat on the other side.
- Prep Time: 10 minutes
- Cook Time: 15 minutes
Nutrition
- Serving Size: 4
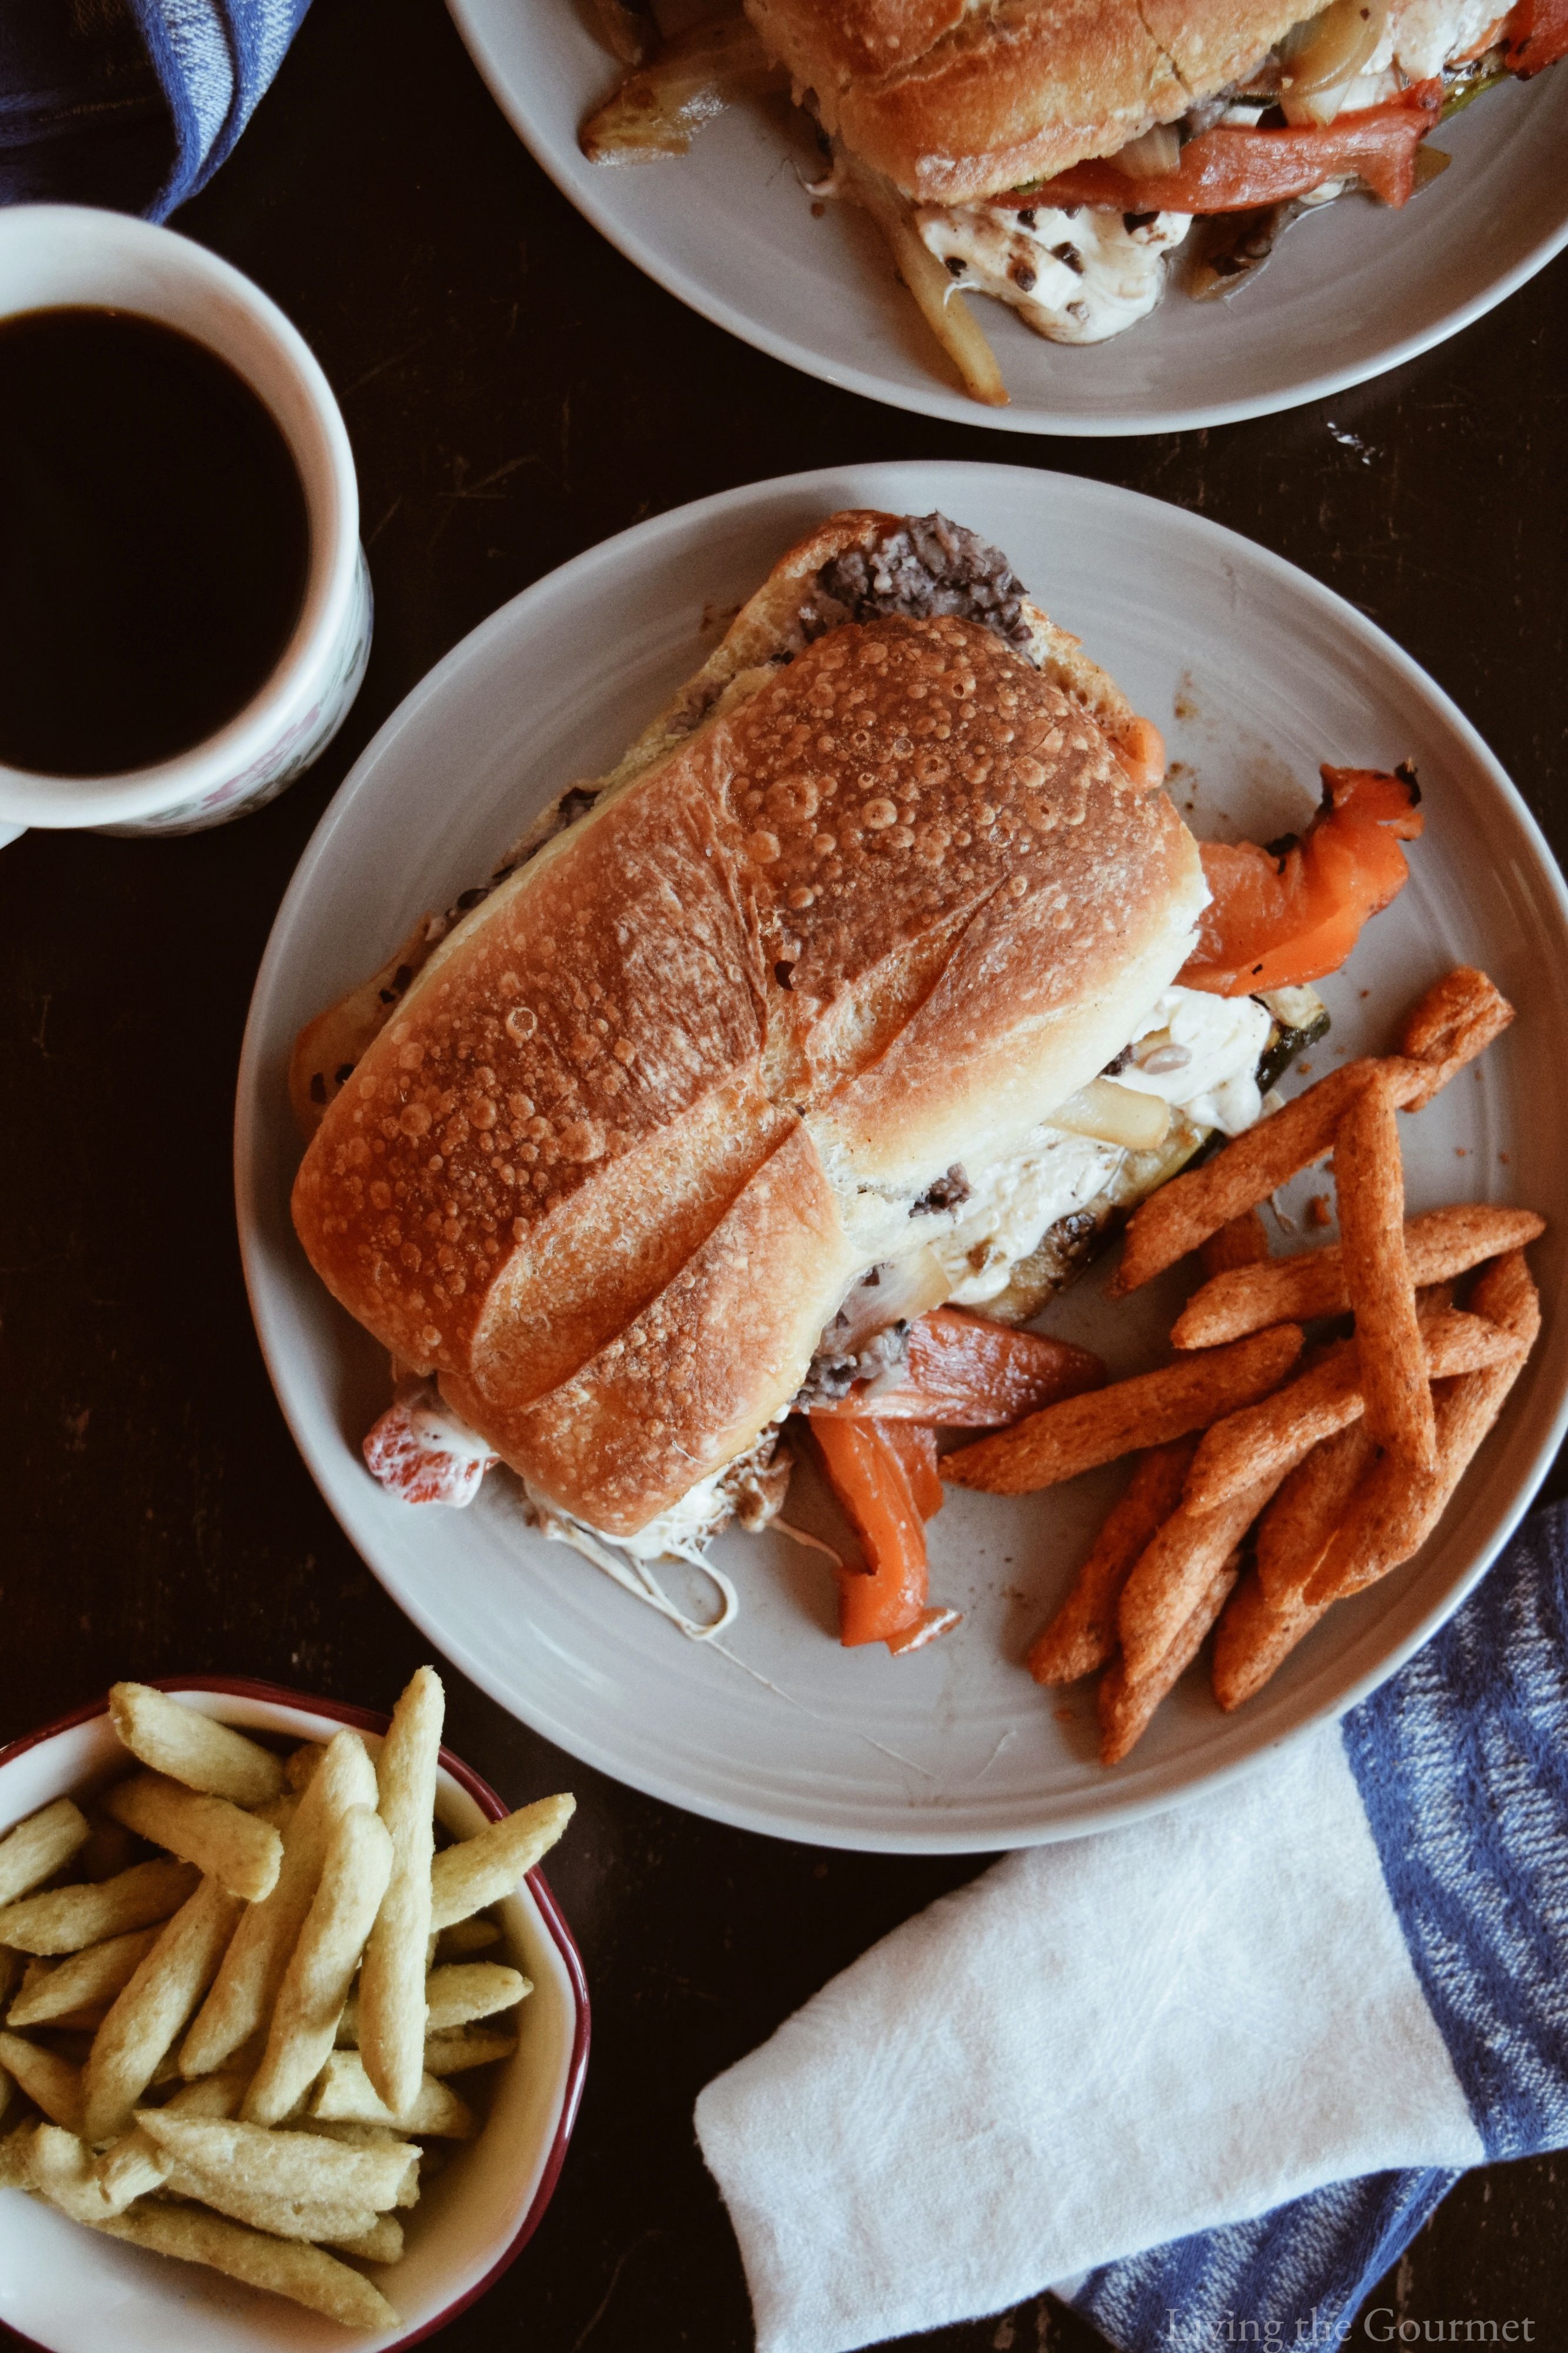
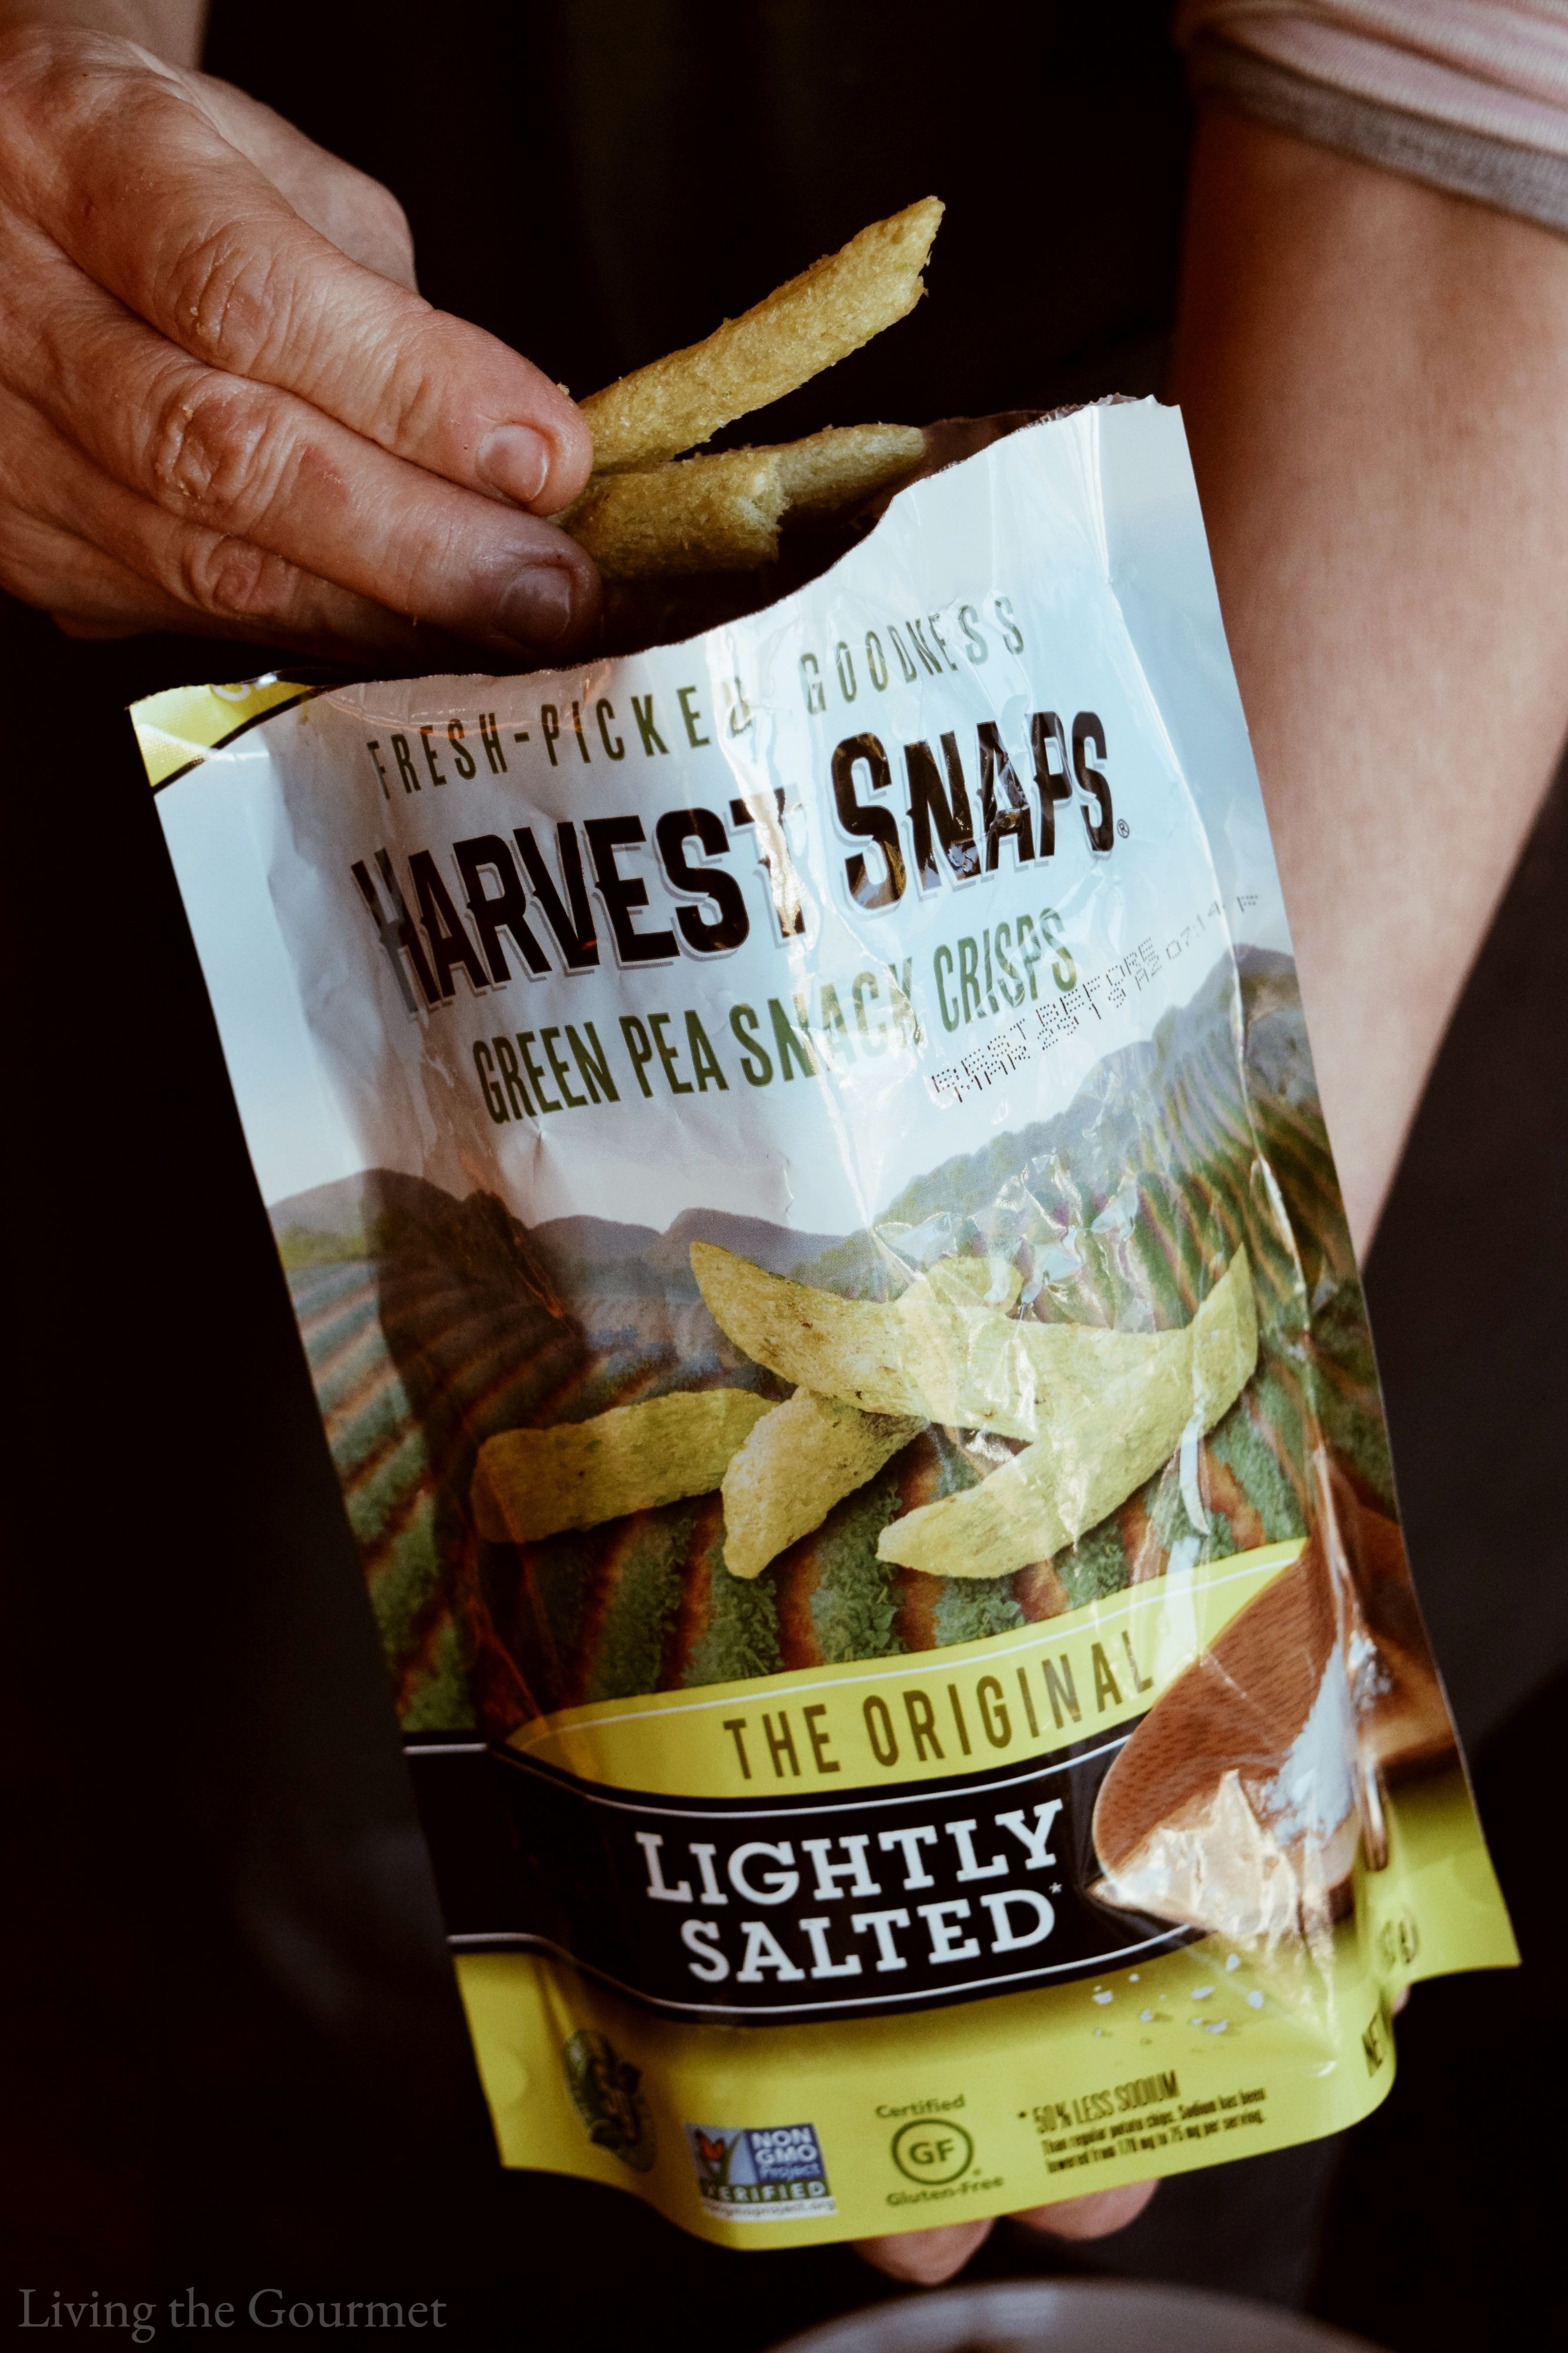
 Now, for a sandwich that's homemade and fresh from start to finish, you're naturally going to want to pair this with something that you can feel good about eating. After all, why spoil such fresh, homemade feel-good eating with a side of chips or the like? Instead, to keep the meal feel-good, we're going to be serving today's sandwich alongside a bag of Harvest Snaps. For today's sandwich, I'd probably recommend the Parmesan and Roasted Garlic, but any of the available flavors will work great, such as their Mango Chile Lime, Wasabi Ranch, and the all-new White Cheddar among others. Harvest Snaps are made from wholesome green peas, red lentils, or black beans depending on the flavor. These feature no artificial flavors or colors, a great source of plant-based protein with 4-5 grams per serving. Harvest Snaps are always baked rather than fried - and all varieties (with exception of Tomato Basil) are gluten-free.
  For precisely those reasons, Harvest Snaps are the perfect accompaniment to a homemade, all-natural sandwich, or for someone who wants an 'any time snack' that's natural and wholesome. In fact, Harvest Snaps are so good that you'll find them in the produce rather than the snack section of your local store. To find Harvest snaps near you, use the store locator.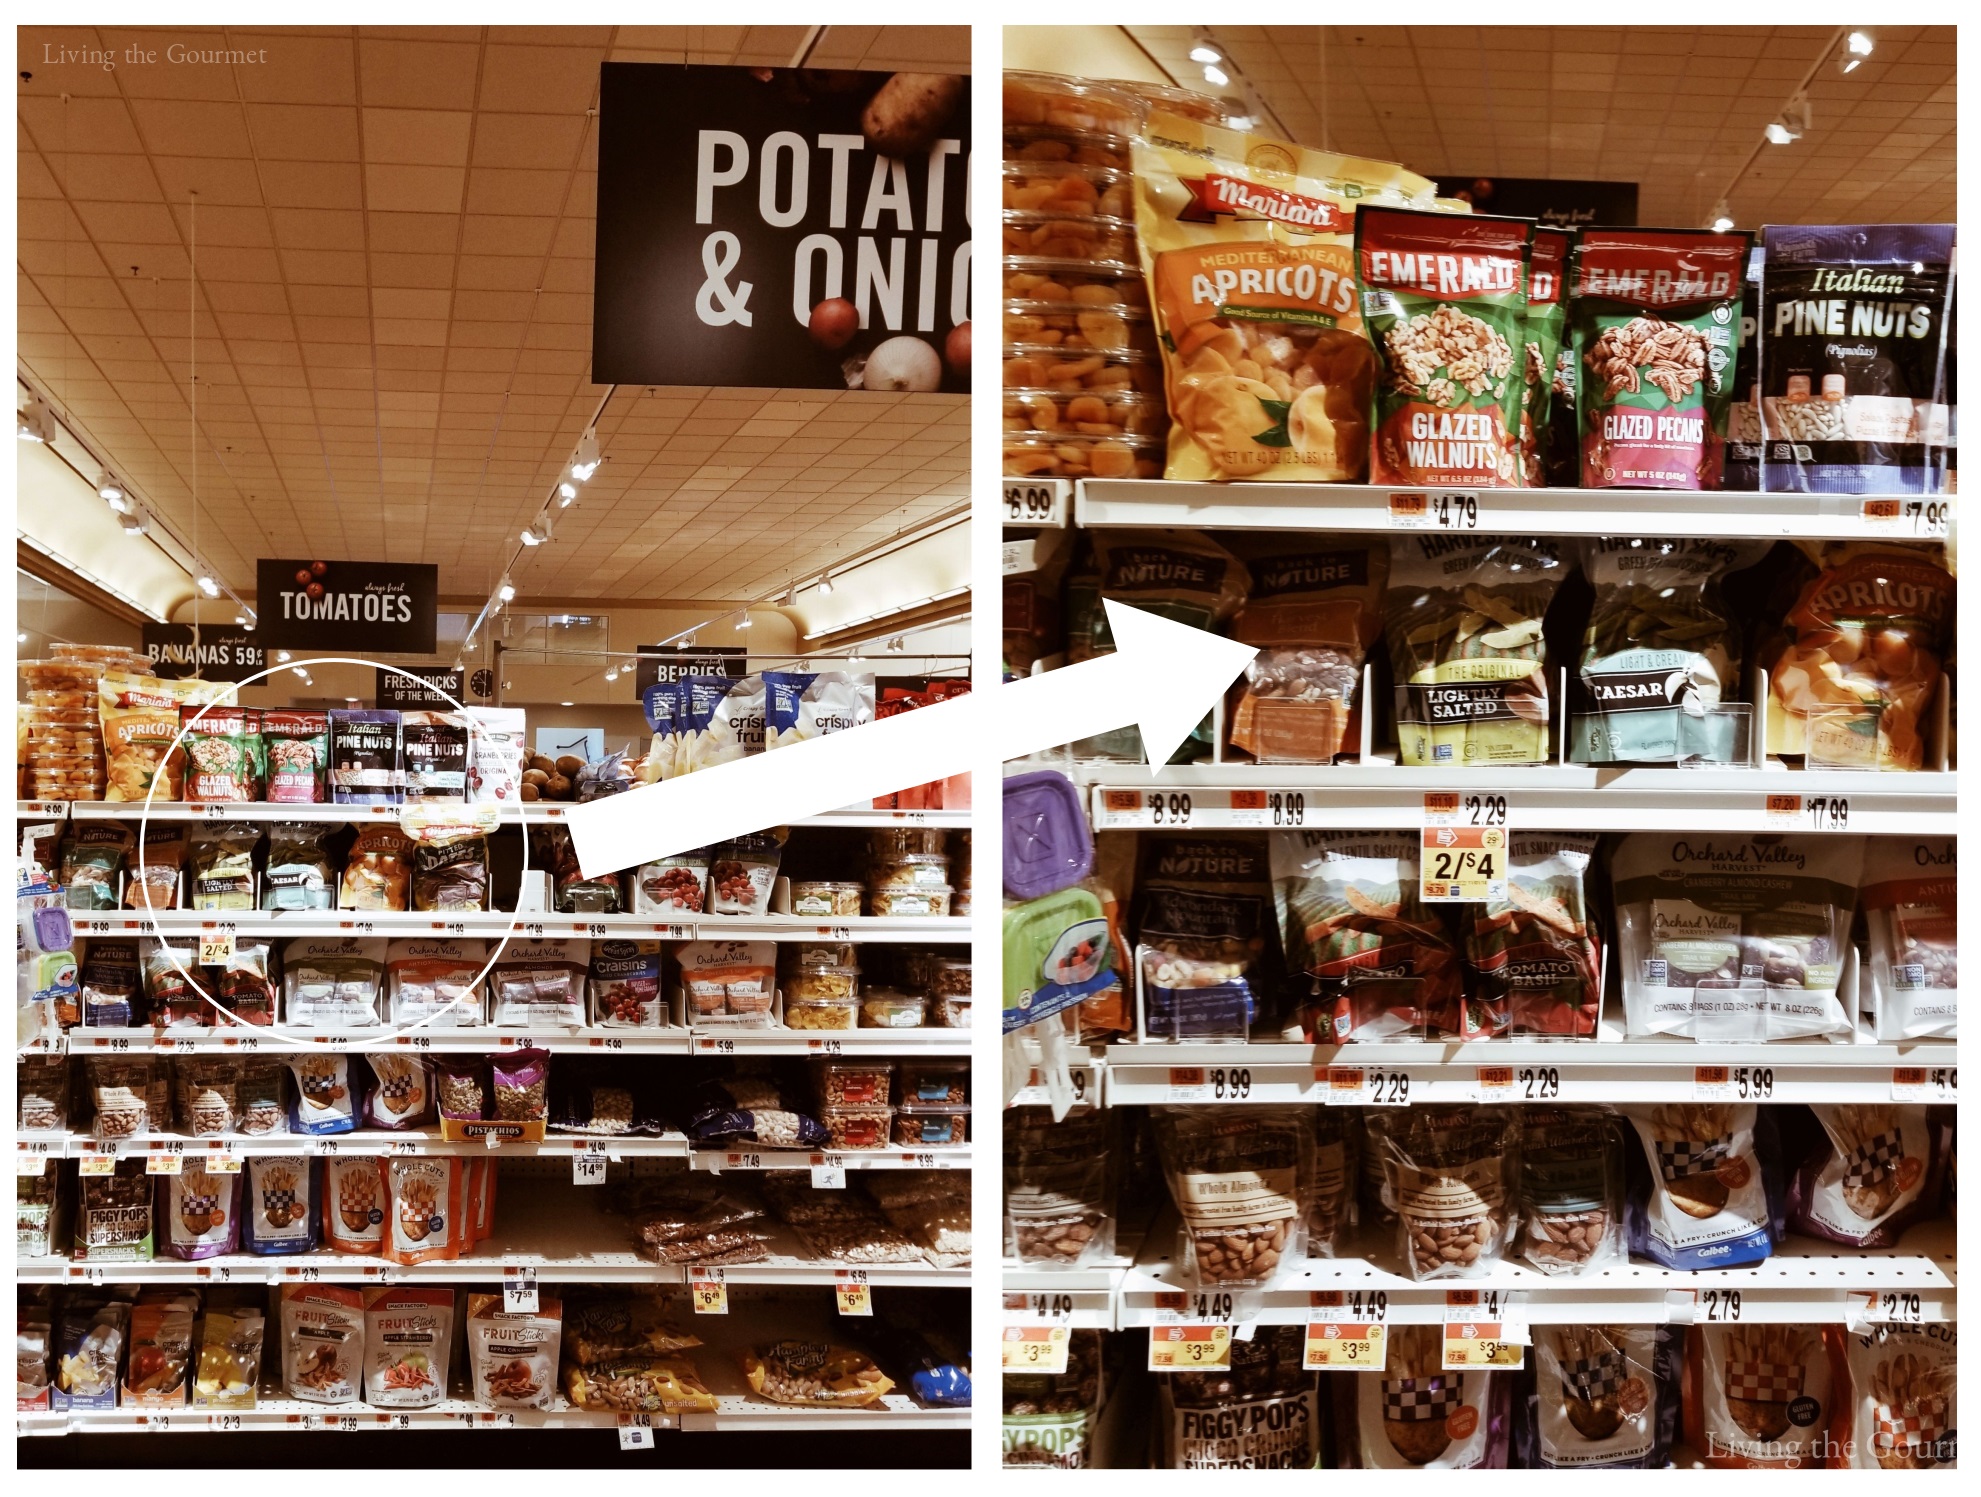
 Also, be sure to check out Kids 360, a non-profit that Harvest Snaps has partnered with in order to help make a positive difference in the lives of children in need. To learn more, head over to www.kids360charity.com. Enjoy with Love!
Helen at Casa Costello says
Oh wow, those grilled veggies sound and look amazing - great idea to serve with a side helping of something more healthy than chips!
Twinspirational says
Yum this recipe looks so good. We love a good sandwich!
Swathi says
This grilled veggie melts is perfect treat for any day. I would like to have this kind of filling breakfast dishes.
Pavani says
Such a lovely cheesy and veggie packed panini that is. I love that black bean spread - adds flavor and protein to the sandwich. I bought panini maker too few years back with exactly the same idea as you, but unfortunately, it hasn't been used as much as I would love to.But I definitely want to make this veggie melt in it soon.
kumamonjeng says
Glad to learn aout the Harvest snaps has helped out the lives of children in need. I will support with no doubt.
Marisa Franca says
Doggone! I didn't eat lunch and right now I'm so hungry I wanted to dive into my screen and start nibbling. It's really a great idea to use the beans as a spread and then the veggies. We gave a panini maker to our son for Christmas one year because it could also make meat. I've been wanting to borrow it so I can make some good ole Italian panini sandwiches. I can think up so many variations.
Anne Murphy says
LOL I have a contact grill, and while I've used it for other things I've yet to make a panini myself! I have, however, made all kinds of bean spreads - so versatile and delicious - and using one in a sandwich like this is a great idea!
Dan Zehr says
Never tried this, but it's one of the best I've ever seen! You are a genius! This recipe is needed to me. This is so delicious and it makes my mouth watering.
Kate says
The sandwich looks amazing! I'm fully convinced I need my own panini maker now too. I had always wondered if I would use it enough to make it worth the cost and now you've inspired me!
Mahy Elamin says
This is an absolutely fantastic idea! Total comfort food! YUM! This looks so delicious! I definitely want to try it!