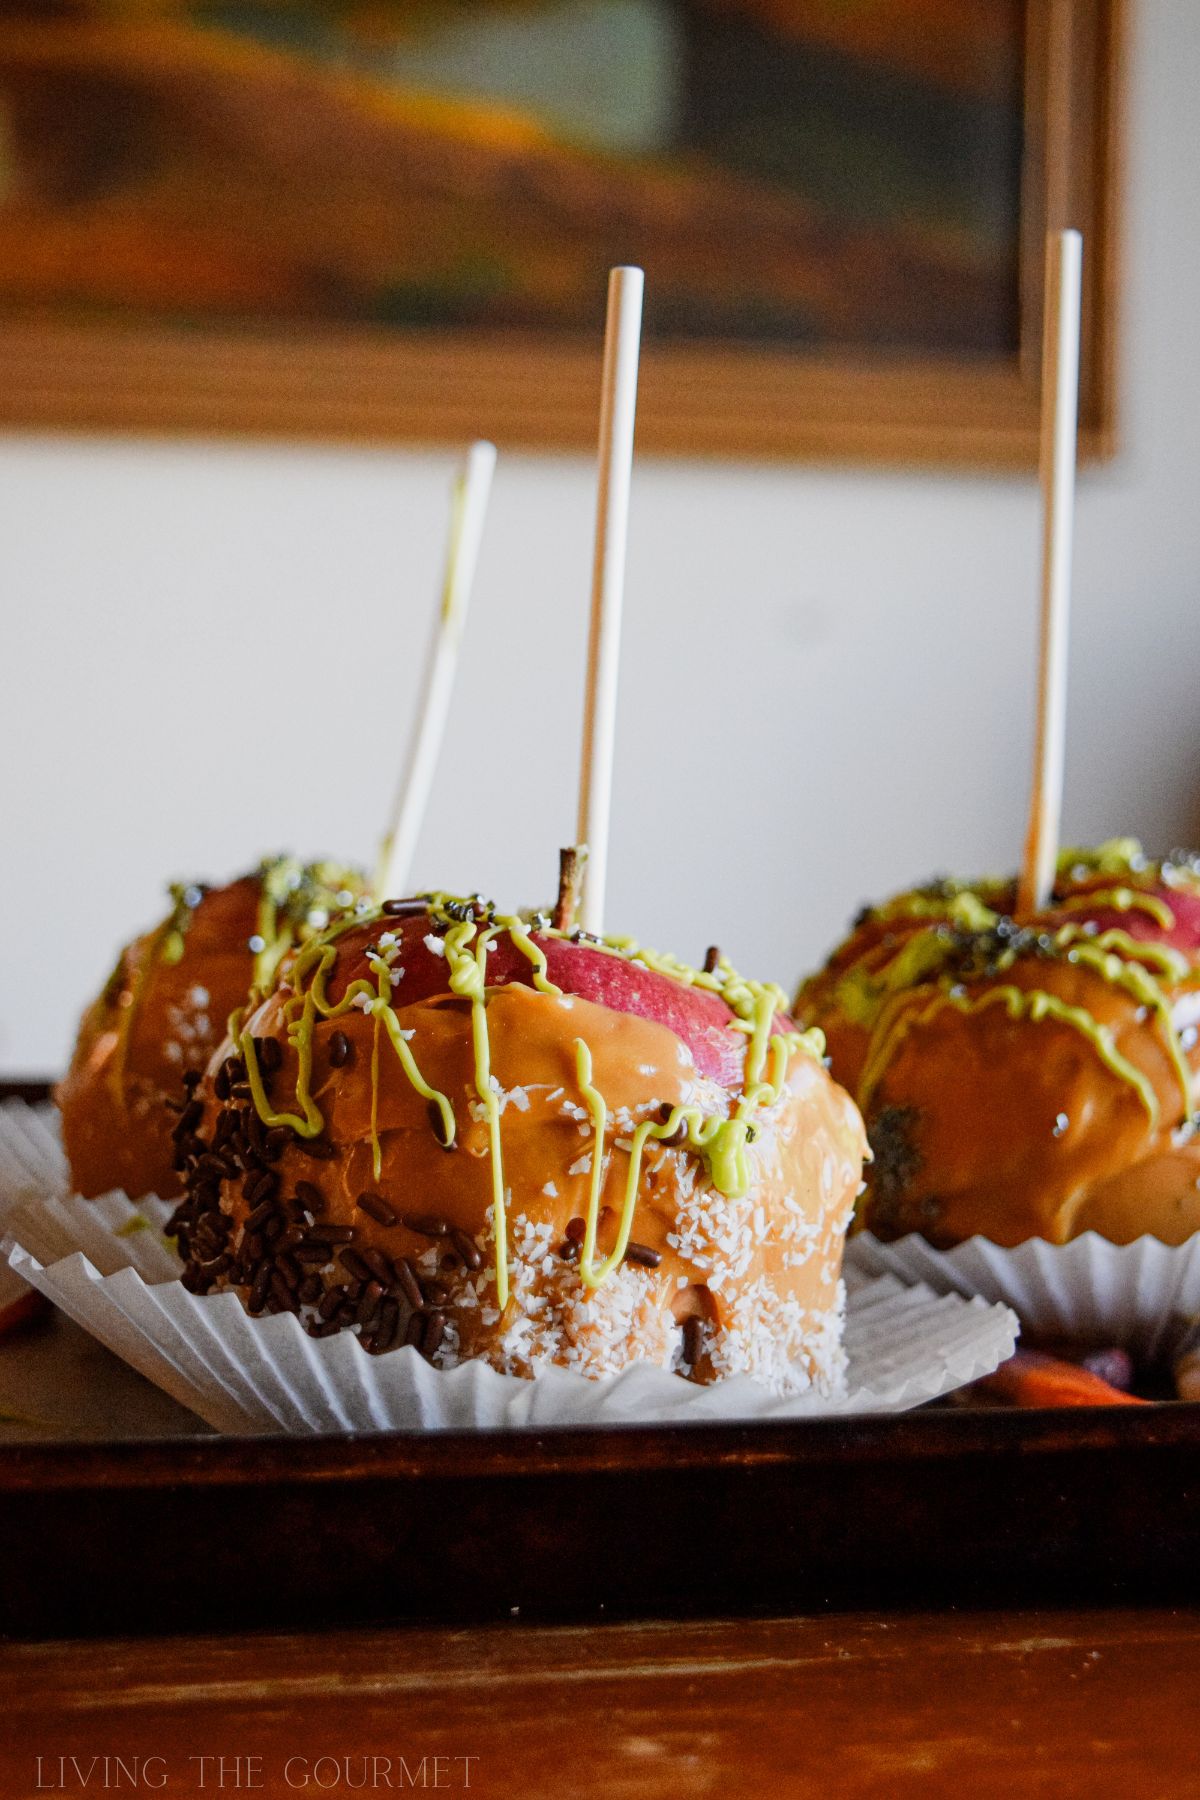
Our Homemade Candied Apple Recipe is complete with rich caramel, drizzles of white chocolate, and sprinkles. The toppings are limitless for these Autumn gems and are absolutely perfect for holiday gatherings and gift-giving.
Below we will be sharing which types of apples are best for today's recipe as well as various toppings!

Apple Guide - What's the best variety to use for candied apples?
This boils down to preference some people love a sour apple to balance out the sweetness, while others enjoy a slightly sweeter apple to compliment the toppings. Either way, you want to make sure you're using the freshest and most crisp apples. Here are some of our favorite recommendations:
- Granny Smith - The beloved sour green apple that is most preferred amongst bakers. The crisp bitterness offsets the sugar content when cooked down but in cases like today's recipe where there is no cooking involved, it's the sweet-and-sour combo that many love.
- Jazz Apples - These offer a delicious crunch to your candied apple and they have a tangy-sweetness which also makes them a good choice.
- Fuji - If you are a fan of those bright red candied apples, then Fuji is the perfect pick. They're firm, crisp, and juicy!
- Gala - I love Gala apples and that's what I chose to use for today's recipe. Gala tend to be on the sweeter side so if you have a real sweet tooth, you'll love this option as well.
- Honeycrisp - Also on the sweeter side of the scale, Honeycrisp holds up well for candied apples.
Recipe Overview - What to Expect
- Gala Apples
- Read my notes above for apple varieties depending on what flavor profile you want for your candied apples. I love the sweetness of Gala so I chose those for today's recipe.
- Lollipop sticks
- These just make the whole treat feel like you're actually eating candy, plus it's also easier for dipping, drizzling, and serving. You want to make sure you're using a thick and durable skewer for your apples since you'll be dipping them in caramel.
- Muffin tin liners
- These make clean-up a breeze and ensure that whatever drizzles off, stays in place.
- Homemade salted caramel sauce
- You can use jarred caramel, or melt-down caramel candies for this recipe if you're pressed for time or want fewer steps. I love having homemade caramel on hand during the holiday season because it always gets used up!
- 1/2 white chocolate melting candies
- For a festive touch, I melted down white chocolate and dyed it. Dying the chocolate is optional and of course, you can use milk or dark chocolate if you don't have white on hand.
- Green food coloring (optional)
- I don't often use dyes when baking but I do think it's fun for a holiday treat. I do encourage finding all-natural food dyes which should be at your local grocer.
- 1/2 cup coconut flakes
- You can use dehydrated fruit bits, nuts, or seeds in place of coconut flakes.
- 1/2 cup chocolate sprinkles
- Mainly for decorative purposes, but I just love sprinkles on these.
- 1/4 cup black sugar crystals
- Like sprinkles, the sugar crystals are mainly for decorative purposes. I love going all out with these candied apples!
Homemade Candied Apple Recipe

- Prep Time: 10 minutes
- Cook Time: 5 minutes
- Total Time: 15 minutes
- Yield: 6 candy apples 1x
- Category: Dessert
- Cuisine: American
Ingredients
- 6 Gala apples
- lollipop sticks
- muffin tin liners
- Homemade salted caramel sauce
- 1/2 white chocolate melting candies
- Green food coloring (optional)
- 1/2 cup coconut flakes
- 1/2 cup chocolate sprinkles
- 1/4 cup black sugar crystals
Instructions
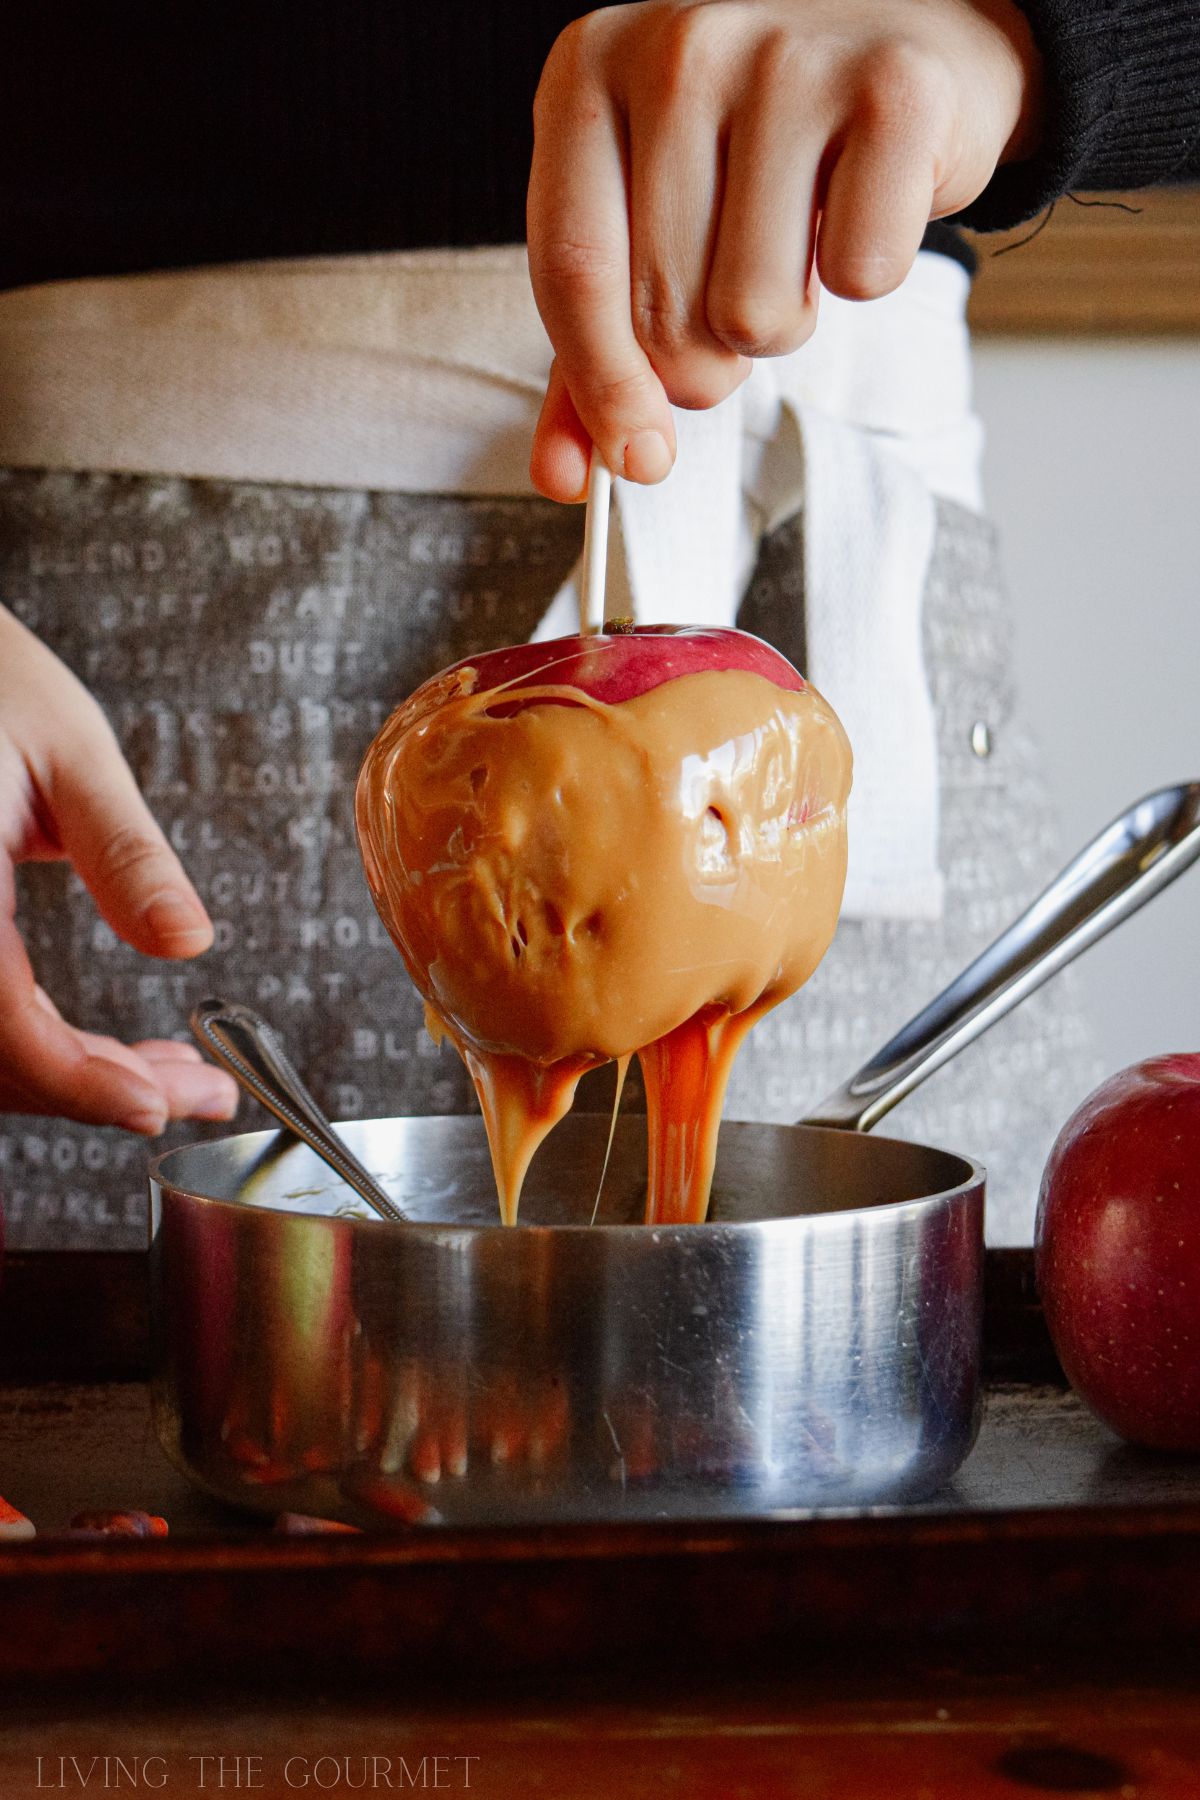
- Wash apples then insert a lollipop stick at the stem of each. Set aside on a baking sheet with muffin tin liners.
- Prepare your desired toppings by setting each up in their own bowl.
- Prepare the homemade salted caramel sauce as directed or in a small sauce pan over medium-low heat, melt down your caramel candies in a double-boiler with ¼ cup milk. Stir regularly until the caramel is smooth.
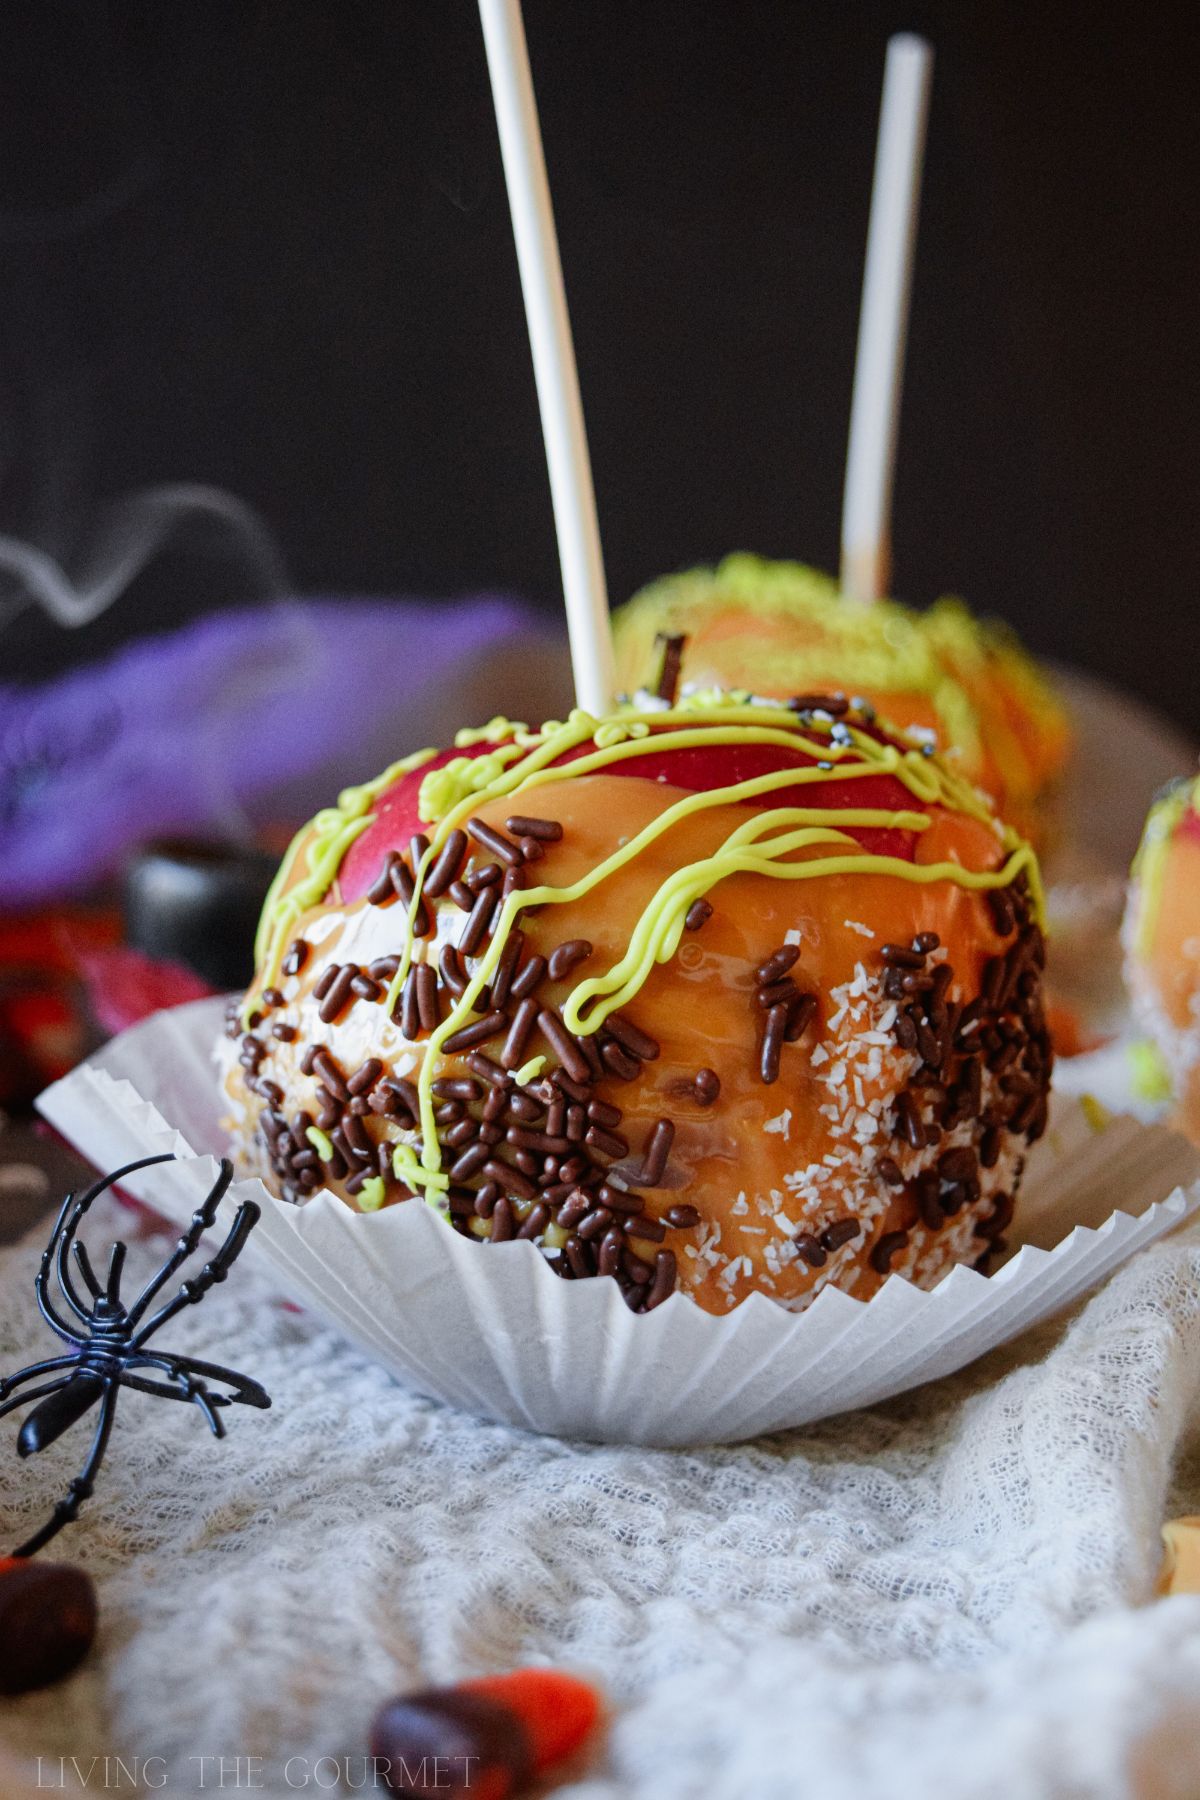
- Dip each apple in the caramel sauce then in your desired toppings. I alternated dipping the apples in chocolate sprinkles and the coconut flakes. The sprinkle with sugar crystals.
- Place the apples in the muffin liner cups and let the caramel set.
- In the meantime, melt down the white chocolate and if desired add a few drops of green food coloring or orange for a festive Halloween touch.
- Drizzle the melted chocolate over each apple and if desired, sprinkle again with extra sugar crystals or sprinkles.
- Let the apples set before serving and enjoy!
Notes
If you like you can dip some apples in chopped nuts (pecans, walnuts, almonds or peanuts) Finely chop 1 cup of desired nuts. You can also top with chopped candy pieces or candy corn. Get creative!
Nutrition
- Serving Size: 6
And that is my Homemade Candied Apple Recipe. If you enjoyed this recipe, or have any questions or suggestions, be sure to let us know in the comments below. We always love hearing from you!
Enjoy!
0


Emily Leary says
I have come a long way with my photography in 7.5 years of food blogging, but there's always lots more to learn for sure. I used a Canon and love it - I can't imagine switching now.
Nicole says
Oh my goodness that first photo is awesome! I love candied apples and looking at them on your site suddenly makes me want one.
Shannon Gurnee says
I love looking at the different recipe blog posts. Isn't amazing how much time and effort it actually takes to write a blog post (including the pictures)?!!
Eileen Kelly says
Your info to start a blog and the use of cameras and Fotor are helpful for anyone wanting to start a blog! I absolutely love your caramel apples! So festive and delish!
Sharon says
Thank you so much for all this info and for the delicious caramel apple recipe!
Vanessa Vickery says
Love all the tips!!I just got the new iPhone xs max and the camera is amazing so will try some food pics on it in comparison to my canon dslr.
Julie says
What great info -- and great photography! I always love pictures with a person in them, like your dipping the apples shot. Beautiful!
Sam | Ahead of Thyme says
Candied apples are the best! Just look at that oozing caramel, yum!! And they are so fun to decorate too. Great pictures!