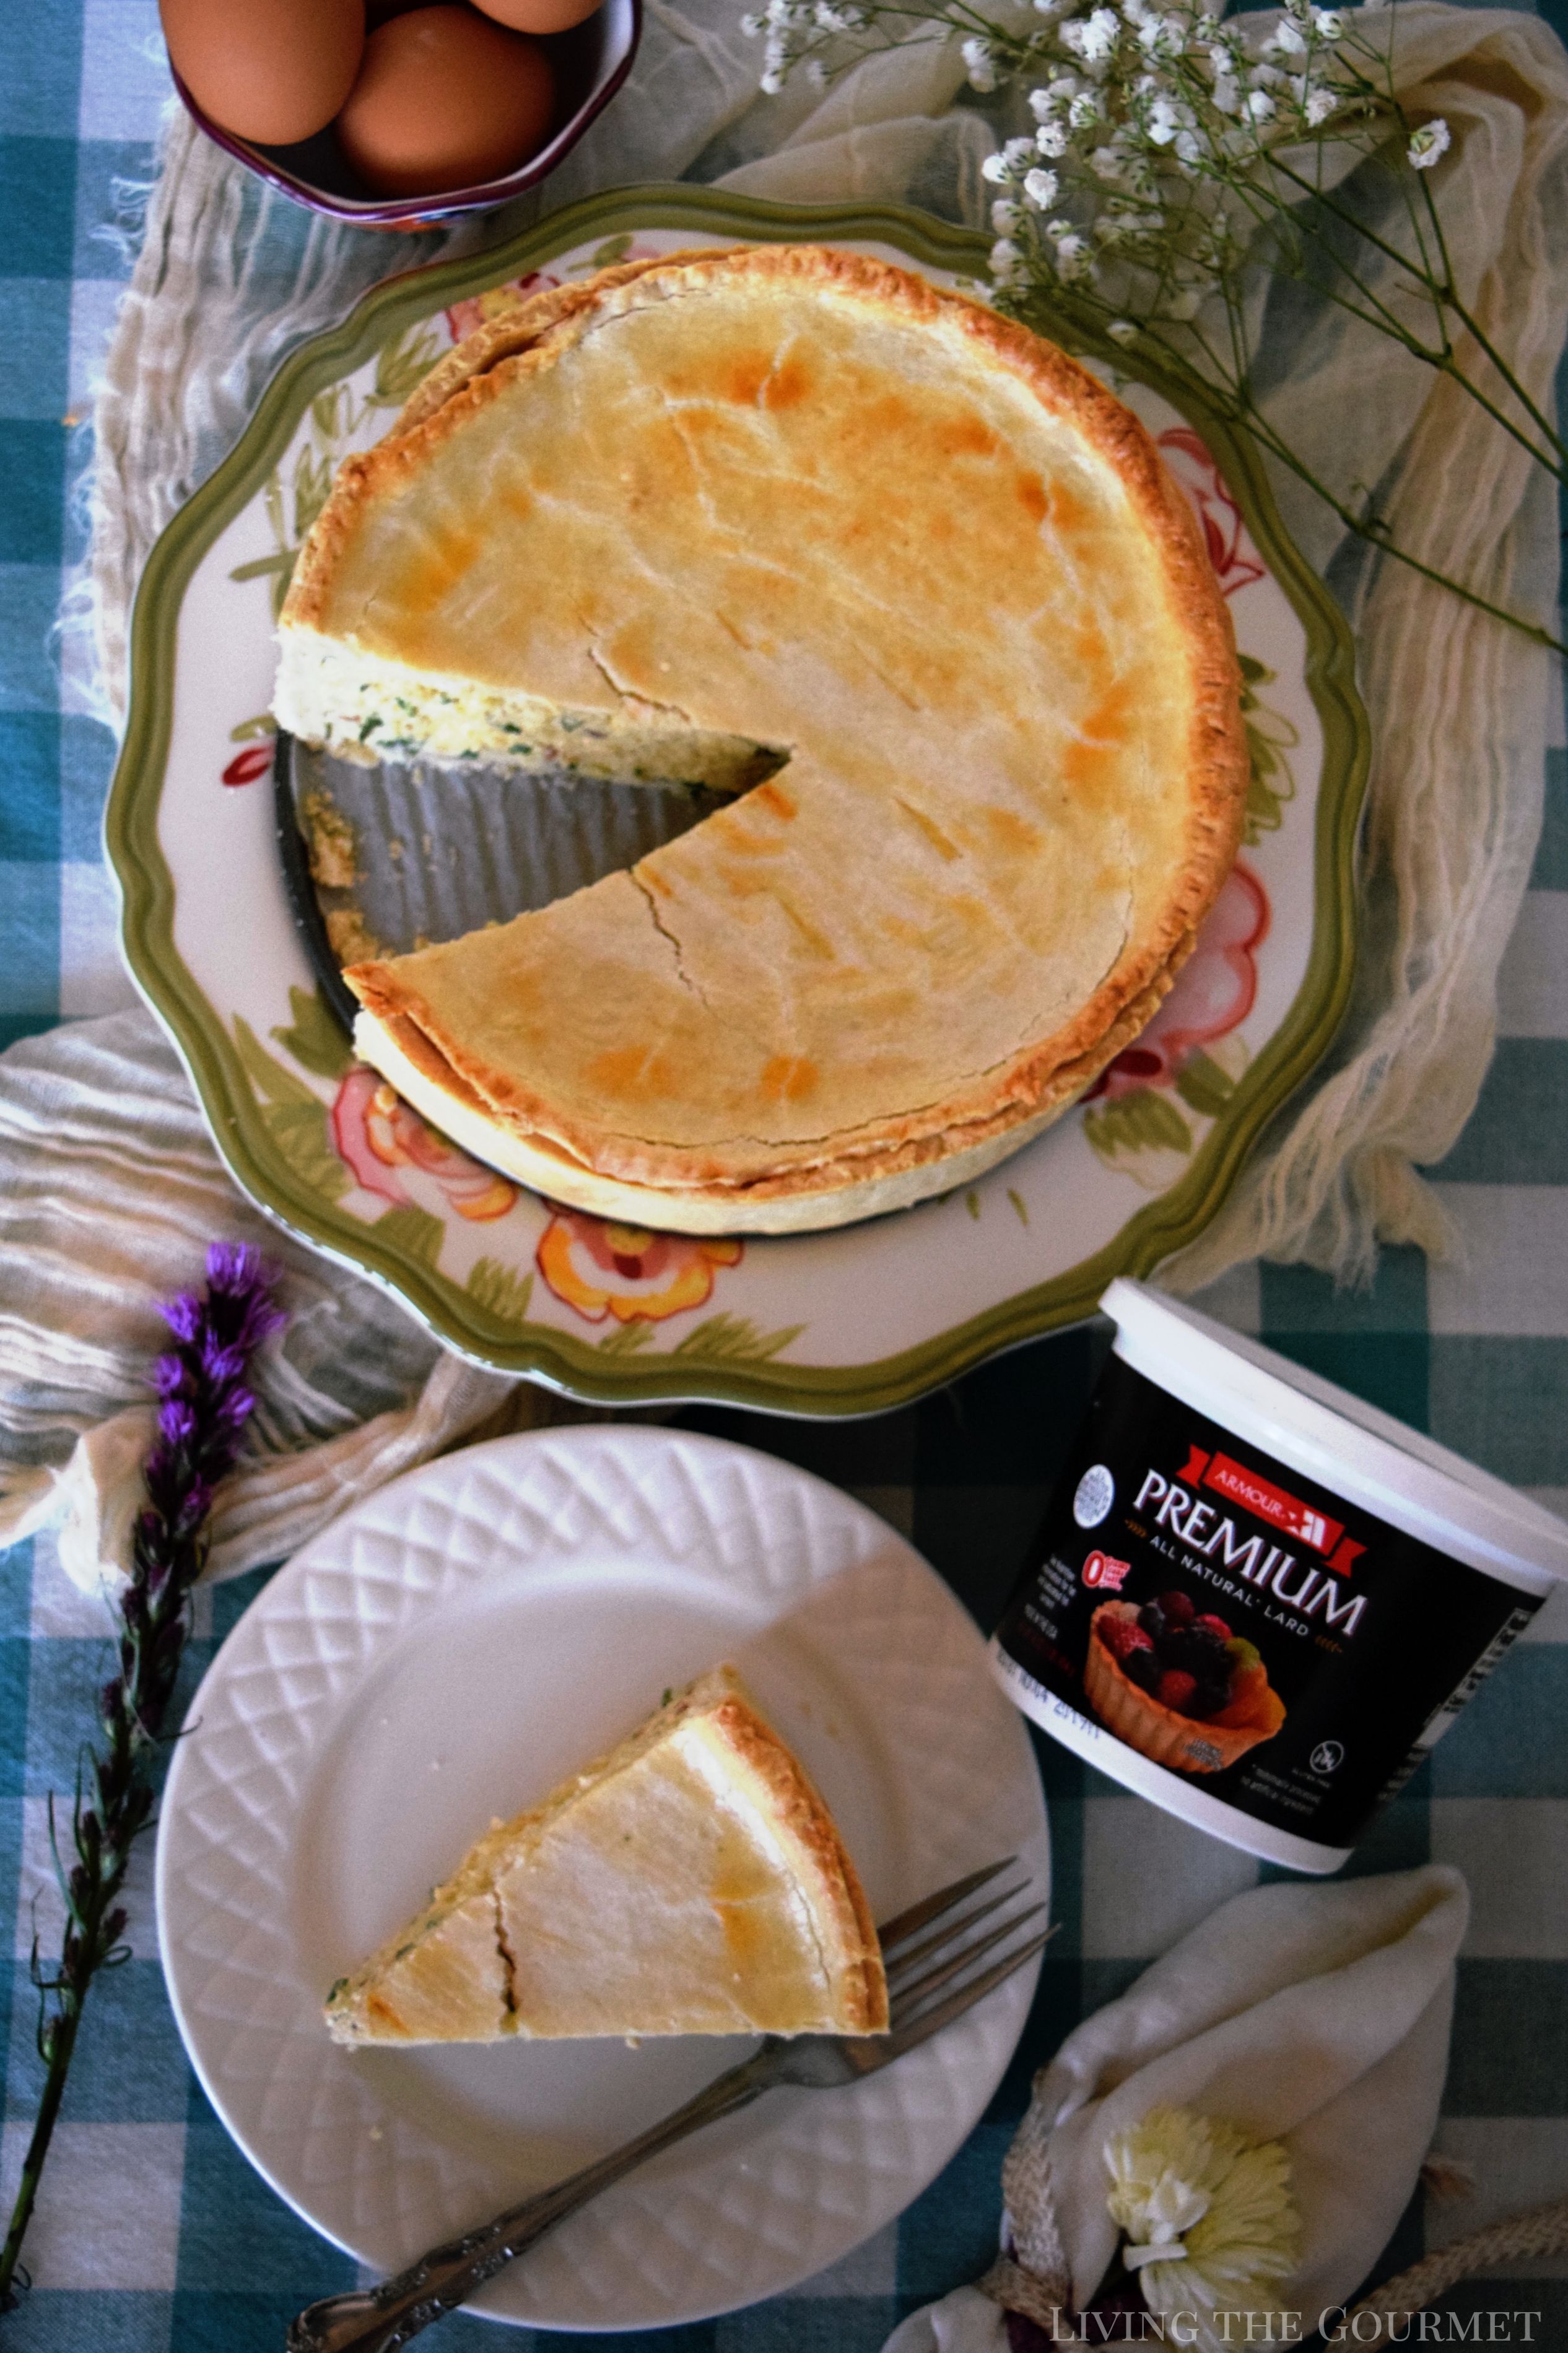
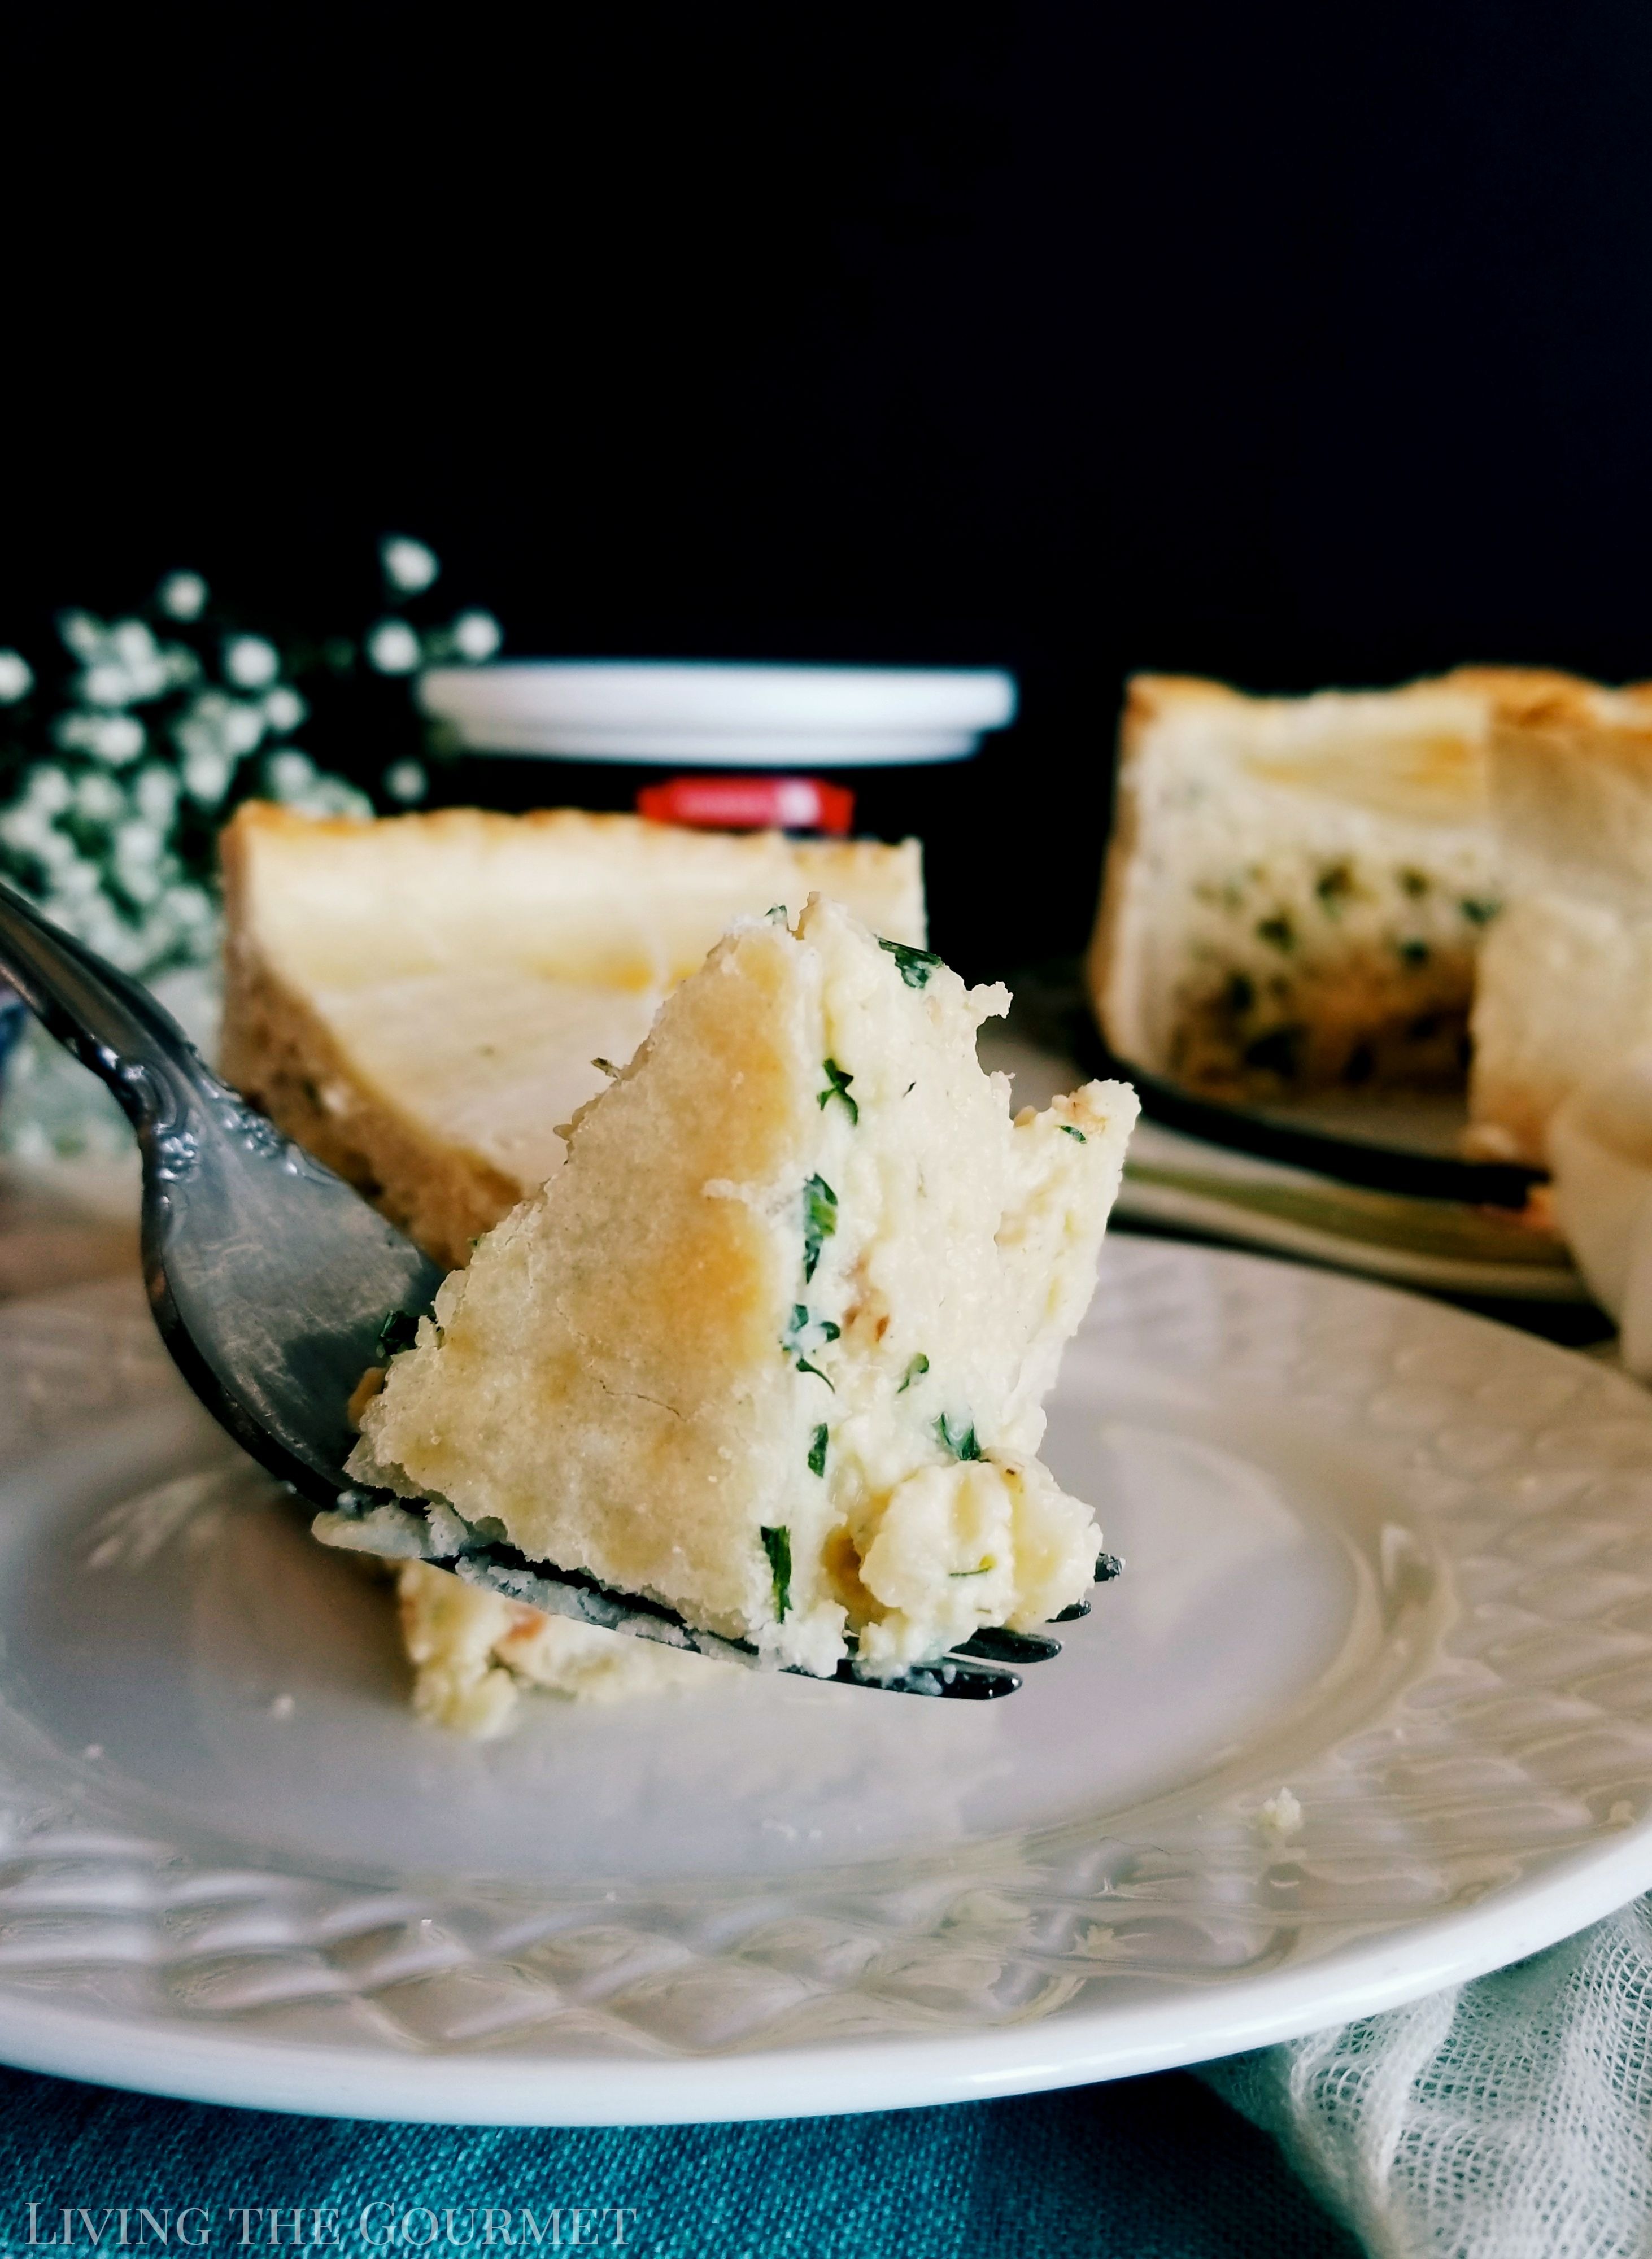
With Easter quickly approaching we're giving an Italian Easter classic a 'lightened-up' twist that is still full of flavor with the flakiest crust thanks to Armour Premium All-Natural Lard!
When I think of ‘lard,’ you might be surprised that the first thing to come to mind has nothing to do with cooking, but rather a quote from a video game. The year is 1997, a year that saw the ban of cloning research, the appointing of the first female Secretary of State, and the end of the world was fast approaching courtesy of ‘super’ computers that could not count to 2000. Despite all of that, the event of true importance that year, at least in my then ten-year-old son’s mind, was the release of a game called Final Fantasy VII. Following an afternoon spent playing the game, I can’t recall if I had offered him tea, or if he had asked for tea, but either way, his response was “Like they drink it in Final Fantasy. With plenty of sugar and honey, and oh, don’t forget the lard.”
It is a joke whose context I still don’t understand, and one I refuse to research.
To be honest, my culinary experience with lard has been rather limited – but not so limited that I would think to spoon it into tea. Instead, I’ve largely kept to the ‘basics’ where lard is an ‘entry-level ingredient,’ such as in giving a nice crisp to things like empanada shells or taquitos, or in preparing enchilada sauces. However, my brother, one of the best cooks in the family, used to render and can his own cooking lard from pork fat, sometimes with the additions of steak fat and grease drippings ‘for flavor.’ He used this in practically everything that needed cooking oil or ‘texturing’ as he called it, be it sauces, mashed potatoes, or crusts. Translation – this is an eminently versatile ingredient and one that’s probably worth getting a handle on, and that’s precisely what we’re doing today.
For example, I remember cooking with him one time, and I’ll never forget watching him scoop lard out of a tin can, I can only describe my reaction as pure shock. He then reduced the lard to a cooking oil, proceeded to create one of the most memorable meals.
I remember asking, “But why lard?” At the time, I thought there was no way that could be healthy, albeit the final product was delicious. Naturally, his answer ran roughly “Because it’s good and it’s easy to use.” Now, as it turns out, I would learn many years later that natural, premium lard is actually one of the healthiest cooking fats you can use, and that as an added bonus it’s fully sustainable, contains zero trans-fats, and is rich in monounsaturated fats – a better source, in fact, than butter, coconut or corn oil.
However, suppose you want all of those fine qualities of cooking with premium lard, but don’t quite want the hassle or time investment of making your own. What options do you have? Well, that, of course, brings us to today’s product and recipe – Pizza Chena made using Armour Premium All-Natural Lard which can be found in the baking aisle of your local Walmart.
As all of you probably know, when it comes to pizza I’ve been around the block a few times. I’ve made my fair share of pizzas, and Lord knows I’ve eaten my fair share too, but until I made today’s recipe, I had never made a “Pizza Chena.” I suppose I always thought of a Pizza Chena as sort of a “calzone in pie form,” or that it looked a bit too much like a quiche to actually be called a ‘pizza.’
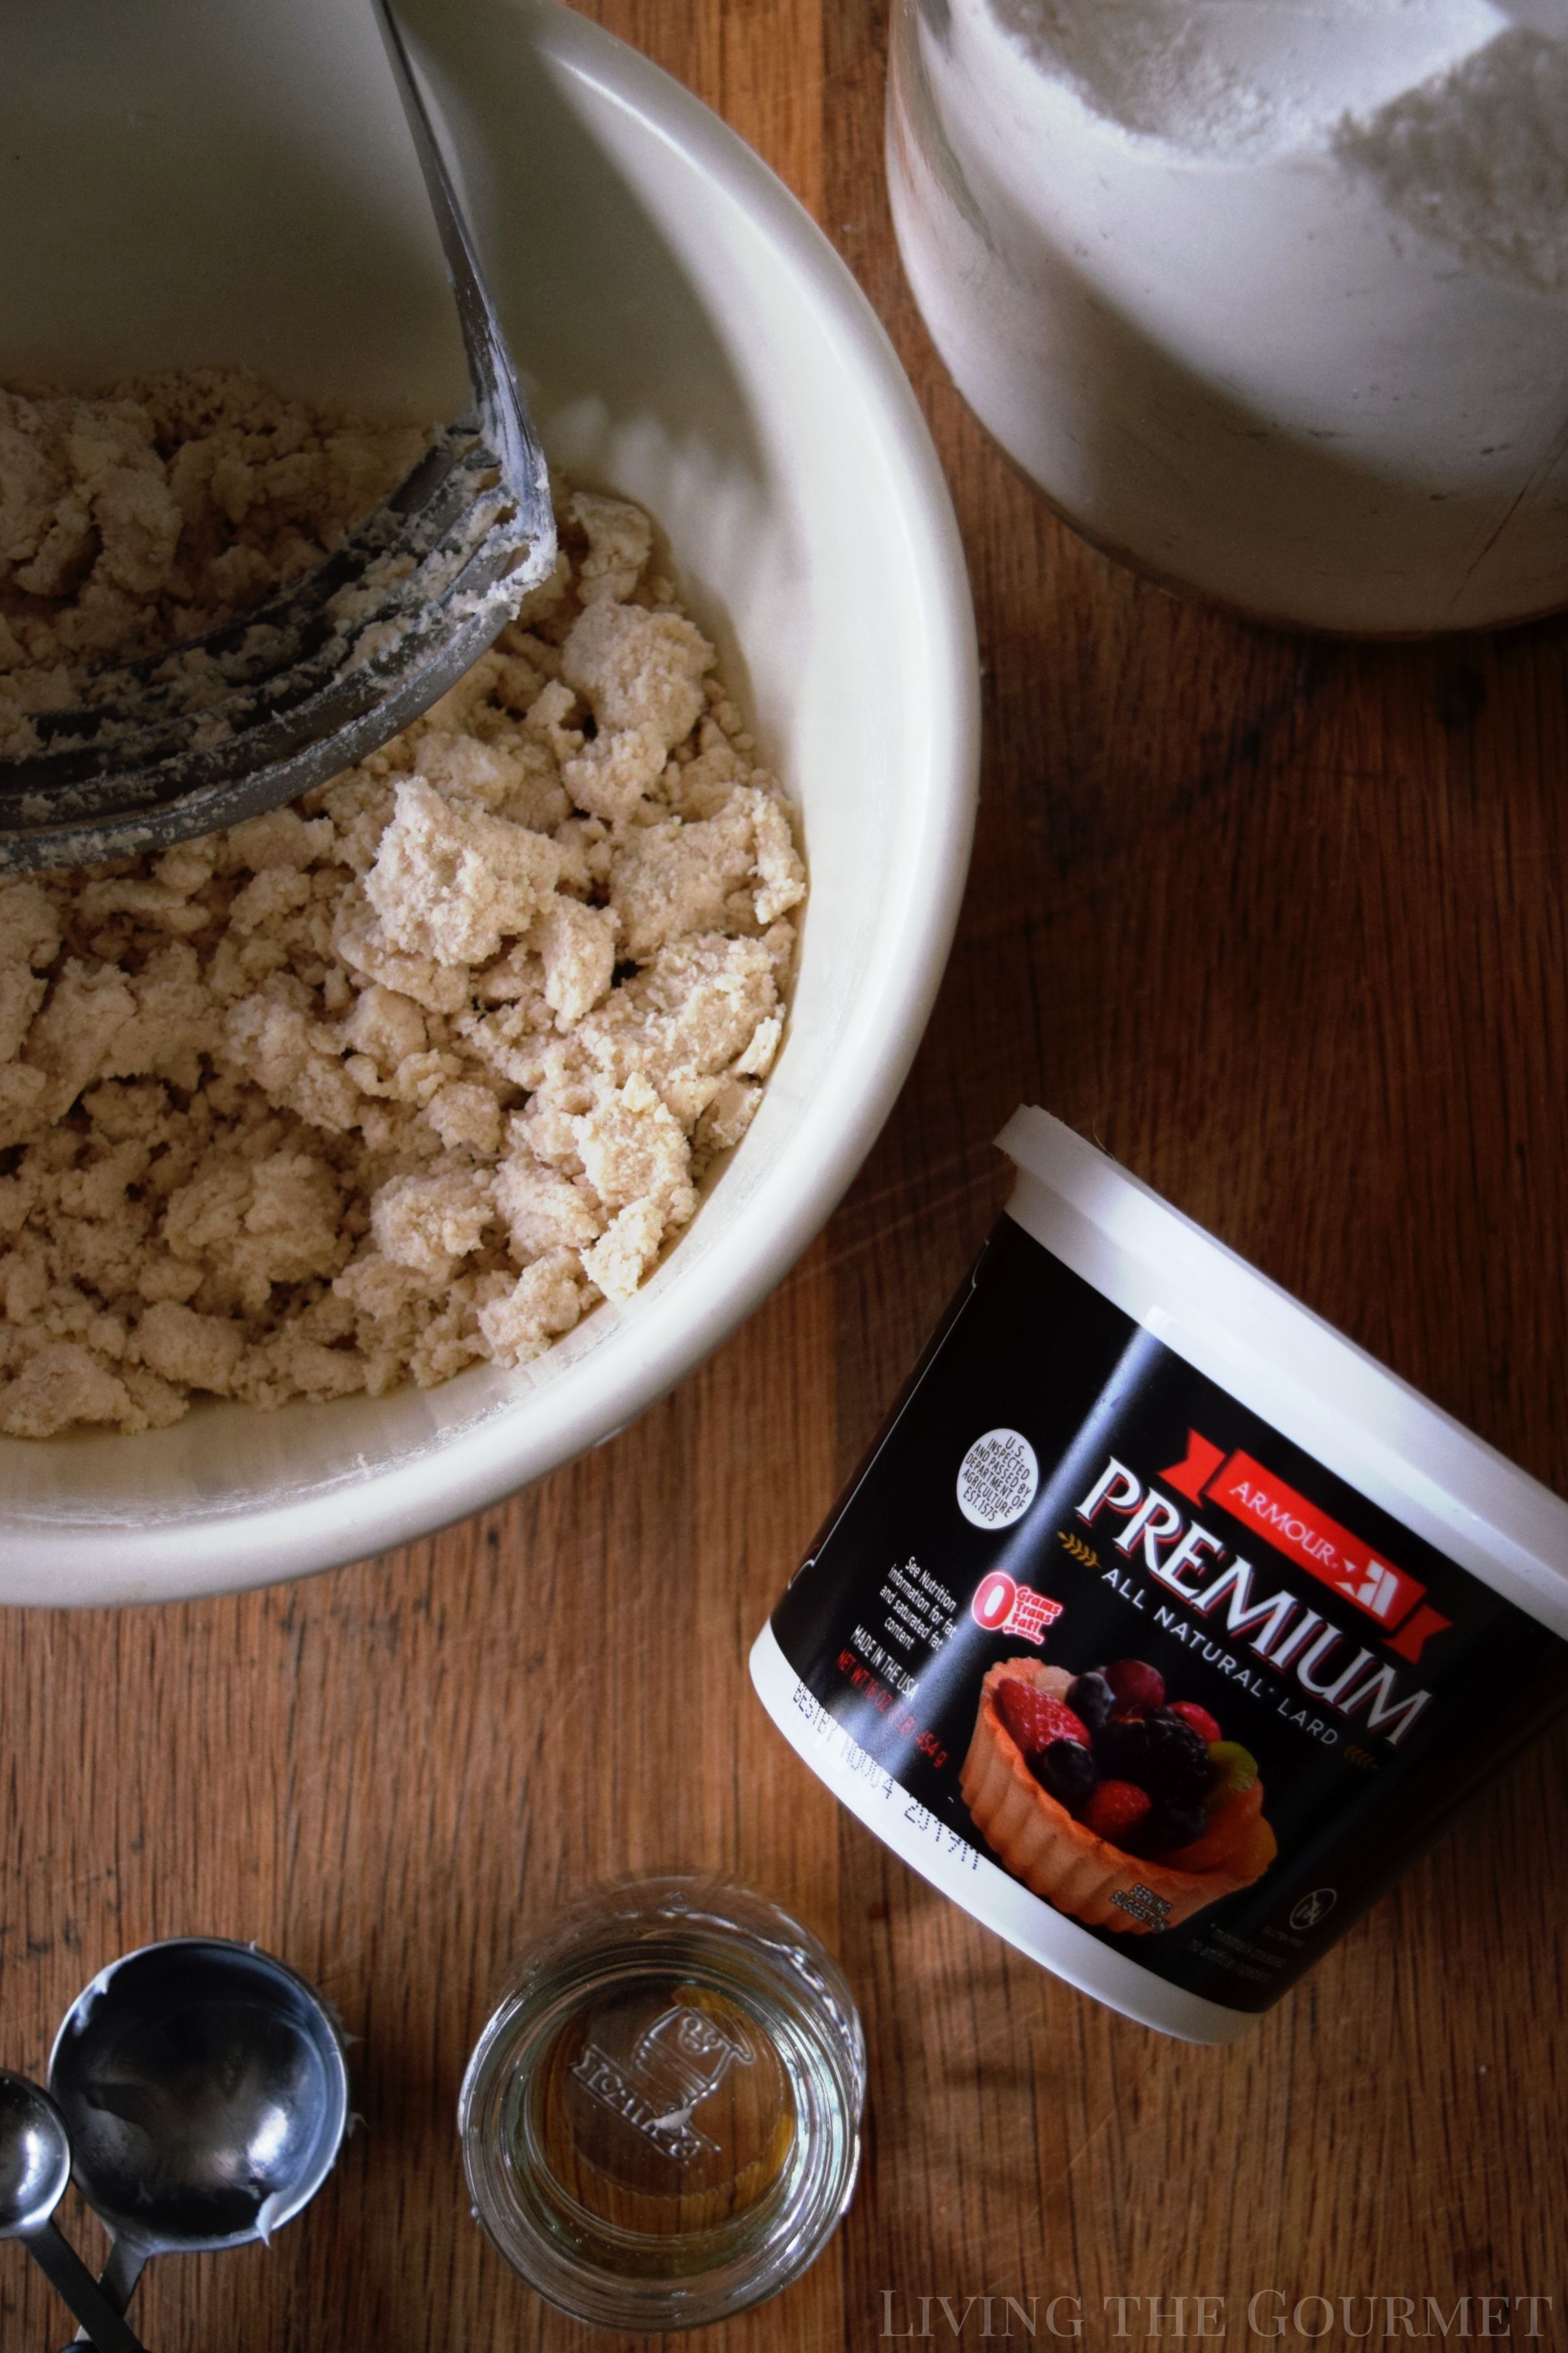
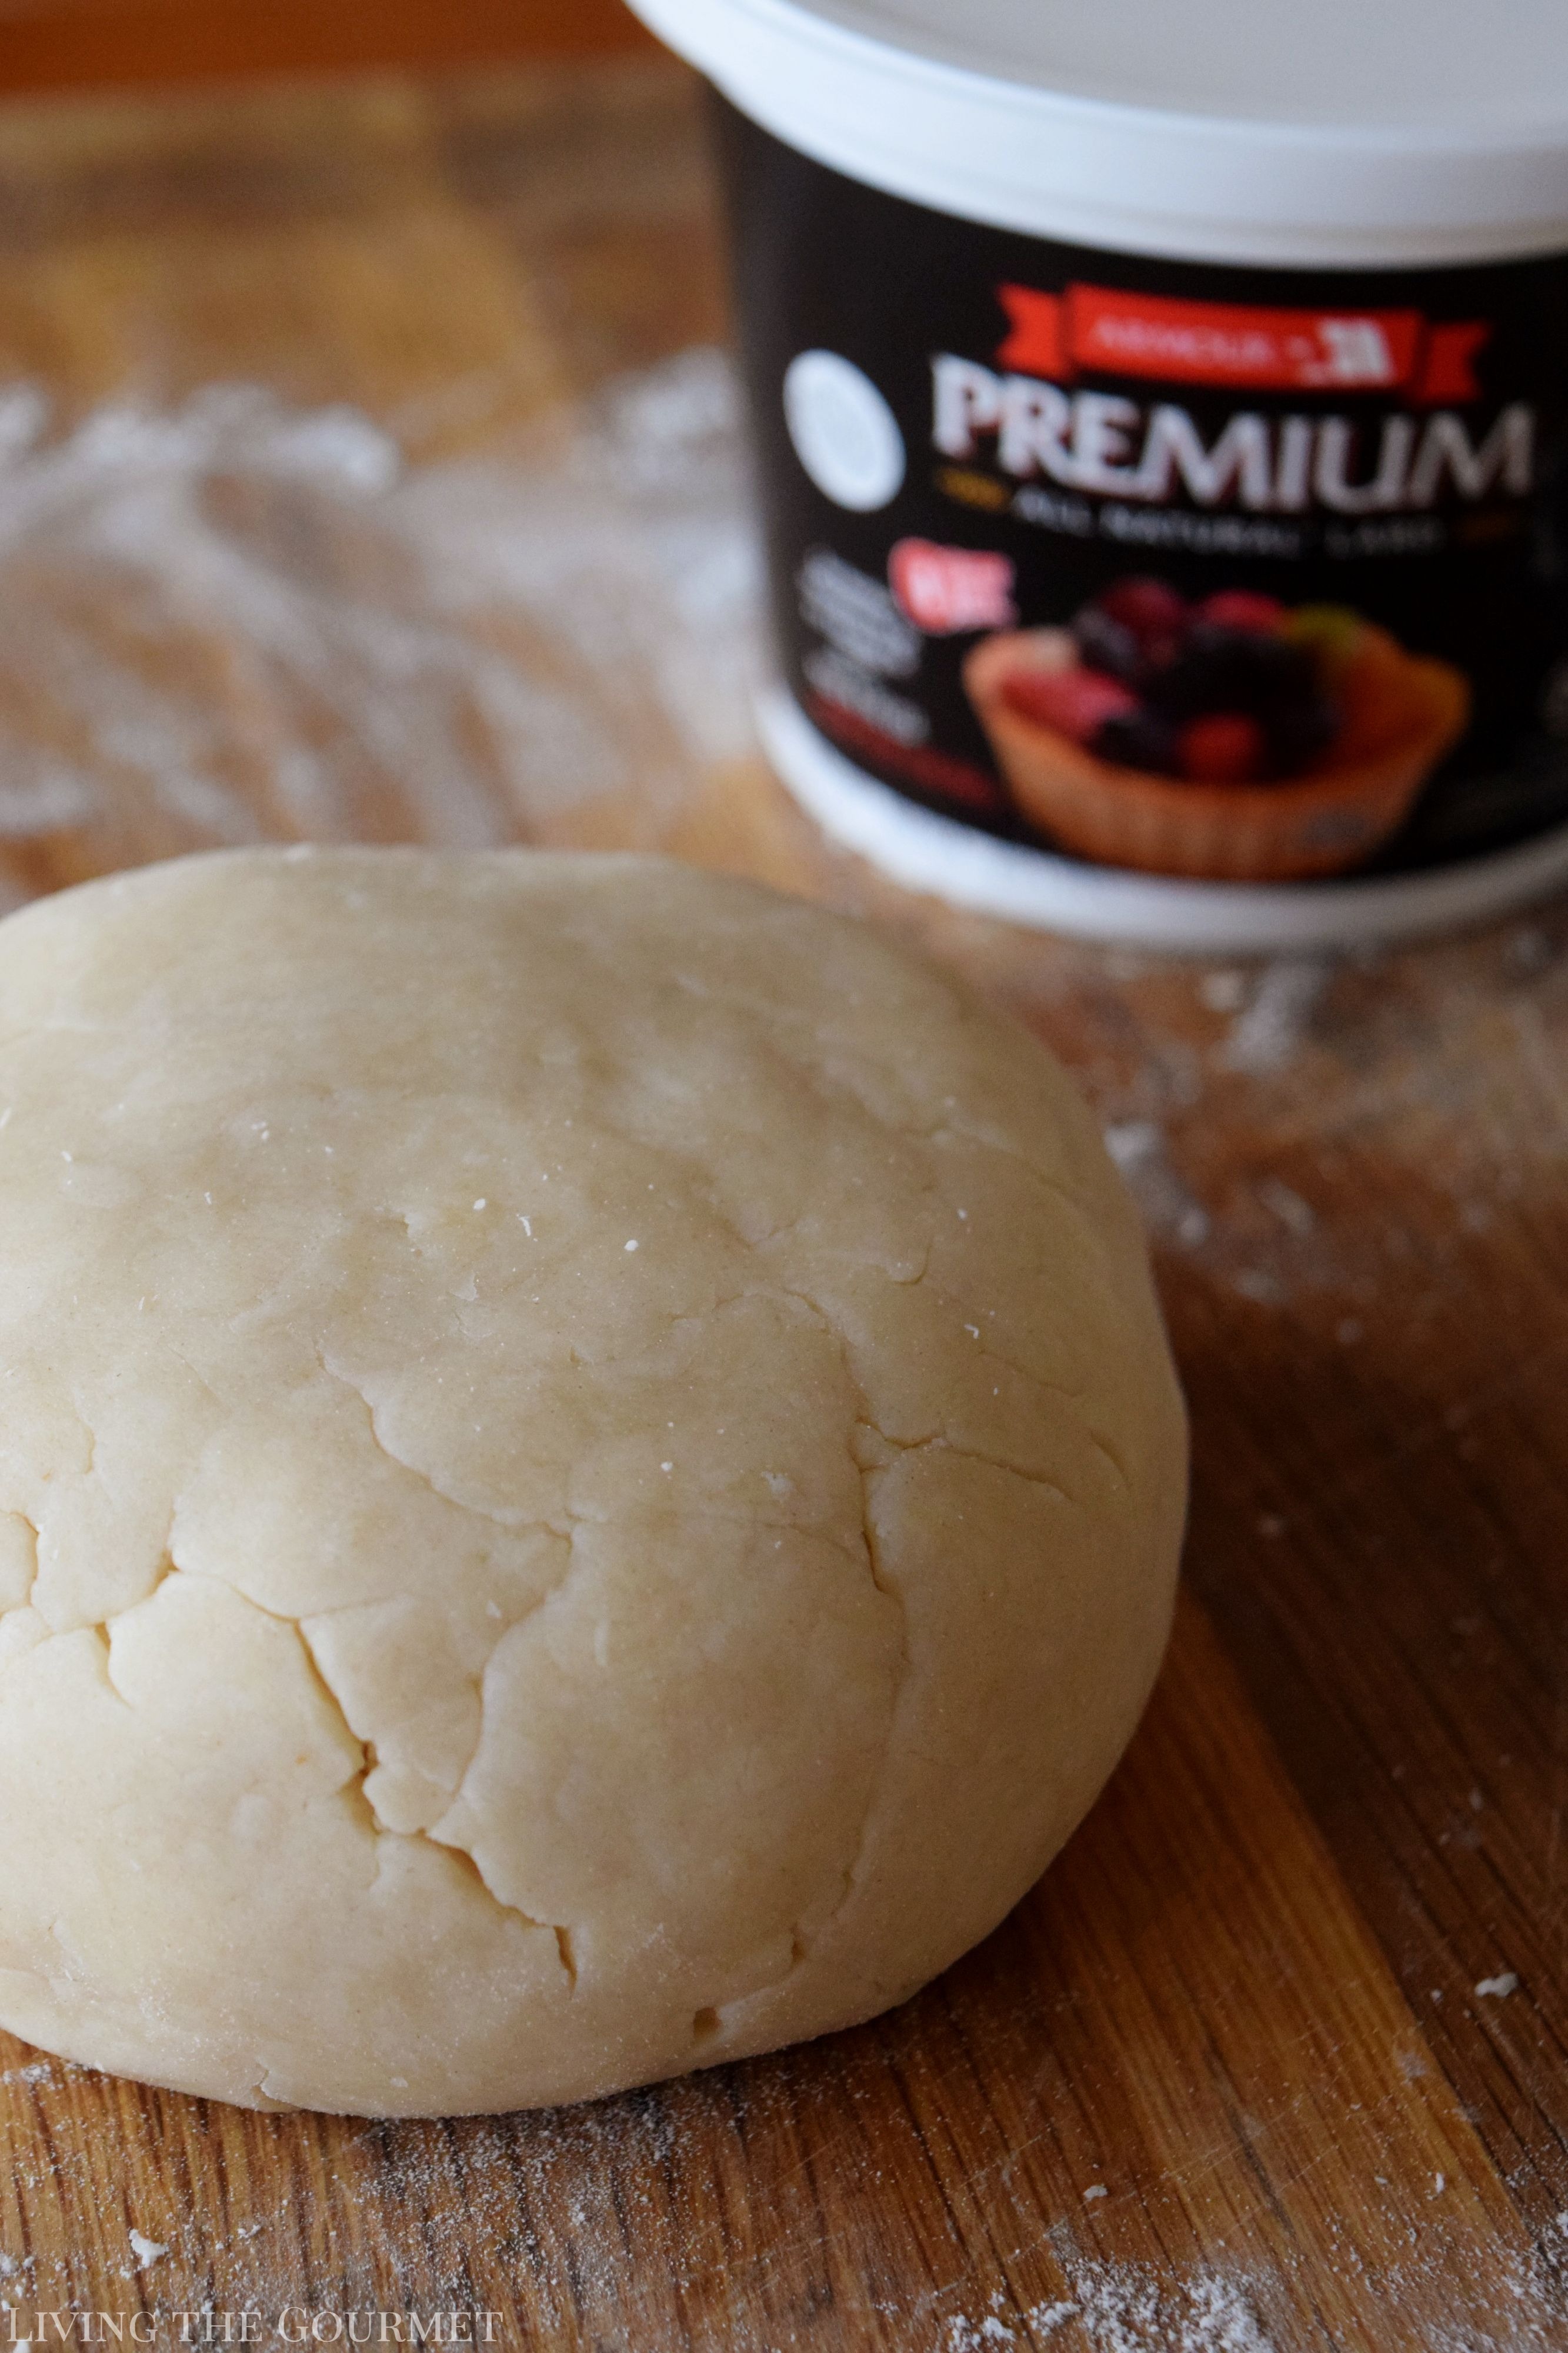
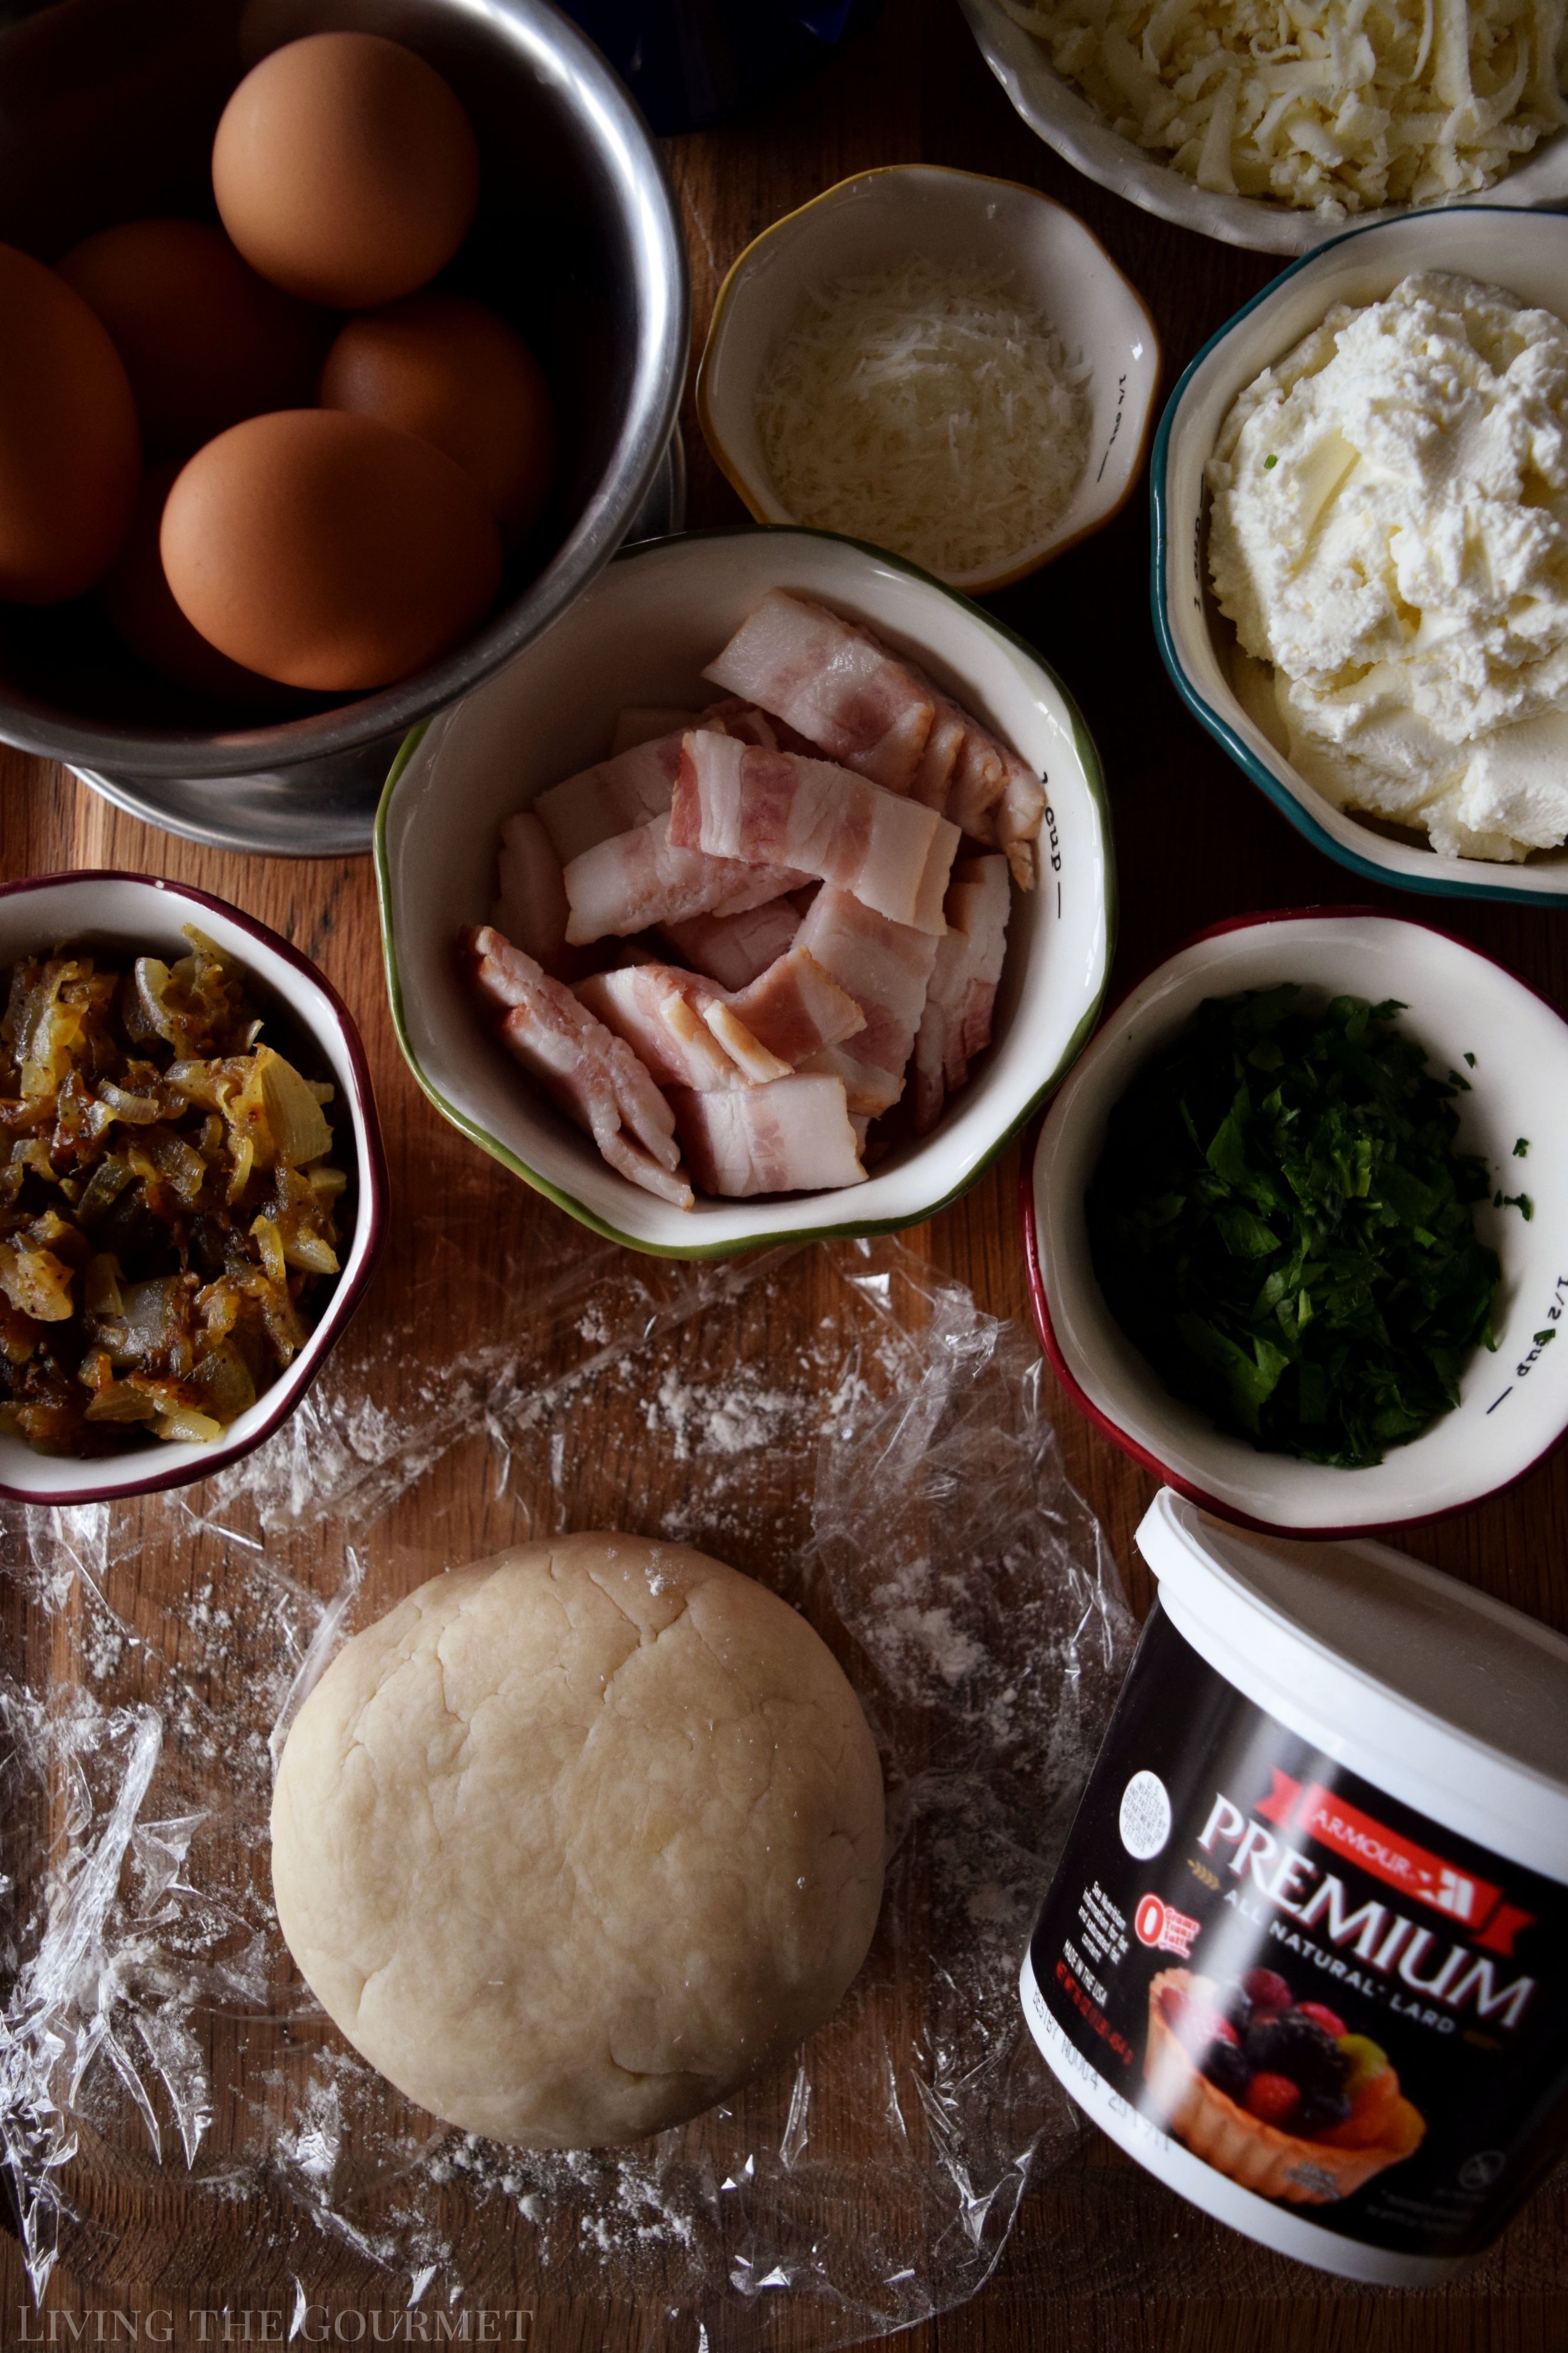
To start things off, we begin by blending together two cups of all-purpose flour with three-quarters of a cup of Armour Premium All-Natural Lard, four tablespoons of water, and a teaspoon of salt. During the blending process, you may need to add slightly more water, you want a moist but workable dough. Once that’s done, turn the dough out onto a floured surface and shape it into a disk as pictured below. Wrap the ‘disk’ in cling film, and refrigerate it for about twenty minutes.
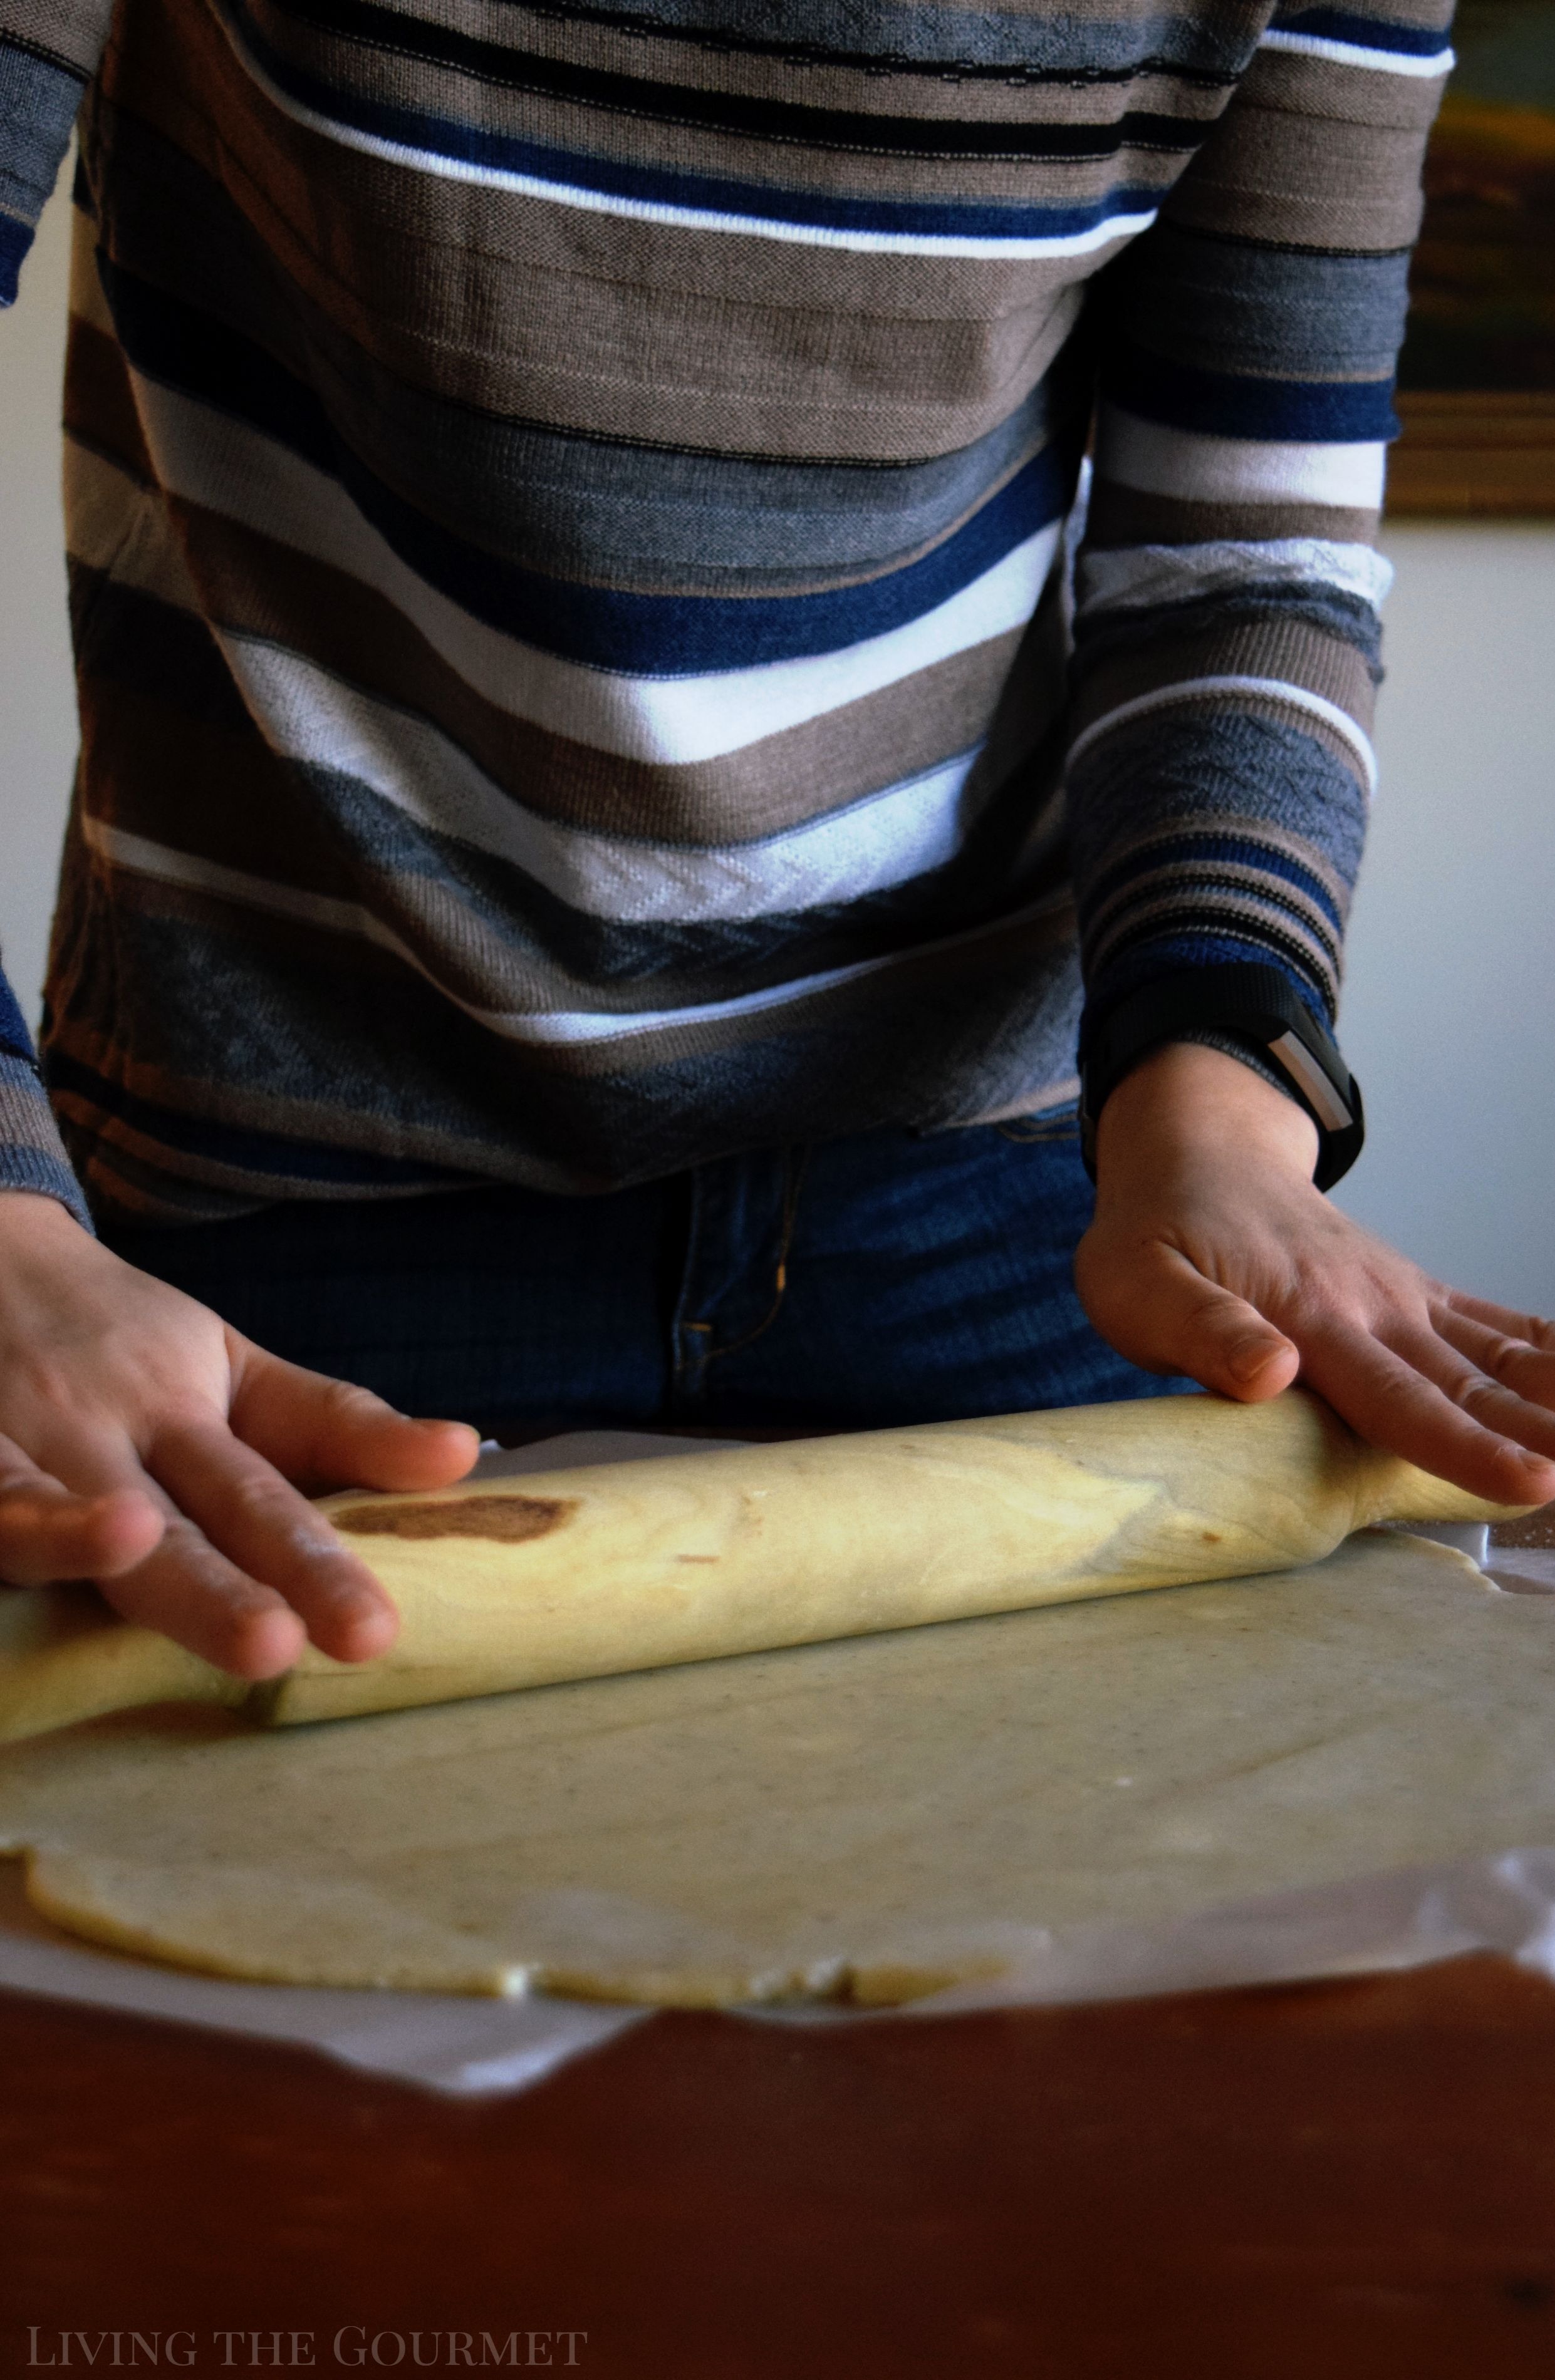
While the dough is cooling, preheat your oven to350F, and line a springform pan with parchment. Once the pan is lined, roll out of the dough onto a floured surface until its about a quarter of an inch in thickness, and then gently transfer the dough to the prepared pan, being careful not to rip or ‘pull’ it during the process, and shape the dough to fit the pan.
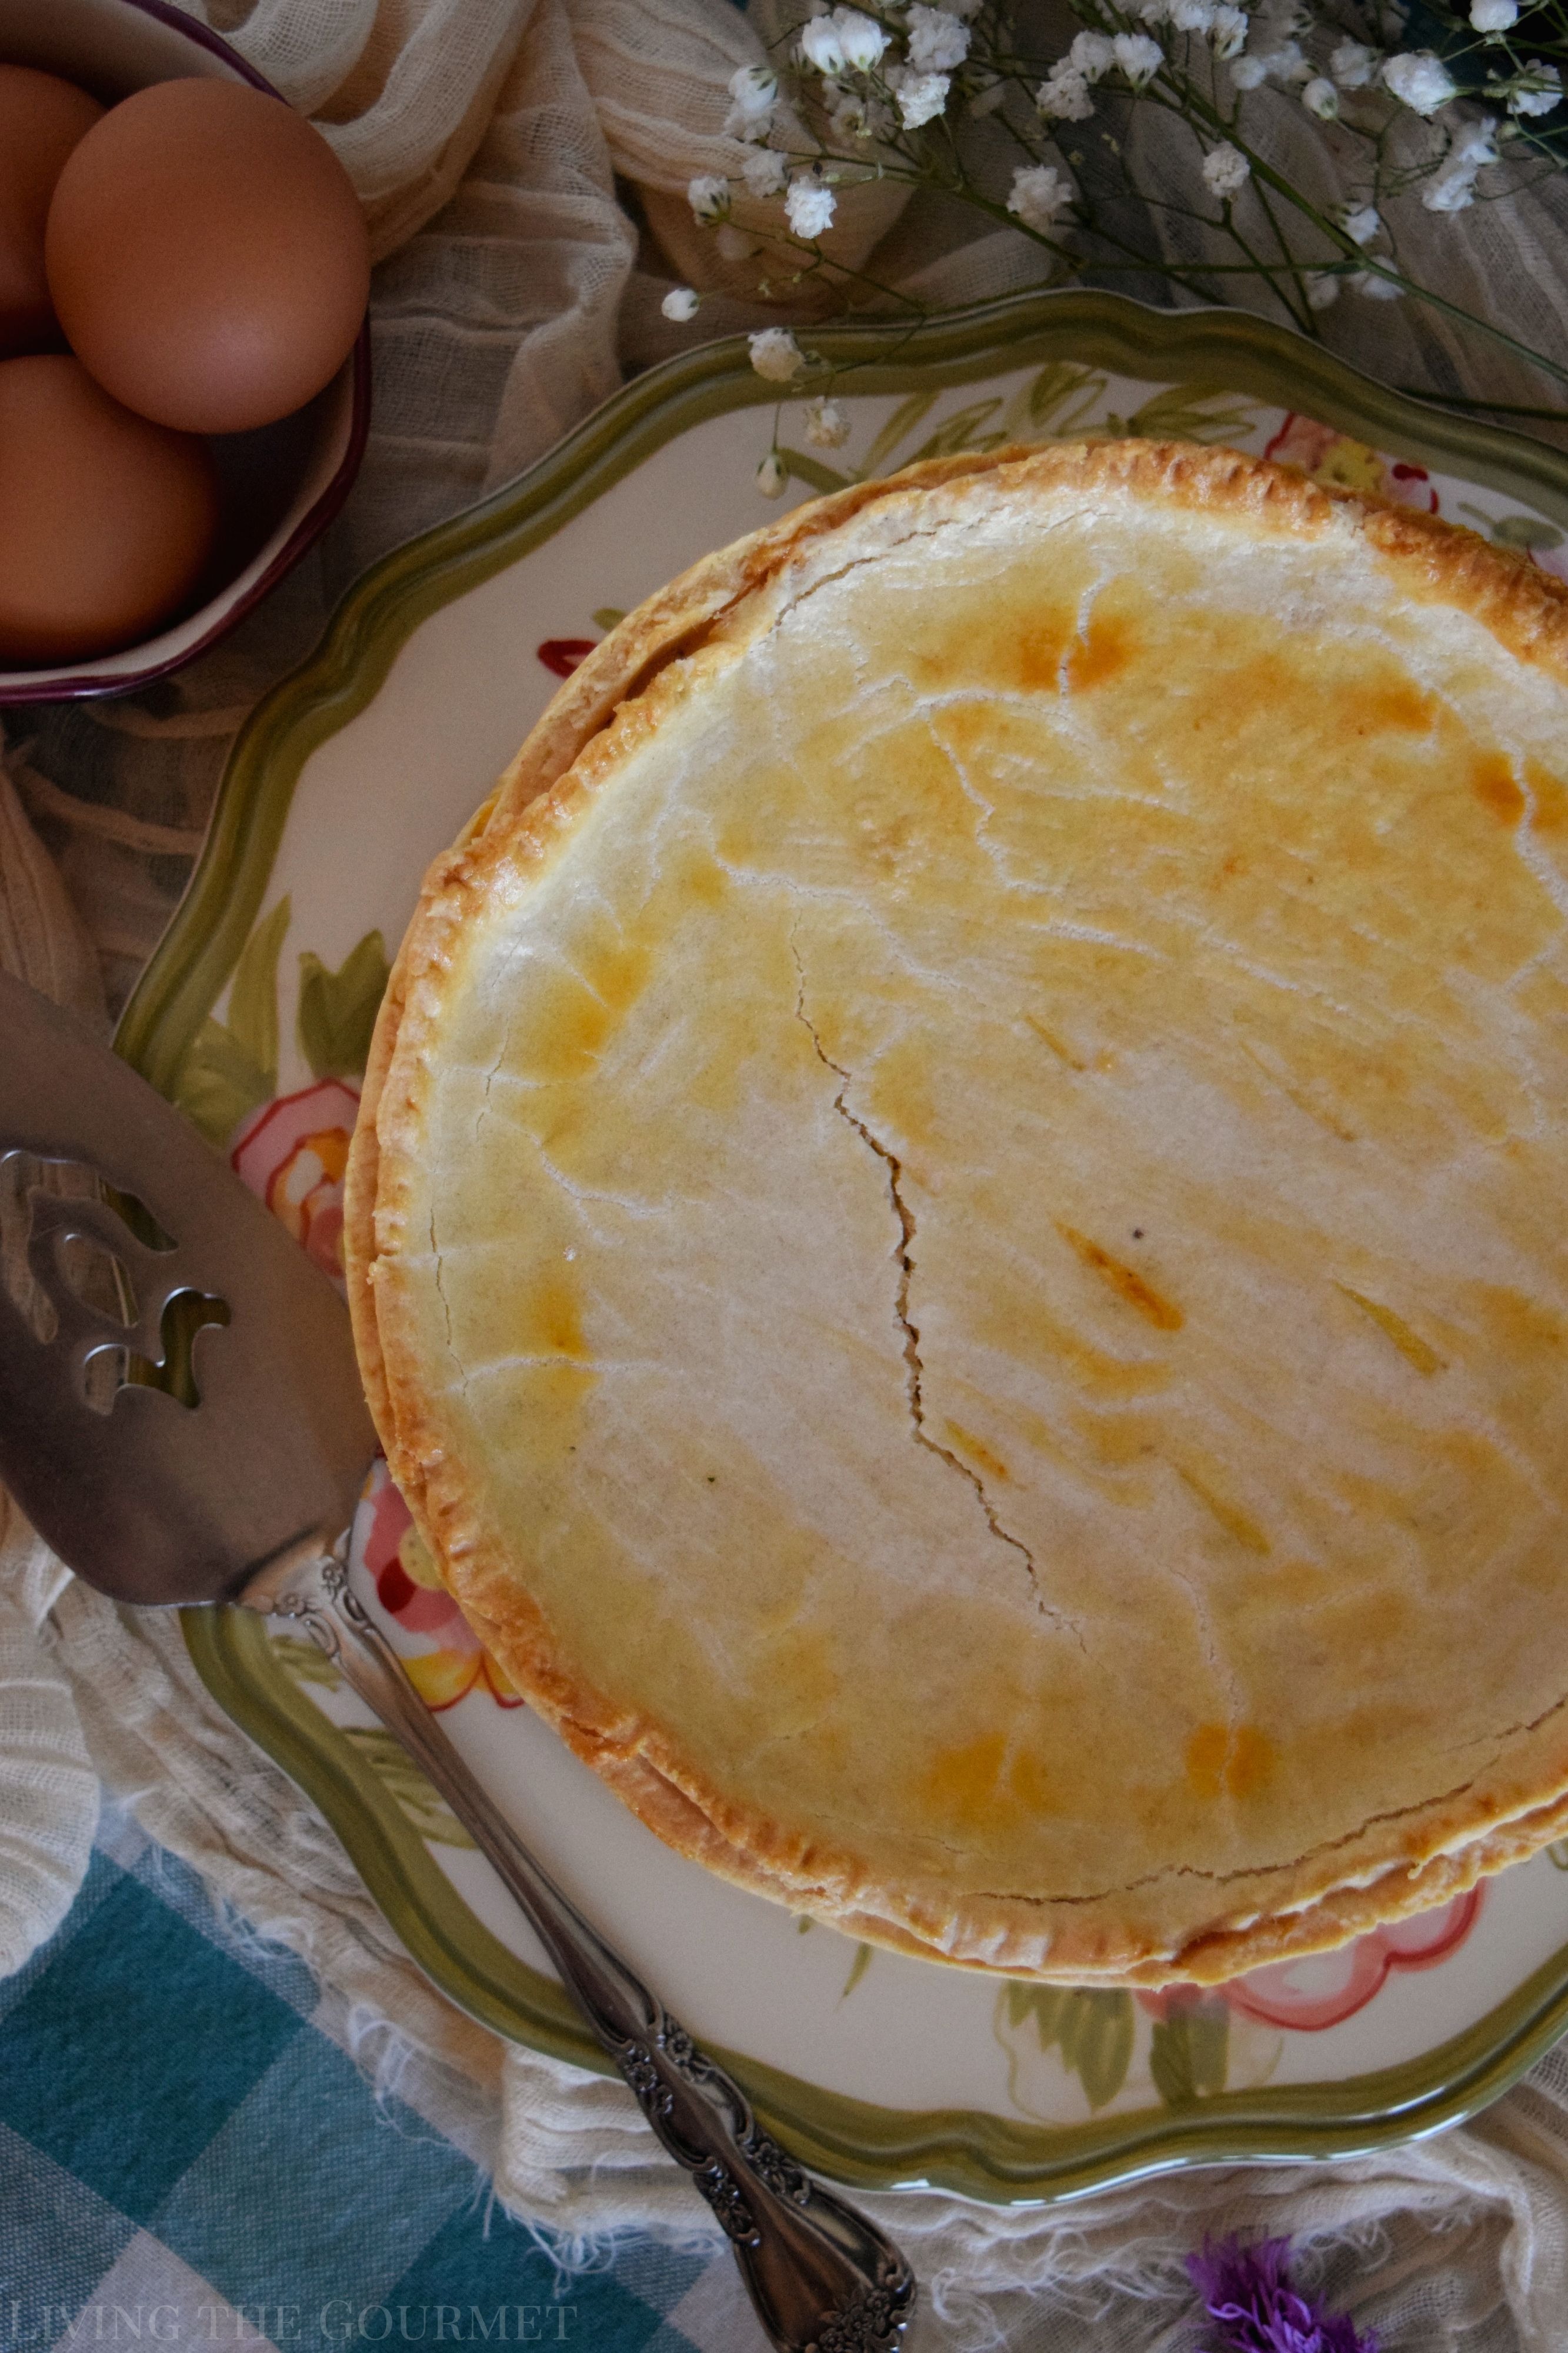
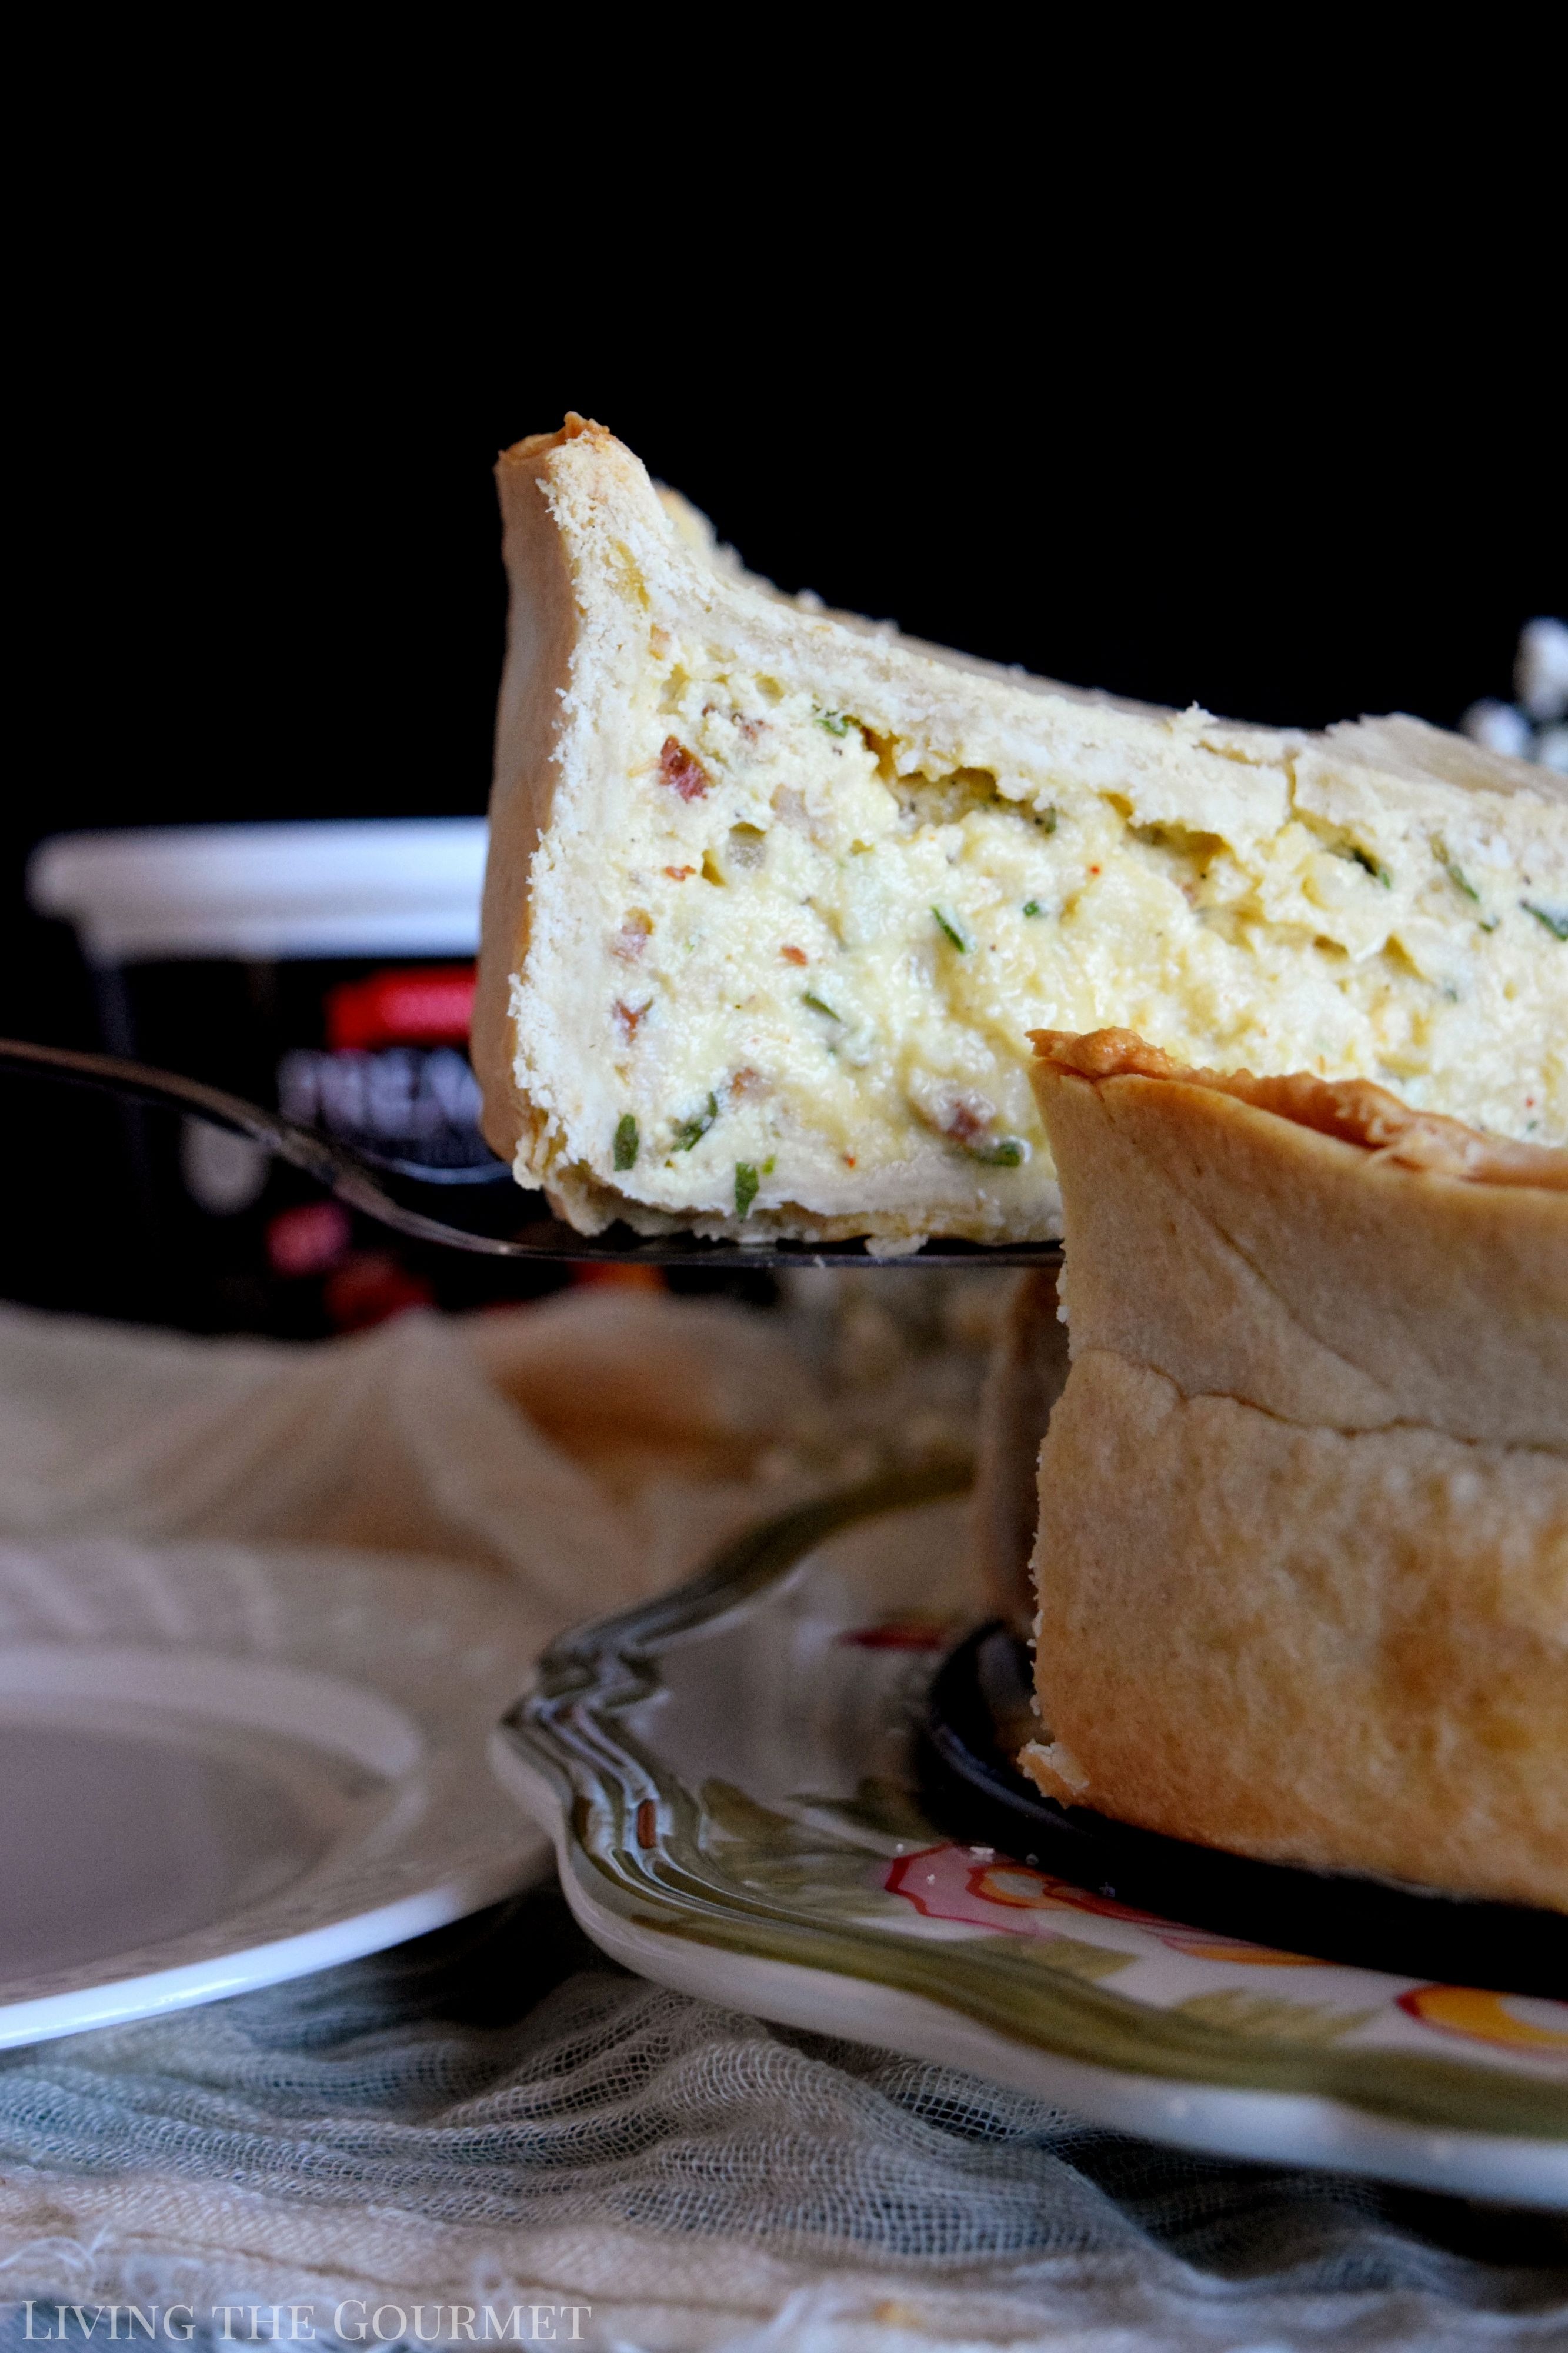
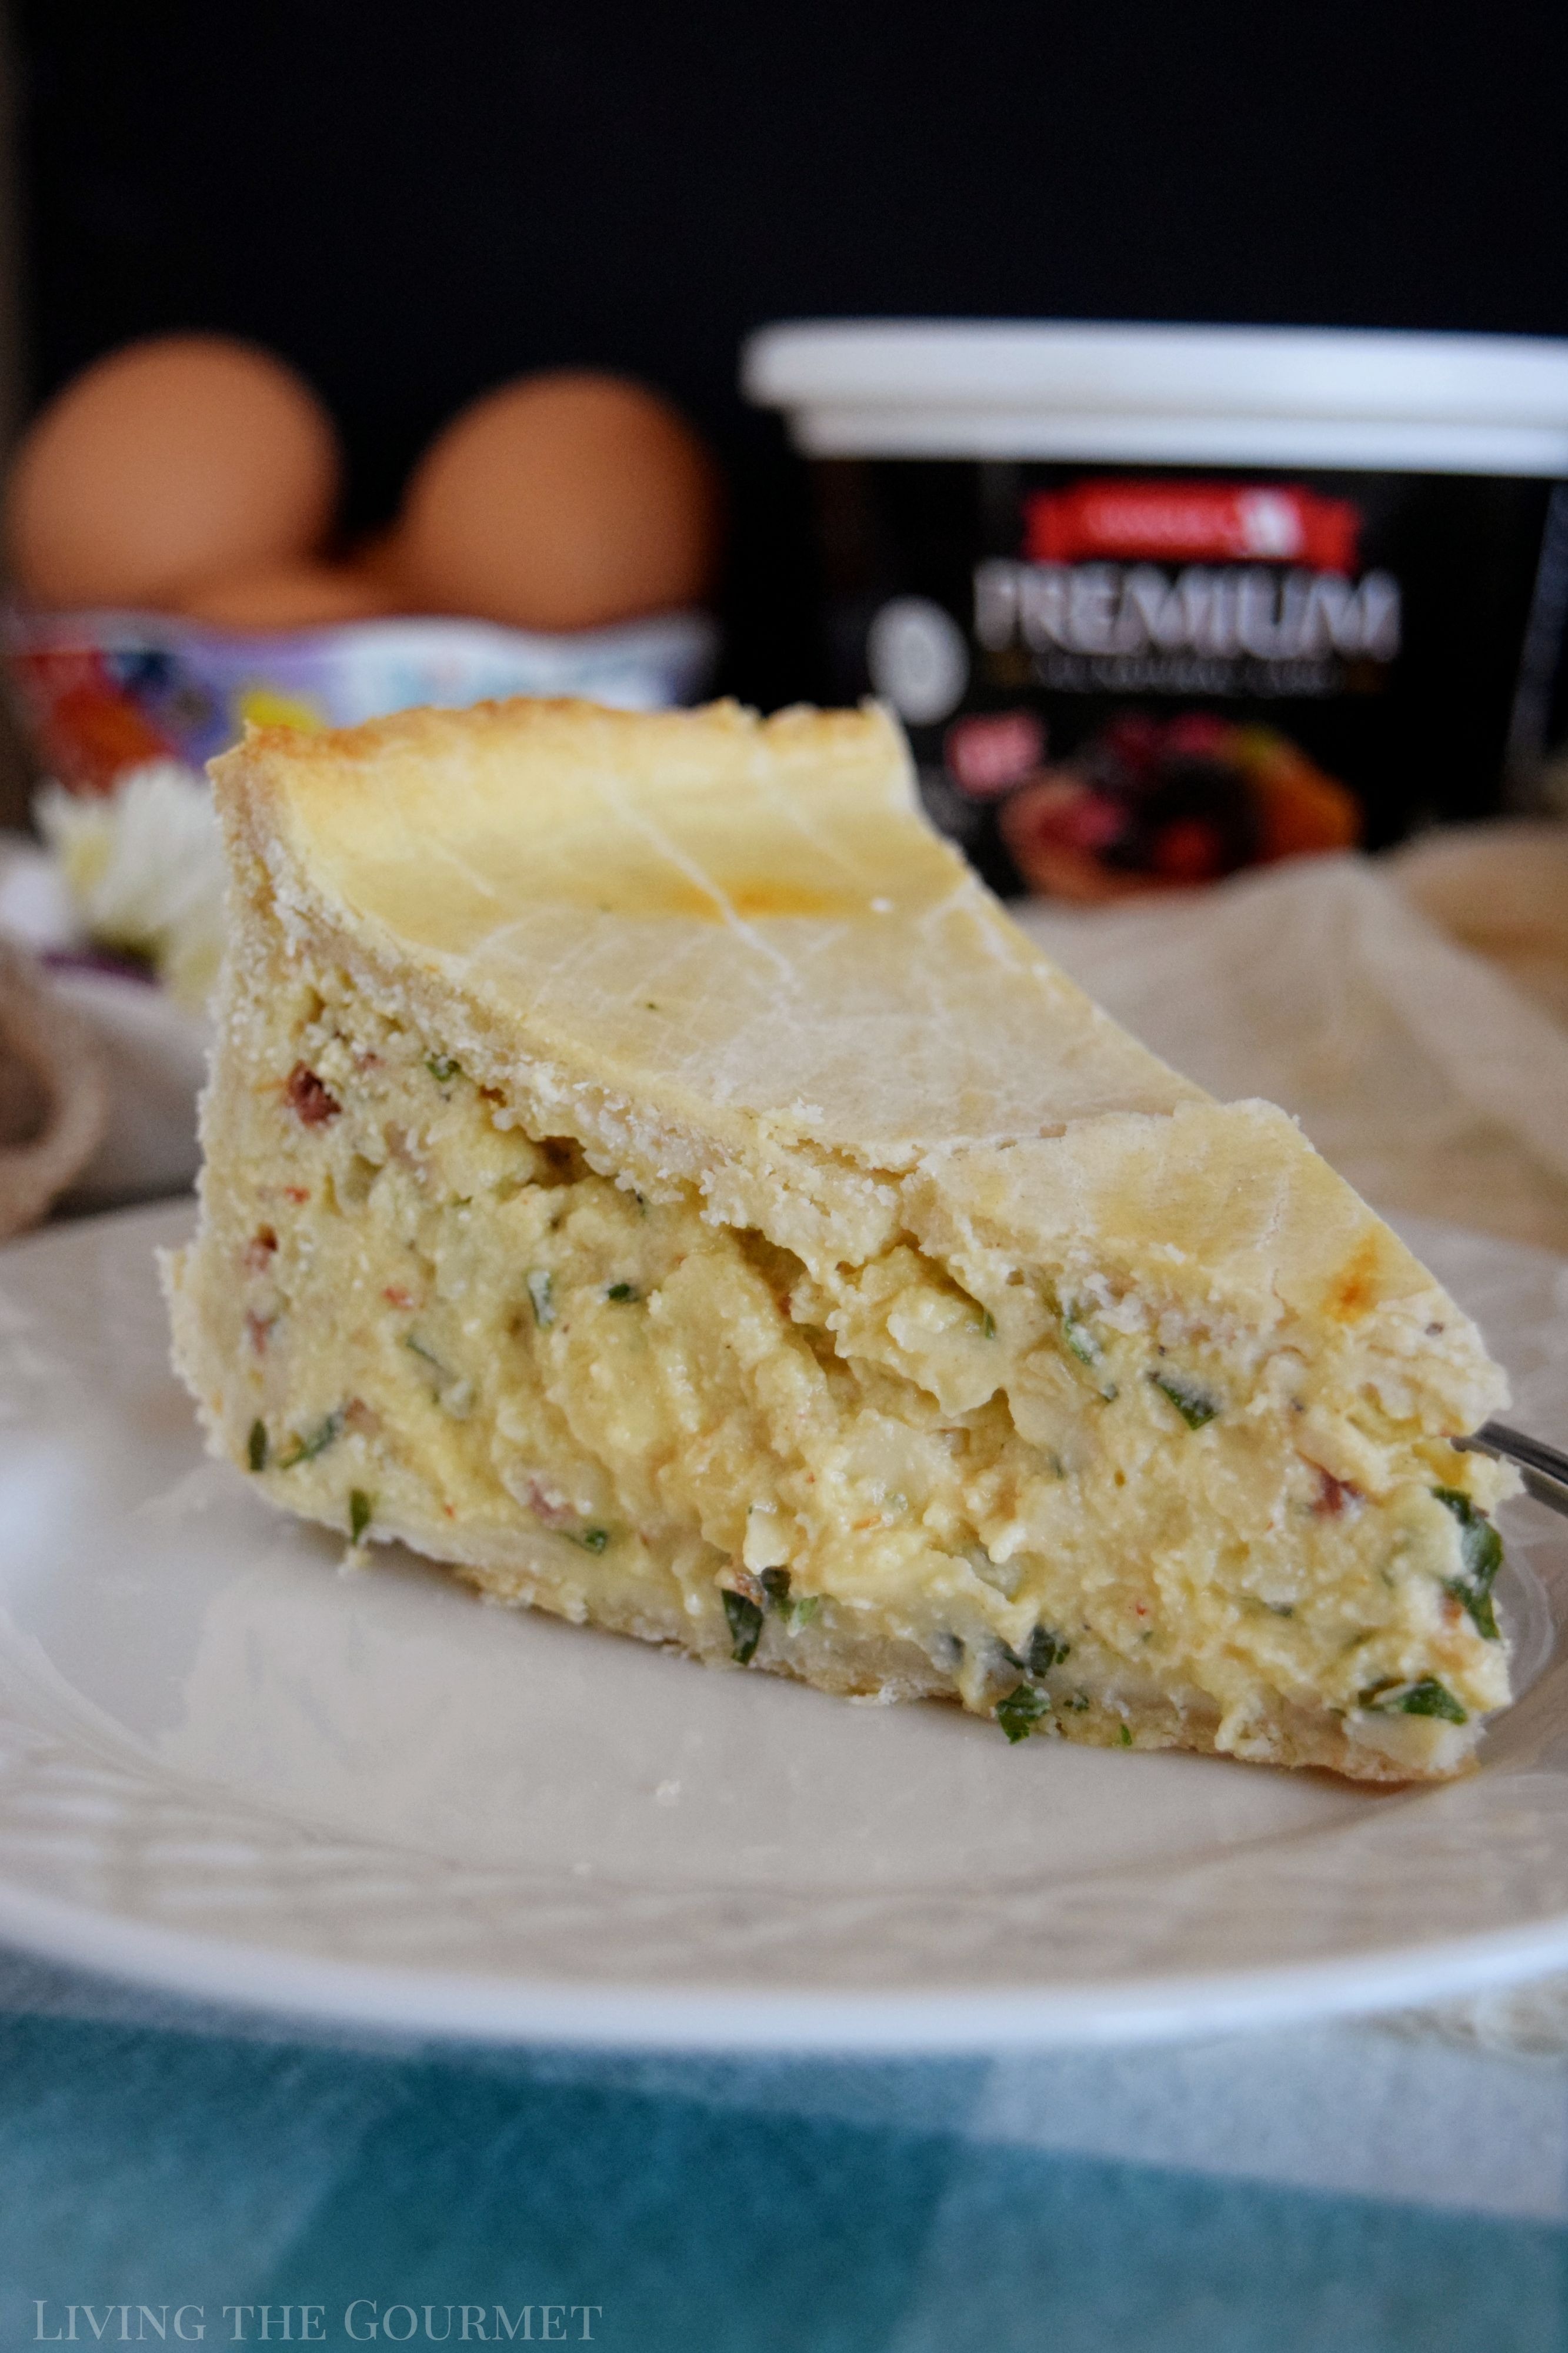
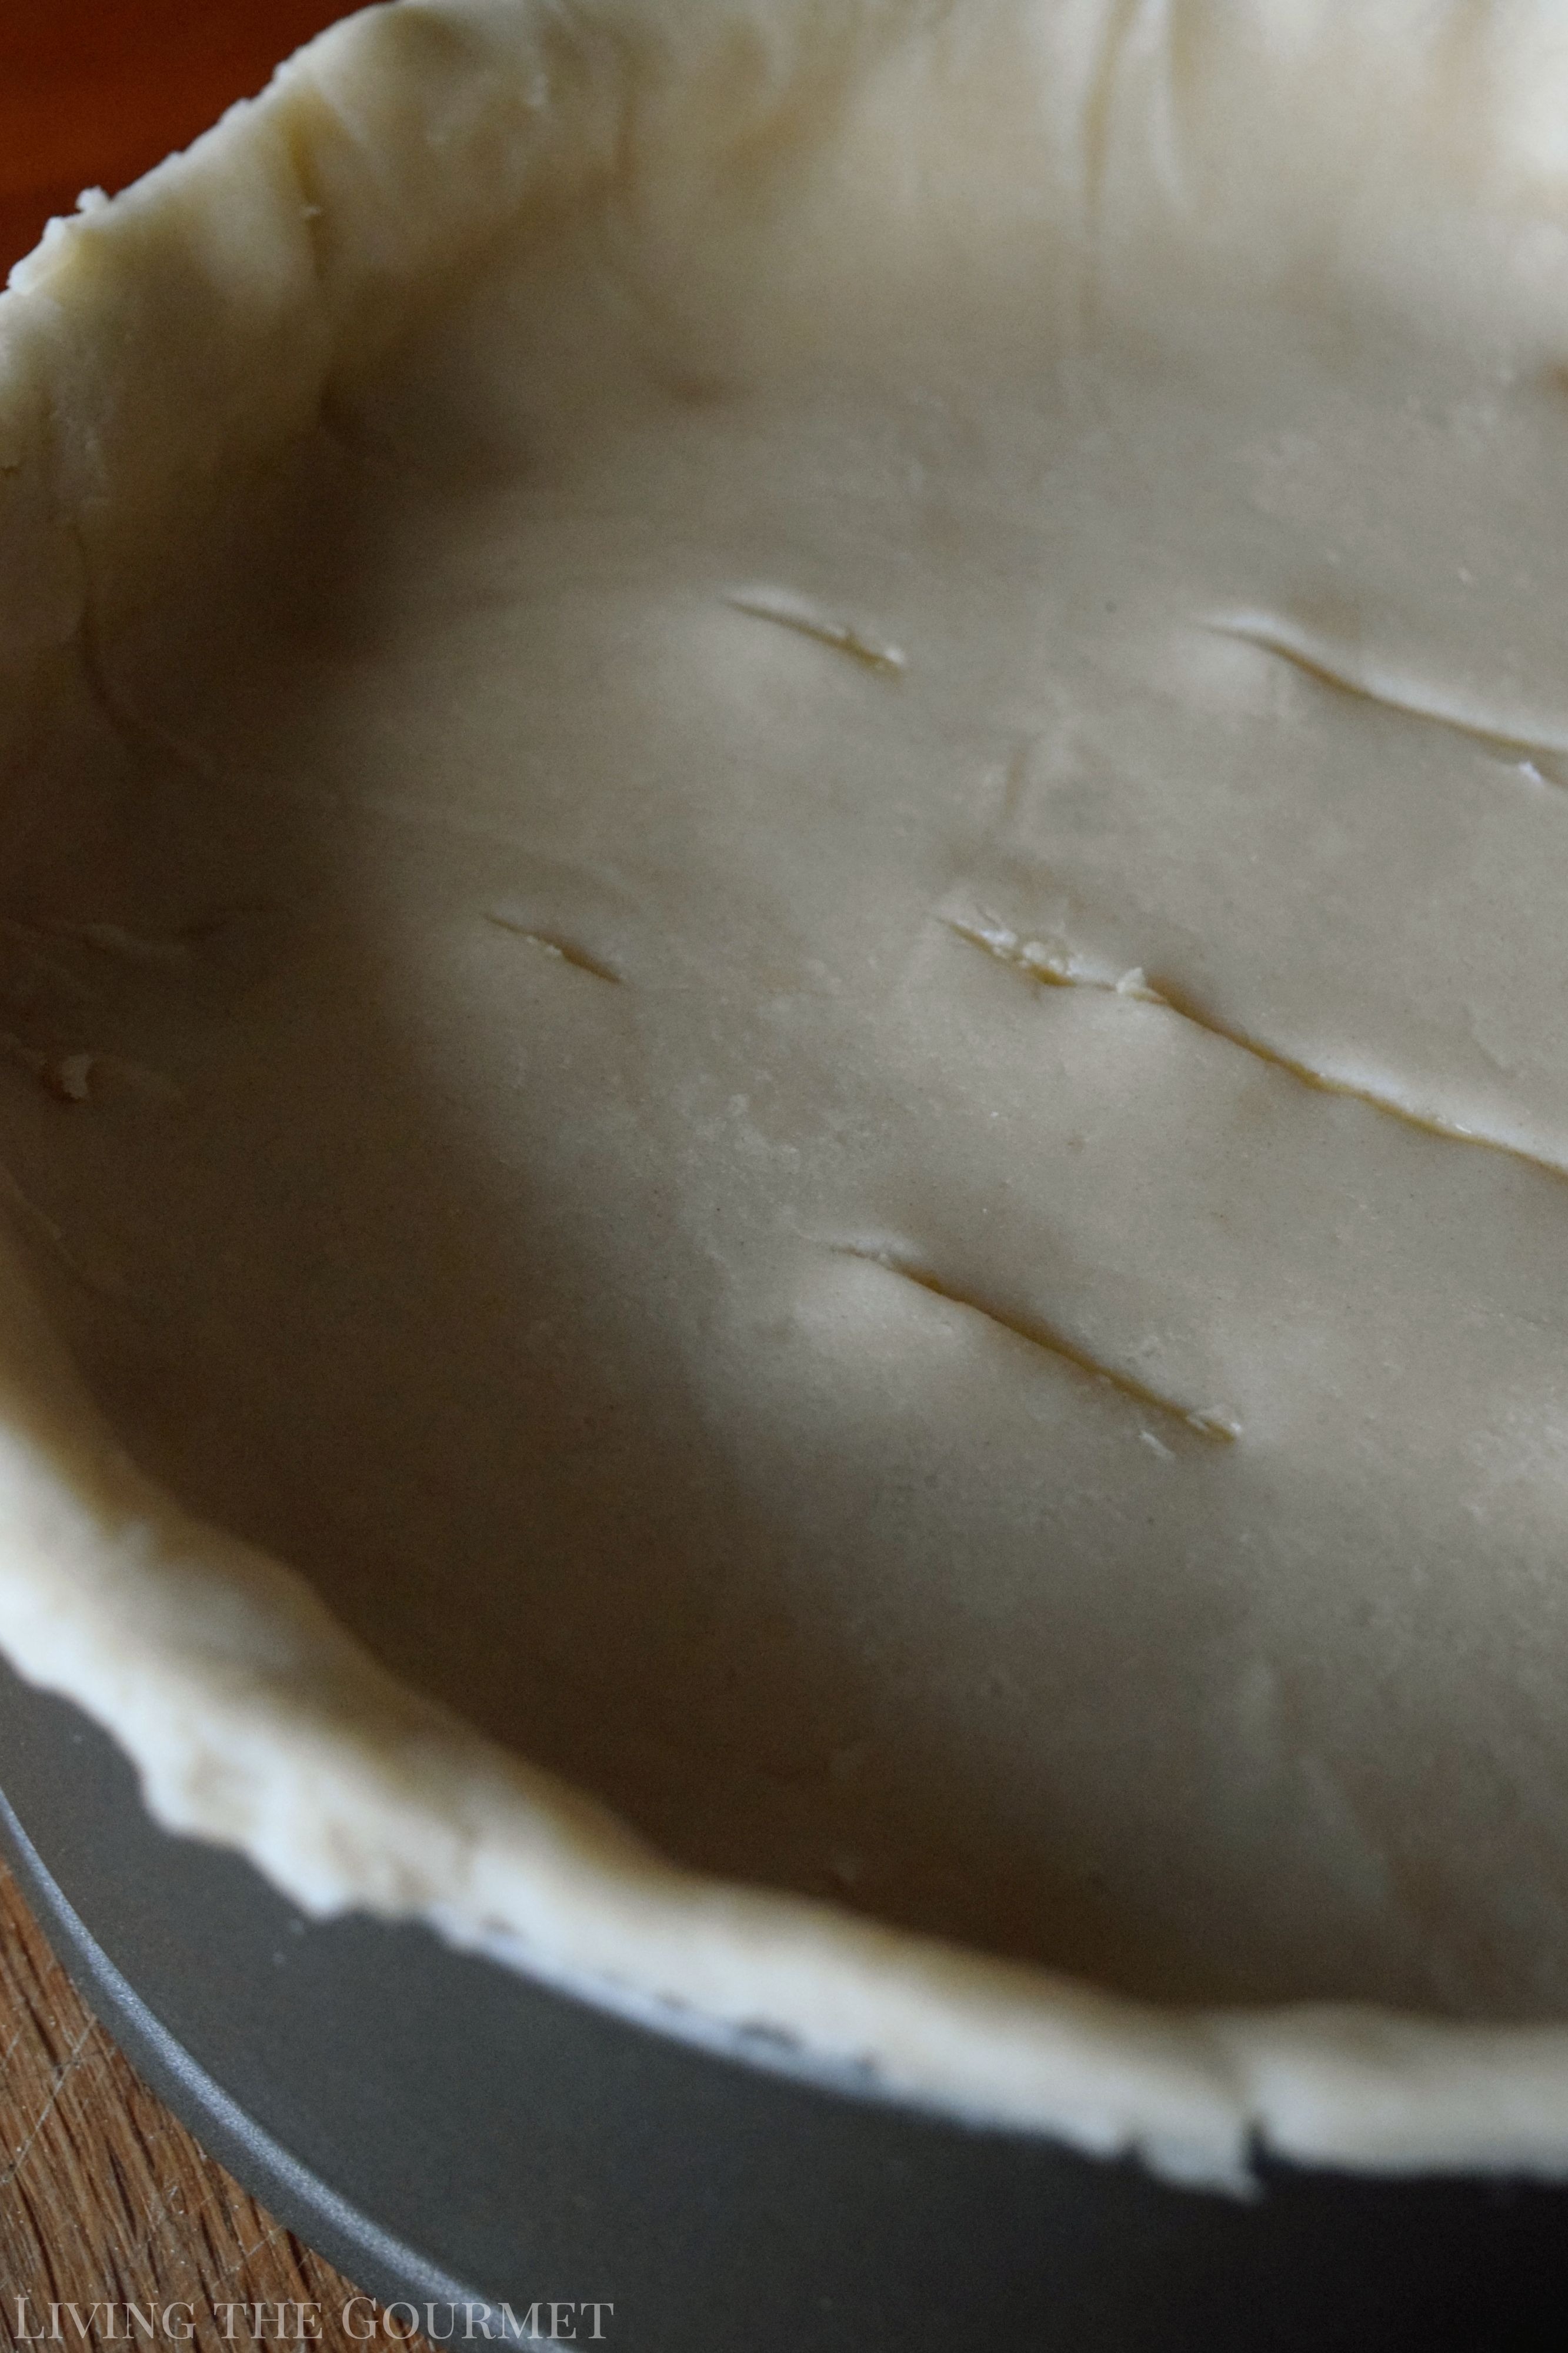
After that cook the bacon to a nice crispness and sauté the onions and garlic until the onion slices are well caramelized. Then, in the bowl of your mix master of choice, with the paddle attachment, beat together the eggs and the milk, and then add in the onions, the crisped bacon, parsley, milk, cheese, salt and pepper. Then pour this filling into the pie shell, and roll out the remaining dough to cover the ‘pizza,’ poke the top to create a few holes as you would with a pie, and then cook for about forty to forty-five minutes until the crust is golden and the center has puffed up slightly…like a pie…or a quiche. Yes, I’m as confused as you are, but this is, I promise you, a pizza…just roll with it.
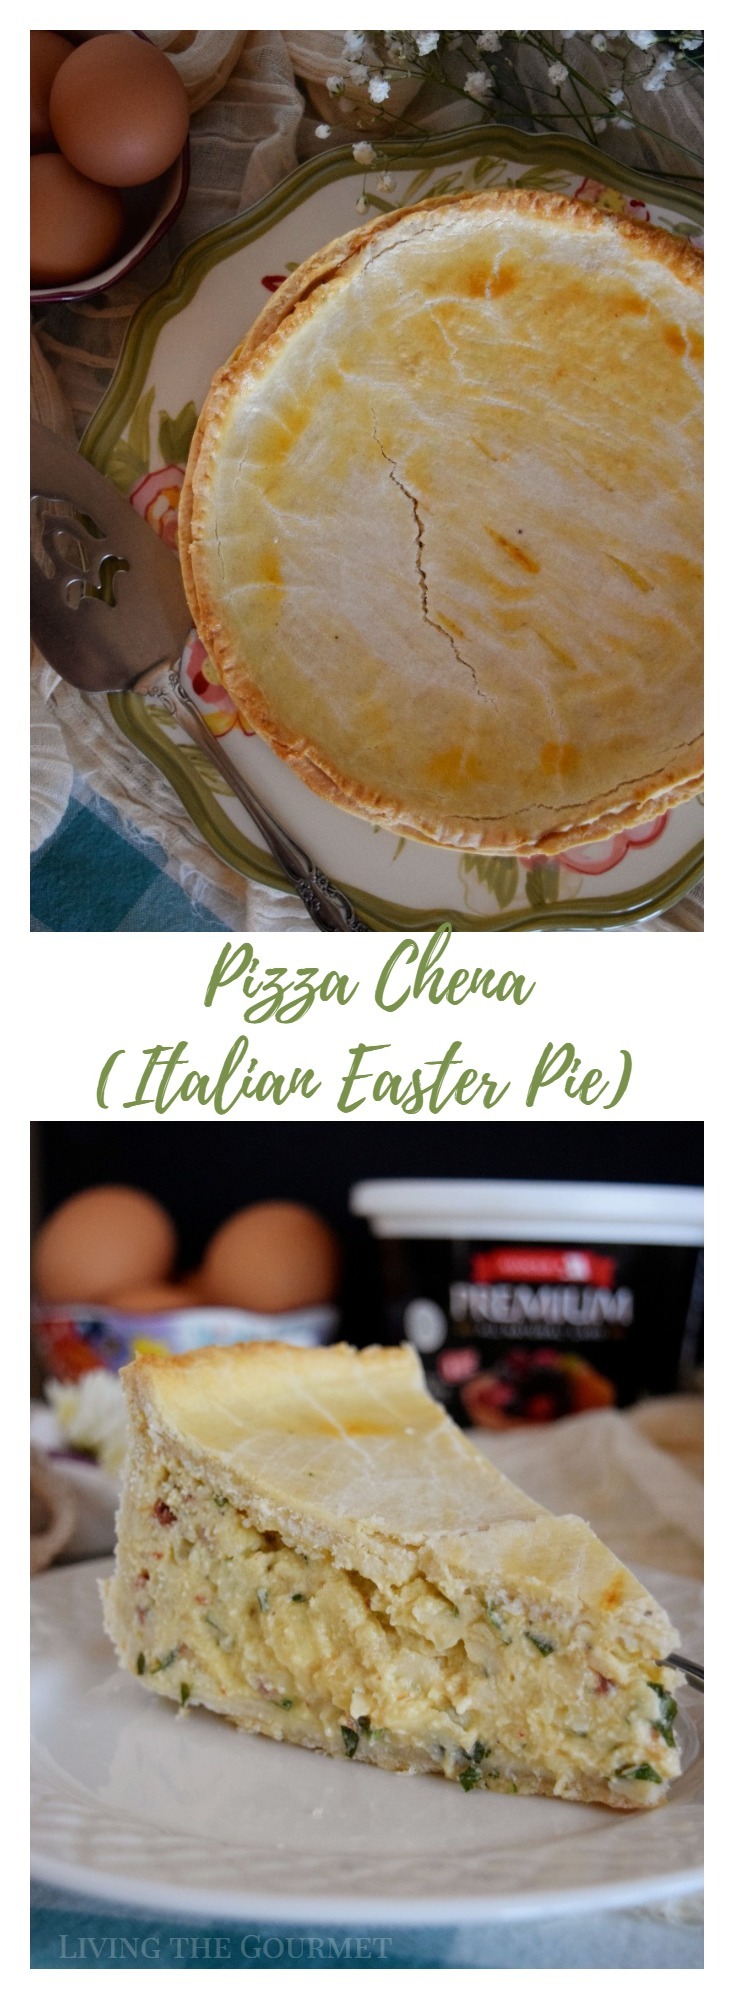
Pizza Chena (Italian Easter Pie)
- Total Time: 55 minutes
- Yield: 6-8 1x
Ingredients
Crust:
- 2 cups AP flour
- 3/4 cups Armour Premium All-Natural Lard
- 1 teaspoon salt
- 3-4 tablespoons ice water
- 1 egg beaten, for brushing the top of the crust
Filling:
- 6 organic eggs
- 1 cup skim ricotta
- 1/2 cup skim milk
- 1 cup bacon or pancetta, chopped
- 1/3 cup parsley, minced
- 1/2 sweet onion, finely chopped
- 2 cloves garlic, grated
- 1 cup skim mozzarella, grated
- 1/4 cup grated parmesan cheese
- salt and pepper to taste
Instructions
For Crust:
- Blend all ingredients for crust in a food processor. Add more water if needed until a soft dough comes together. Turn out onto a floured surface and shape into a disk. Wrap in cling film and refrigerate for at least 20 minutes.
- Preheat oven to 350 degrees F. and line a spring form pan with parchment paper.
- Roll out the dough onto a floured surface to 1/4-inch thickness. Carefully transfer the dough to the prepared pan and shape to fit all sides of the pan. Trim the sides and save the reserved dough for the topping. Prick the bottom of the crust with a fork and blind bake for about 10 minutes, remove and let rest to cool slightly.
- In a small saucepan, saute the grated garlic and chopped onions until caramelized, transfer the onions to a separate bowl and in the same pan, cook the bacon. In the bowl of a mix master with the paddle attachment, beat eggs and milk together. Add in the sauteed onions and bacon, parsley, milk, cheese, salt and pepper.
- Pour the prepared filling into the cooled pie shell. Roll out the remaining dough and cover the pizza. Poke the top gently with a knife, brush with a beaten egg, and bake for about 40-45 minutes or until gold and the center has set and puffed slightly.
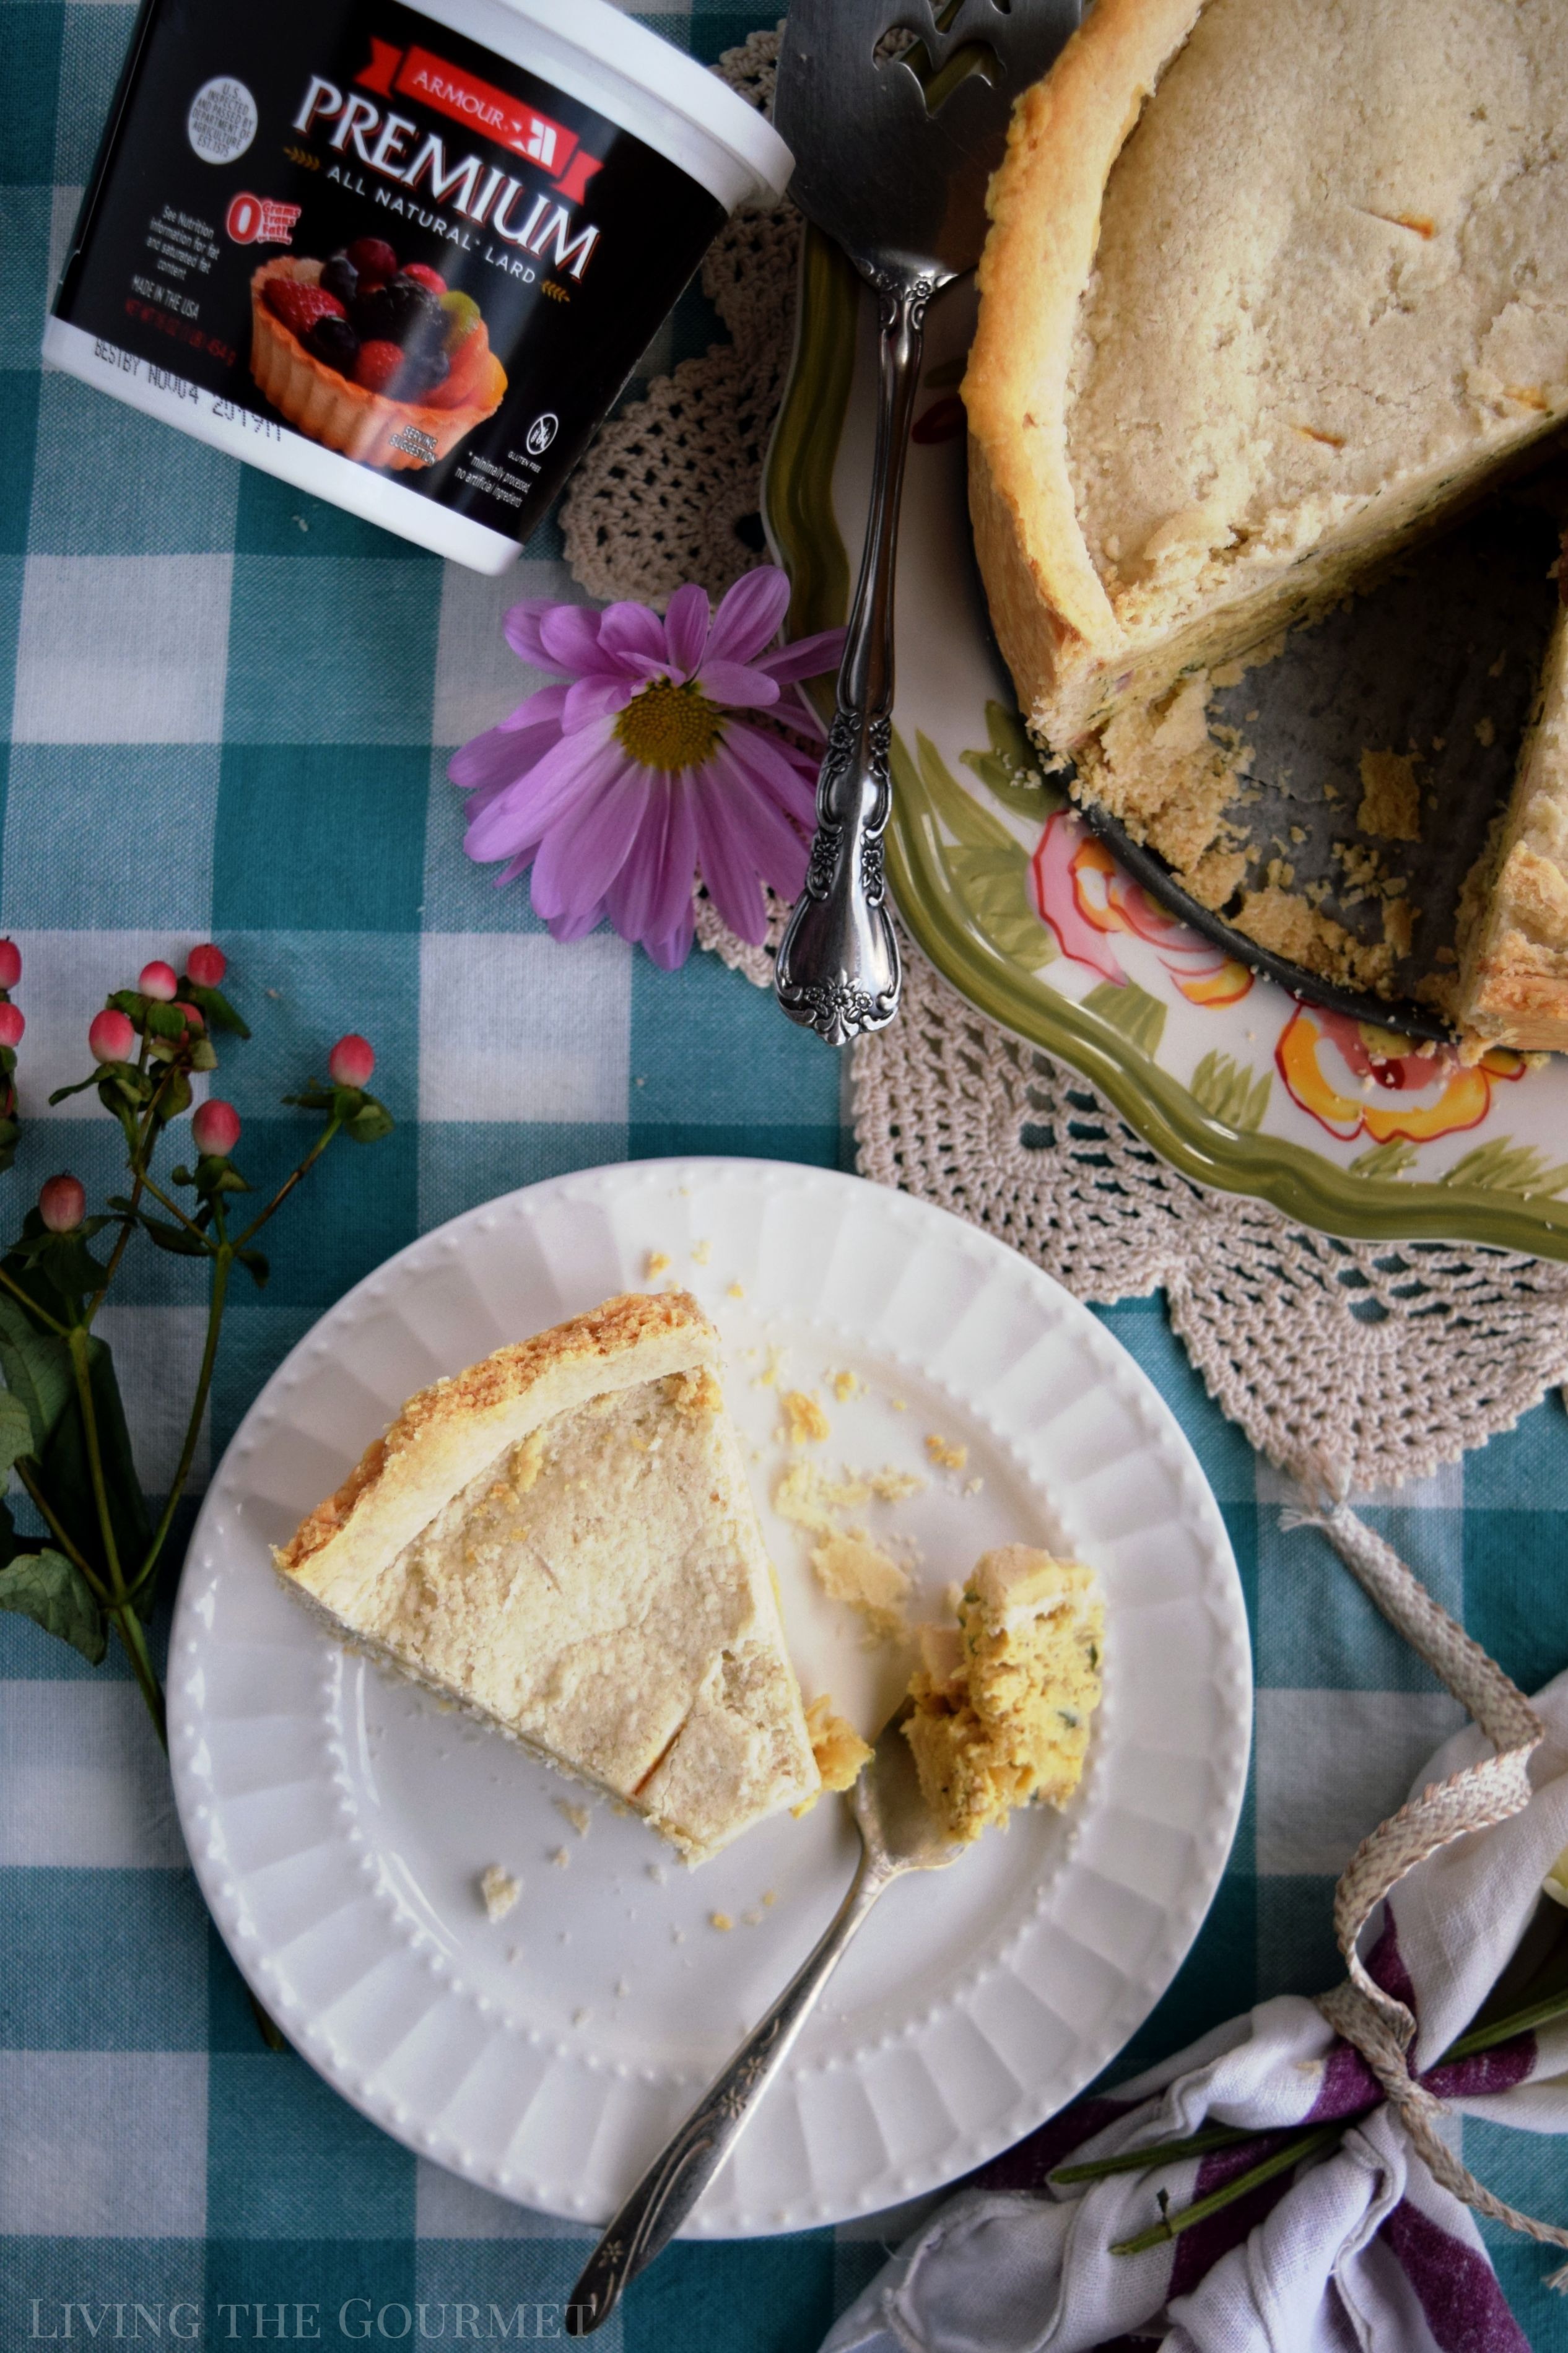
- Removed and let rest on a cooling rack. Best if served at room temp so the pie has time to set before slicing.
- Prep Time: 15 minutes
- Cook Time: 40 minutes
- Category: Breakfast
- Cuisine: Italian
Note, once this ‘pizza’ is done cooking, let it rest until it has reached room temperature before serving for best results – and you’re done.
Enjoy with Love!
**This post is part of a social shopper marketing insight campaign with Armour Premium All-Natural Lard, but all my opinions are my own. #pmedia #ArmourPremiumLard
3
Angie@Angie's Recipes says
Golden pastry and creamy cheesy filling...heavenly!
Big Daddy Dave says
Catherine, Now this brings back some great memories! When we lived in Chicago, our local Dominck's grocery store made Italian Easter (with sausage) pies every year for many years until they were bought out by Safeway. We'd buy 2 of them and feast on them for a couple of days. Thanks for the recipe! Take Care, Big Daddy Dave
Super Mom - No Cape! says
This sounds sooo delicious! My mom always makes her pie crusts with lard.
Lydia @ Thrifty Frugal Mom says
My mom was using this lard the other weekend when we were at her place and she was singing it's praises. I can't wait to try it myself! And this pizza looks amazing. Yum! Sound like another thing that I need to try. 🙂
kathy says
Hi Catherine. Your Easter Pie, as my family called it, looks amazing! My grandmother used pepperoni instead of bacon. Yes lard was a must. Happy Easter!
Alicia says
This sounds just like something my husband's family would love for Easter dinner
Michelle @ Vitamin Sunshine says
What a delicious and rich looking pie! I need to try this.
georgie says
this looks delicious! i haven't made pie for so long! would be perfect for easter lunch!
Janette | Culinary Ginger says
Growing up in England, my mum and my nana always used lard for baking and so many other things. This is a delicious pie that I'd love to eat at Easter.
Susie says
This looks like the perfect addition to Easter. Thanks for the great recipe!!
Kushi says
I am totally in love with the filling. Looks like a amazing recipe to try out this Easter.
2pots2cook says
My family's tradition was to use lard dozens of years ago to make dishes, both savoury and sweet, and if I manage to get some (pure) nowadays, I make the pies using it. It is very delicious and crusty. Also, I would like to thank you for reminding me of that Easter beauty; already printed to make ! Grazie mille !
mangafox says
Golden pastry and creamy cheesy filling...heavenly!
Karen (Back Road Journal) says
Easter Pie is one tradition that my husband loves. His mother used to make it and when she stopped, he continued making one every Easter.
Kim says
I've actually never used lard before. This looks absolutely delicious and I know I need to try it soon!
camile122 says
It’s really awesome. I love it.very interesting and meaningful post. I got some very important views in your post which are very good and applicable for me. I just wish that I’ll see your another post very soon. I am waiting for that.