
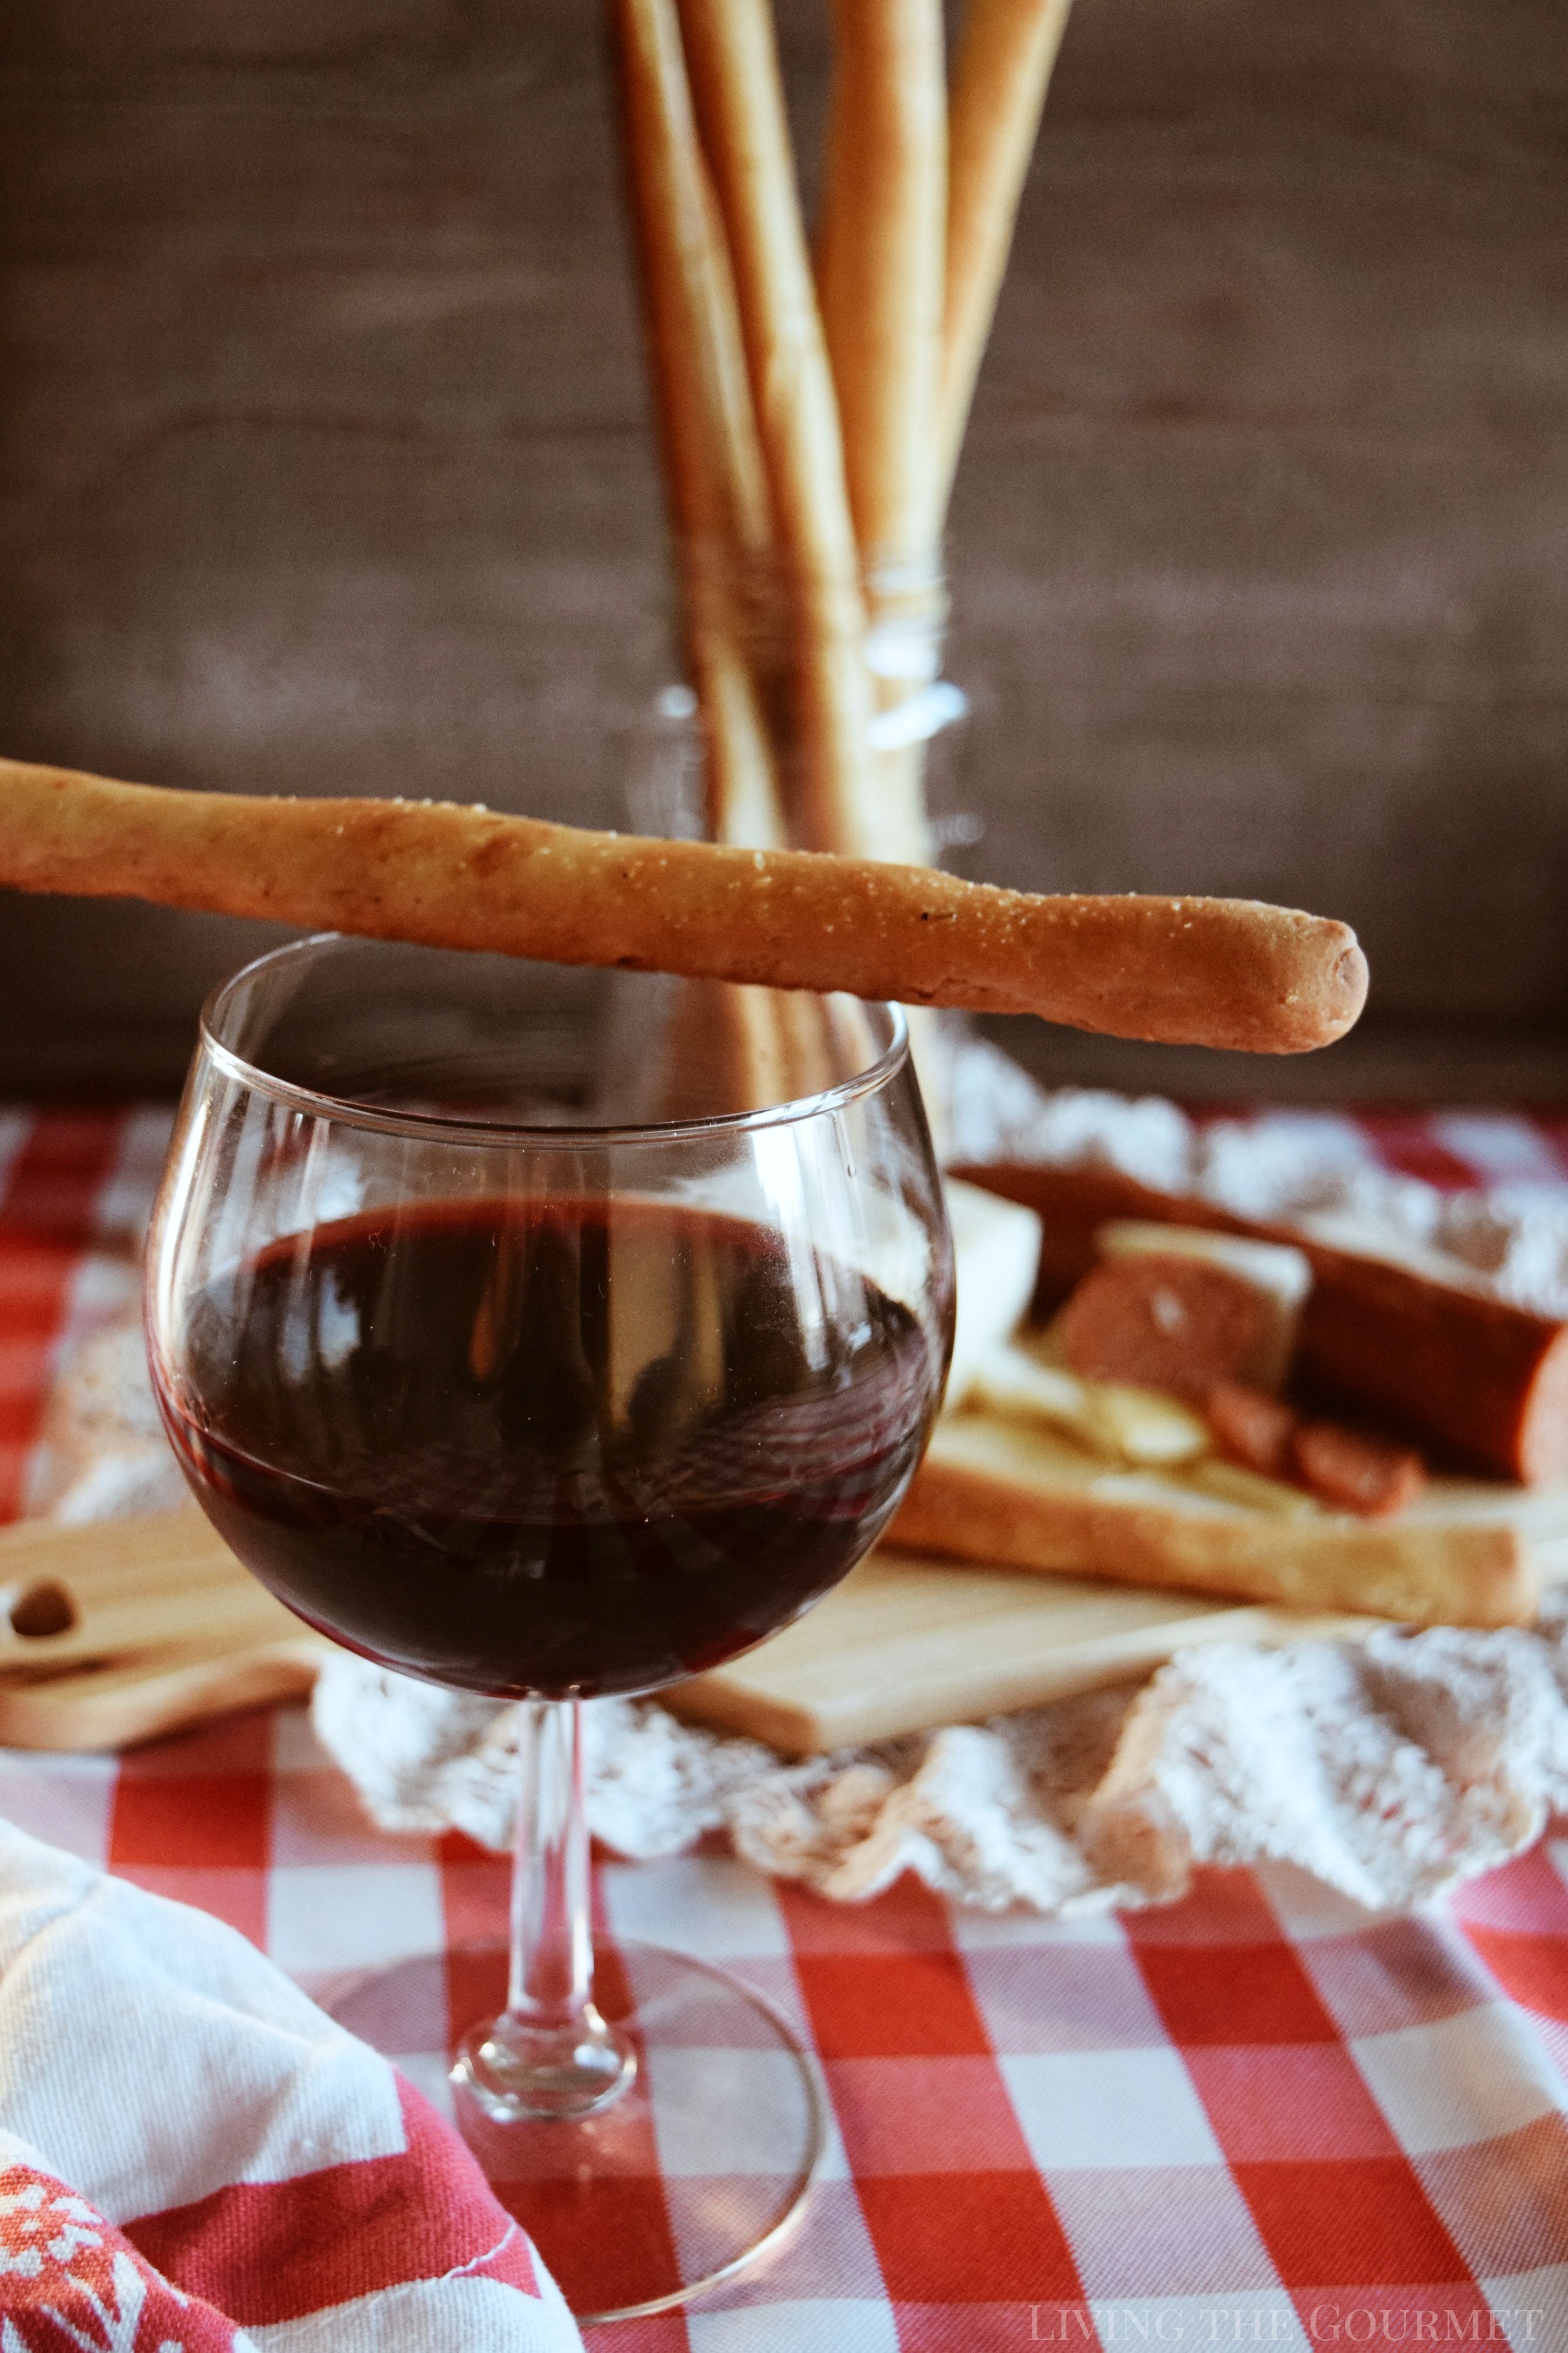
These Turin-style breadsticks are smooth with a soft interior. We've brushed ours with melted butter and herbs for an irresistible snack!
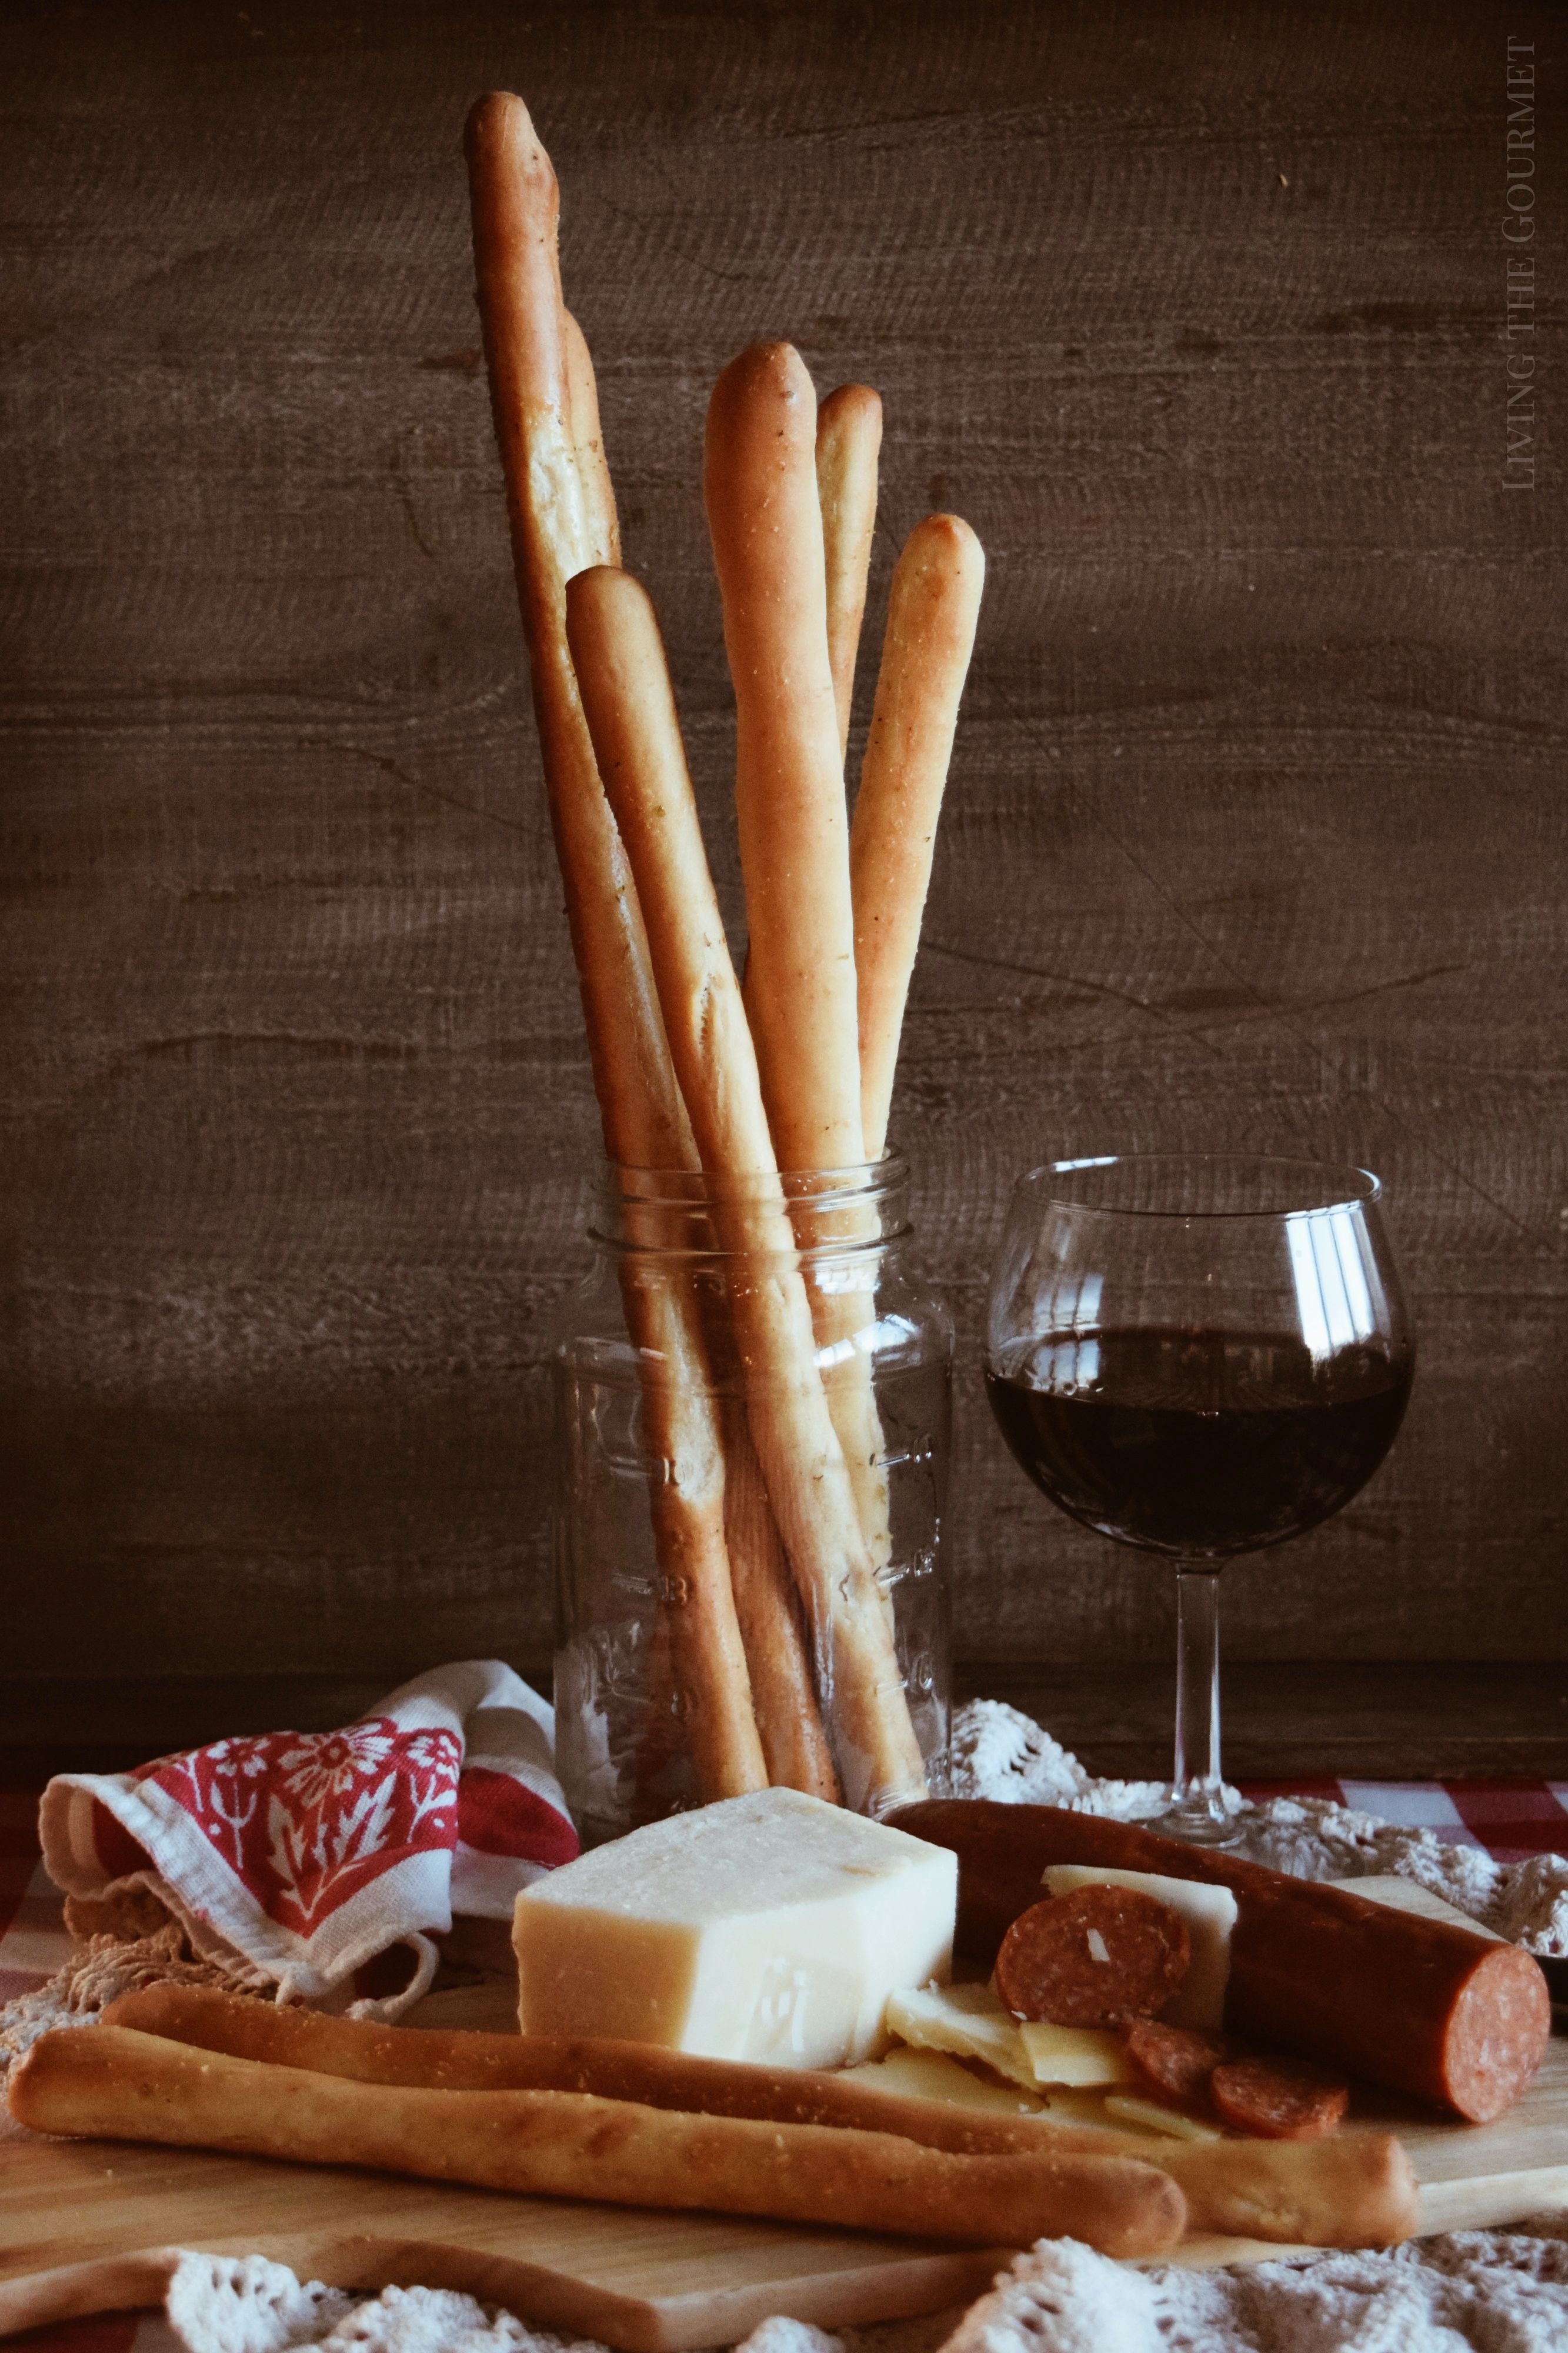
The breadstick conundrum. I don't know quite 'when' it happened or how all I am certain of is that it 'did' - and I'm not sure there is a remedy. What was once culinary heresy has become orthodoxy, and it seems to have happened without anyone even noticing the change.
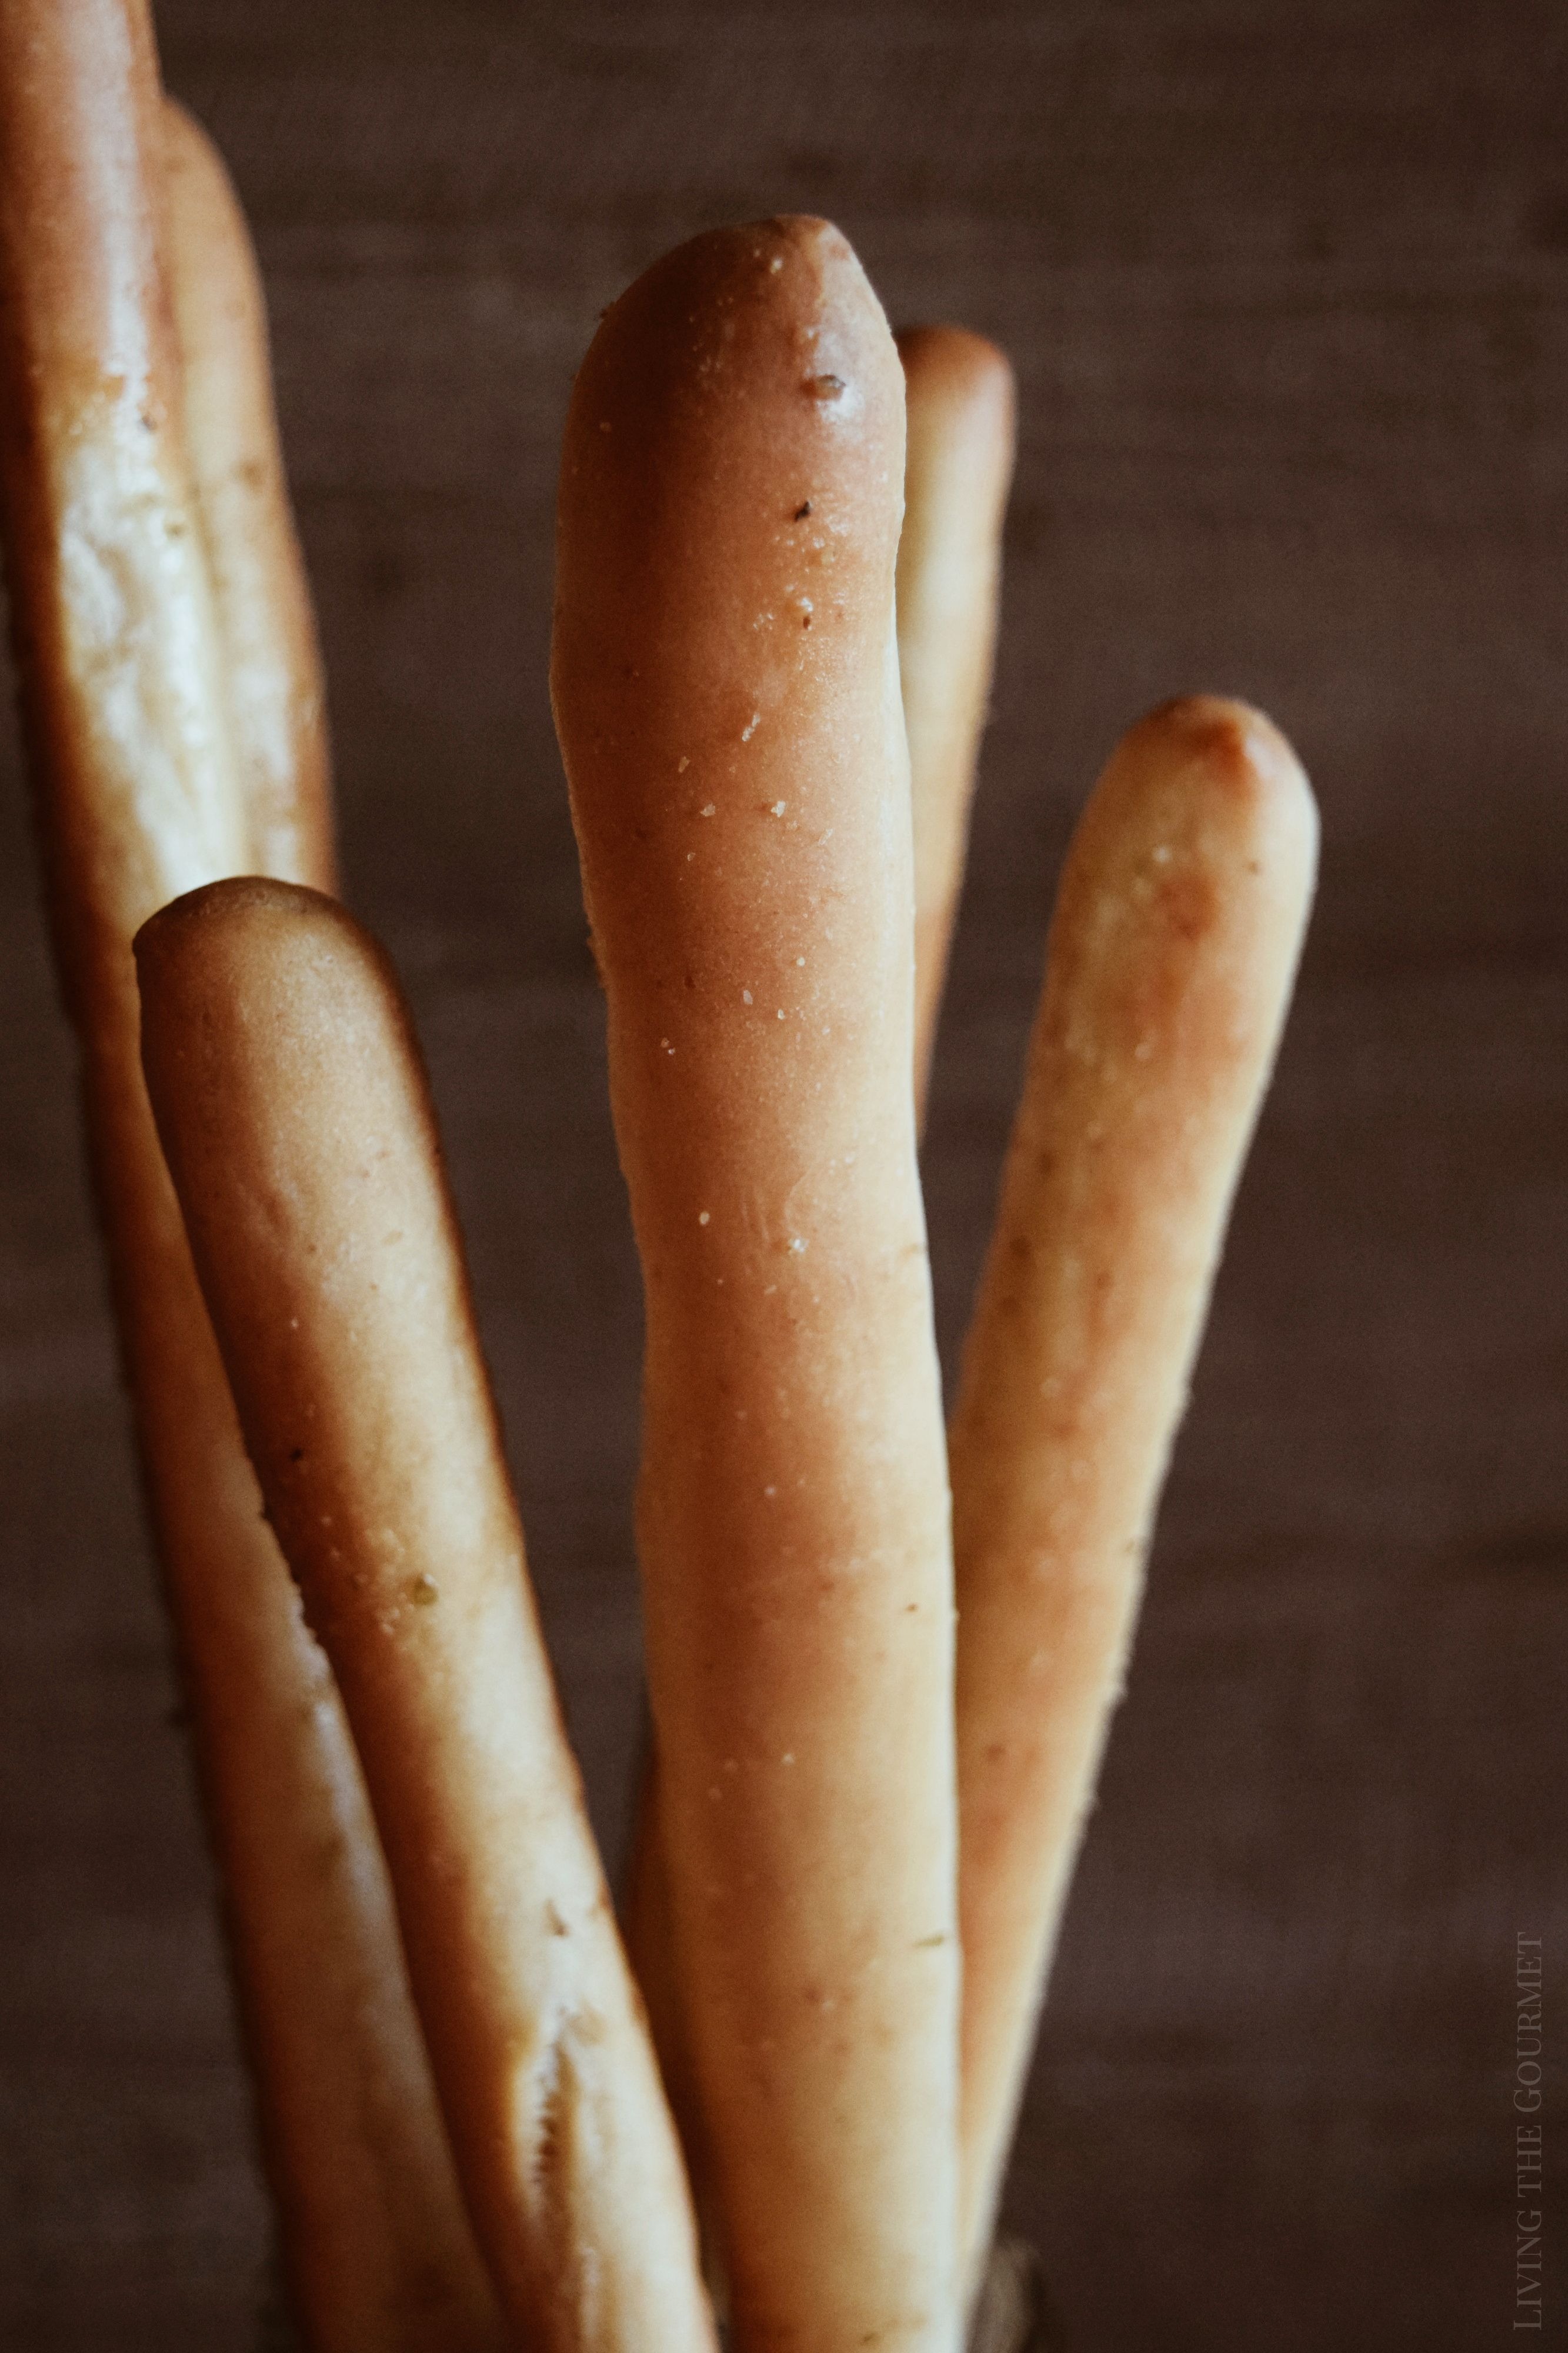
I'm talking about the seemingly abrupt and near total conversion of the phrase 'breadstick,' and how it today conjures images of what I can only recognize as 'individual baguettes' as opposed to the finger-thin or even pencil-thin 'loaves' of years gone by. Indeed, when Duke Amedeo of Savoy wrote of his love for 'bone thin loaves' in the late-1600s, which is among the first historical mentions of 'breadsticks,' he was talking about the slender loaves popularized in the then small town of Turin. Even today, the city is noteworthy for this yard-long, pencil-thin breadsticks placed on display in the windows of their heritage-protected bakeries.
This change in style has led some to call the new breadsticks 'American Breadsticks.' Perhaps fittingly, 'American Breadsticks' are described as being "plumper, greasier, and typically more seasoned than their traditional Italian counterparts, which tend towards slenderer, plainer 'sticks' as opposed to miniature 'loaves.'"
Naturally, it was with that in mind that I decided to prepare a batch of 'traditional' breadsticks, the sort of breadstick that used to be popular here in New York made famous by Arthur Avenue bakeries, or that were served in the breadbaskets of old-school local Italian restaurants - Turin-style Breadsticks.
To start things off, we mix together flour, sugar, salt, and yeast in the amounts listed below in a large bowl or stand mixer, and mix until it is well combined.
Now, add in the oil and the hot water, and mix on slow for about two minutes. Once this is done, add in a half cup of flour, and continue to mix for another minute or two.
After that's done, add in your final one and a half cups of flour, and mix until you have a soft dough.
Work the dough into a smooth ball, then divide it into 20 slices, and roll each slice into a long strip or 'rope.' Arrange the breadsticks on a parchment lined baking sheet and let them rest for about fifteen minutes.
Bake the breadsticks at a low temperature until they are golden. Finally, I topped the breadsticks off with an herbed butter and oil mixture that is brushed over them while they were hot and fresh out of the oven.
Italian Style Breadsticks
- Total Time: 32 minutes
- Yield: 20 breadsticks 1x
Ingredients
- 2 1/2 cups AP flour
- 1 tablespoon sugar
- 1 teaspoon salt
- 2 packages active dry yeast
- 1/4 cup olive oil
- 1 1/4 cups warm water (about 105 degrees F.)
Herbed Butter & Oil:
- 2 tablespoons unsalted butter, melted
- 1 tablespoon olive oil
- 1 teaspoon dried oregano
- 1/2 teaspoon salt
- 1/2 teaspoon garlic powder
- 1/4 teaspoon dried rosemary
- 1/4 teaspoon black pepper
Instructions
- In the bowl of your mix master with the dough hook attachment, combine ½ cup flour, sugar, salt, and yeast. On low speed, mix together then add the oil and hot water.
- Add another ½ cup flour and beat the mixture on high speed until incorporated.
- Add the remaining 1½ cups of flour, beating on low speed until a soft dough comes together and pulls at the sides of the bowl.
- Turn the dough out onto a lightly-floured surface and shape into a smooth log. Slice the log into about 20 pieces.
- Roll each piece of dough out into ½-inch thick ropes. Carefully place the ropes on parchment lined baking sheets and let the dough rest for about 15 minutes.
- In the meantime, preheat the oven to 320 degrees F. Bake the breadsticks until lightly golden.
- For the herbed butter and oil mixture, melt the butter and whisk together with the oil, herbs, and spices. Brush this over the breadsticks while they are still hot from the oven.
- Serve immediately. Can be stored in an airtight container or freezer back for up to 5 days.
- Prep Time: 12 minutes
- Cook Time: 20 minutes
Nutrition
- Serving Size: 1
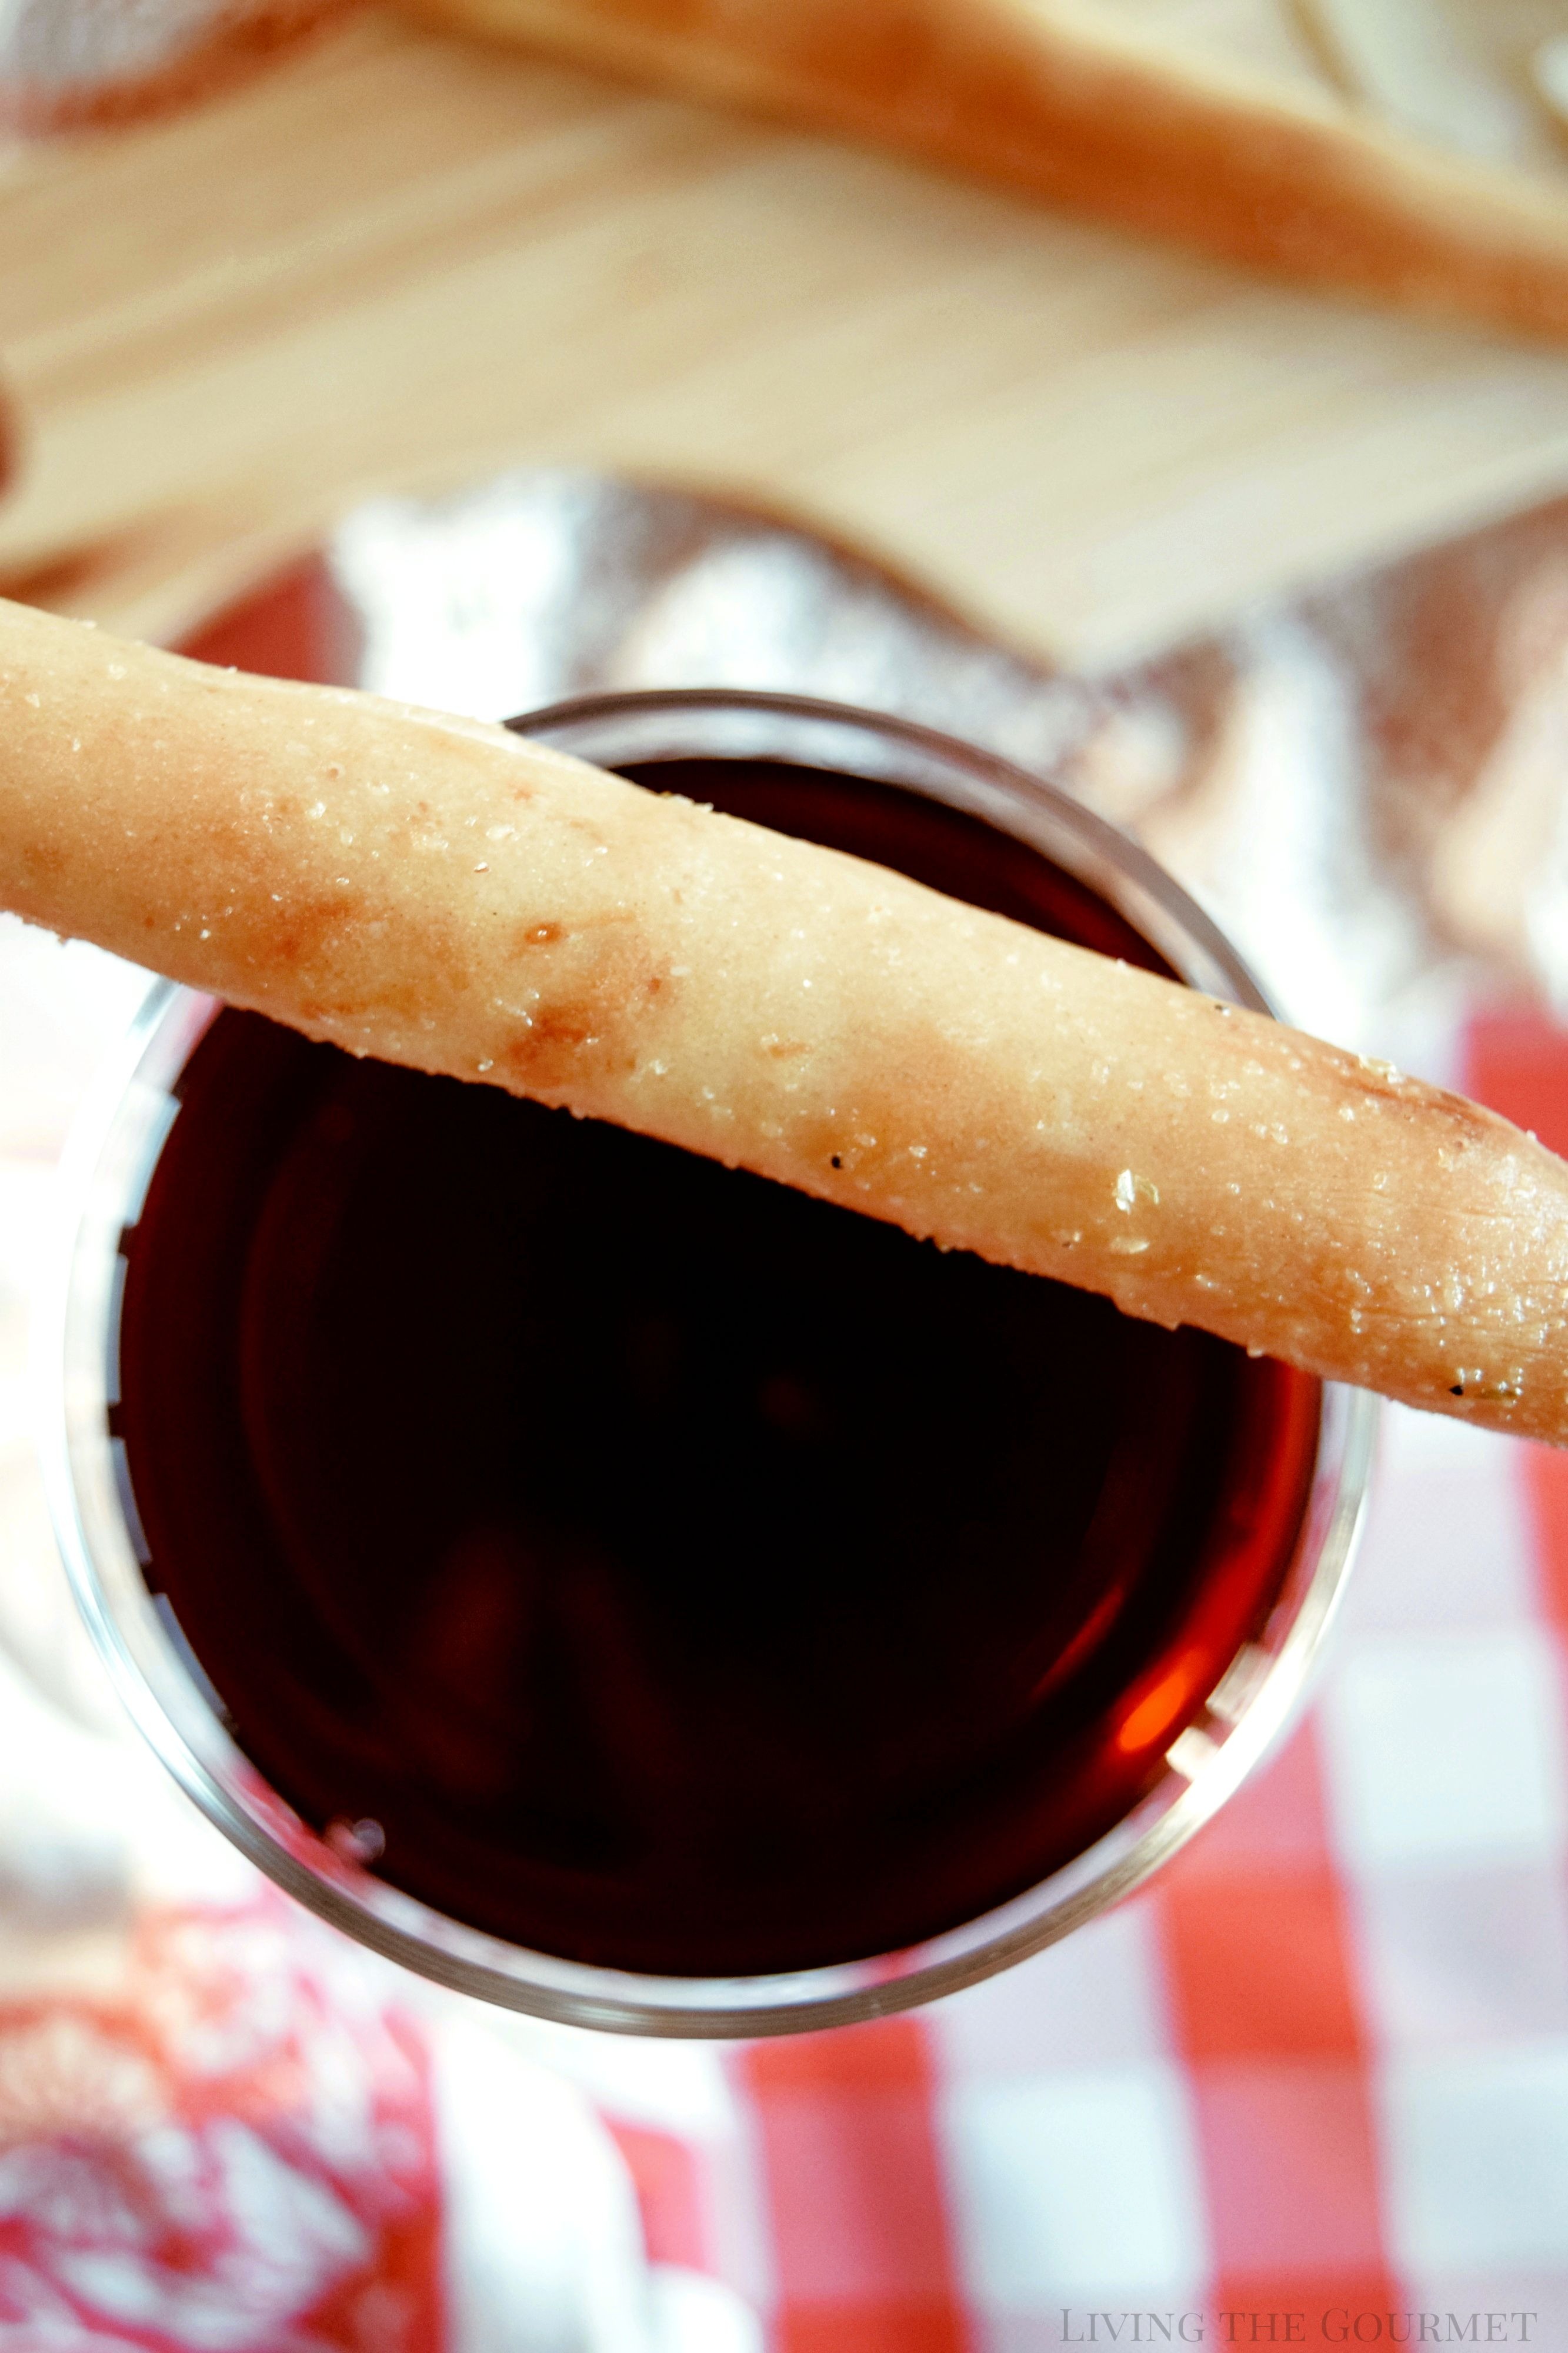
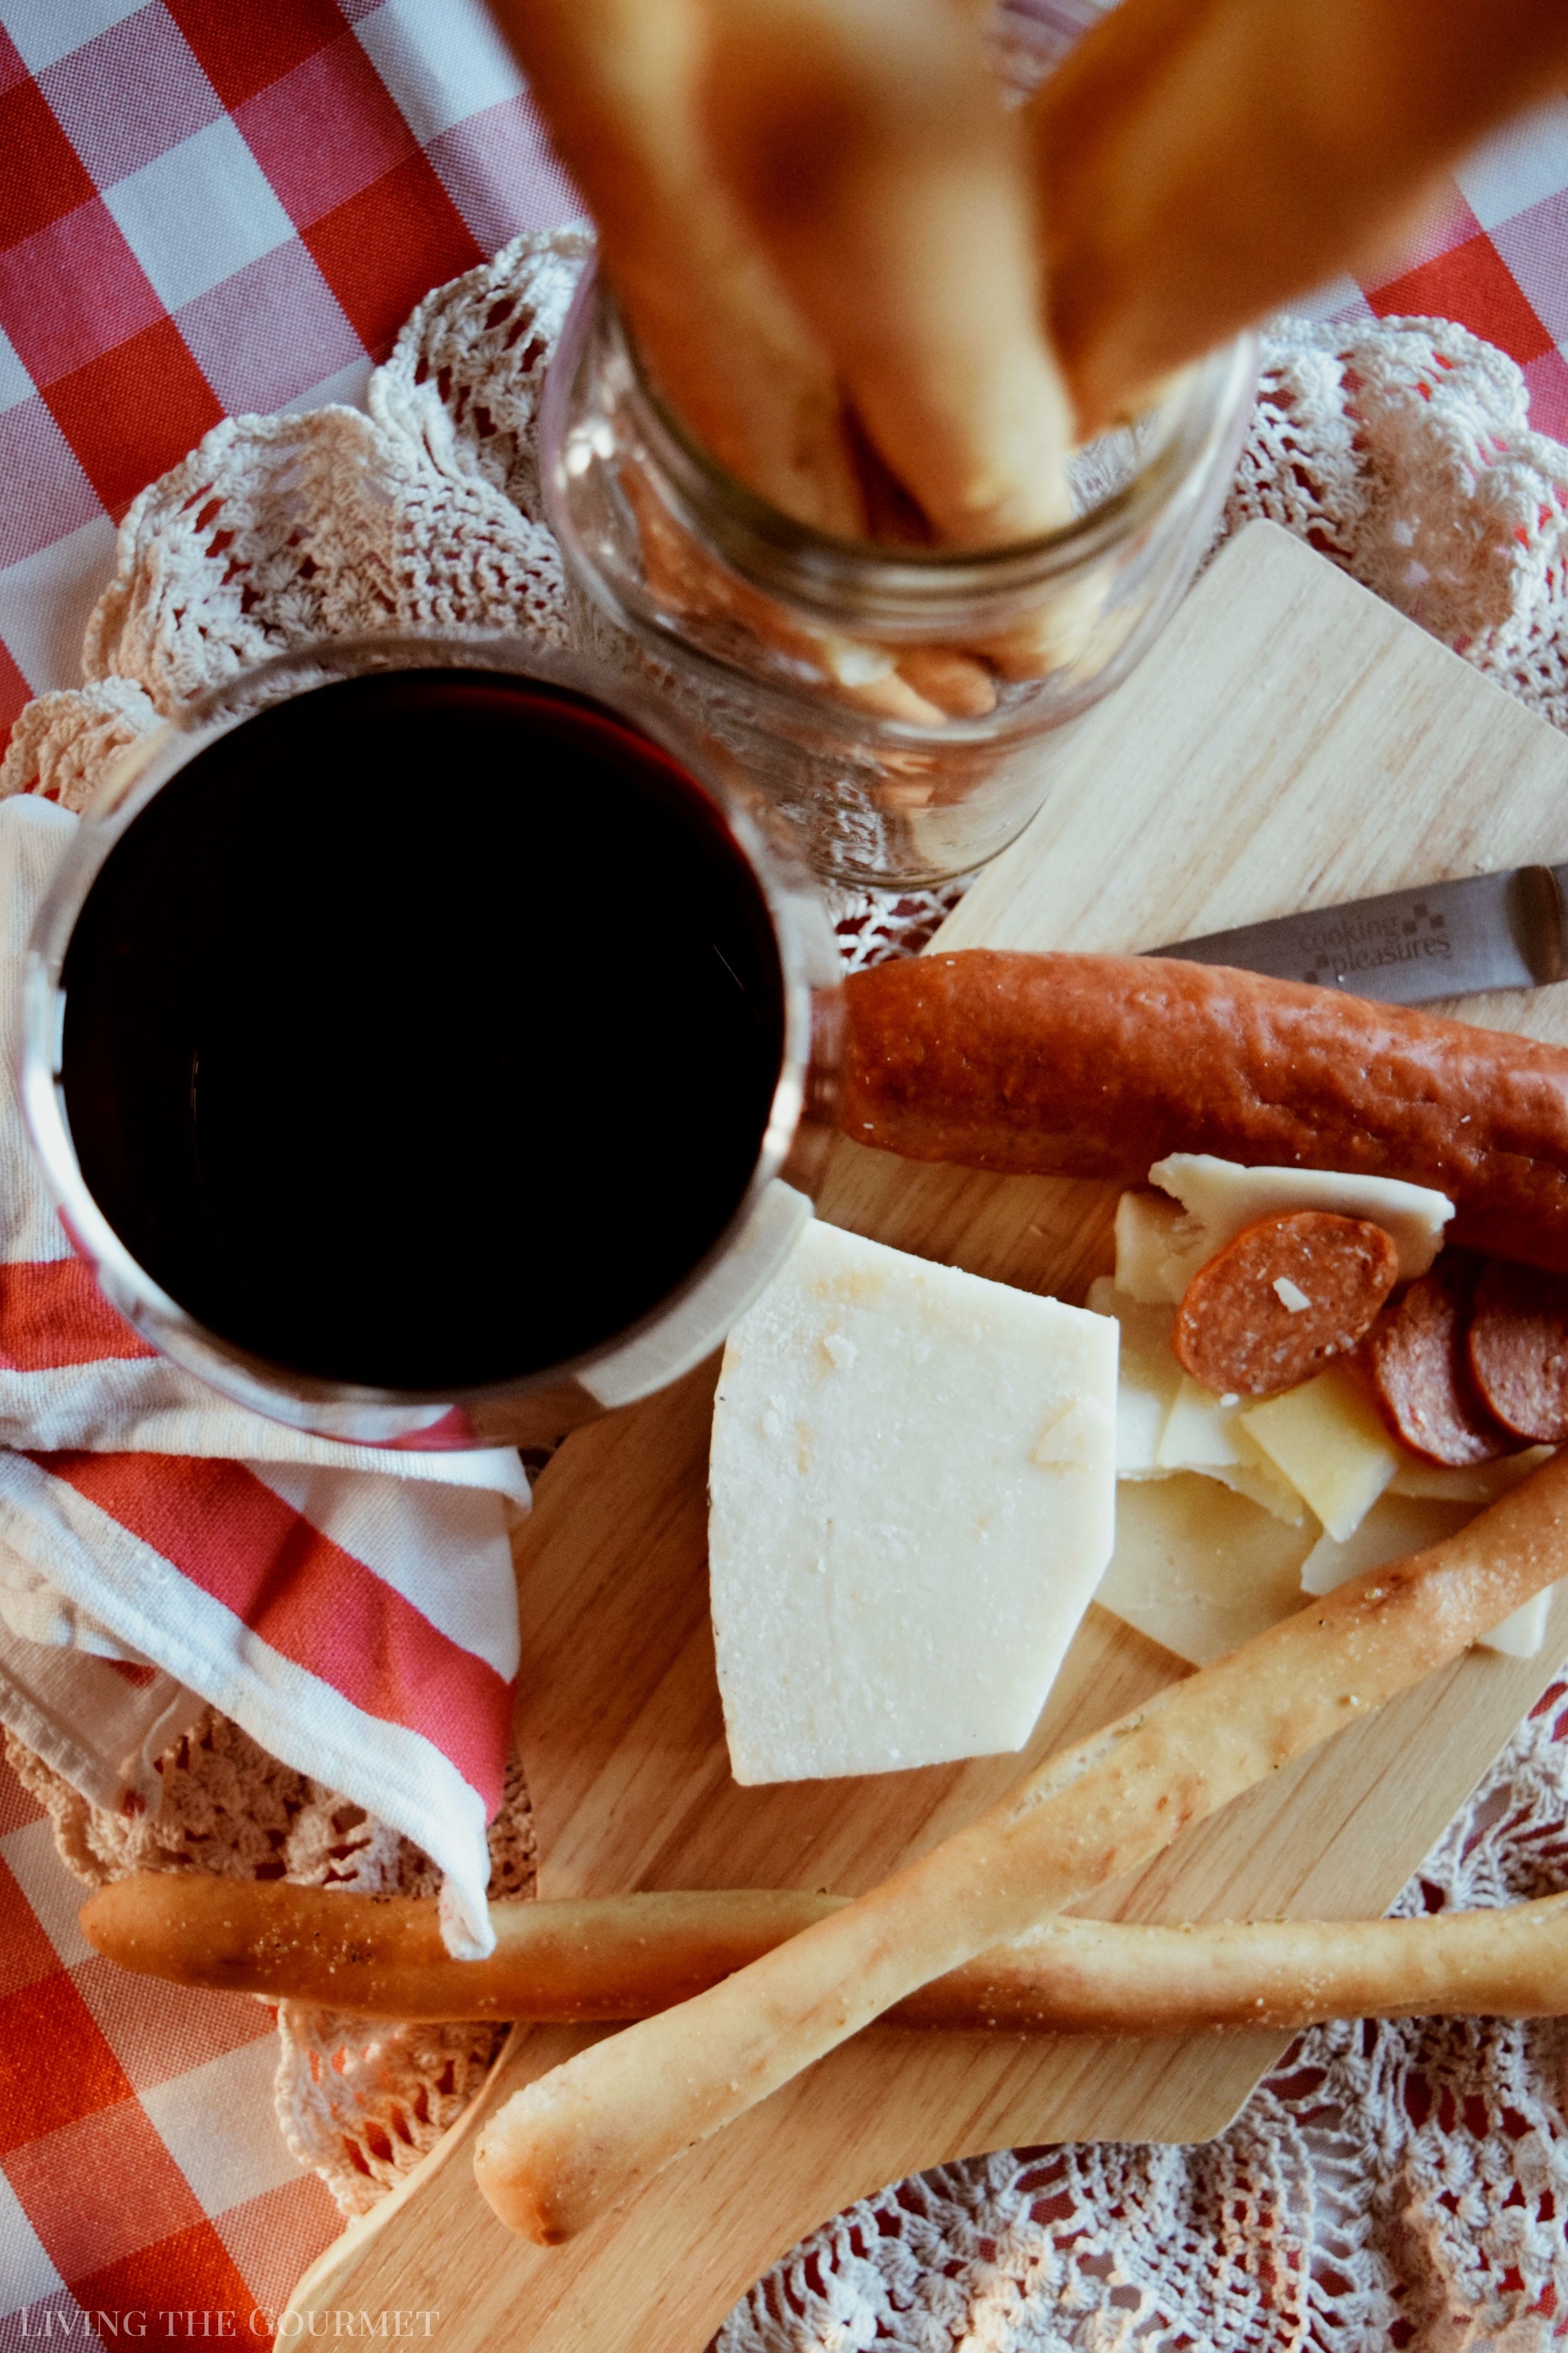
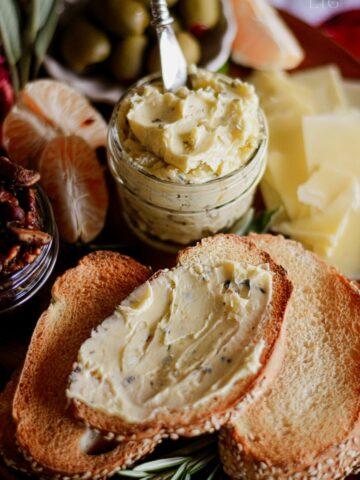
These breadsticks are served while they are still warm and a little soft. They pair beautifully with your favorite Italian dish and red sauce, but I also love them with an antipasto platter and a little red wine.
Enjoy with Love!
connie danielson says
they look so yummy! thanks for this recipe!
Claire | The Simple, Sweet Life says
My husband and I certainly love a good bread stick so we're definitely going to have to give your recipe a try in the not-too-distant future!