
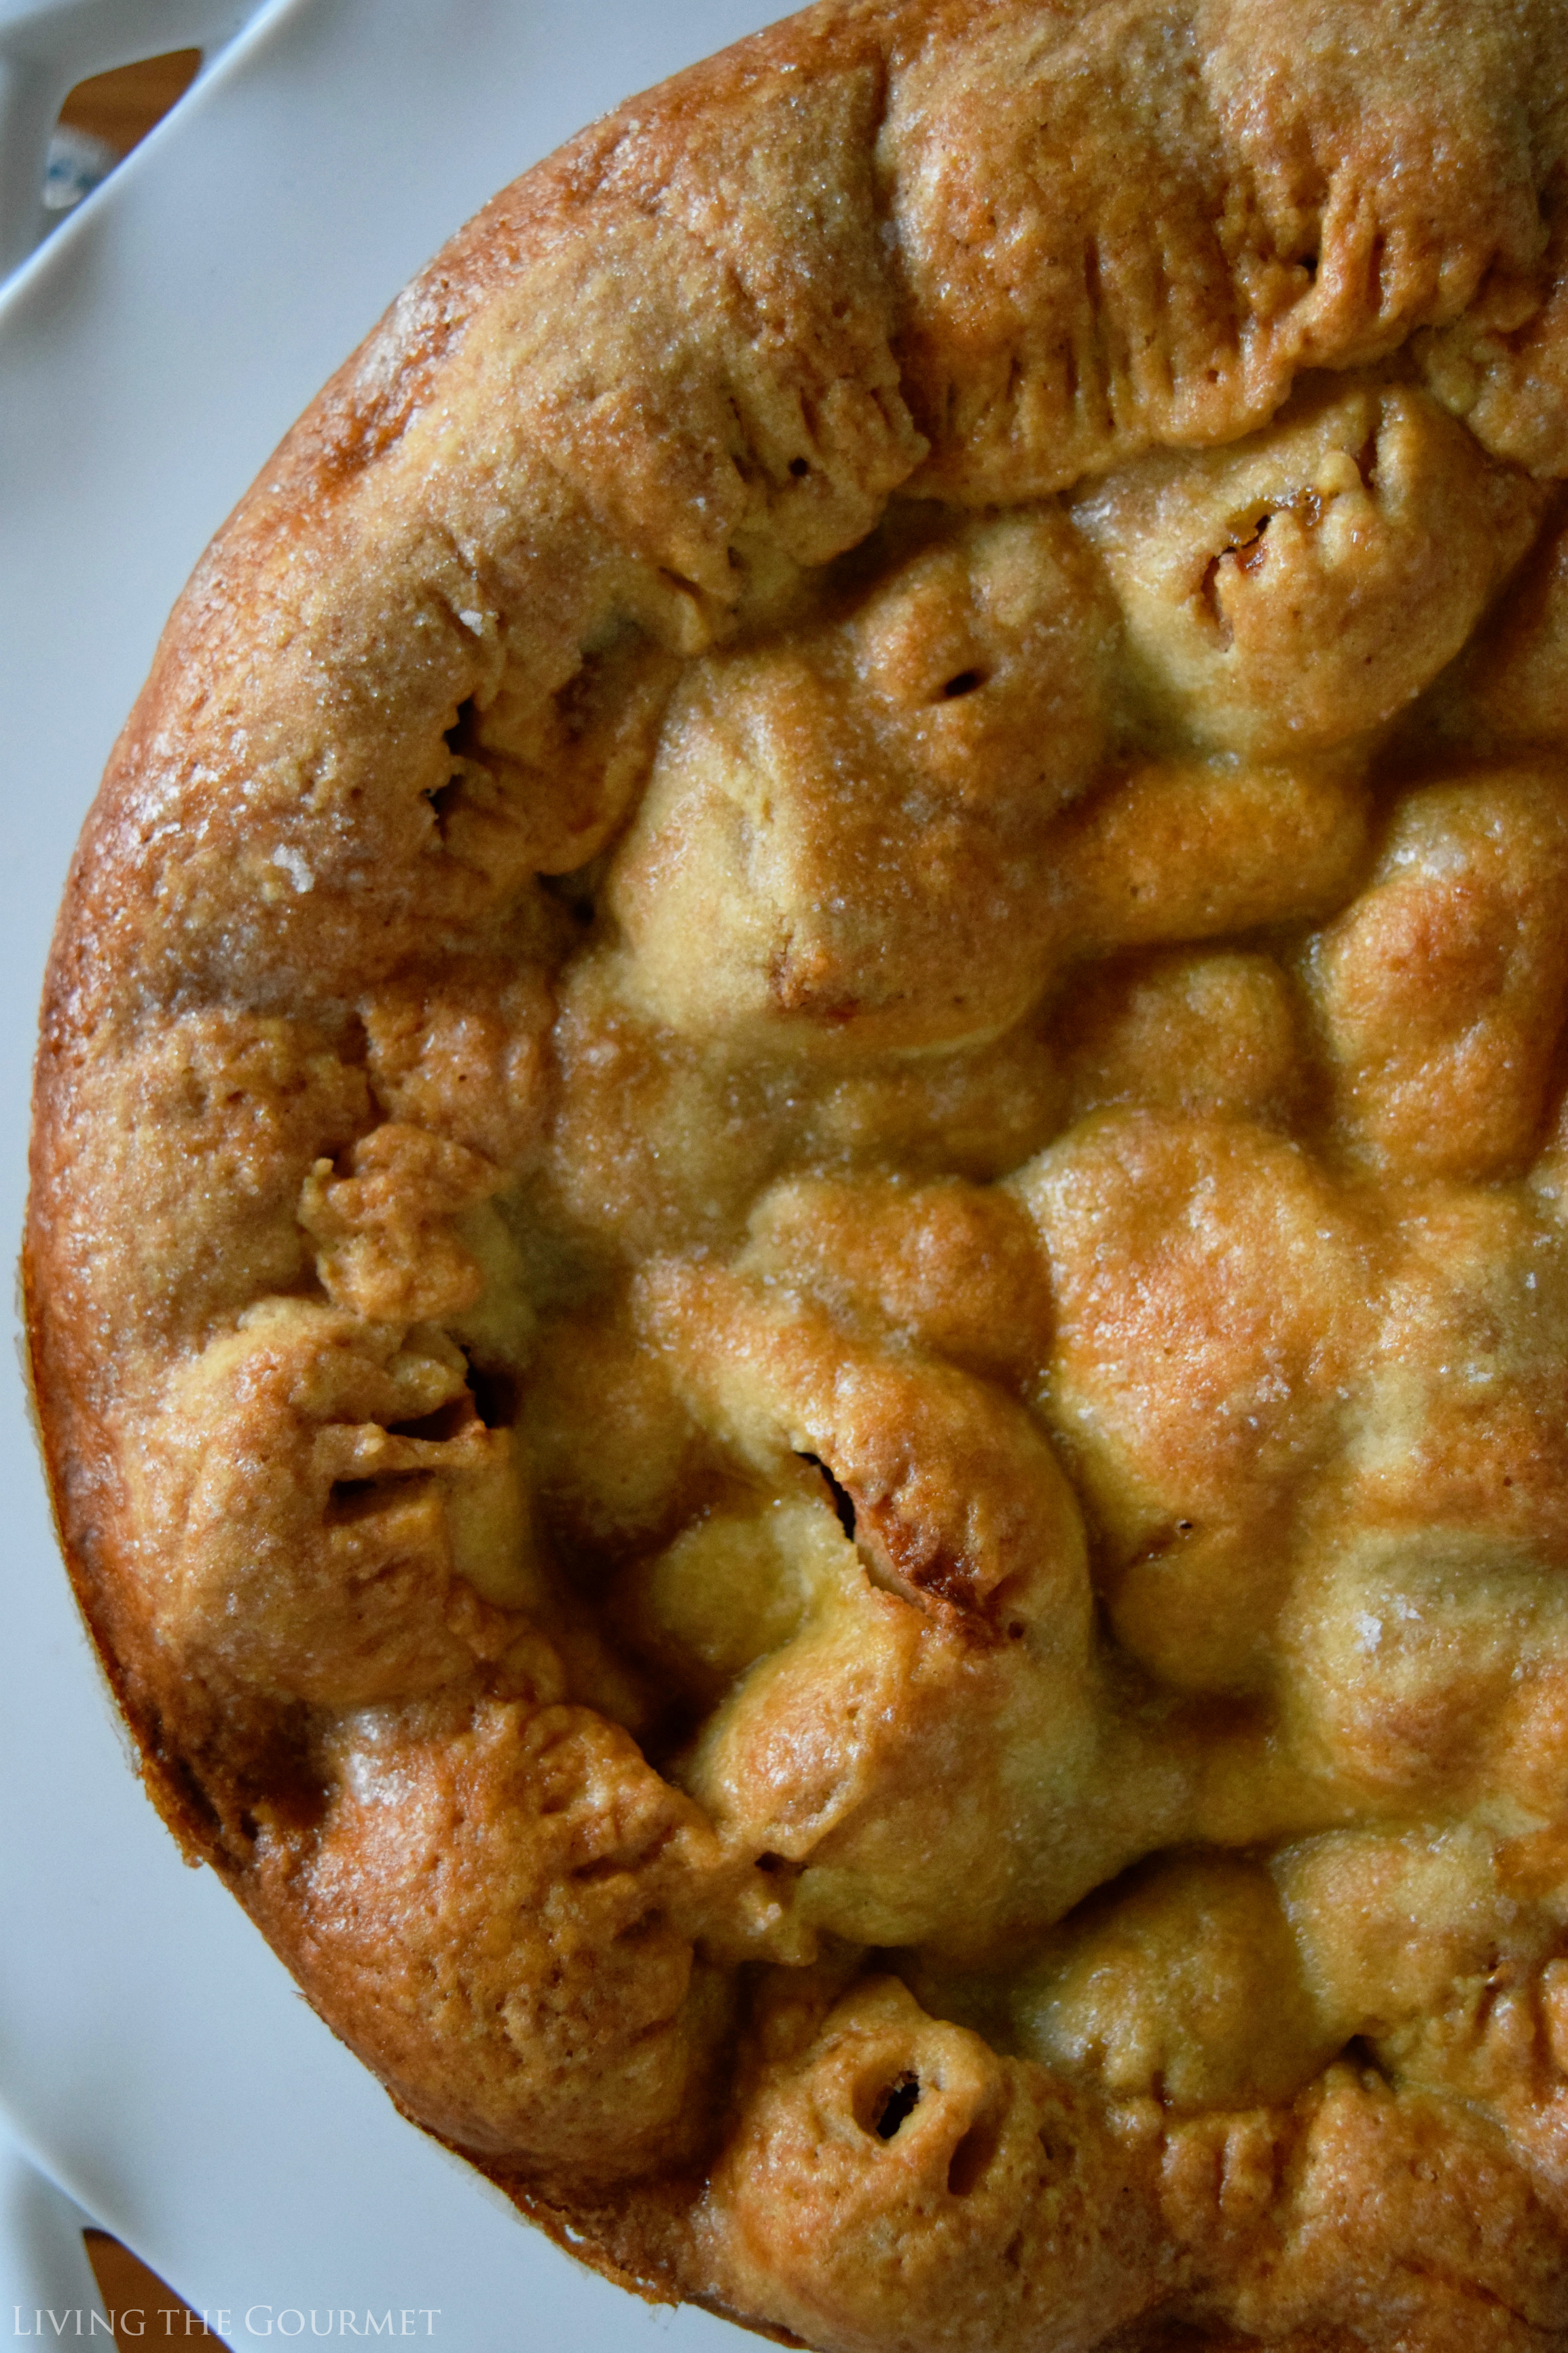
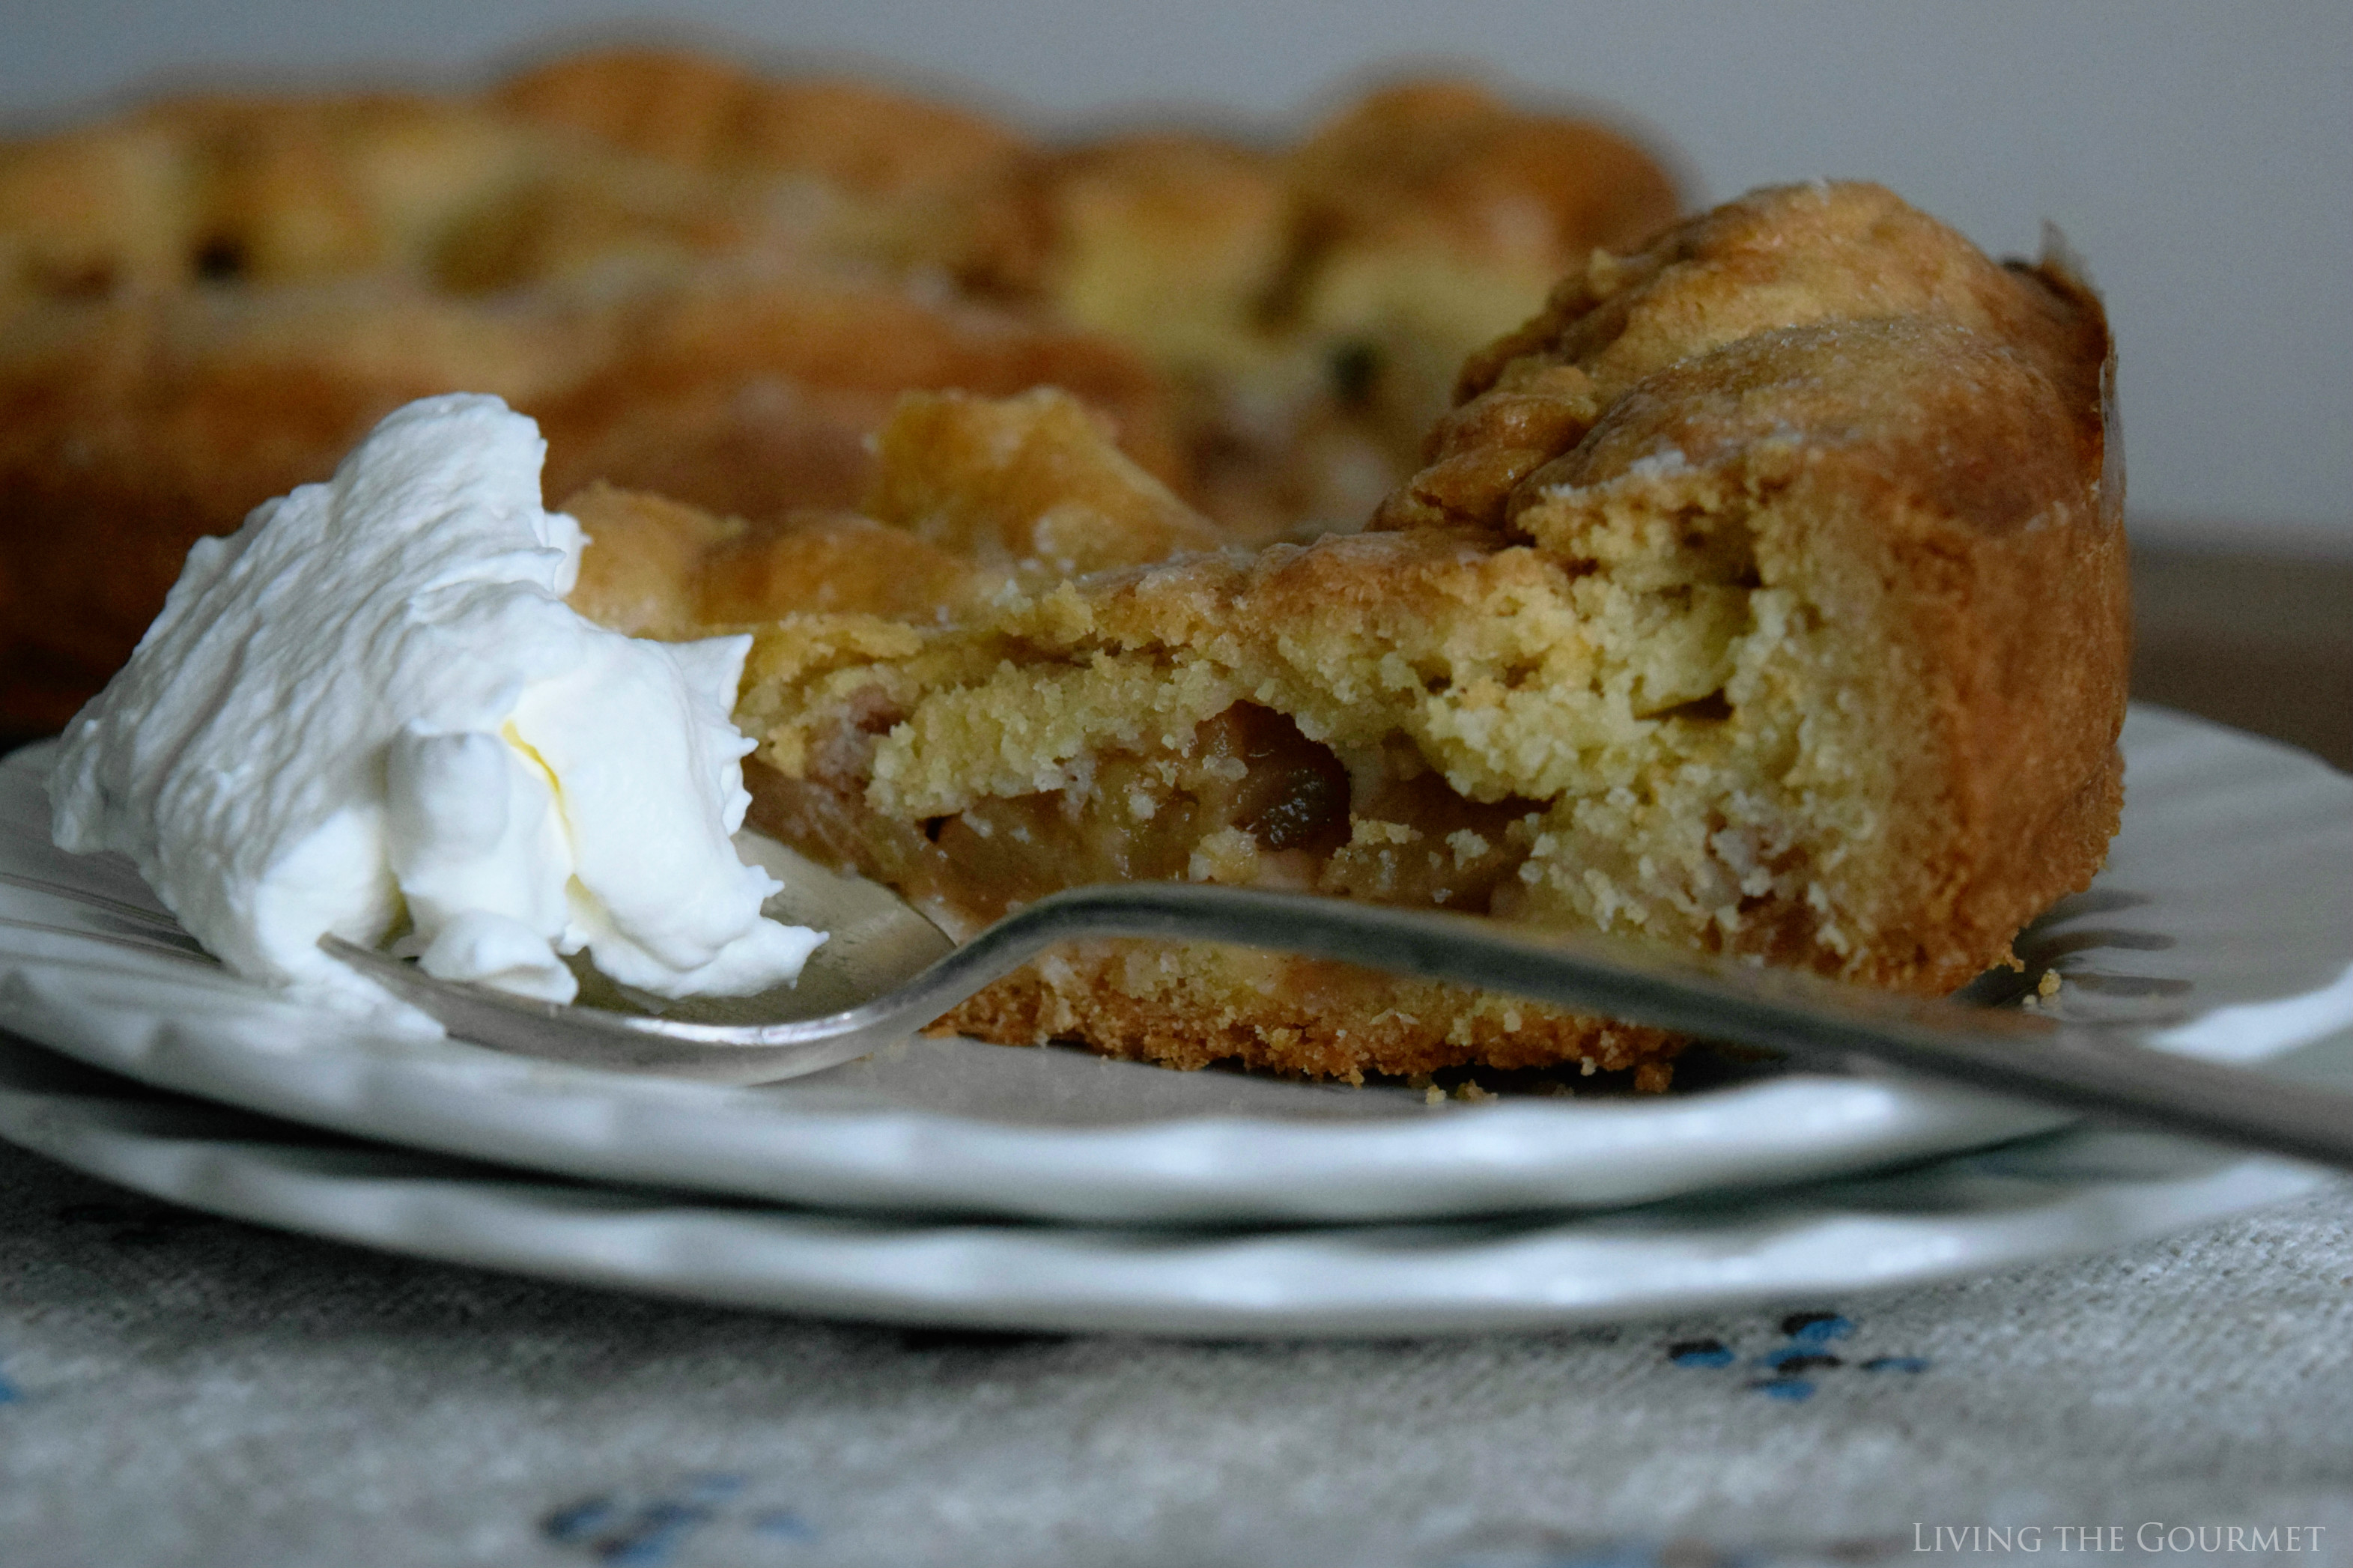
Sweet pastry dough is filled with a simple apple filling for a delicious dessert perfect for rainy summer afternoons or any time of year for that matter.
Allow me to set the scene. It was a humid summer morning here on the coast. A salty wind had picked up from the bay and was whispering through new the leaves of the trees, carrying the laughter of unseen gulls. As the last minutes of early morning approached, the season's first round of hapless amateur mariners tested the engines of their watercraft so rarely sent to sea, staining the crisp morning air with the familiar scent of nautical fuel.
Idyllic? Unlikely, but as close to it as we come.
Never one to miss an opportunity to play the 'tepid' naturalist, I took my breakfast out on the deck where I enjoyed the scene set out for me by the season. After preparing myself a tall espresso, it was time to start the day's work. All the ingredients for a perfect day had come together, or so it would have seemed. Despite all of that, I couldn't quite shake the feeling that something was just 'missing.' As if checking off a list, I had so far gone through all of the motions of 'taking advantage' of the summer, and even the day's work involved a summer recipe and ideas for seasonal décor.
Once the day's work was done, that 'missing' feeling still hadn't left, and there was more than an enough daylight left for me to try to fill that aching void. Now, how does a "gourmet" such as myself make use of some leftover summer daylight? By putting together the perfect evening dessert, of course.
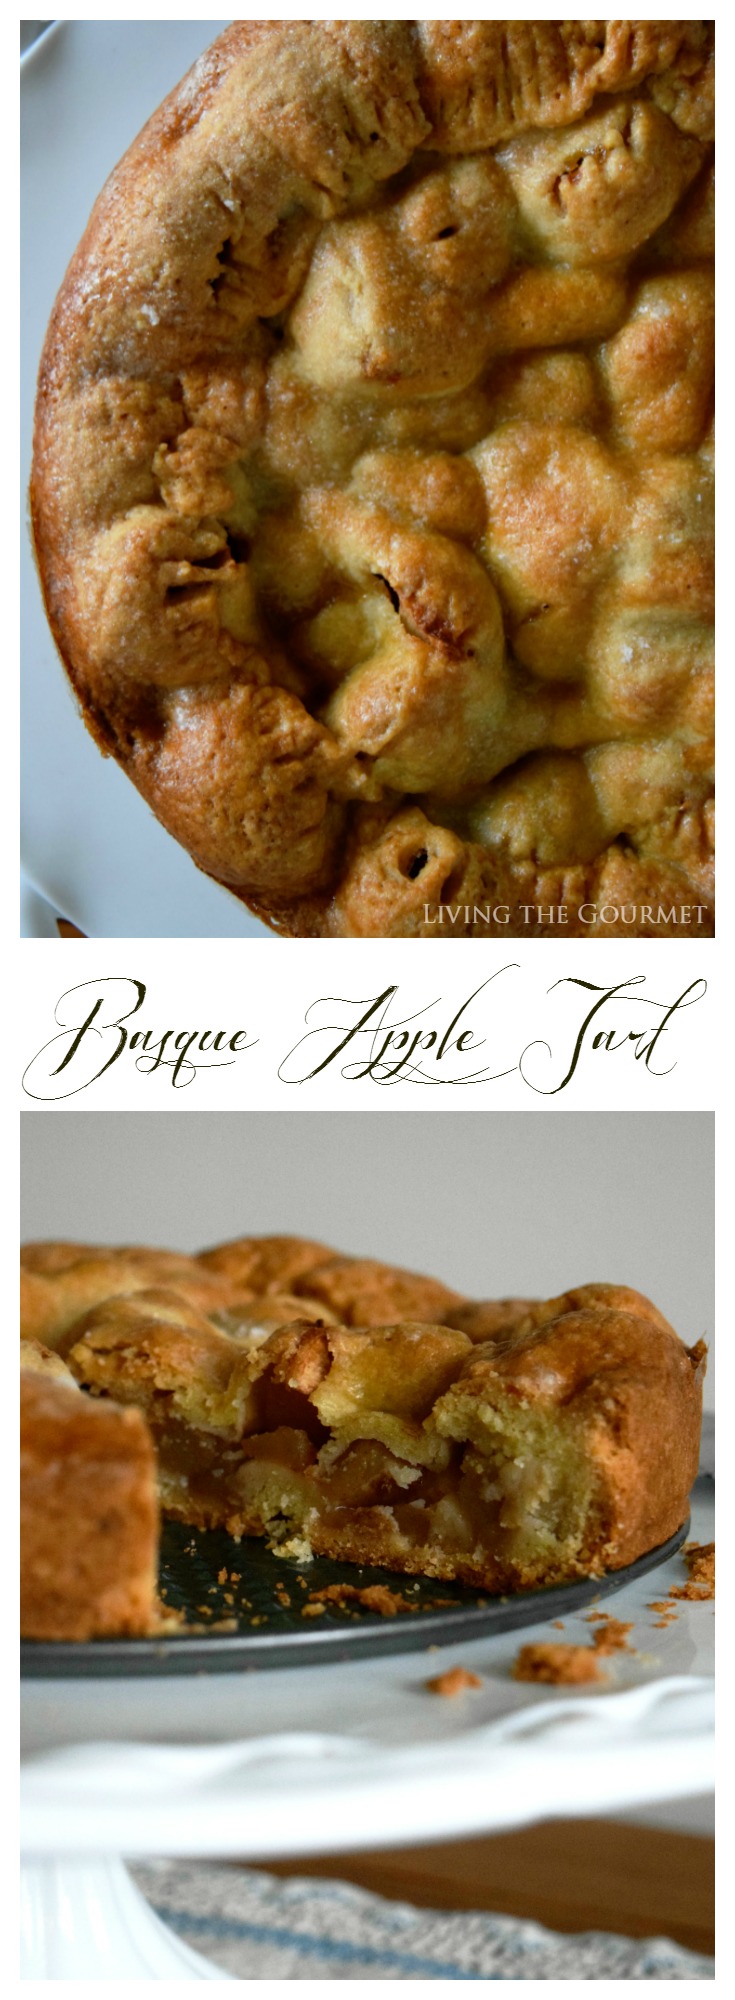
This, of course, brings us to today's recipe - Basque Apple Tart.
We begin by sifting about two cups of Bob's Redmill All-Purpose Organic Flour with baking powder and a pinch of salt in a large mixing bowl, to which we add butter and some fresh lemon zest.
Now, using a pastry cutter, we process that mixture until it's roughly 'grain like,' and then add in an egg along with the yoke of a second egg - yes, I said the yoke. Next up is the messy part - working this into a dough.
Once you have achieved a soft, smooth consistency, form the dough into a disc, then wrap it in plastic wrap and let it rest in the refrigerator for about an hour. Take this opportunity to step outside, or just otherwise recharge.
Or…you could prep the rest of the recipe. No rest for the weary, after all.
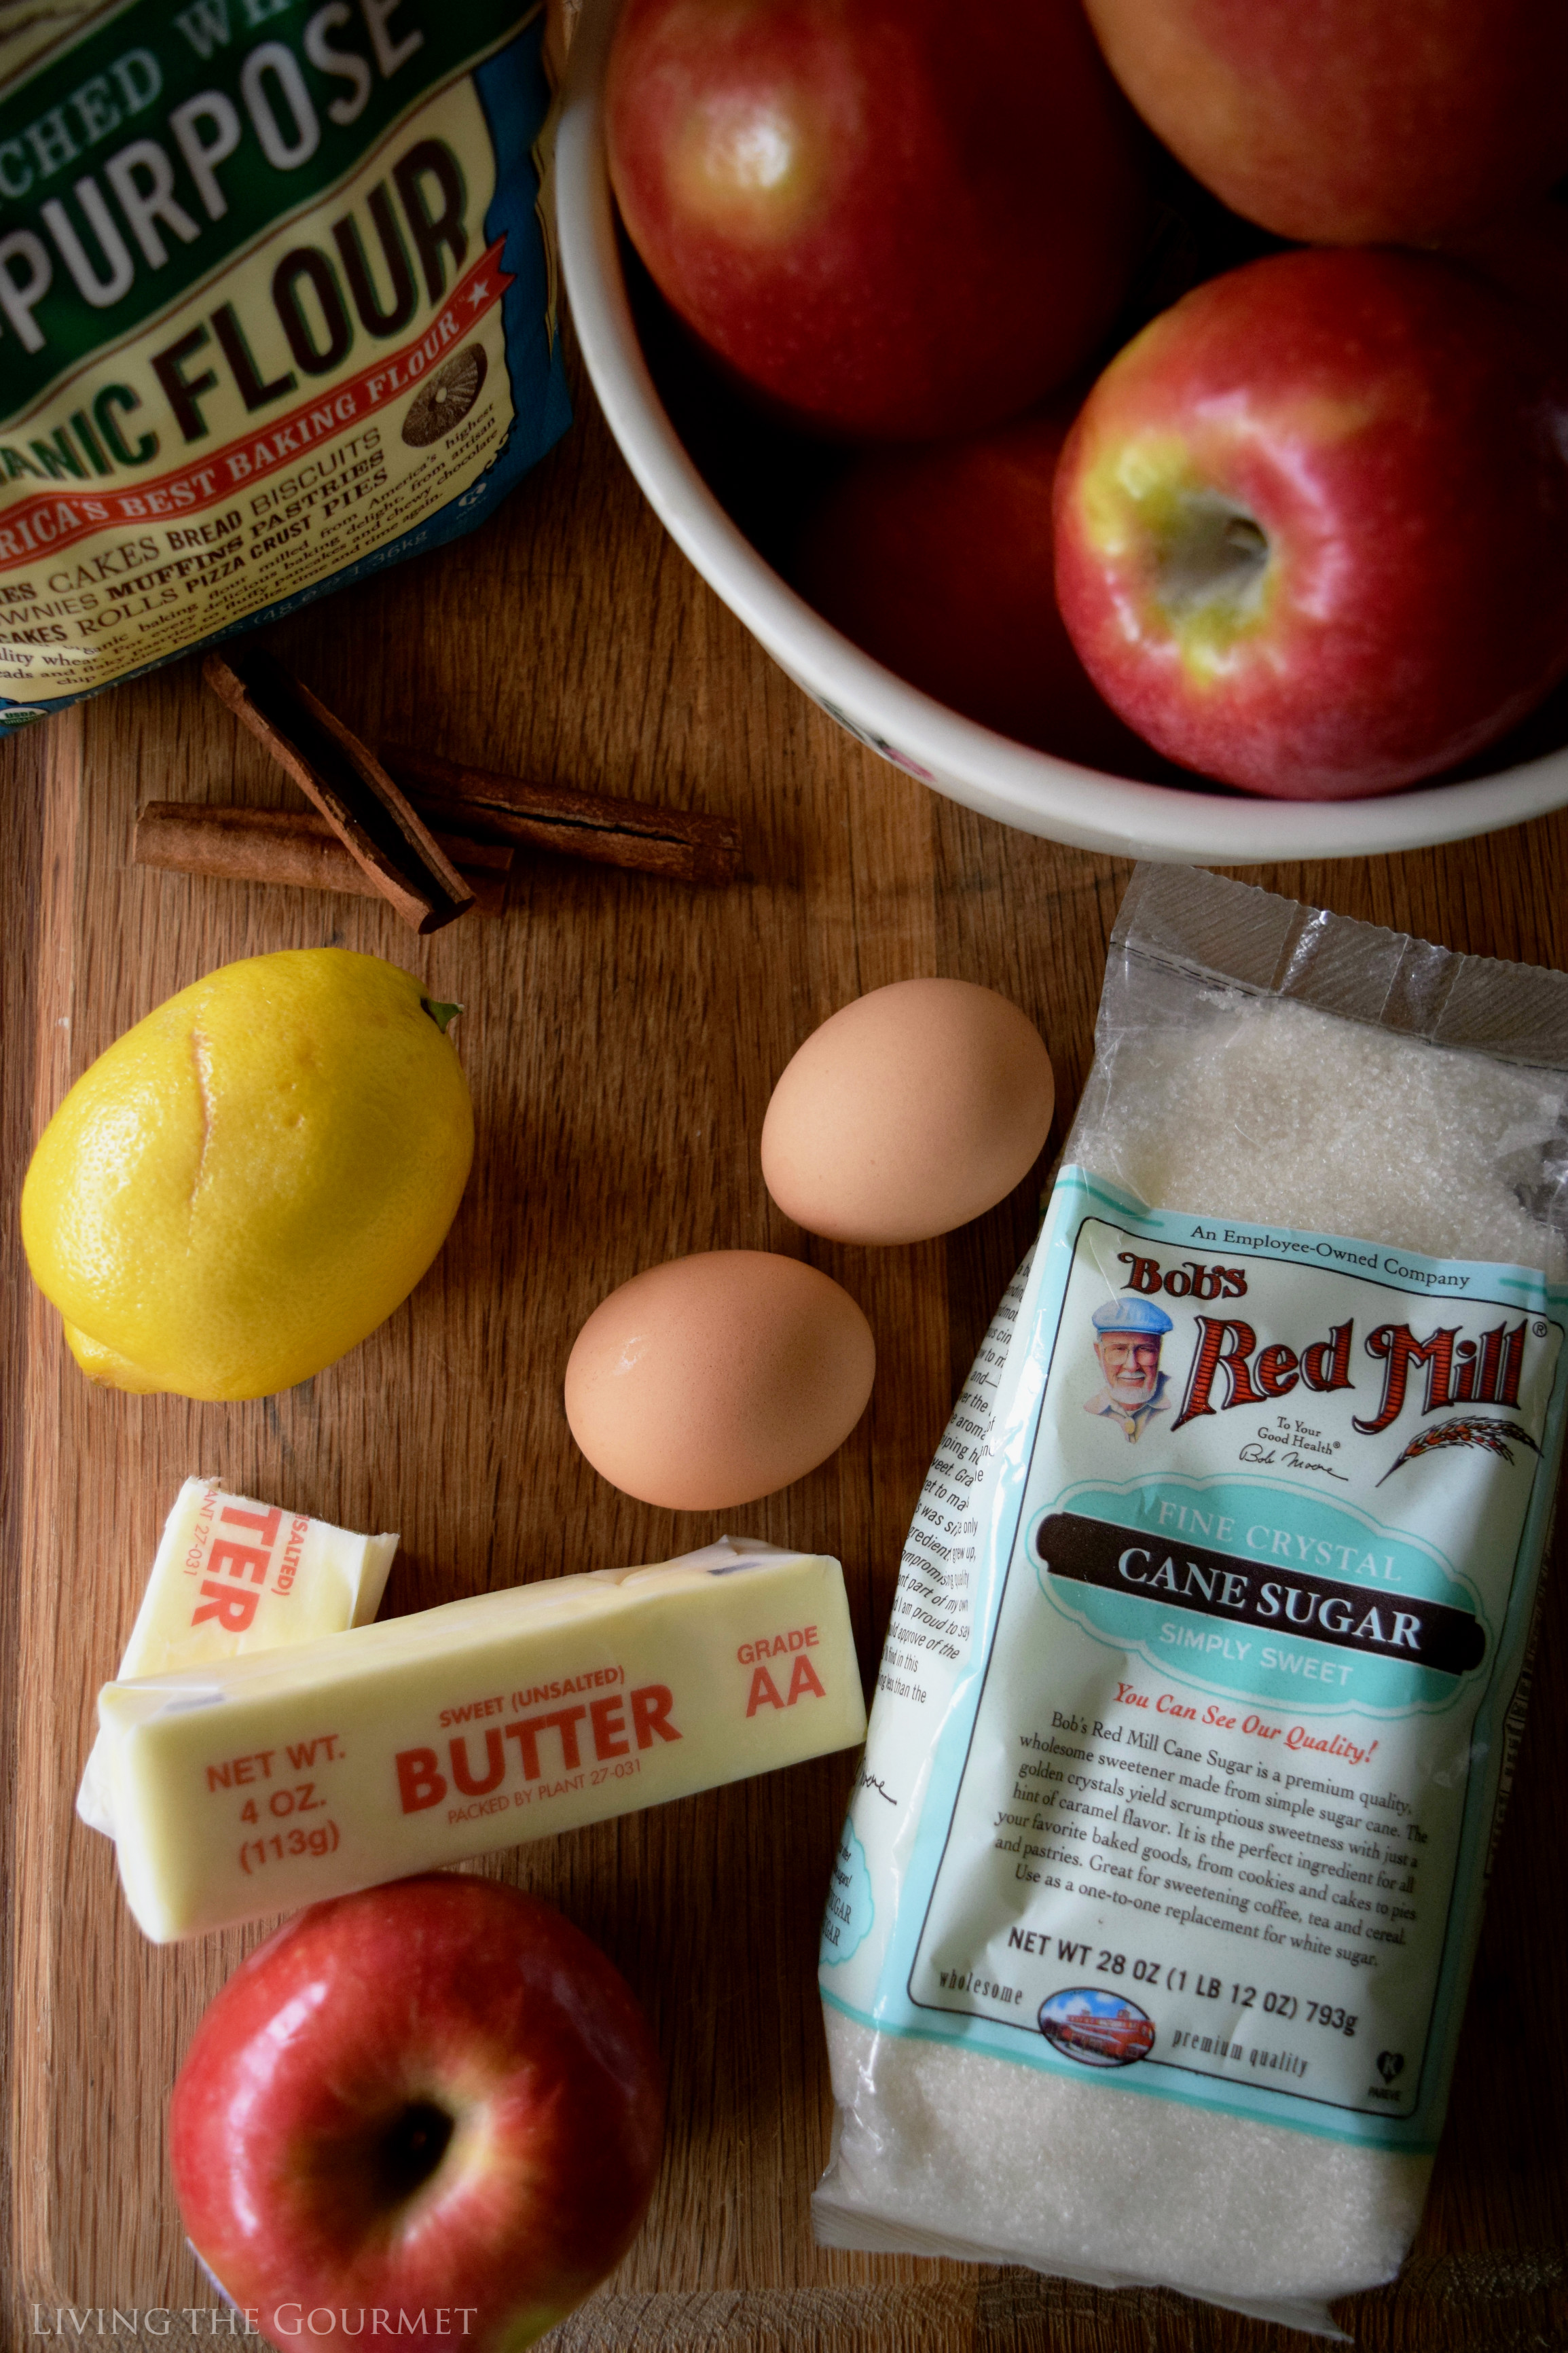
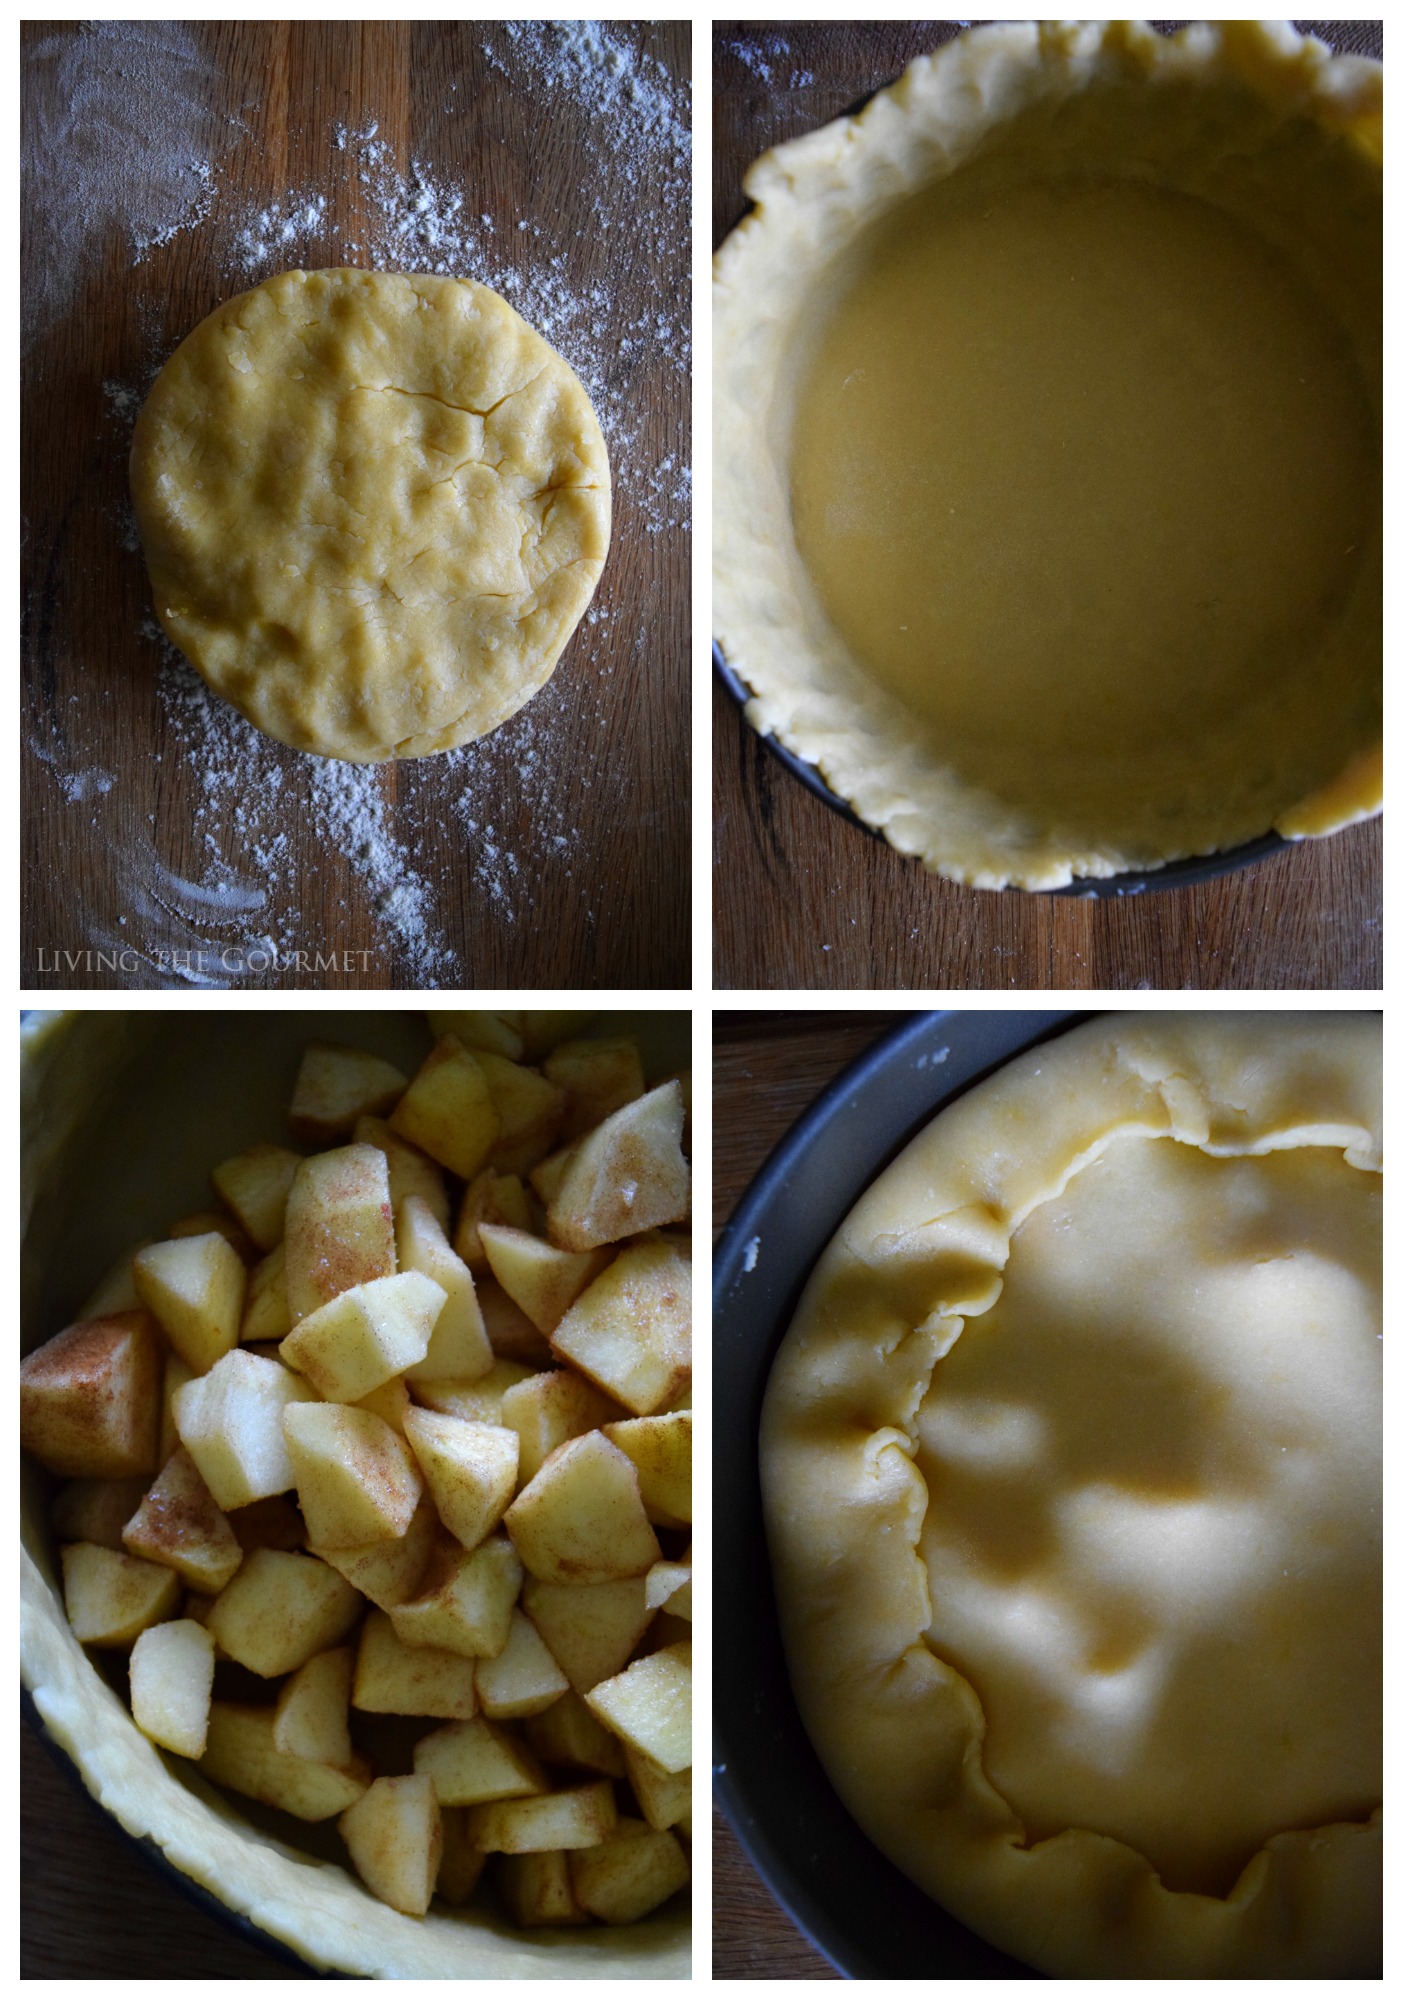
Next up, we need to cube some apples, and then combine those with a pinch of Bob's Redmill Granulated Sugar and cinnamon, and then toss that until the apples are nicely coated.
By this time, the dough should be ready, and it's here that you'll need to divide it, one portion divided nearly double the size of the other. Flour a clean surface and roll out the larger piece of dough large enough to fit the bottom of the pan and fit up the sides. Roll out the second smaller piece of dough to exactly the same size as the tin. Fold the overlapping edges of the bottom piece of dough inward and press the edges together.
Remember the egg white we set aside? We're going to brush the top of the tart with it, and then sprinkle a bit more Bob's Redmill Granulated Sugar over it. Simply cook the pie for about twenty minutes, and then again for thirty minutes at reduced heat as described below, and you're done.
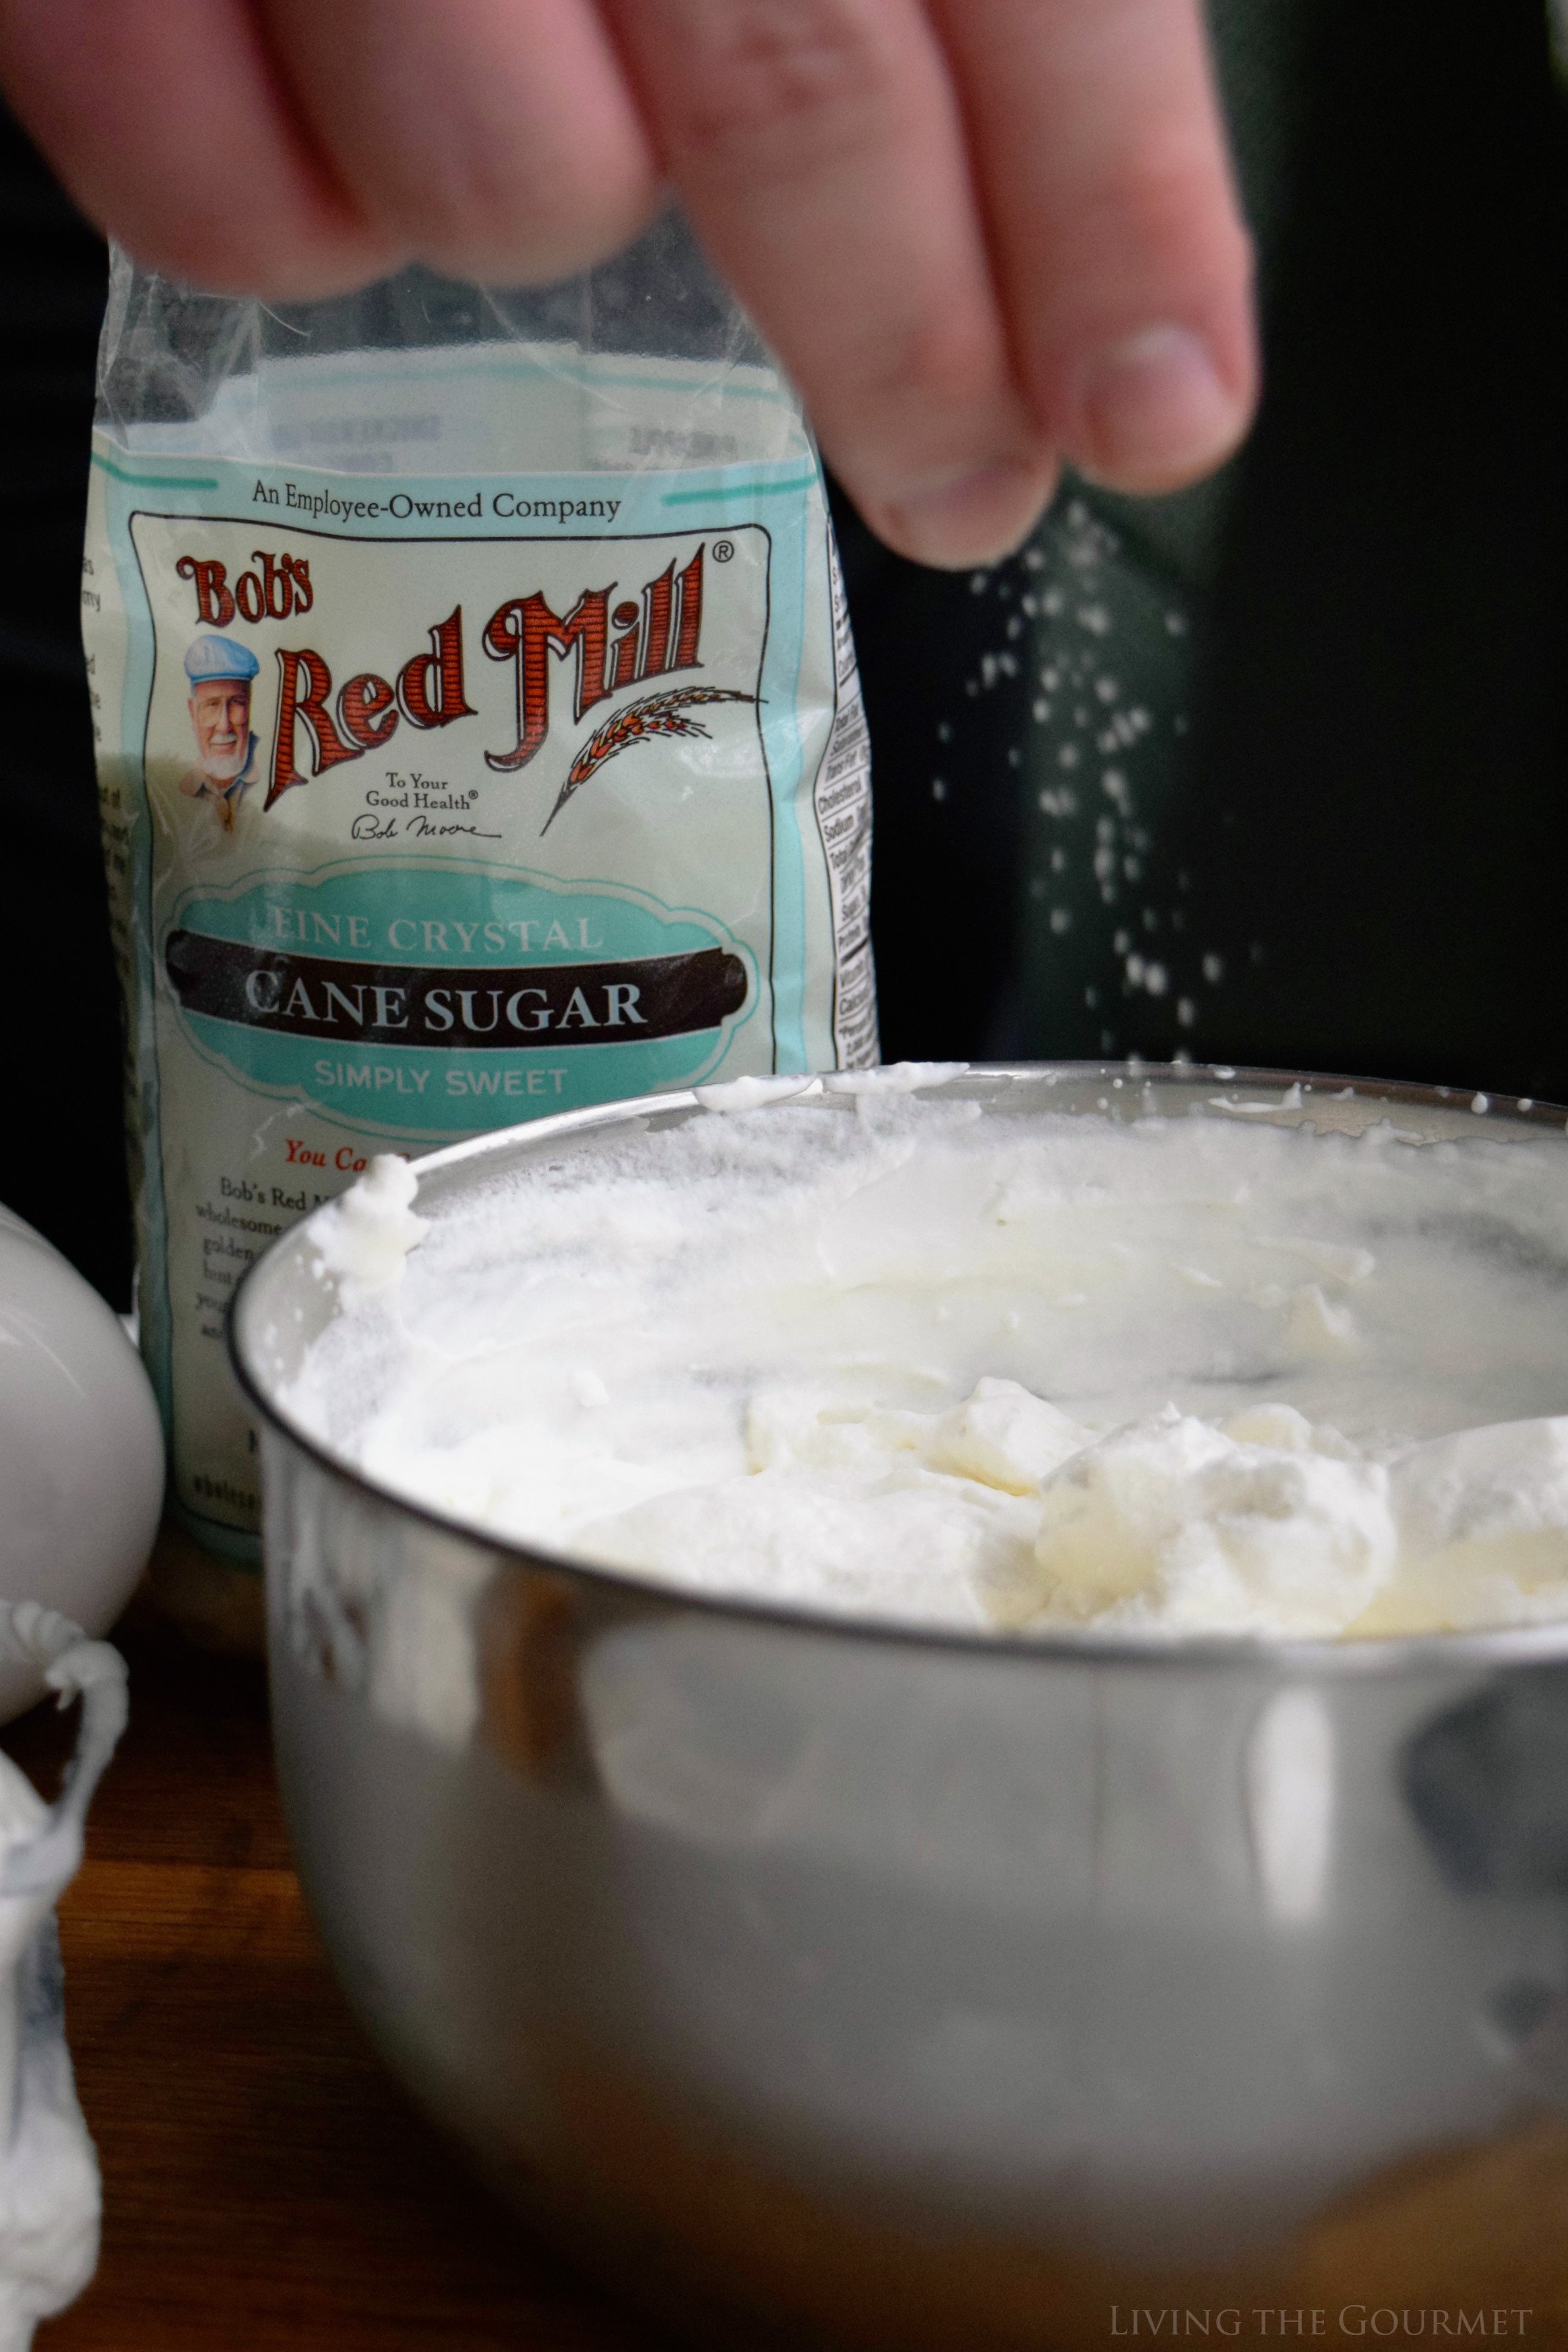
Now, what is dessert without some freshly whipped cream?
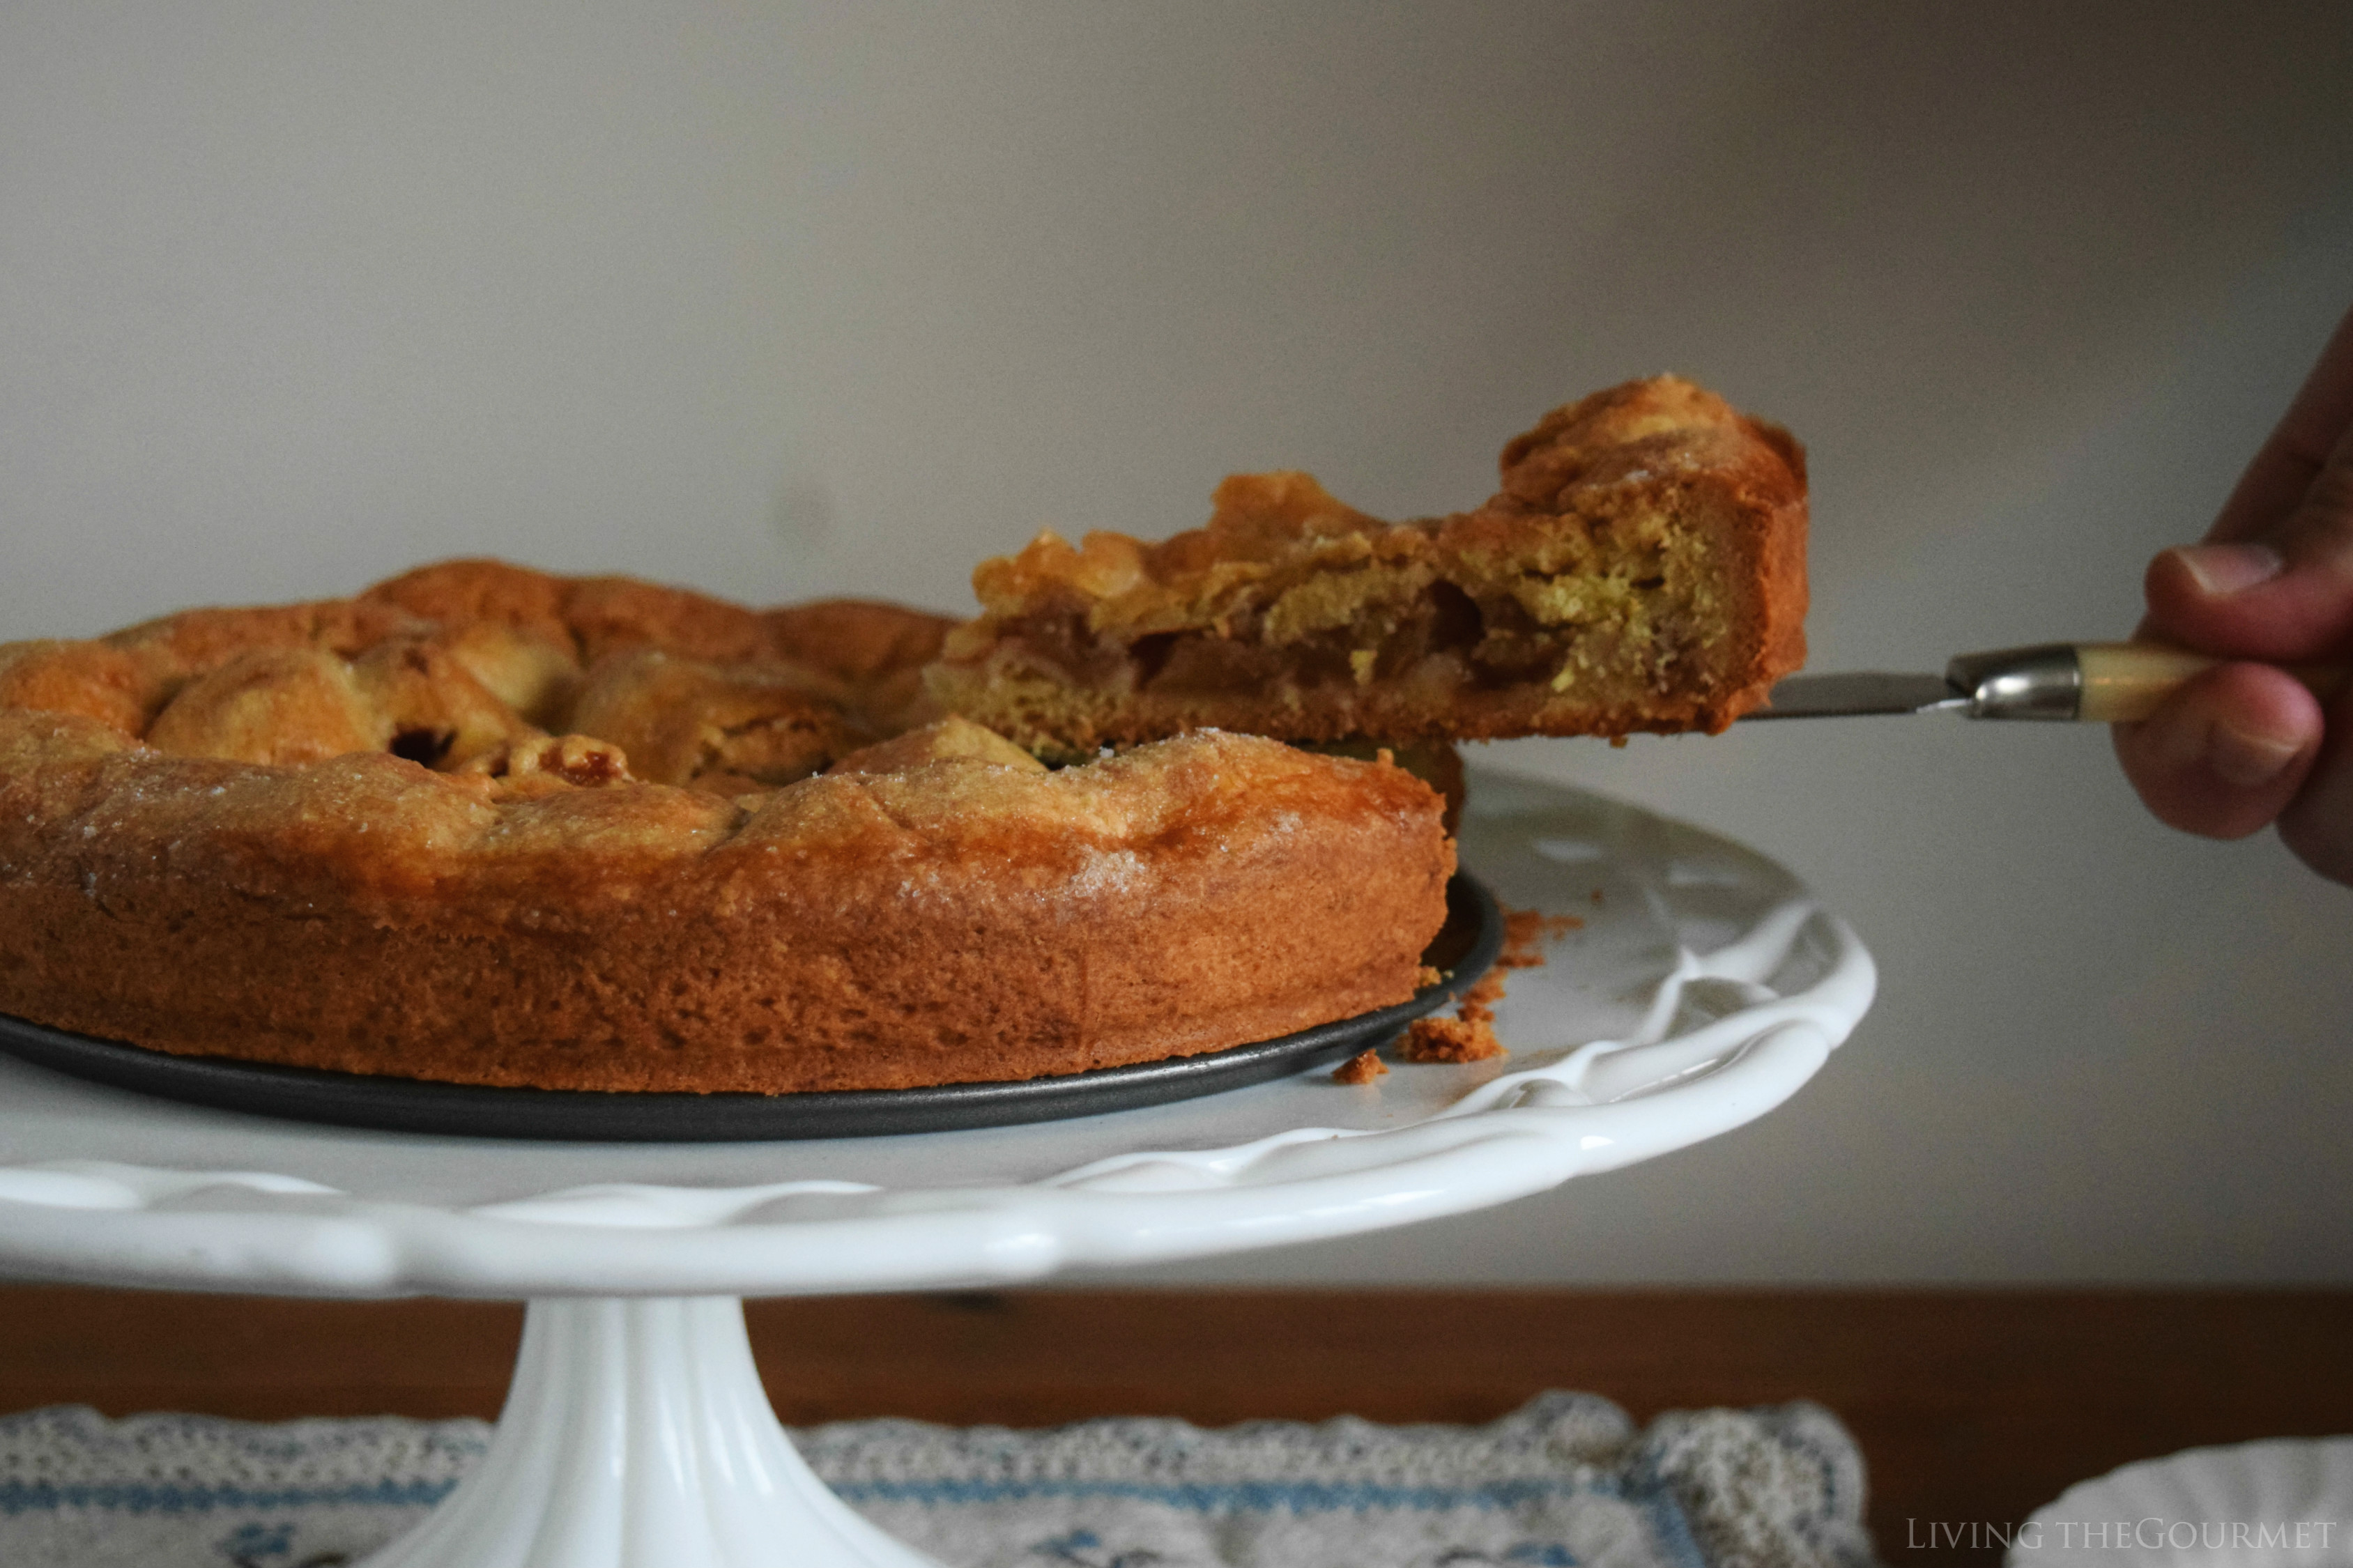
To finish this near perfect dessert, I start with cold whipping cream and whip it in a chilled metal bowl until very soft peaks begin to come together. With a generous sprinkle of the Bob's Redmill Granulated Sugar I finish whipping the cream and serve it alongside a warm slice of this delightful tart.
Print
Basque Apple Tart
- Total Time: 1 hour 5 minutes
- Yield: 8-10 1x
Ingredients
- 2 cups Bob's Red Mill All-Purpose Organic Flour
- 1 tsp. baking powder
- Pinch of salt
- 2 tablespoon of sugar
- 2 eggs
- 6 oz. cold unsalted butter - cubed
- Zest of 1/2 fresh lemon
- 4 apples - peeled, cored and cubed
- 2 tsp. Bob's Redmill granulated sugar
- Cinnamon for sprinkling
- Fresh whipped cream - for serving
- 10-inch springform pan
Instructions
- Sift the flour, baking powder and pinch of salt in a large bowl.
- Add the butter and lemon zest and using a pastry cutter process into a grain like mixture; add the sugar, one whole egg and the yolk of the second egg to the flour mixture, setting aside the egg white.
- Work the mixture to form soft dough.
- Form the dough into a disc and wrap in plastic wrap. Chill for at least one hour.
- Divide the dough into two pieces; one twice the size of the other.
- Combine 2 tsps. of sugar and a dash of cinnamon in a small bowl and toss with the cubed apples.
- Preheat Oven 350 degrees F.
- Place a baking sheet in the oven and butter a 10 inch springform pan.
- Flour a clean surface and roll out the larger piece of dough large enough to fit the bottom of the pan and fit up the sides of the pan. Gently press the dough into the pan and just clear of the top.
- Fill the pan with the prepared apples.
- Roll out the second piece of dough to the exact size of the pan. Place the dough on top of the apples and fold the sides of the dough inward. Gently press the edges together to seal the dough.
- Gently prick the top of the dough, brush the dough with the egg white and sprinkle the top with sugar.
- Place the prepared dough onto the hot baking sheet and bake for 20 minutes, then reduce the heat to 325 degrees F. for another 30 - 35 minutes or until a nice golden color has been reached.
- Prep Time: 15 minutes
- Cook Time: 50 minutes
- Category: Dessert
Nutrition
- Serving Size: 1
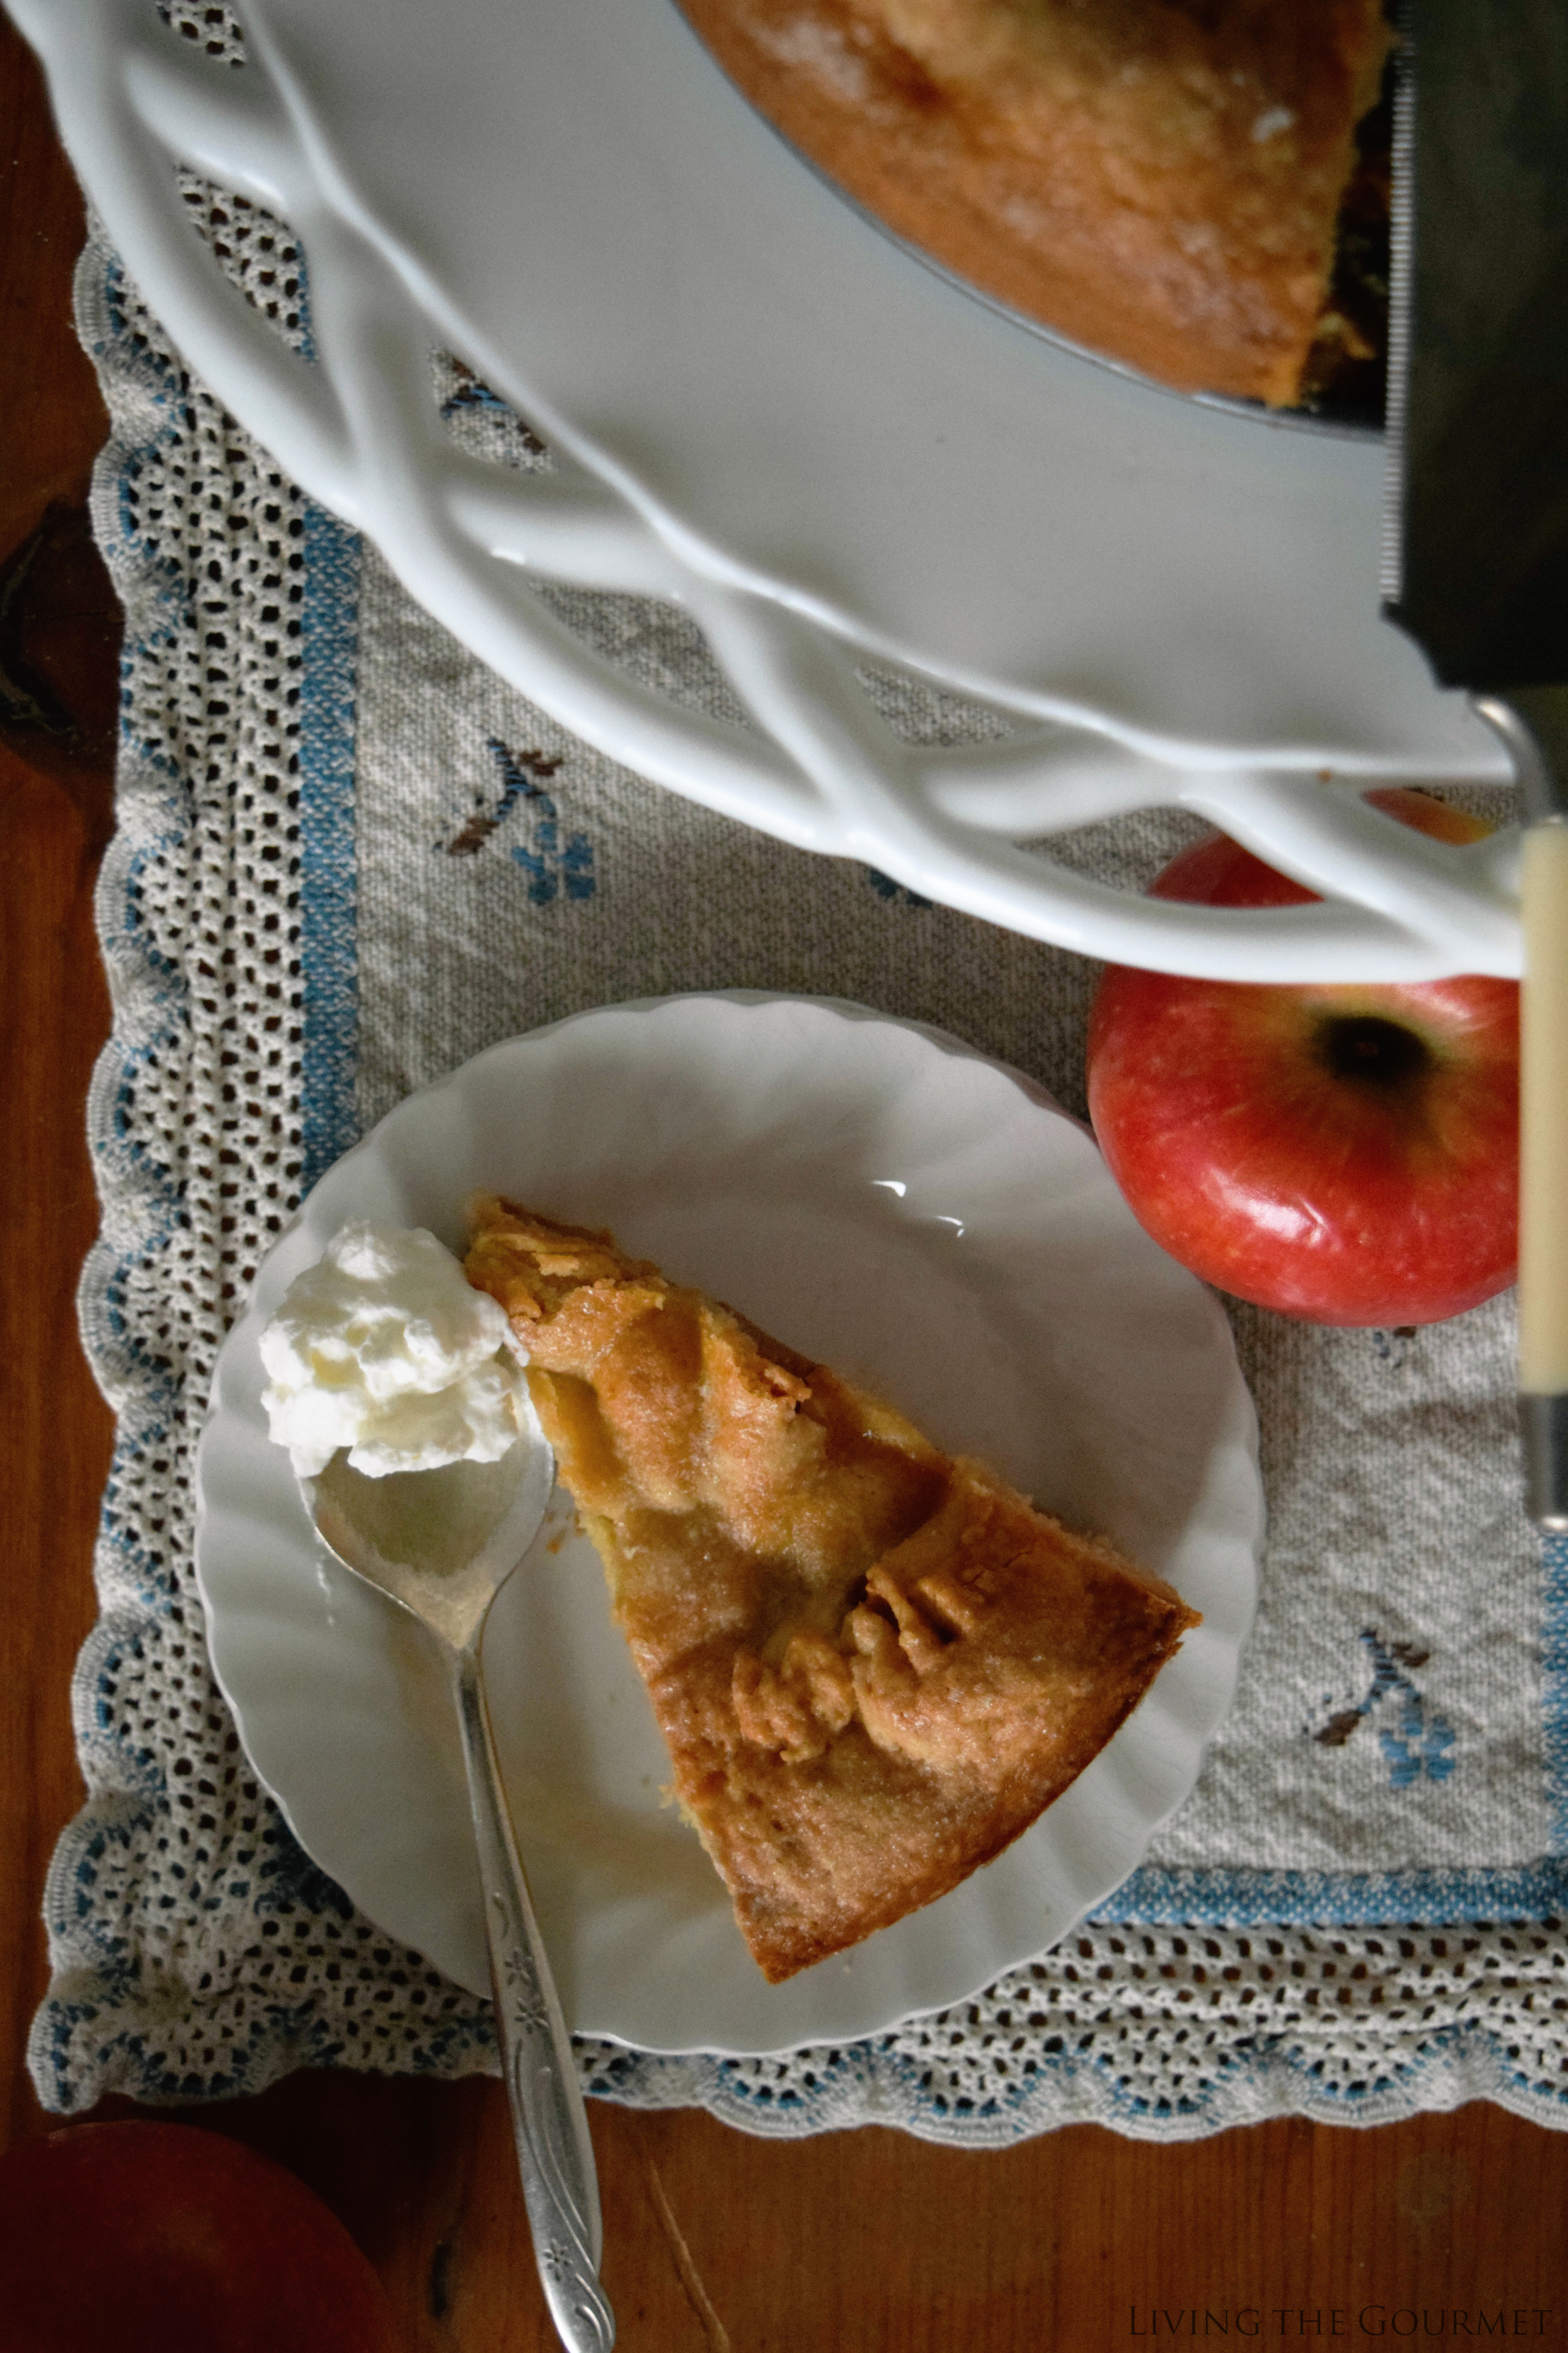
The end result is an elegant dessert perfectly suited both to ending off a relaxed summer evening or as the end to an elegant party.
What some of your favorite seasonal desserts? We would simply love to hear from you.
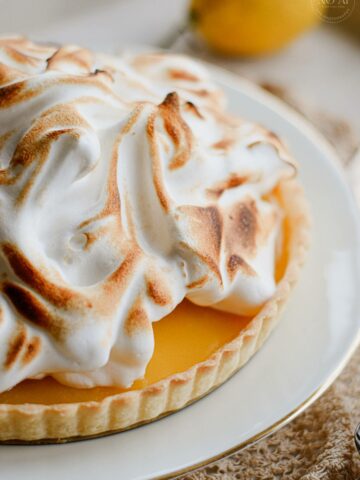
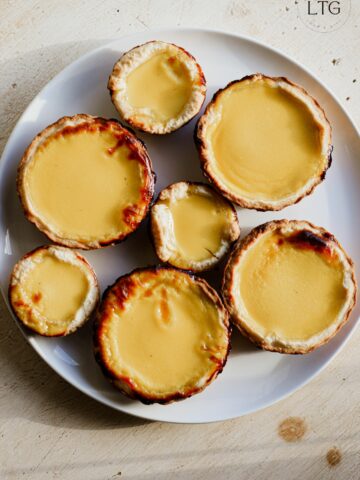
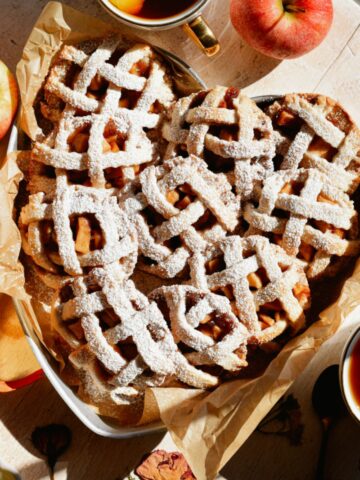
If You Enjoyed Today's Recipe…
Be sure to follow us on Instagram to stay up to date with all things Living the Gourmet, and for more great recipes, tips and tricks.
Did you make this recipe?
If so, let me know in the comments down below, or post a picture to Instagram, or to Pinterest, and I'll give you a shoutout on Instagram, or post your pin to one of my Pinterest boards!
Enjoy with Love!

Marsha | Marsha's Baking Addiction says
What a gorgeous tart! Looks absolutely delicious!
Beth says
This would be so perfect for company! Your photos are just gorgeous! Thanks for sharing!
Monica | Nourish & Fete says
This looks truly beautiful! I am like you - I would spend the "down time" prepping the rest of the recipe, or cleaning the kitchen. But it's worth it to be tired at the end of the day if you have tarts like this one to enjoy. 🙂
Emily says
This looks delicious! I love the simple way you did the crust on top, it looks beautiful! Pinned this recipe to make soon!