
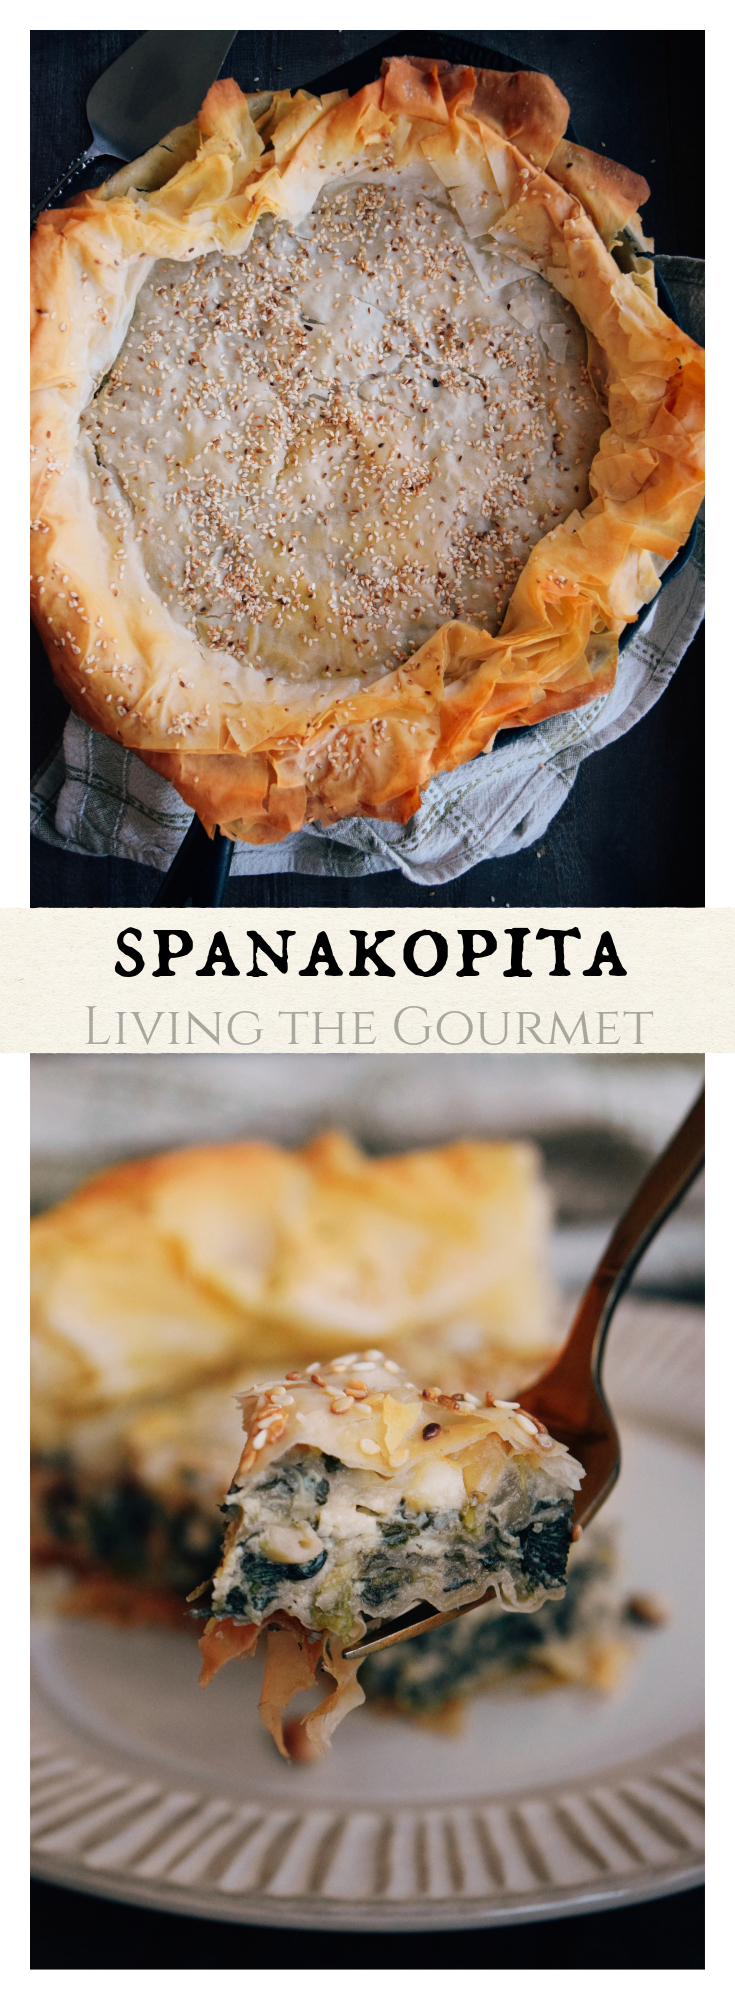
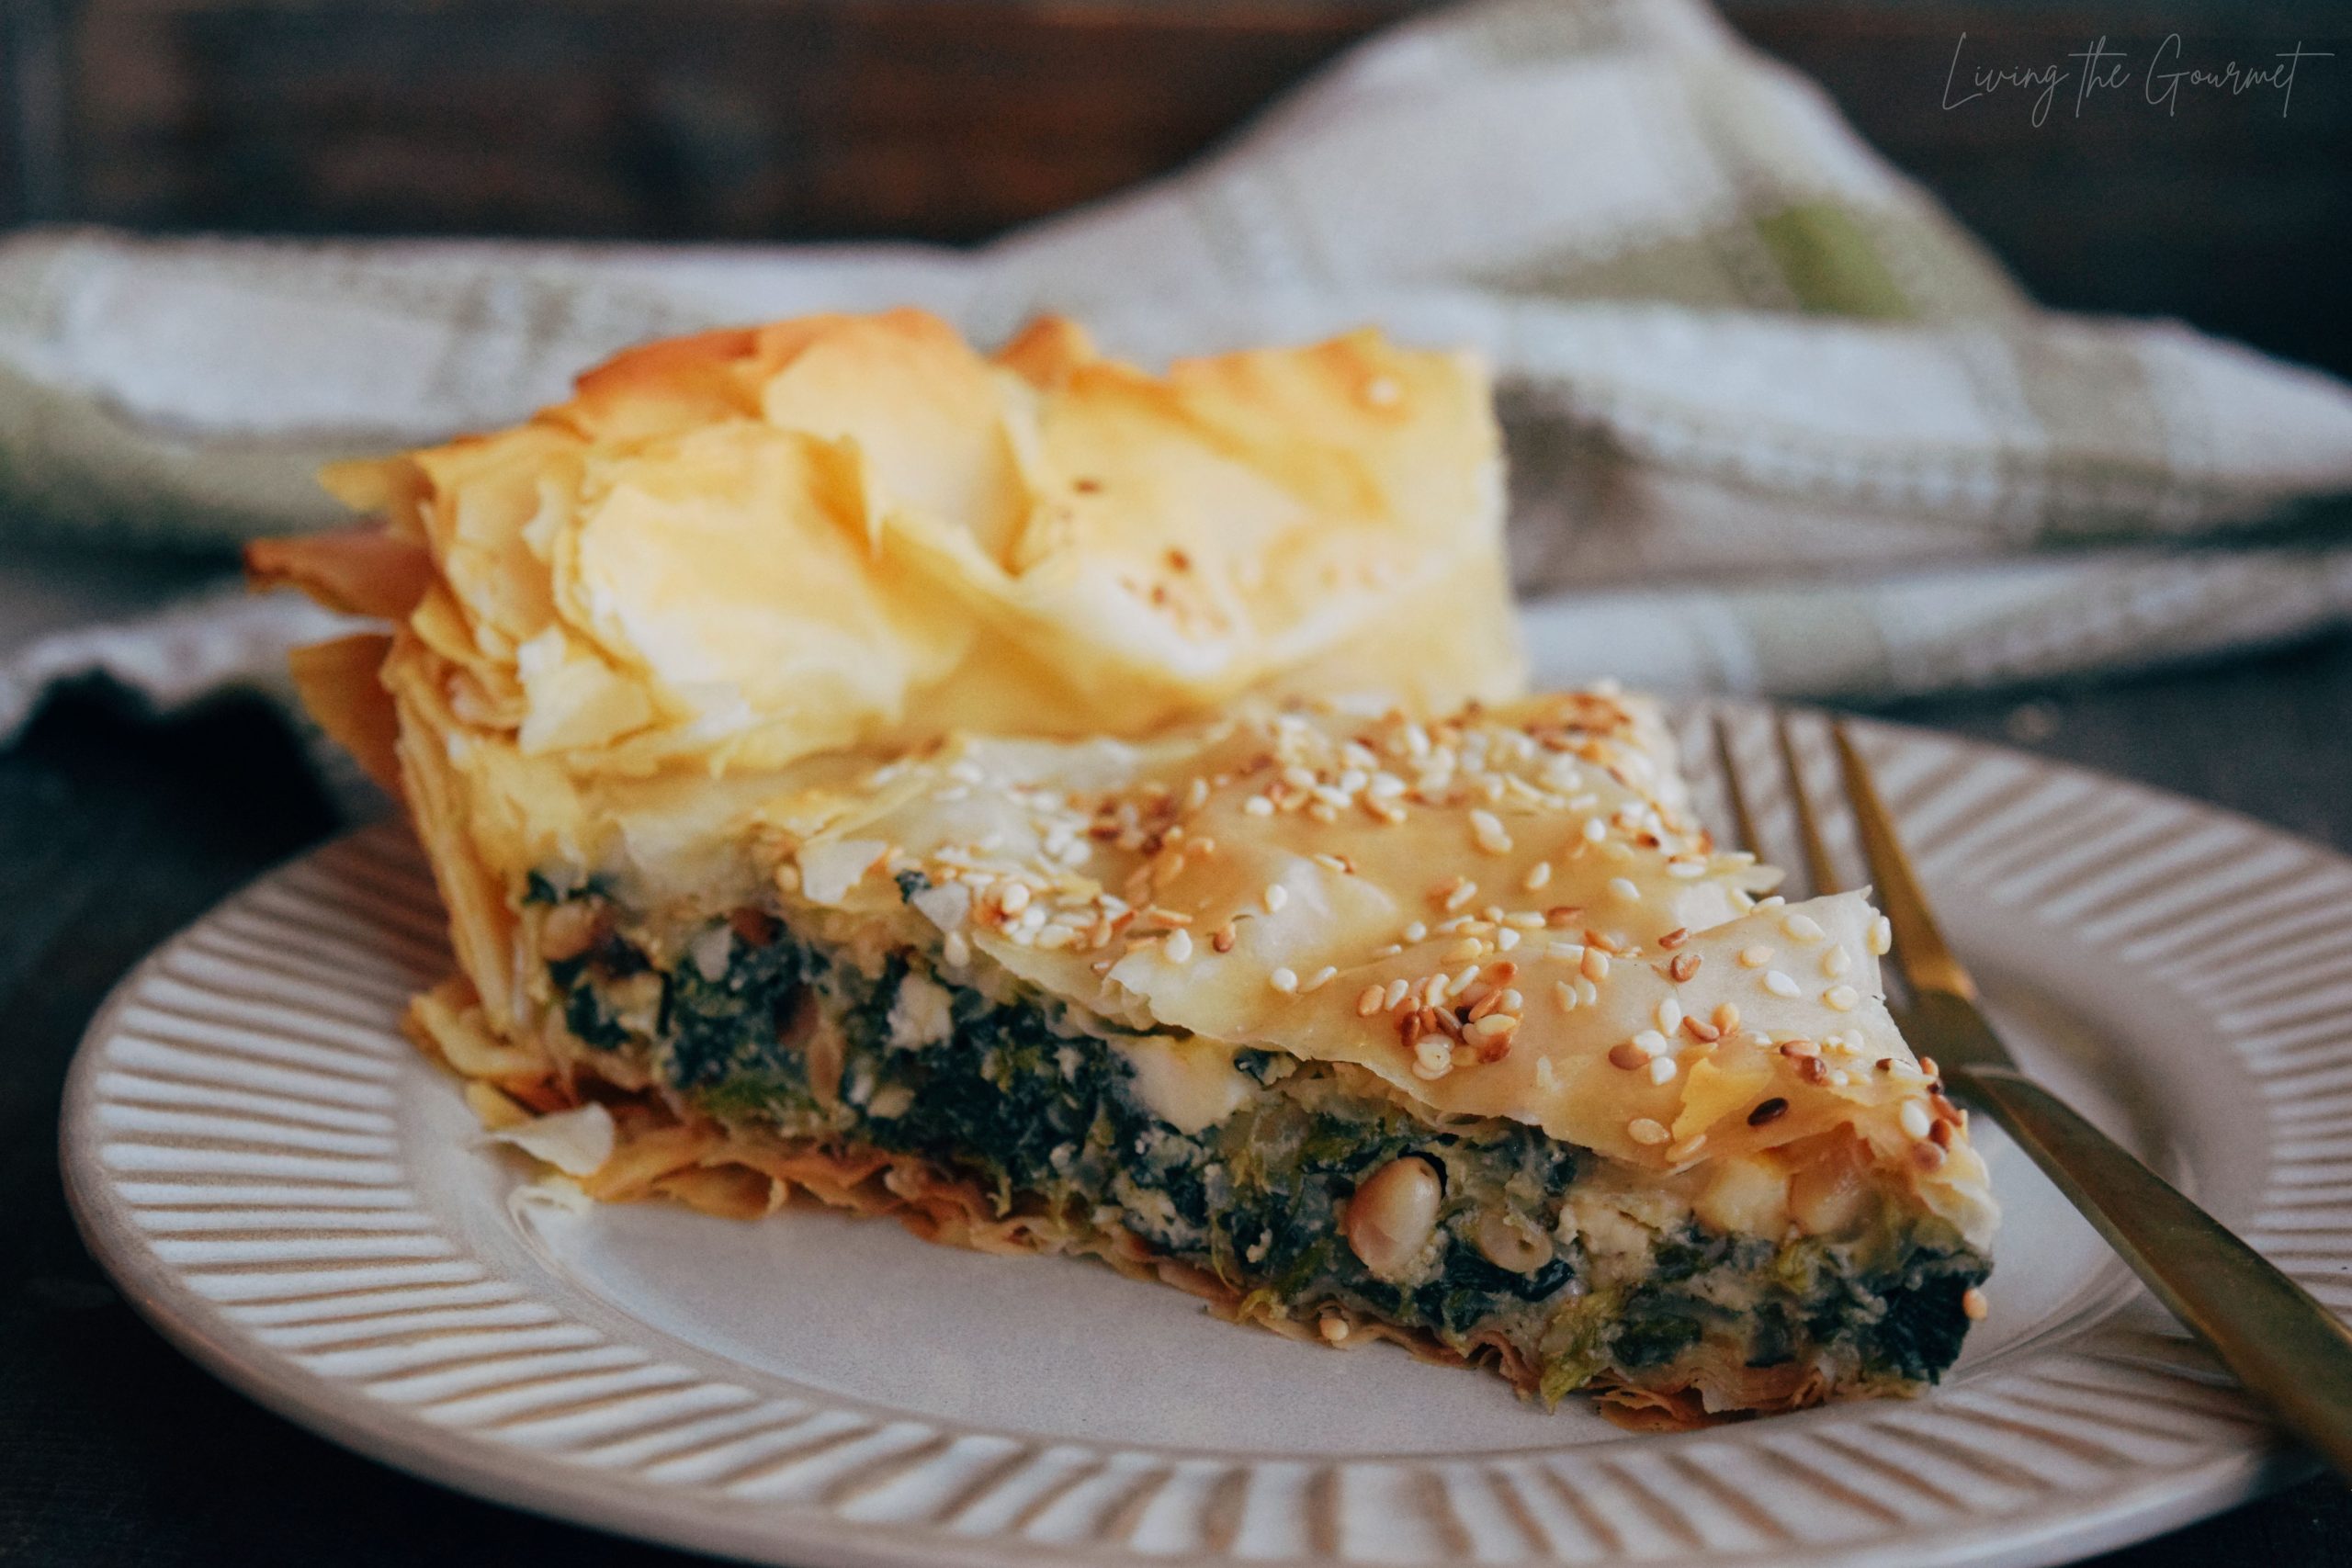
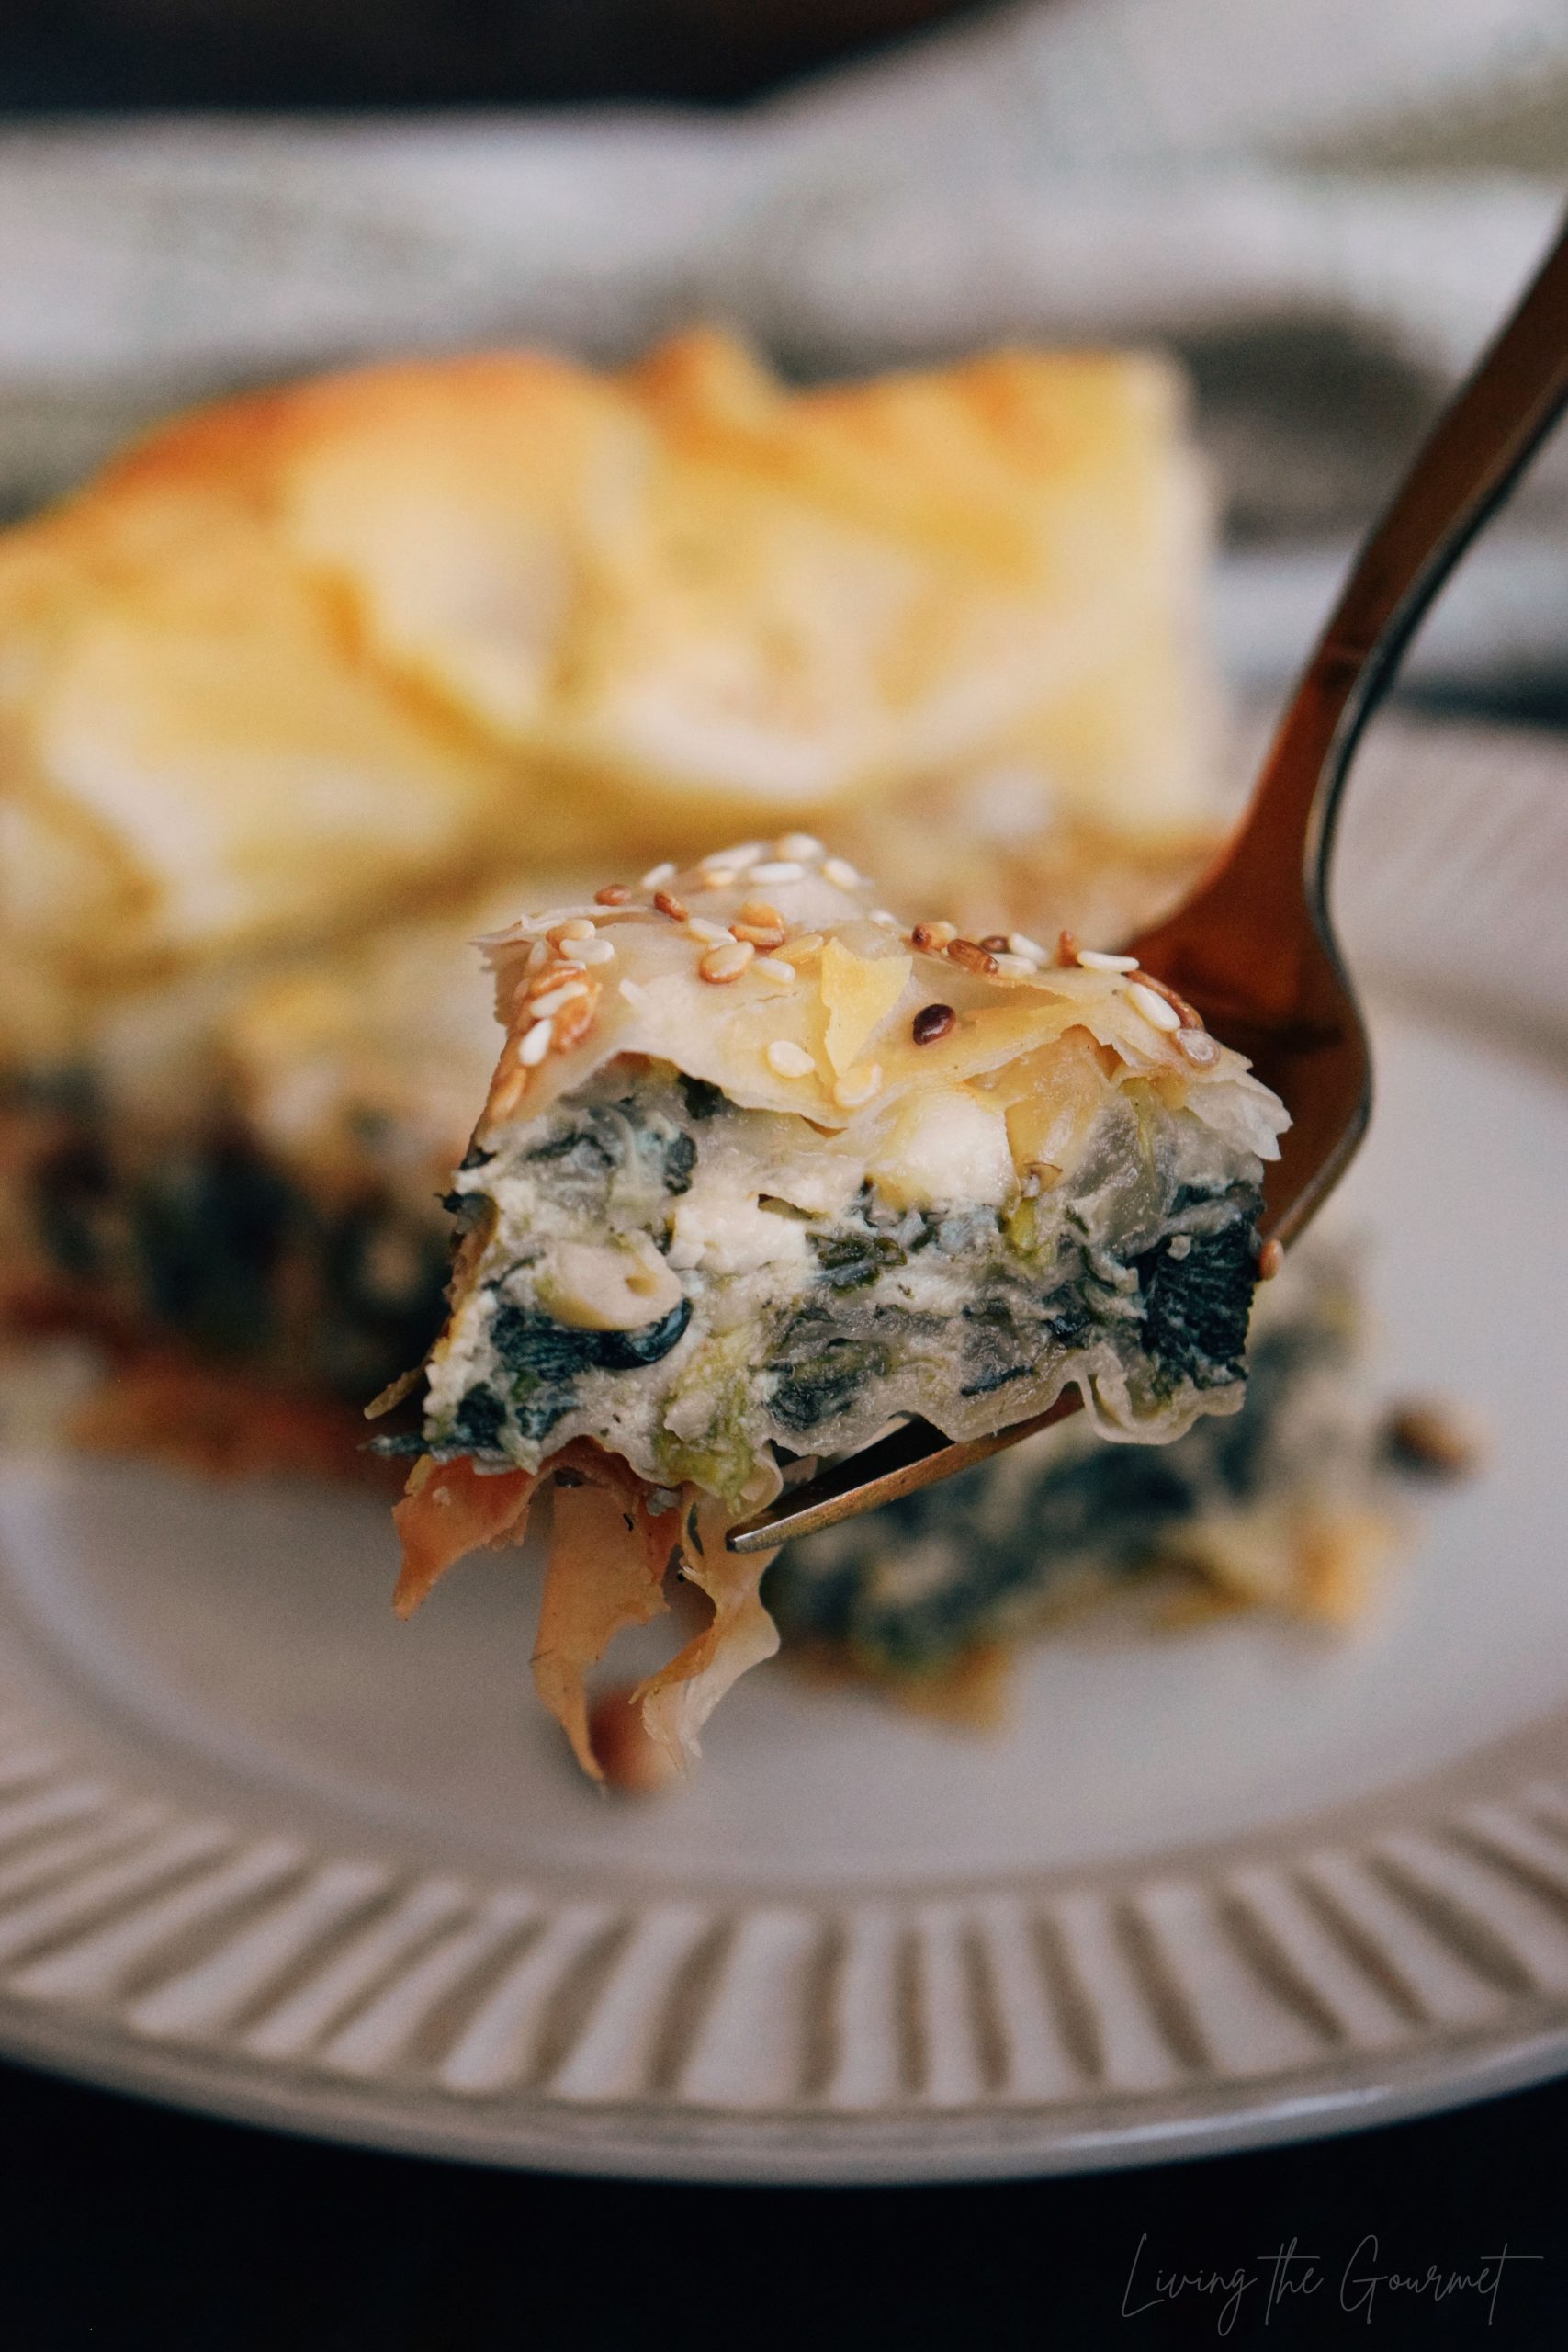
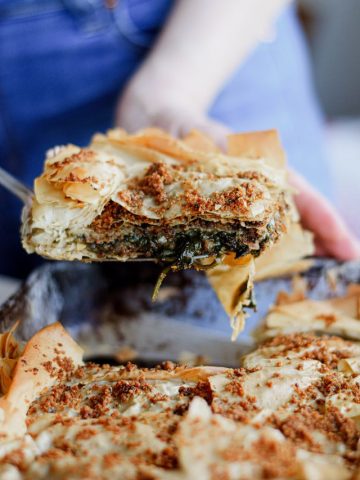
Sheets of buttery, flakey phyllo dough are wrapped around a savory spinach filling with lots of feta, bright lemon, and toasted pine nuts. The end result is something that is both wholesome and comforting.
I had the unique experience of growing up in a multicultural home. There were a lot of Mediterranean influences growing up naturally when you have Italian and Greek parents. Needless to say, there was also a lot of fusion food, so I grew up with deep appreciation for a variety of cultures.
Today's recipe was one I grew up loving. It was something traditionally made around the holiday season. My mother had her own variation- a creamy combination of ricotta and feta with shavings of fresh nutmeg. This recipe is my own take. Debatably a bit more traditional than the one I grew up on, but delicious all the same.
I've seen a lot of variations of Spanakopita around the web. I've seen it made into bars, diamonds, individual triangles, some make it with puff pastry others even made calzones.
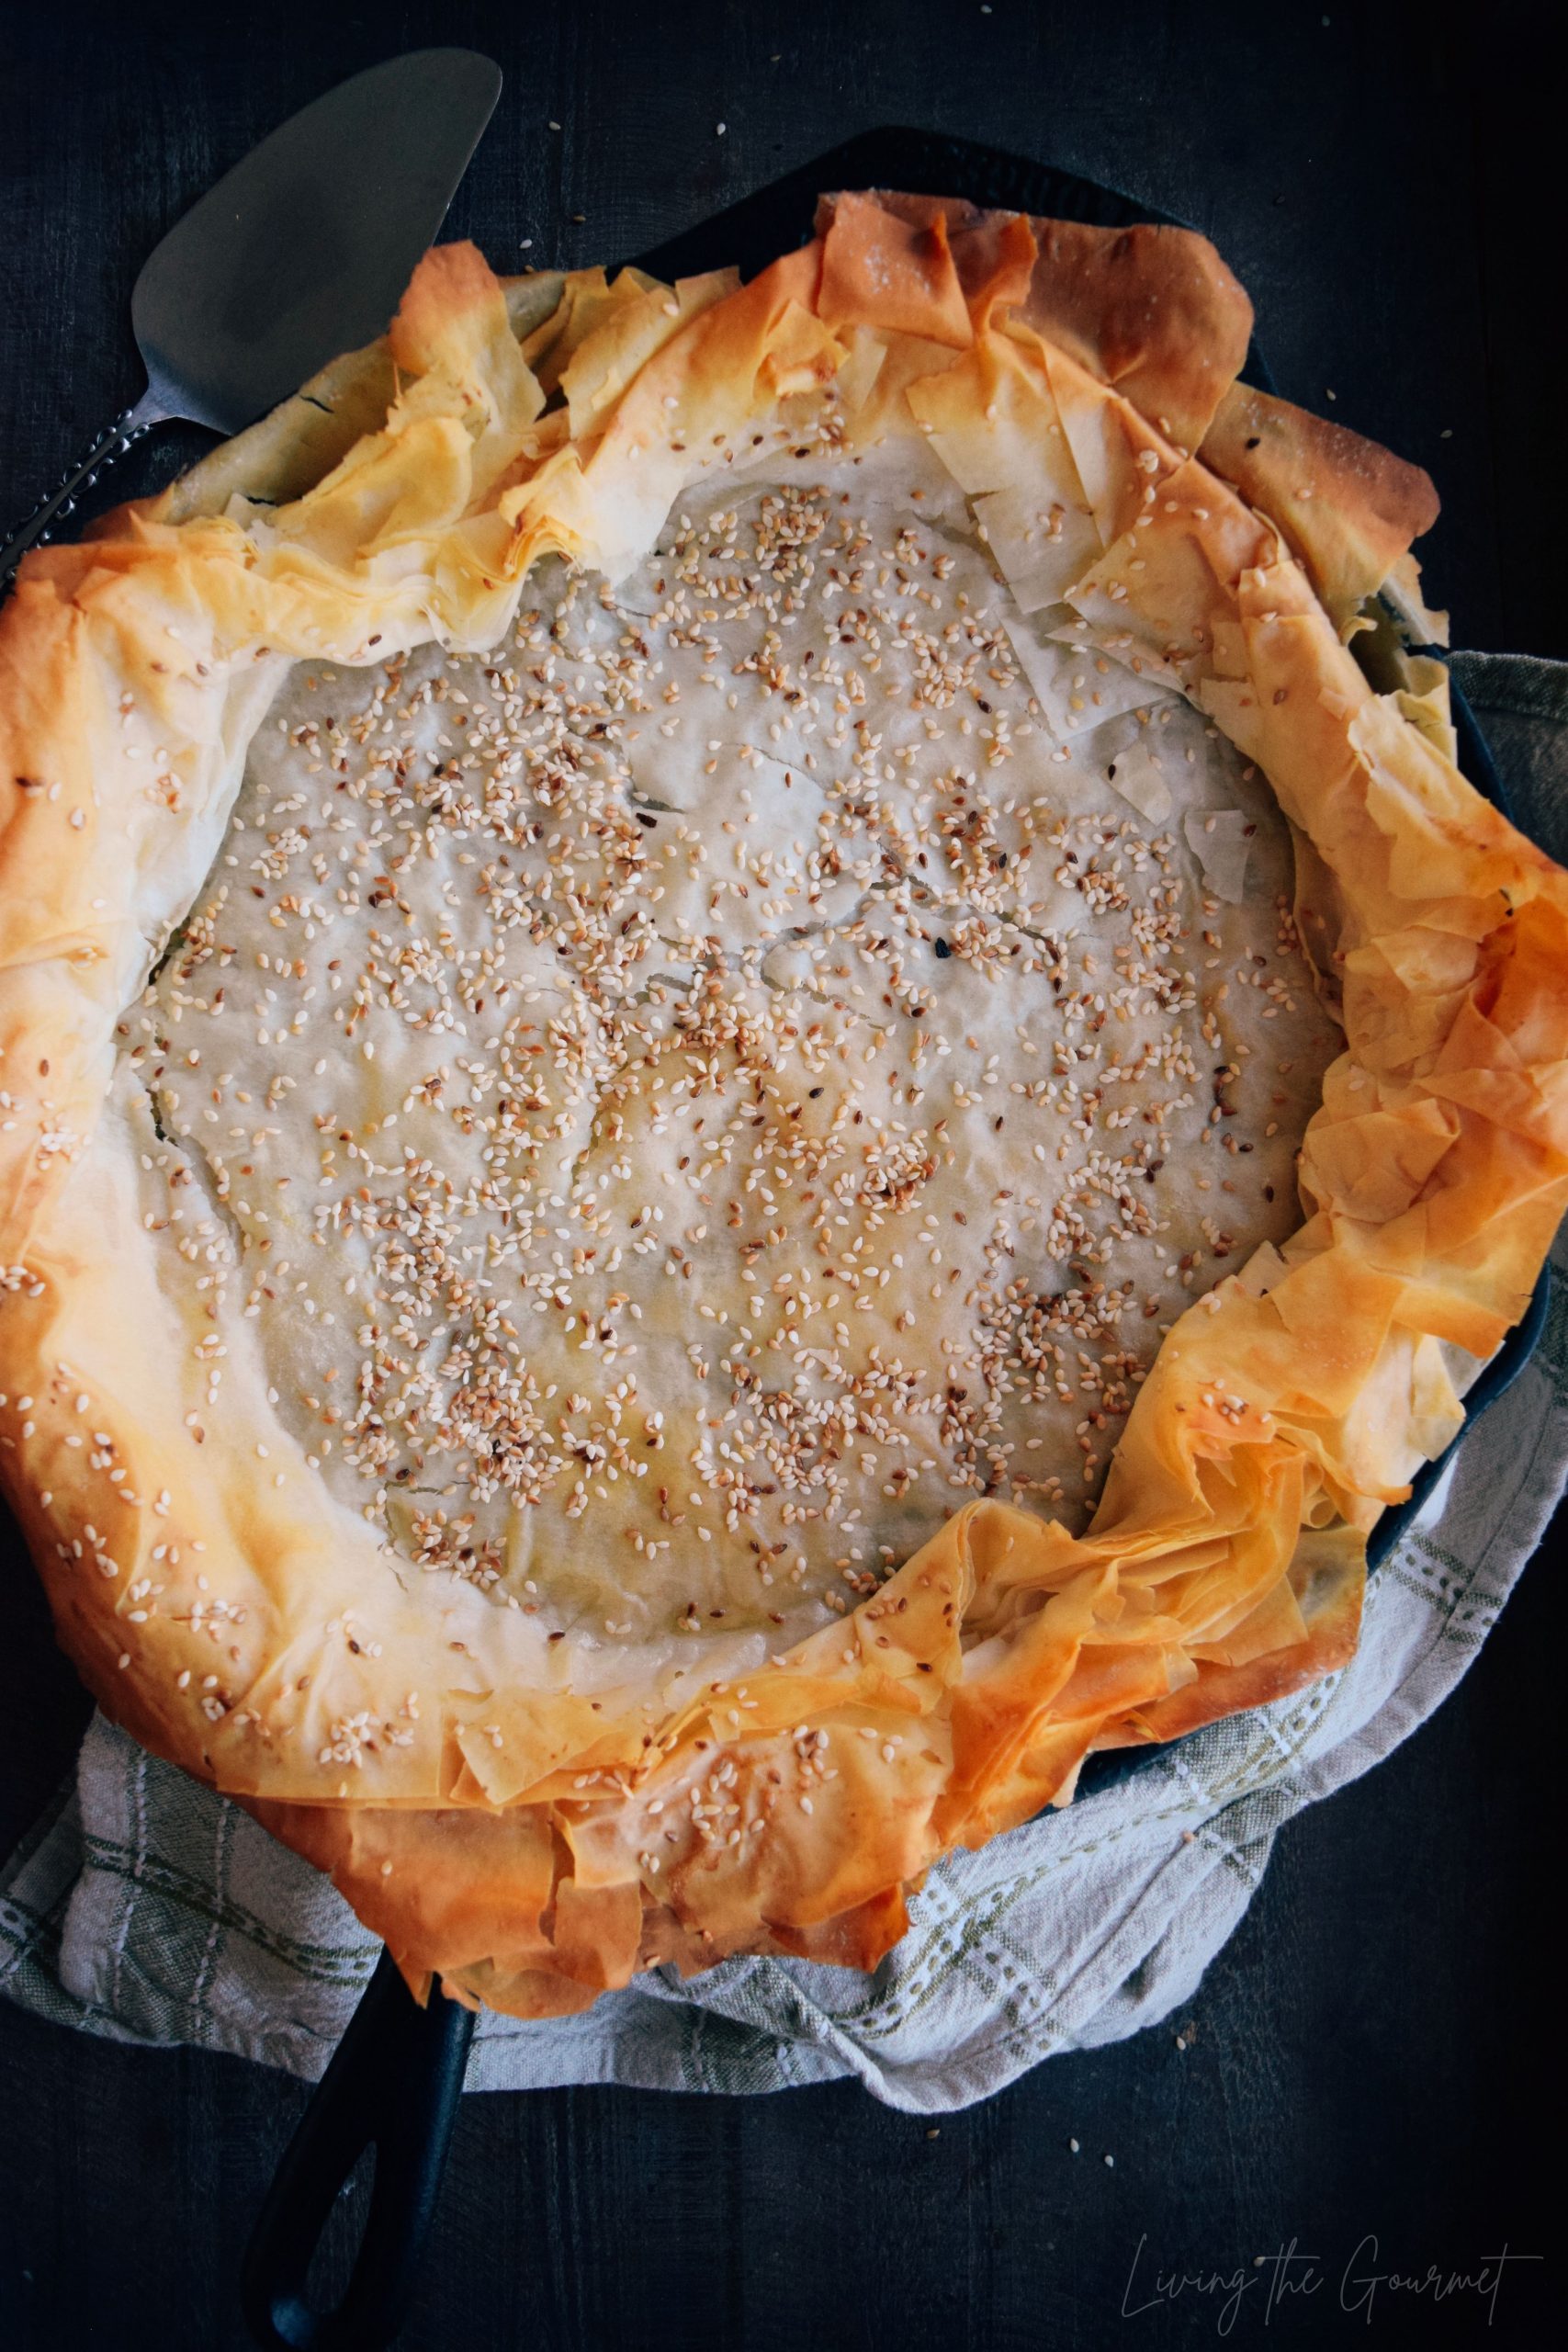
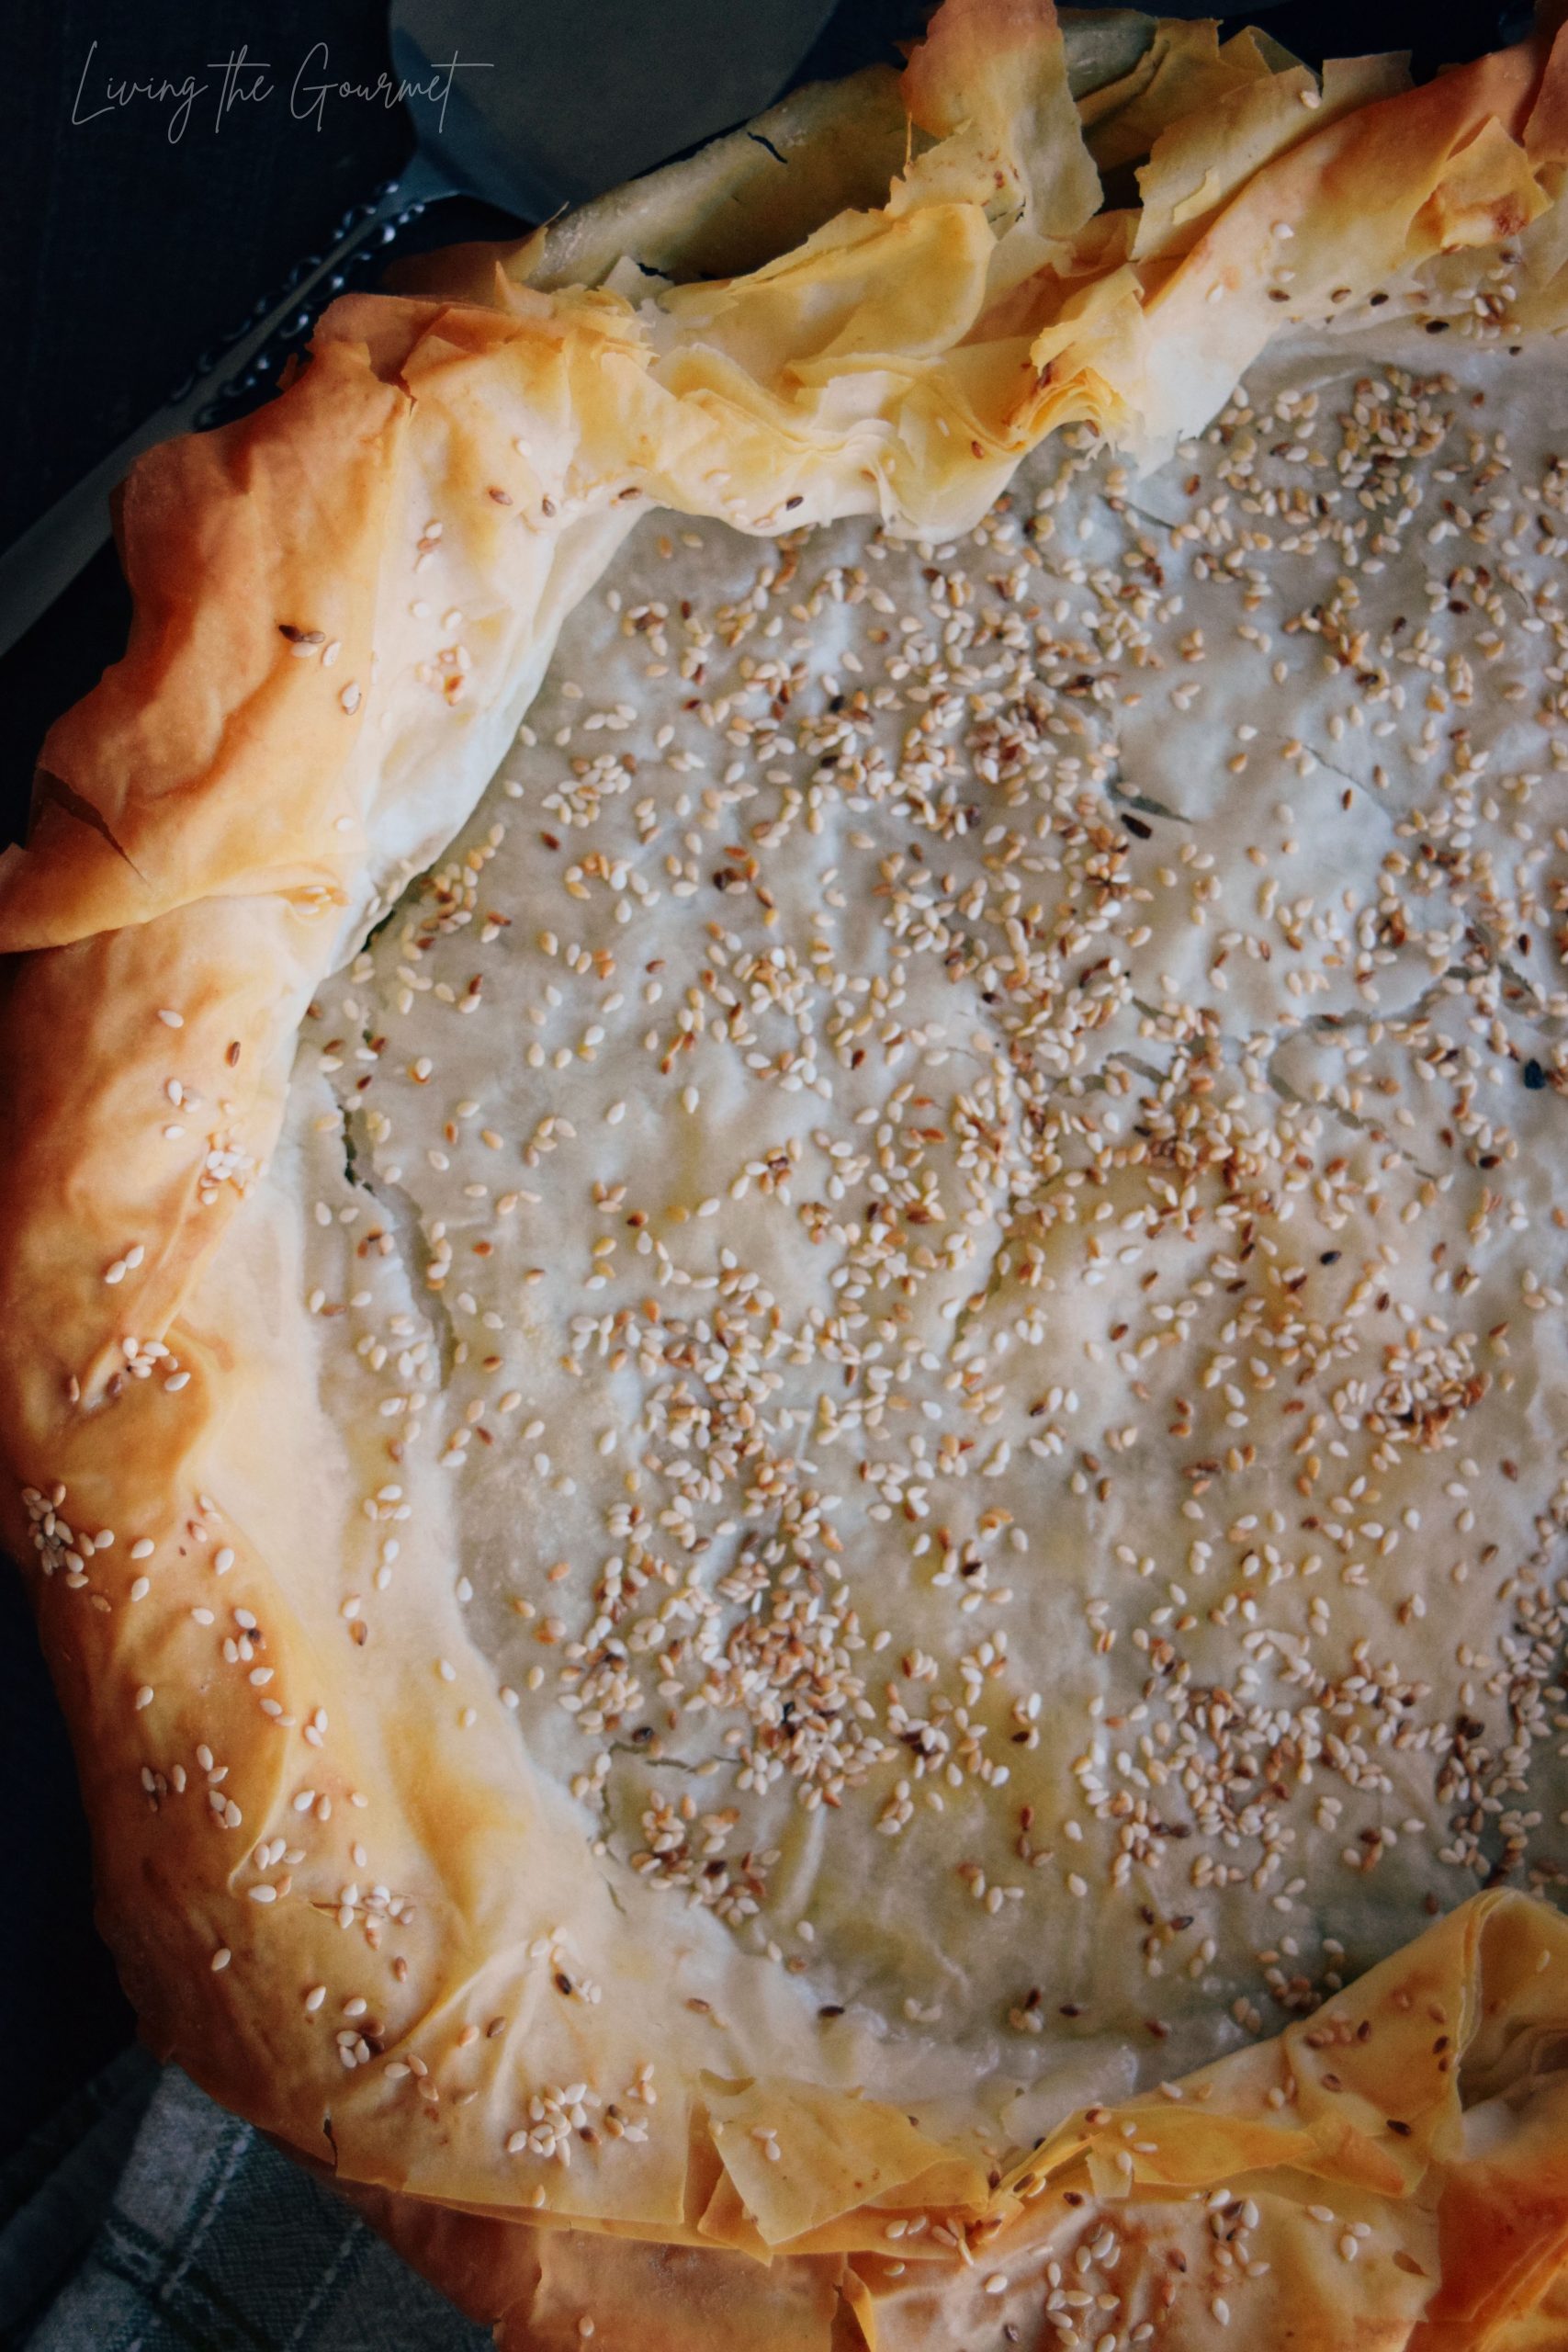
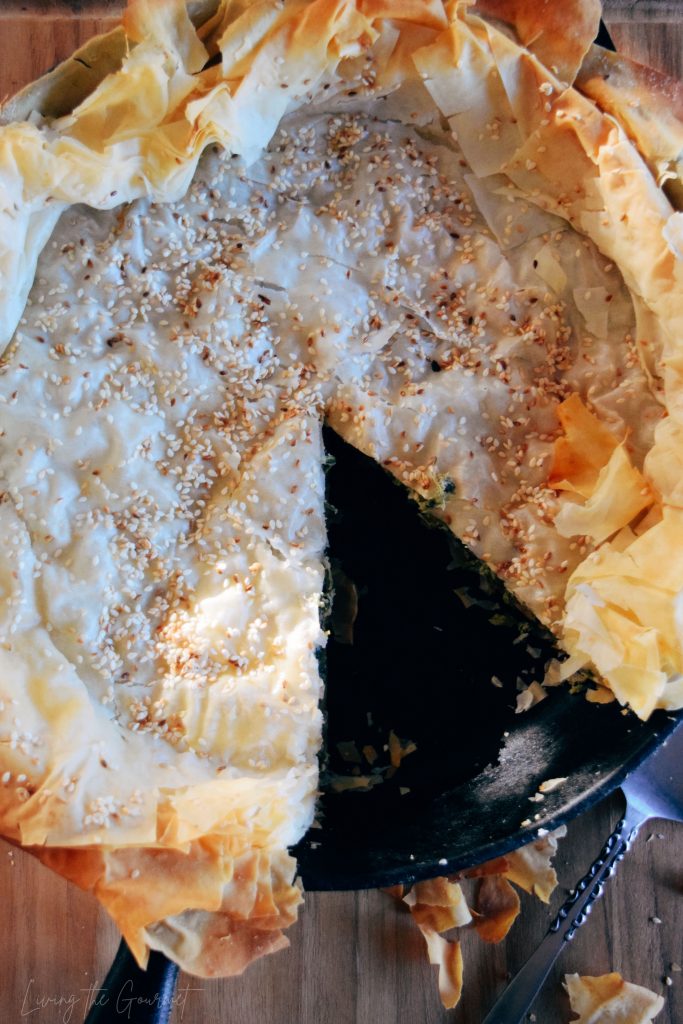
I have a vision early on to make an actual pie, baked in a cast iron pan with golden layers of phyllo hanging over the sides.
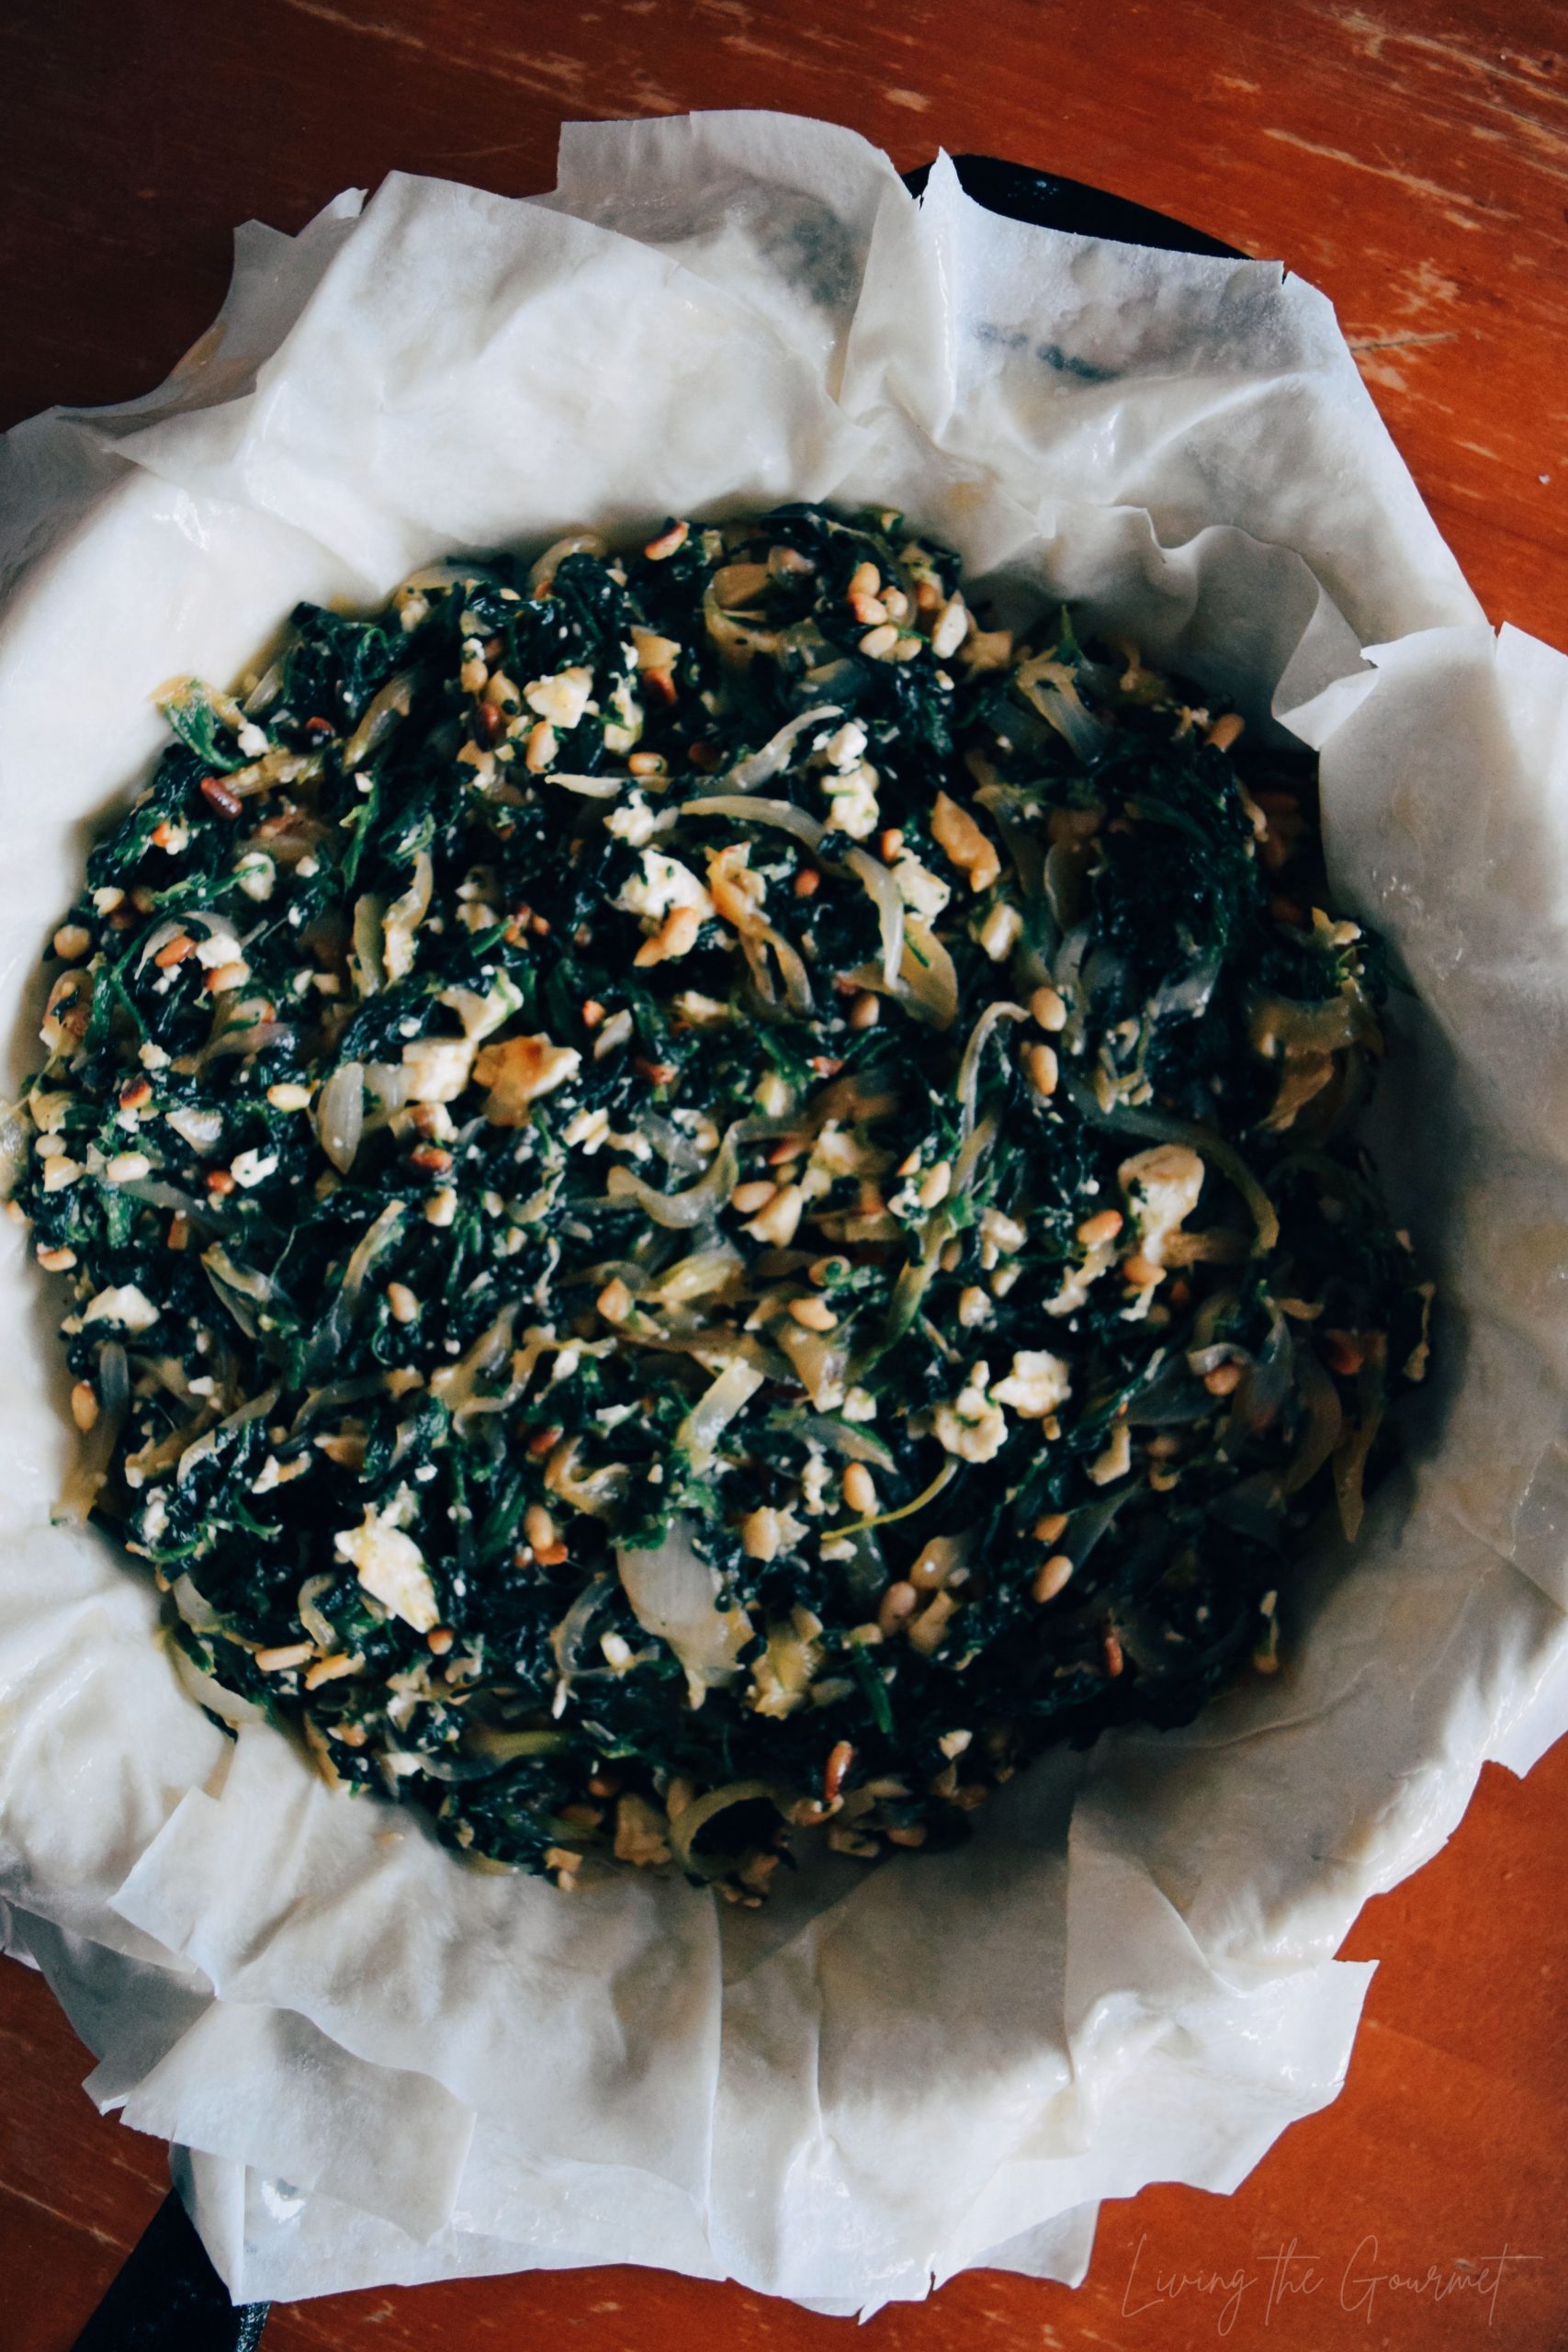
As for the filling itself I drew inspiration from the more classical recipes. I grew up with a creamy filling. My mother would add ricotta cheese to the mixture which is quite common. Cottage cheese is also a popular addition. Today's recipe is a bit more simplified. With only feta, gratings of fresh lemon and nutmeg, and a secret ingredient- toasted pine nuts which lends a rich, nutty flavor to the pie.
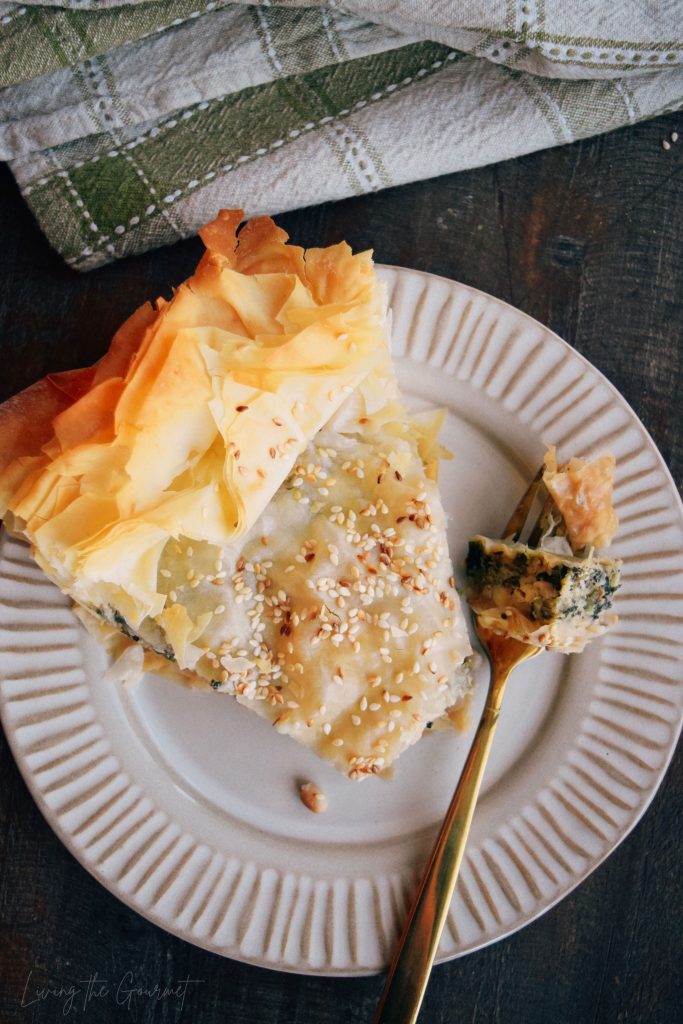
To finish it off, I sprinkled it with toasted sesame seeds, then baked it until the phyllo sheets turned a deep golden color around the crust.
There are some recipes that just never get old to me and this happens to be one of them. Maybe its the memories this recipe evokes that makes it even more delicious.
It's a dish I know that departed loved ones would be proud of and so this is in their memory. I hope you try it soon and enjoy it as much as I do.
Spanakopita
- Total Time: 1 hour
- Yield: 10 slices 1x
Ingredients
- 10 ounces frozen spinach, thawed and well-drained
- 2 tablespoons olive oil
- 2 large onions
- 4 cloves garlic, minced
- Salt and Pepper to taste
- 2 teaspoons fresh nutmeg, grated
- Zest of 1/2 lemon
- 1/2 cup pine nuts, toasted
- 1/2 cup Parmesan cheese
- 1 cup feta cheese, crumbled and cubed
- 4 large eggs
- 10 sheets phyllo dough
- 4 tablespoons butter, melted
- 2 tablespoons sesame seeds, toasted
Instructions
- In a large cast iron pan over medium high heat, sauté onions and garlic with olive oil until the onions are translucent. Season with salt, pepper, nutmeg, and lemon zest. Remove from heat.
- In a large bowl, whisk the eggs until beaten. Add the sautéed onion mixture, spinach, Parmesan, feta, and toasted pine nuts. Fold to combine and set aside.
- Preheat oven to 350 degrees F.
- Grease the bottom of a 12" cast iron pan. Layer with one sheet of phyllo dough and brush the sheet liberally with butter. Place another layer of phyllo and repeat this step until you have 5 sheets at the bottom.
- Evenly spread the spinach mixture into the prepared pan. Layer with a sheet of phyllo, again repeating the same layering process until you have 5 layers on top as well.
- Brush the top with butter, sprinkle with the toasted sesame seeds. If you need to, trim the sides if the dough is overlapping the pan. Carefully tuck the sides and bake the pie for 45-50 minutes or until the crust is deeply golden.
- Remove from the oven and let cool to room temp before slicing. Serve and enjoy!
- Prep Time: 15 minutes
- Cook Time: 45 minutes
- Category: Main Dish
Naiby says
phyllo dough is my favorite! That looks so crispy; I want to seek my teeth into that!
Tristin says
I've eaten a lot of spanakopita, but I've never made it myself. I followed your easy to follow directions and was so proud that this dish came out so good!!
Natalie says
Gorgeous pie. I think I never tried this one. But definitely want to try it now. Looks delicious... perfect for cold days.
Veronika Sykorova says
I love spanakopitas but never made them into a pie, I always make them into triangles. This looks delicious, I gotta try it this weekend!
Jessica says
Oh my! This looks absolutely glorious, rich, and comforting. I've never worked with phyllo dough before but that's about to change because I'm most definitely making this this weekend.
Liz says
This recipe not only sounds comforting, but it looks comforting as well! I have this recipe saved to give a try this weekend!
Bernice says
What a gorgeous mix of flavours...your filling was absolutely delicious and shaping it into a pie was so simple, yet still so elegant.